Wednesday, October 27, 2010

Tuesday, October 26, 2010

Nothing's better on a chilly Fall day...

...than stamping and baking!  Last week I was asked to help with the Relief Society Enrichment Activity - I was asked to make a 3 ingredient recipe to share and I had the perfect one!  This is the second time I've made my favorite pumpkin cookies this fall, but this time around was much better since it actually feels like fall (maybe a little like winter this morning).  Brailee, Trysten, and I made the cookies...more like I made the cookies and they cleaned up after me ;-P
***
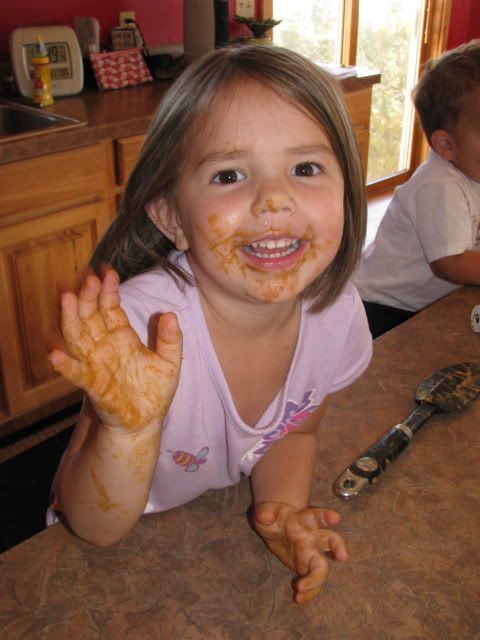
Brailee got the beater...

...which resulted in this...

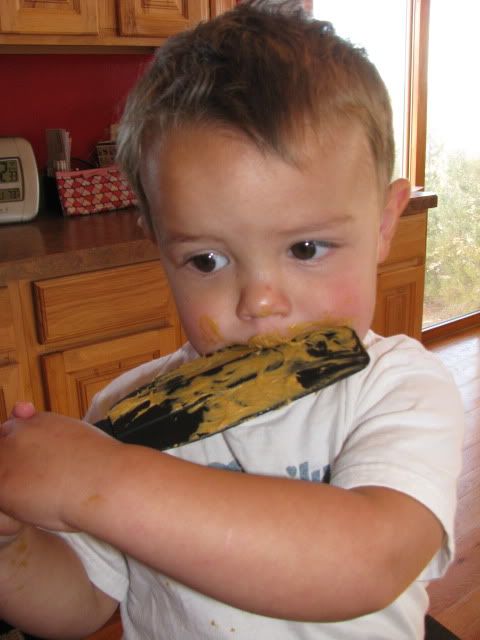
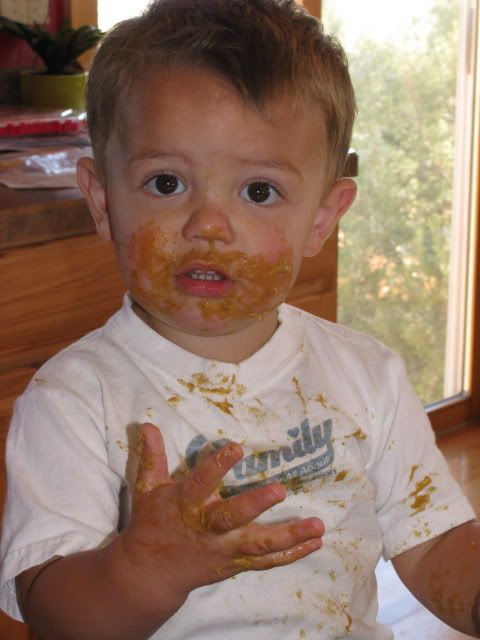
Trysten got the spatula...

...and ended up like this...
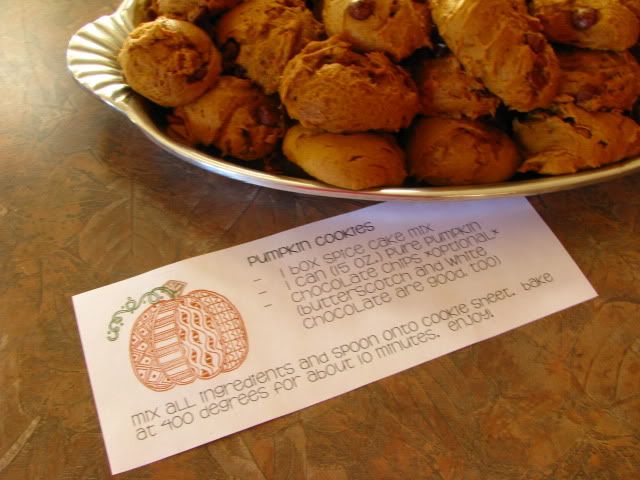
I had to print up the recipe to share, so I took that chance to add some fun stamping!  We had cleaned out the garage the weekend before so I was actually able to access a lot of my stamping stuff, even though I don't have a place for it inside, at least I can still play once in a while.  I used a fun pumpkin from a set I hadn't used yet - Friendship Patch.  They turned out cute and the cookies were delicious as usual.  Here are our creations...

If you missed the recipe that I've shared in years before, here it is again because it is oh, so good, and so easy - plus, I love how it makes the house smell!  I make this many times through the fall!

1 box spice cake mis
1 can (15 oz.) pure pumpkin
chocolate chips *optional* (butterscotch and white chocolate are good, too)

Mix all ingredients and spoon onto cookie sheet.  Bake at 400 degrees for about 10 minutes.  Enjoy!

Monday, October 25, 2010

May the Force be with me...

I need the Force or some sort of miracle since I FINALLY decided to get started on Halloween costumes yesterday - YIKES!  Ever since we moved this summer I have debated whether to make the kids' costumes like I usually do or just buy them.  I was leaning more towards buying them since I don't have a craft room yet, and since my sewing machine was now 1 hour away, but I just couldn't get myself to spend that much money on a costume!  David finally talked me into getting a new sewing machine as an early Christmas present earlier this month - it is awesome, I'm so glad I finally broke down and let him get it for me - no more borrowing my old one back from my SIL ;-P  My other dilema with making costumes, there is no fabric store here, and my shopping options are really limited so it's going to be hard to find what I need for the costumes!  Luckily I found some of our moving boxes with my fabric and craft supplies and was able to whip up this quick hat for Trysten out of some fleece scraps - SO glad I had the right color!  Tell me, are the ears too big or just right?  I just got Trysten's robe done (which means his is completely done unless I change the ears) and now I'm starting on Brailee's costume (she needs it tomorrow for Preschool) so wish me luck - I'll share them all when/if I get them done.
***
Thanks for visiting!

Tuesday, October 19, 2010

Colorful Garden

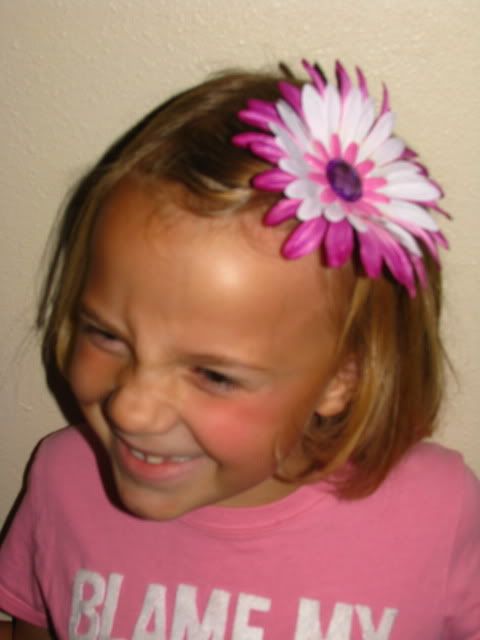
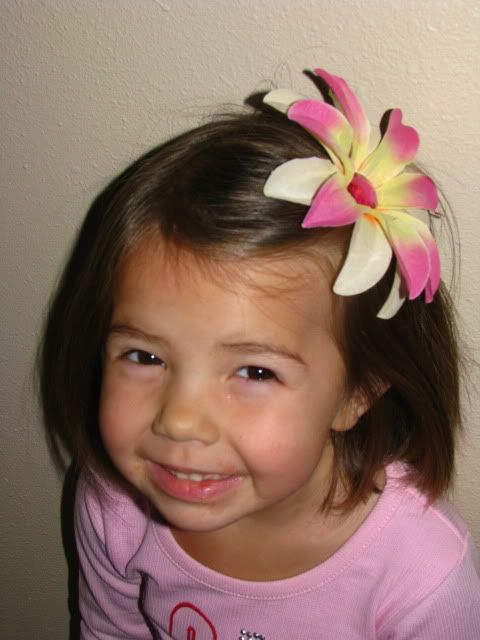
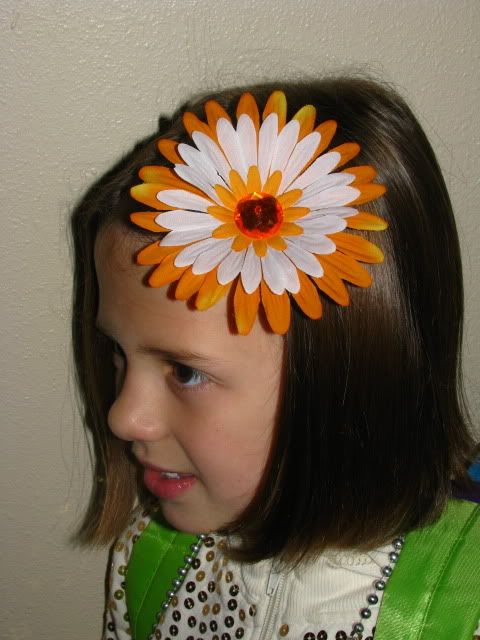
The girls and I have had fun making flower clips - my girls LOVE to wear these big flowers.  Here are some that we've done so far...we would have made more, but we ran out of alligator clips, the place I used to order them online no longer has them, and no one around this small town sells them!  So, if anyone knows where I can get some, please let me know!  I did find some other clips that will work for now, and we have some fun Halloween clips to make tomorrow.

Can anyone guess what their school colors are?  They made a lot of combinations with that color and are so excited to wear these on Friday Spirit Days, or whatever they call it here ;-)
Here are my little models being goofs - they love to fix their own hair and don't like to take a lot of time, so these have been nice for them to dress it up easily!


Thanks for visiting!

Friday, October 15, 2010

Finally Complete!

My dining area, that is!  Here is a picture of it when we first moved in...

Here it is after we painted it...

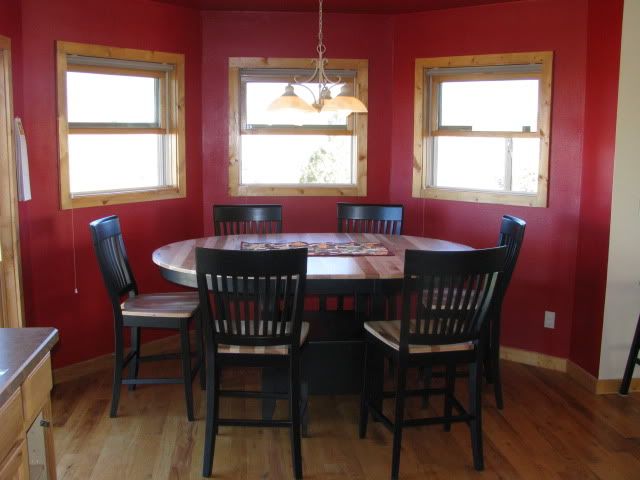
But wait, I'm not done yet!  We got the painting done at the beginning of August, but it just wasn't complete until yesterday.  Once I decided on black appliances for our new kitchen, I started looking for the perfect dining room table - the table we had before (the one pictured above) has been a great table, we had just outgrown it and it didn't fit very well in our new house in our dining 'nook'.  The problem was, I was very particular to what I wanted and was having a hard time finding it.  First, I wanted a black table.  Then it needed to be round or oval to fit well in the dining nook (our old table was a rectangle and awkward in the space).  Third it needed to be large enough to fit 6+ people.  Last but not least, I wanted a gathering height table.  We have a gorgeous view from the windows in our dining area, but with a standard table we had to stretch our necks to see out the windows - a gathering height would be perfect.  It was so hard to find a table with all of these requirements.  I found one that I liked here but for some reason I just wasn't ready to settle on it.  Then with the help of a local furniture store, we found this table, while it still wasn't just right, I didn't think I was going to find exactly what I wanted, so I was getting ready to order it.  Since it's made by Intercon, I visited their website to view the details on it and show it to David before I ordered it.  While browsing around the website, I found a collection name that caught my attention - Hickory Square.  My kitchen cabinets are hickory, so I wanted to check it out, even though I didn't want a square table.  Guess what I found in that collection - a ROUND table, BLACK, with a HICKORY top, and a 20" butterfly LEAF that makes the table 54"x74" which will easily fit 6+ people!  I was SO excited so I started looking into it and found out that this table is brand new - perfect timing!  So back in August I ordered it, and since it was new they had to build it, so it took a while but I finally got it yesterday!  I LOVE it - it's not exactly what I wanted, it's MORE!  I never expected to find the table I wanted with a top that matches my cabinets, how cool is that!  We ate dinner at our new table last night and we like it so far - I was amazed at the size difference.  It's only 15" longer and 19" deeper than our old table, which doesn't seem like much, but it's amazing how much of a difference that makes - we can actually fit our food on the table with us!  Anyway, enough jabbering - here is a pic of our new table - I think it really completes our kitchen!

For my birthday back in August I got the black bar stools to go around the island - when needed, we can pull them up to our table to seat 10 people total.  Sorry this pic seems a little dark - I took it while the sun was coming up this morning and the pic looked fine on the preview on my camera but is really dark on my computer.  I'll try to get a better pic later today.

Here is the fun table runner that my mom made me for a house warming gift.
And our old table is moving to the basement to serve as a craft table - I'm hoping to make it taller so I can work at it while standing.  Thanks for visiting my new dining area!

Wednesday, October 13, 2010

Friday, October 8, 2010

Creating in my new town!

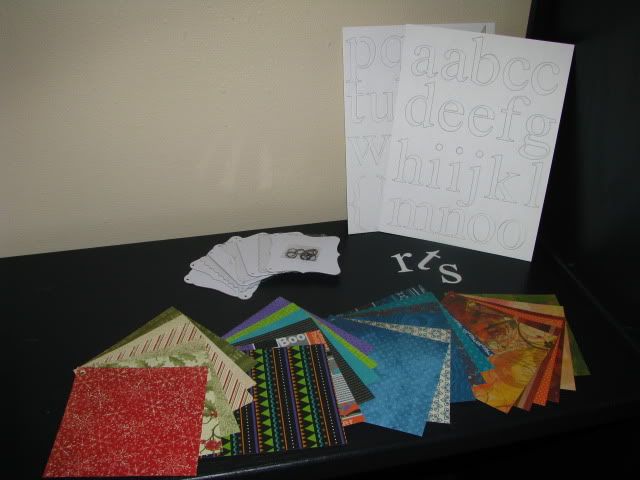
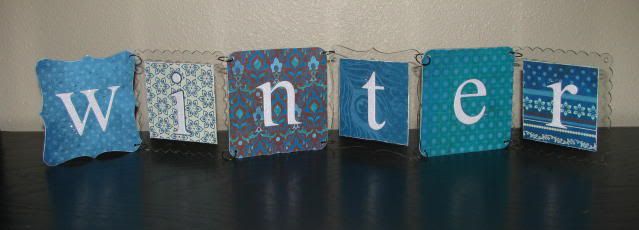
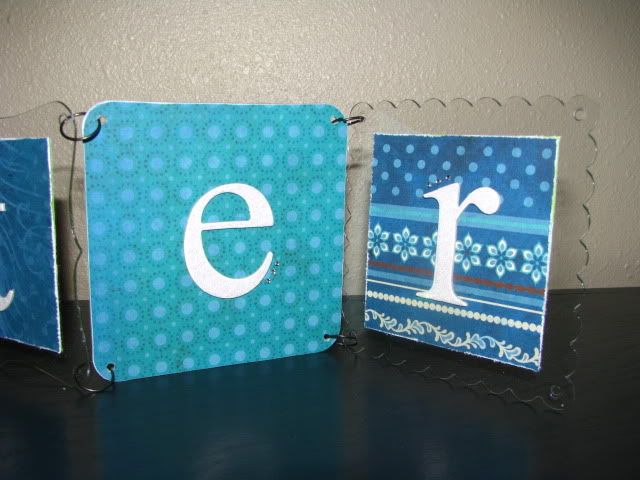
So I finally had a chance to create something with real paper this week, and I am so excited about it!  I am planning my first workshop/open crop here in my new town to get together with fellow scrappers and hopefully meet some new ones and this is the project I planned.  Now, keep in mind that I kept it really simple as all of my scrapbooking supplies are still boxed up (remember, no craft room...yet) so I had no stamps, no ink, no embossing powder, etc. to work with.  I placed a small order when the latest Autumn/Winter Idea Book was released and received some inspiration from page 38 for my first project in my new town!  Using the following items...


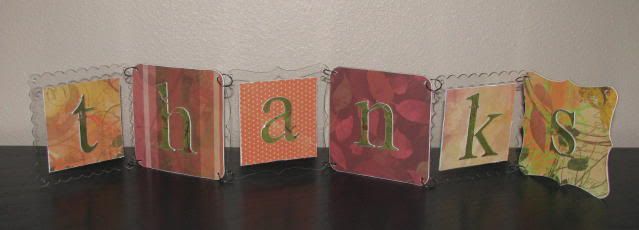
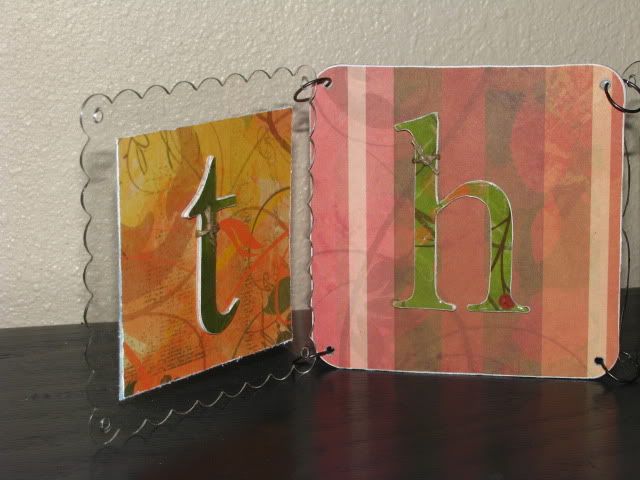
And on the other side...
Here is a close-up of some of the letters...you can't see it very well in these pics, but for the WINTER side I used the Stardust Glitz Gel on the letters to make them sparkly and accented them with 3 Bitty Sparkles
For the THANKS side I covered the letters with paper, finished them off with the Finishing Files, covered with Liquid Glass and tied with a bit of Hemp.
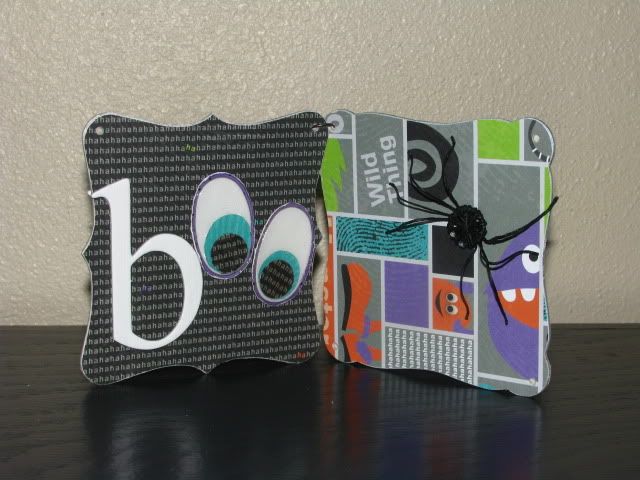
With the leftover paper, letters, and mix 'n mingle pages, I created this coaster frame.  I think I like the way this mini project turned out better than my original project!  One side is for Halloween - if I want I can add a small picure to the right side:

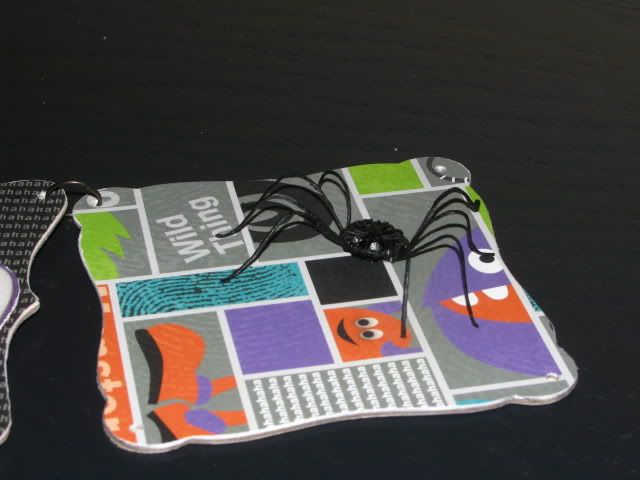
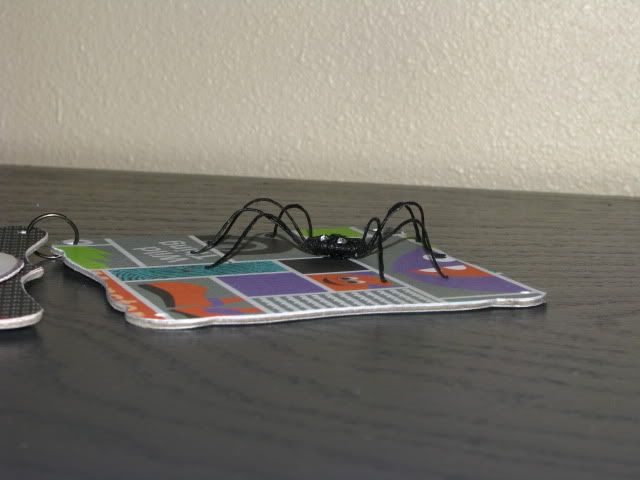
I was going to use the actual letter 'O' but thought the insides to the letters looked so much cuter when I turned them into eyes!  I also covered the eyes with Liquid Glass to really make them pop.  And as much as I hate spiders, I just love this little guy...can anyone guess how I made him?

I was wanting to make a spider out of a black brad and some black wire like I have done before, but all that stuff is packed who knows where, so I had to improvise.  I had a big pack of Black Waxy Flax in my available stash, so I took a leftover jump ring from the Mix 'n Mingle Album and wrapped the waxy flax around that to create my body - I also used the waxy flax to create the legs.  I finished him off with a couple of Bitty Brads for the eyes!  I love that you can really play with and shape the waxy flax to get the look you want - he'll probably get smashed when I pack him up and put away the Halloween decorations, but he'll shape right back up next year!
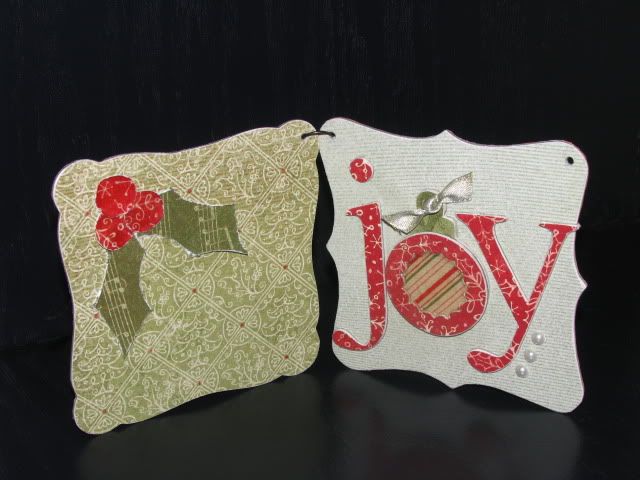
Then this is the other side of the same coaster frame - this one is for Christmas.  I left room to add a picture to the left side of this project as well.  I added a Dimensional Element Ornament for the 'O' in JOY - used Liquid Glass to fill the ornament and cover the holly berries, and added some Opaque Gems to finish it off.
I've also been brainstorming other words you can use to create these fun signs - here is what I have come up with so far, but I'd love to hear any other ideas!  There are 8 pages to the Mix 'n Mingle Album, so you can use any word with up to 8 letters...I still have lots of letters left over from my original project, plus by using different papers you can really customize this project to whatever theme you want!  Another fun idea would be to do a family's last name, or a kid's name.
THANKFUL
BROTHERS
FRIENDS
SISTERS
BLESSED
JOYFUL
FAMILY
THANKS
WINTER
SUMMER
SPRING
BEWARE
BLISS
HAPPY
SMILE
PEACE
FALL
LOVE
HOME
HOPE
BABY
GIRL
CUTE (thanks Mom!)
JOY
BOO
BOY
***
Thanks for looking!