Showing posts with label Baby Steps. Show all posts

Tuesday, October 6, 2009

Baby onesies and matching cards

Do you remember THIS shirt that I made for Trysten shortly after he was born? Well, I've had a lot of fun making more - even a version for a girl! ETA: If you want to know how I created these, check out the link I posted in the first sentence - super easy, super cute! Here are my latest...
***
For a family in our ward who adopted a baby boy a few months ago - the mom made sure to show me when he wore it to church a couple weeks ago - he looked so cute! The card, bag, and envelope were all created with the same papers - how's that for coordinating! I LOVE how this tie turned out, I might just have to make one for Trysten, too!
I actually made up this card pattern - just grabbed my scraps and put them together - that's not something I usually do, so I was quite impressed with myself ;-) Sometimes I get too dependent on sketches and patterns and don't work on my own. The vellum phrase on the front came from a random pack of vellum sentiments.
The stamp set used on the bag is called Baby Impressions (retired).

Here is my girl version - using the Twitterpated paper pack I created a fun girly collar and buttons - or at least I hope it looks girly ;-) I had to play around with my idea/shape a lot - at first it looked too much like a bra - I hope it doesn't anymore! This was a nice quick gift for a friend who just had her baby last night!
Sorry I didn't get a better picture of the card - the clothes are paper pieced or colored in with markers and look super cute! The card pattern is from Wishes - Classic Closure. I used the Sweet Baby and Baby Steps stamp sets.
Here are two shirts for a friend who is due with a baby boy - she gets two shirts just because they are both so darn cute and I couldn't pick a favorite. This set uses the Sarsaparilla papers.
This card uses the Childhood stamp set and another pattern from Wishes - Medallion.
Here is one I made to just have on hand for a quick gift - I used the Everyday Celebration papers.
I obviously love this stamp from the Childhood set for baby cards - perfect! This card uses another Wishes pattern - Collage.
Thanks for looking!

Wednesday, August 19, 2009

Same papers - totally different look!

So, do you remember this page that I posted yesterday for my Word Puzzle Workshop?


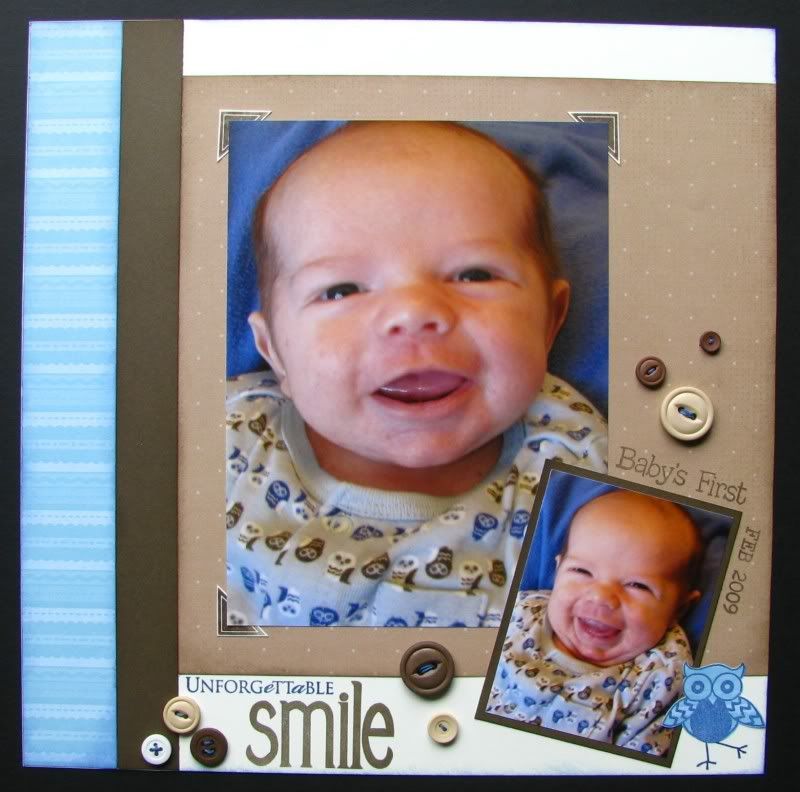
Well, I haven't had a chance to add pictures to the originals yet, but I did do something a little different. I took the exact same papers and used the BACK side of them to create this totally different look - I just used Cocoa instead of Chocolate since it matched his jammies better ;-) Have I mentioned how much I LOVE this feature of CTMH paper! It just gives you so many more possibilities. I did a little different stamping - in addition to the September Word Puzzle that I used on the original, I used Picture Perfect, Baby Steps, Save the Date, and You're a Hoot. On the *new* Basic Buttons I added a bit of Moonstruck Waxy Flax to coordinate with Trysten's jammies in these pictures. I love these pictures of Trysten when he first started smiling - and he hasn't stopped smiling!
***
I was going to add some ribbon along the left side like there is in the original, but I forgot to find some that would go with the new layout. Now that I look at it, I don't really think it needs it. What do you think - any suggestions?
Remember - you can click on the picture to view it larger. Thanks for looking!
Saturday, December 27, 2008

Baby Calendar

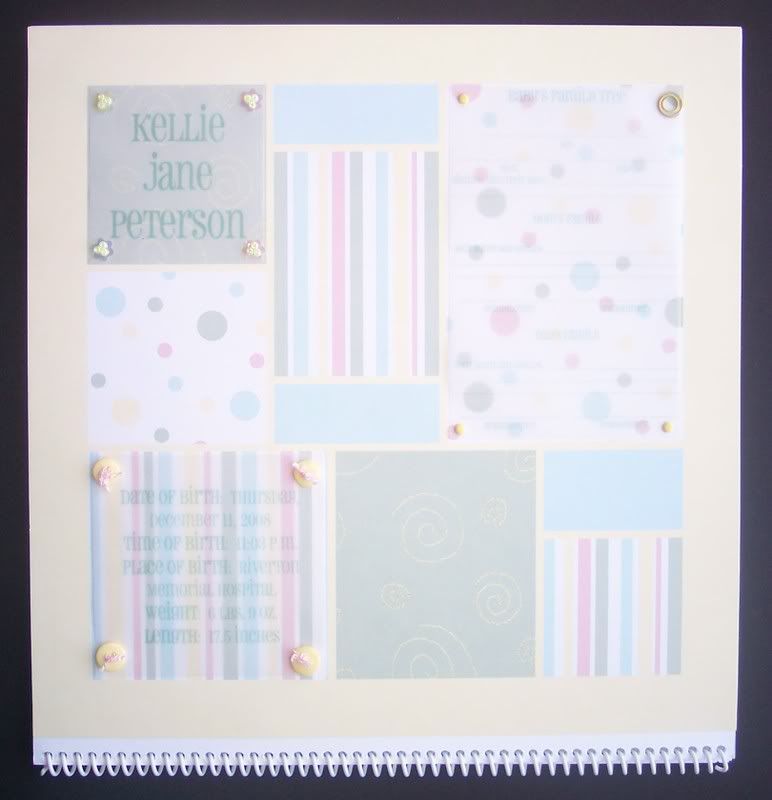
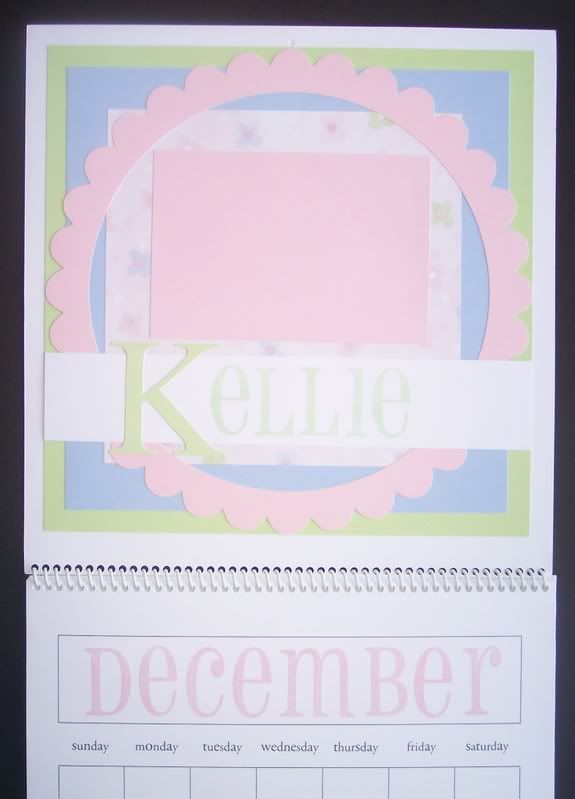
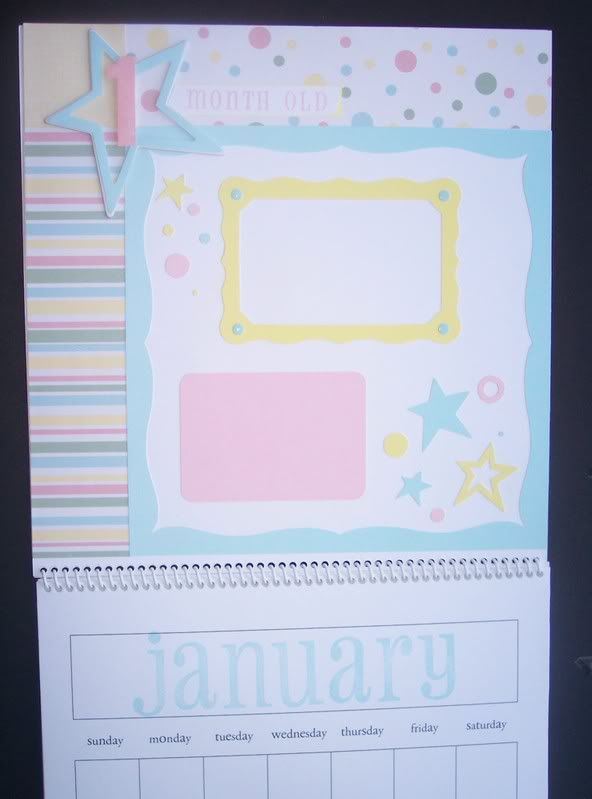
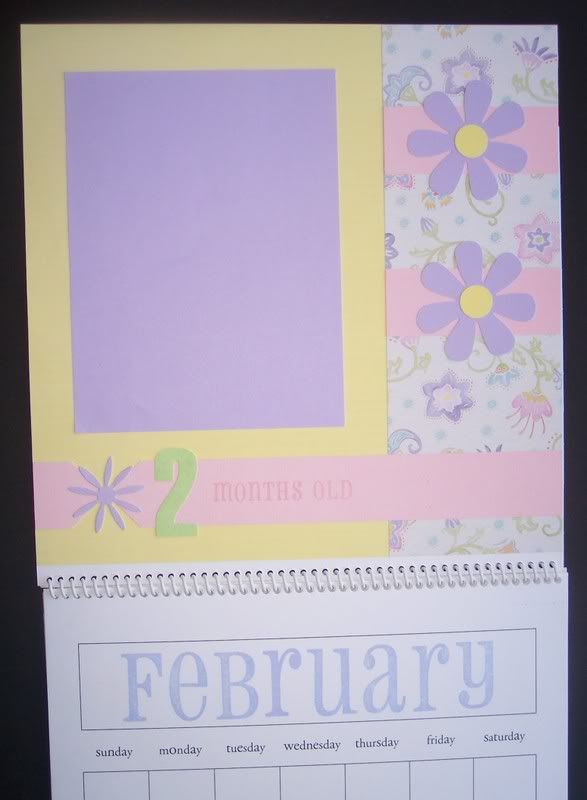
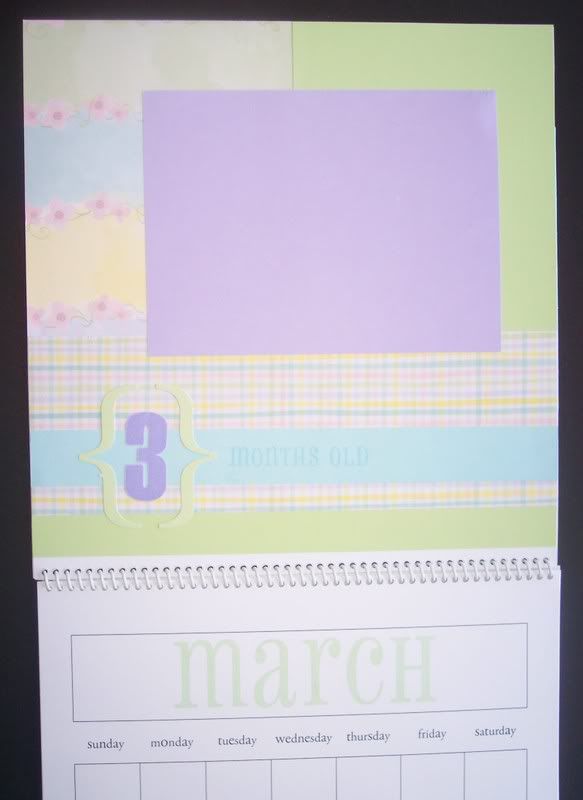
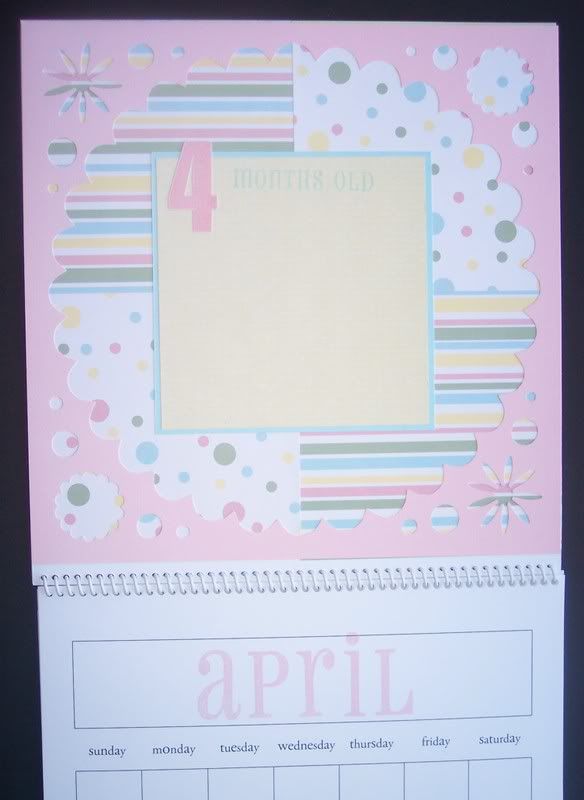
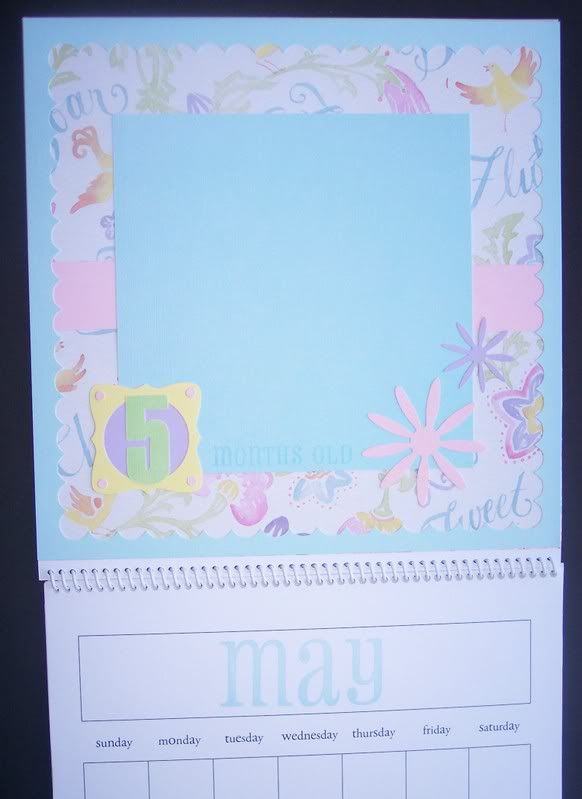
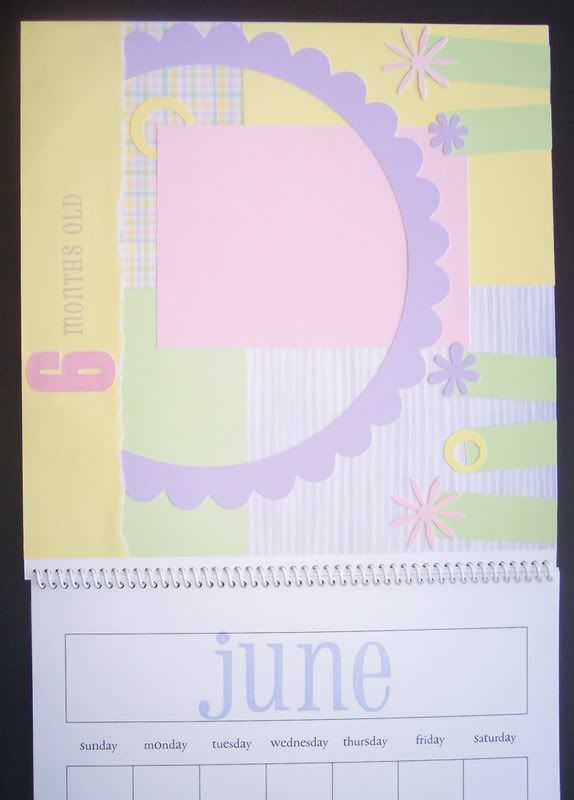
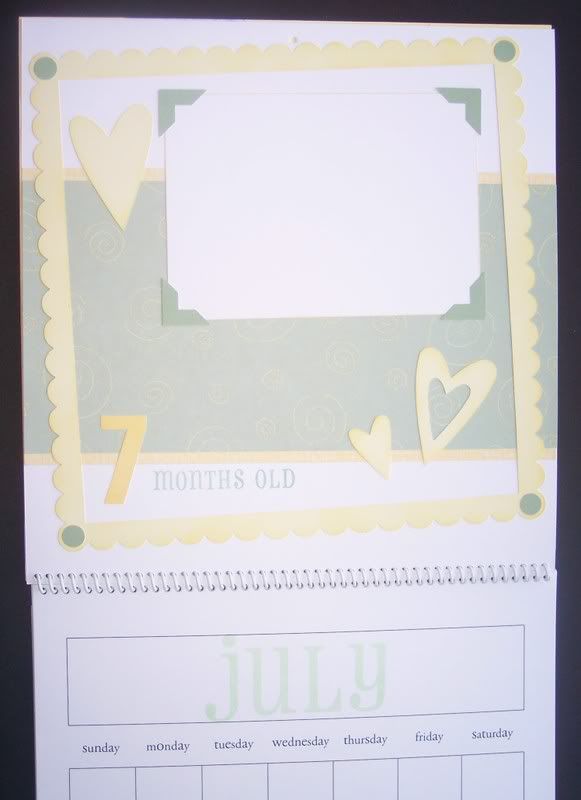
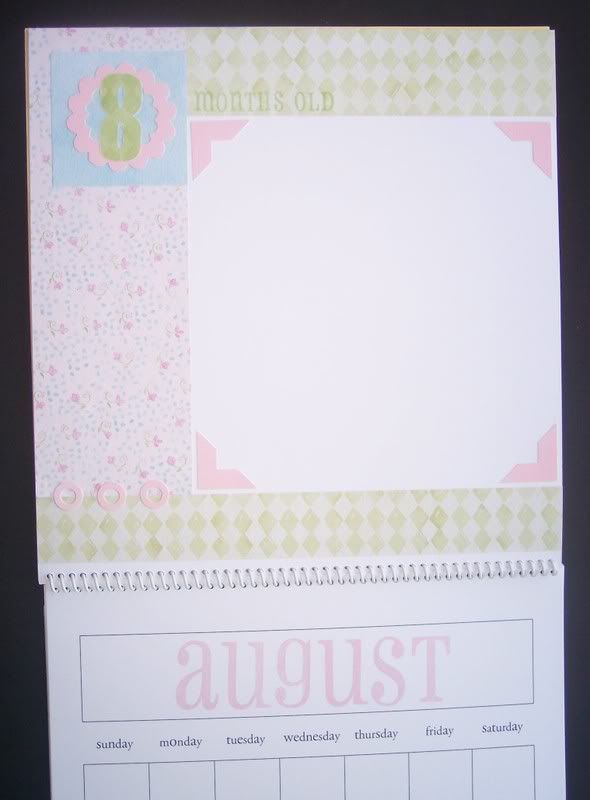
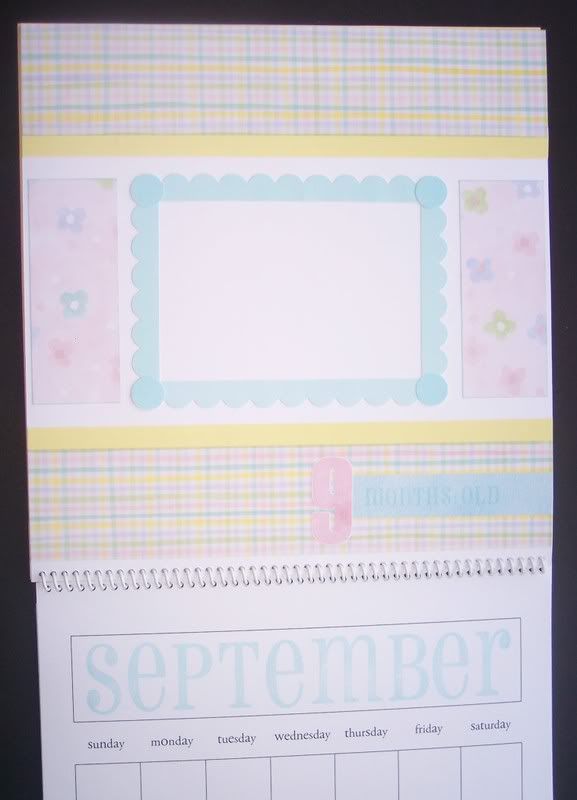
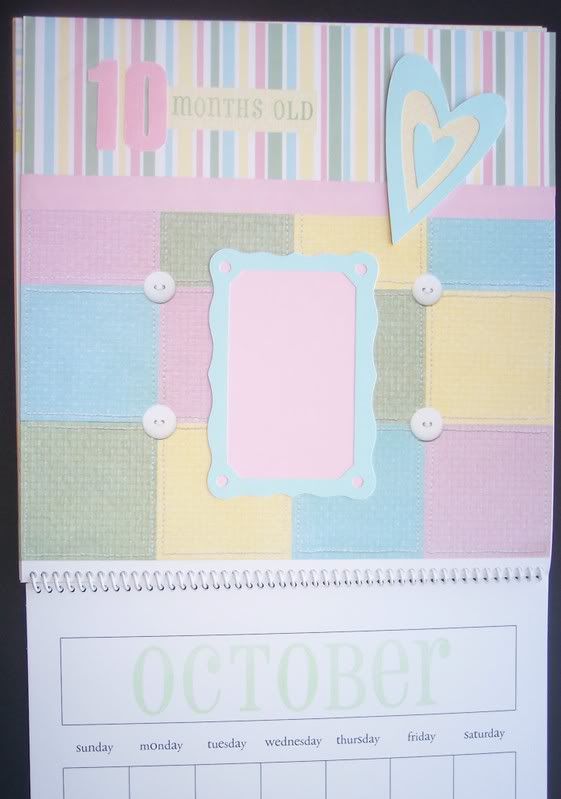
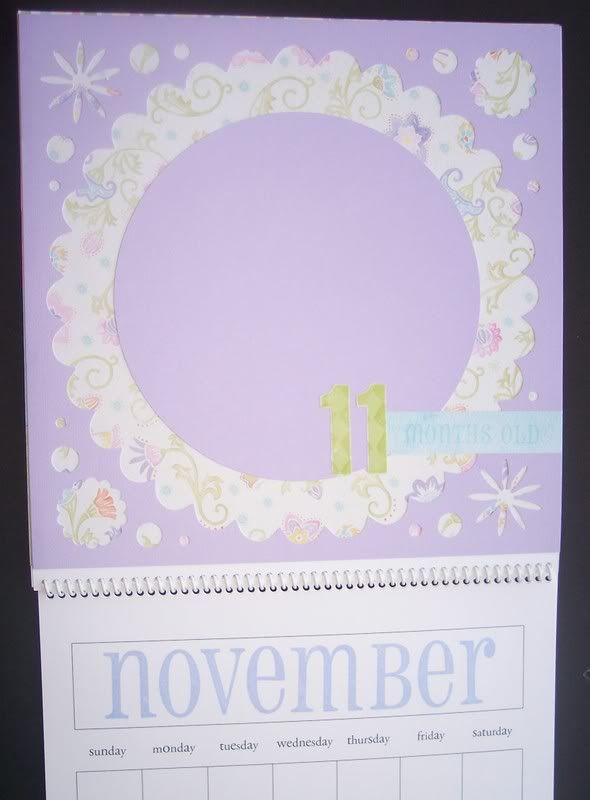
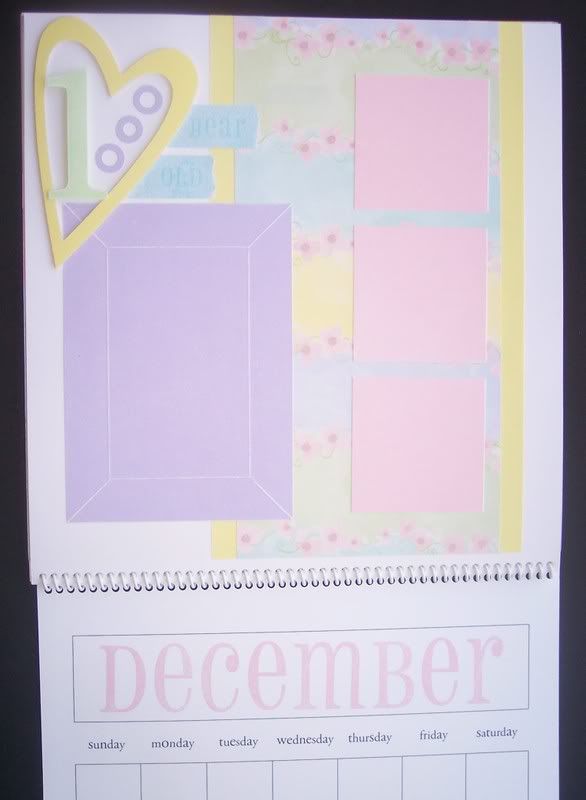
My dear friend (pictured here with our baby bumps) had her baby a couple weeks ago - here is the gift that I made for her. It's a calendar to capture baby's first year. I've bought one for each of my girls when they were babies, but never thought of making one until now. The only thing I didn't think about before I started is that is has to be a 13 month calendar in order to get the full year, so I had to un-bind it and add an extra calendar page and then re-bind it. I worked each page around the Dazzling Die-Cuts (Spring Harmony collection) and used just three different sets of papers from CTMH, Heaven Sent (retired), Sweet Harmony, and Sweet Pea. When she is done with the calendar, she can either leave it as is, or cut each page out and it will fit in a 12x12 album.
***
Level 1 Page from Heaven Sent
The front of the calendar has her name, birth info, and space for a small family tree.
Cherish - A New Perspective - left

Cherish - Color Celebration - right

Imagine - Safe & Secure - right

Imagine - Classical Look - left

Reflections - Main Frame - Four Square

Reflections - Main Frame - Tied Up

Cherish - Give Me Ten - left

PageMaps - April 2008 MiniMap - I copied this layout here

Imagine - In the Groove - left

Reflections - Front & Center - Main Idea

Imagine - Proof Preview - left

Cherish - Unified Whole - left

Cherish - Graphic Texture - right

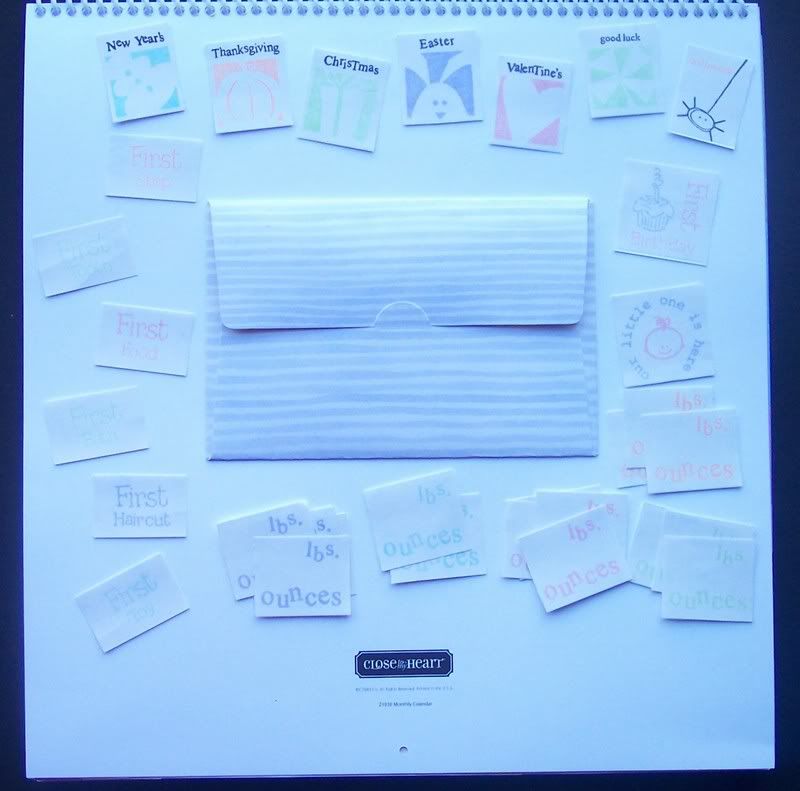
On the back of the calendar there is an envelope with the different stickers to mark milestones, growth, and other important dates.

Thursday, December 18, 2008

3-D Circle Ornaments & Boxes

We used to make these ornaments out of old Christmas Cards when I learned how to make these growing up - I've had fun making these with the awesome CTMH papers lately. Here are some of both kinds and different sizes. I use my Coluzzle circle to cut out the pieces for the 3-D Circle Ornaments, which is SO much easier than we used to do it - we used to trace and then cut out each circle. I also mixed in some different shapes in here - circles with a square inside, squares on squares, etc, they're really fun to play with! The bigger balls have 20 circles, the smaller balls have 8 circles, the square ones are made up of 6 pieces.


I made these ones for friends who had babies within the last couple months - the other side has a spot for baby's picture.

These are the ones the girls made. I cut and scored their circles, they picked their paper and cut and pasted their triangles and then put them together. These are proudly hanging on our tree.