Showing posts with label Legendary Moments. Show all posts

Tuesday, May 24, 2011

Wings and Wishes

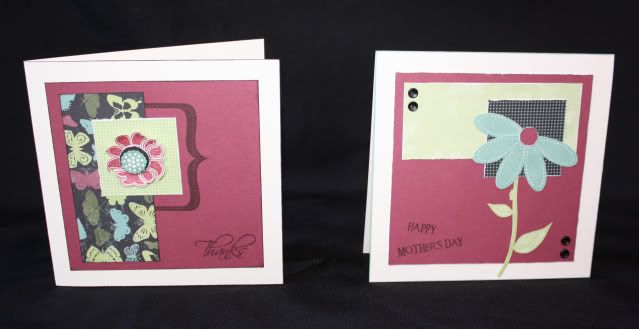
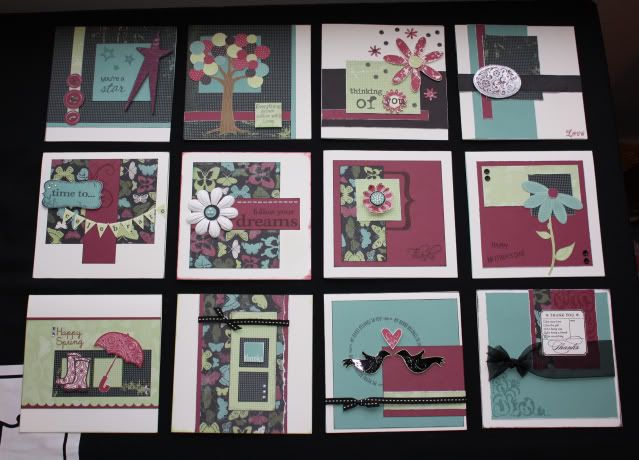
I LOVE the card workshops in the Wishes How-To Book.  I've also really enjoyed playing with the Wings paper - watch for more posts with this paper coming up!  I finished putting this set together a couple of weeks ago, I'm finally getting around to sharing it.  Using the Celebration Card Workshop cutting guide and just 2 patterned papers, 2 cardstock papers, plus 6 more cardstocks for the card bases, I was able to create 12 cards (2 each of 6 different patterns)!  I love how they turned out - now I just need to find some 6x6 envelopes!  Here is the entire set:
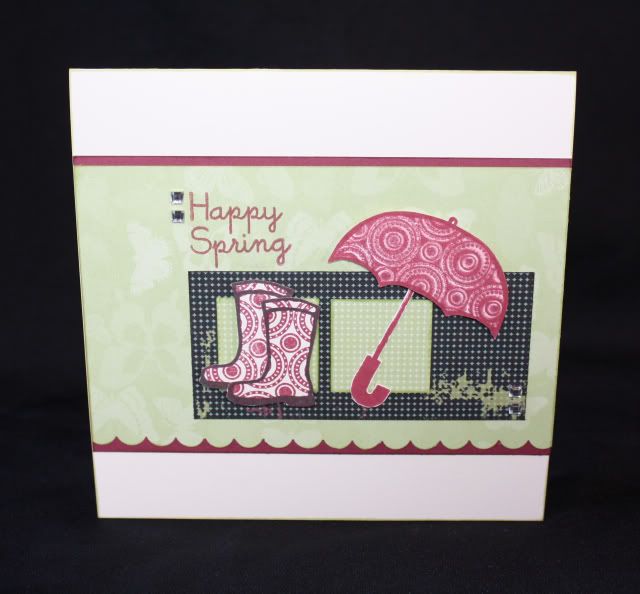
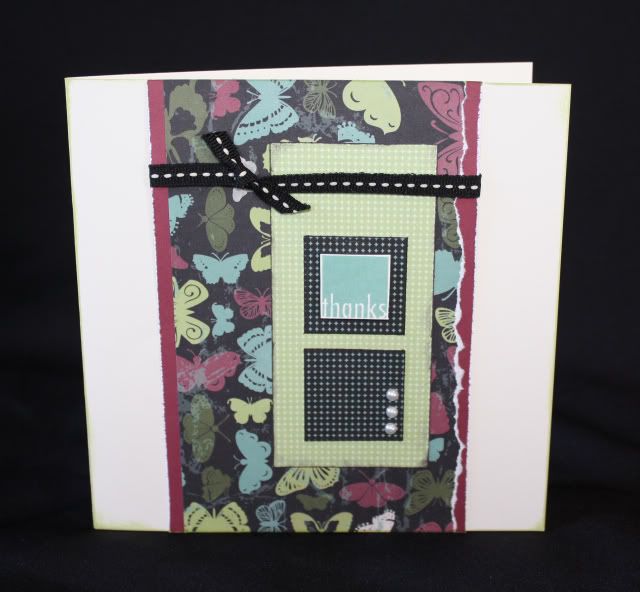
Here are the cards - notice how I either used the opposite side of the paper or rotated the card and used different stamps to get a completely different look from each card pattern.
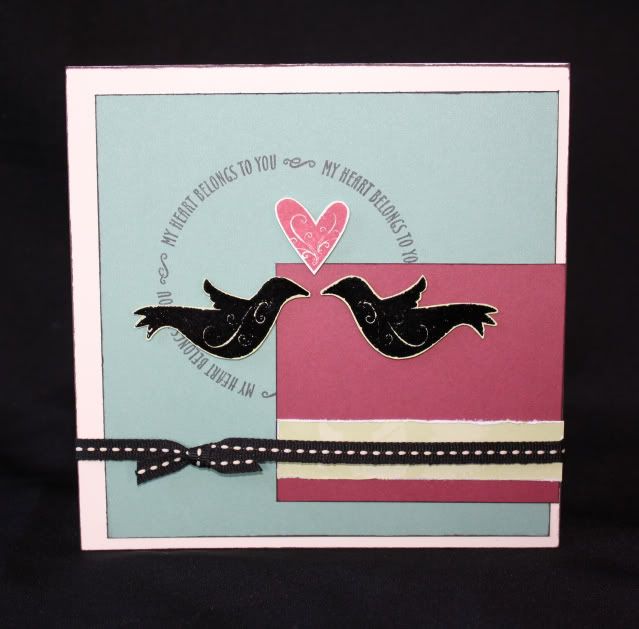
Card 1
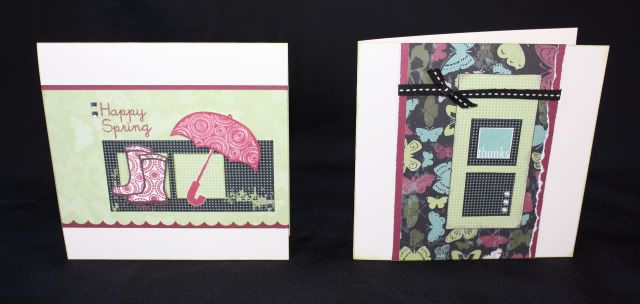
Supplies used on the following card: Springtime stamp set, retired Spot On Backgrounds stamp set, Sparkles, and a scallop border punch.  I used the stamp kissing technique on the umbrella using the Spot On Background stamp, and I used the same stamp to directly stamp the pattern on the boots - I love the different look it gave.

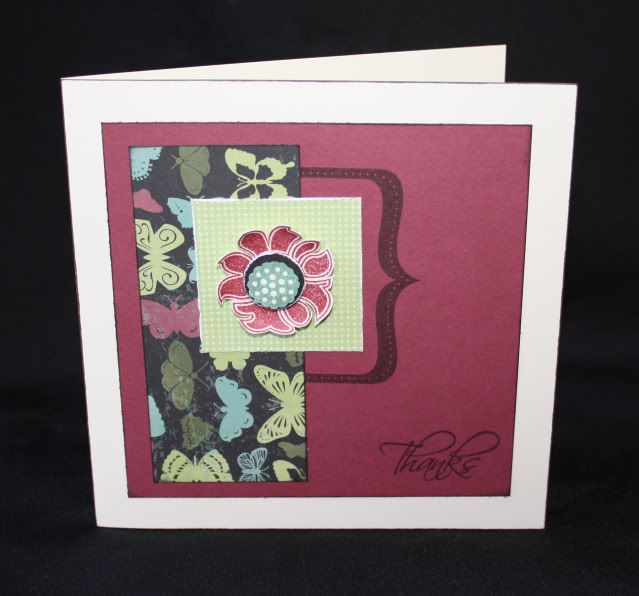
Supplies used on the following card: Thank You stamp set, Black stitched ribbon, Opaque Pearls.
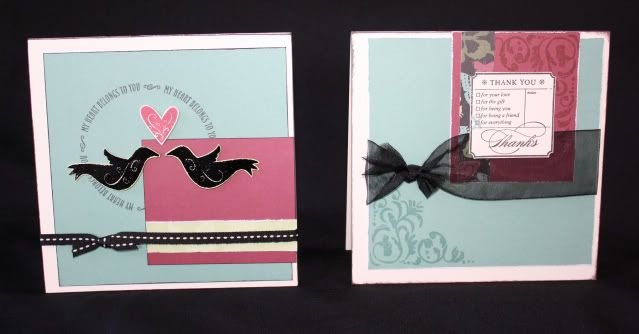
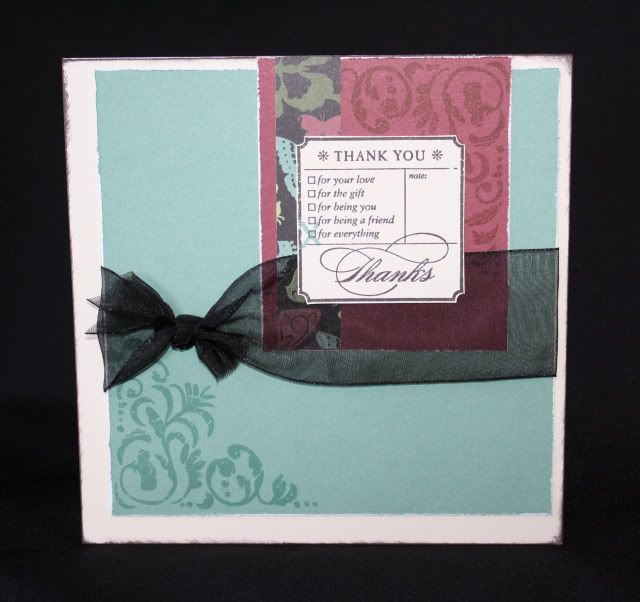
Card 2
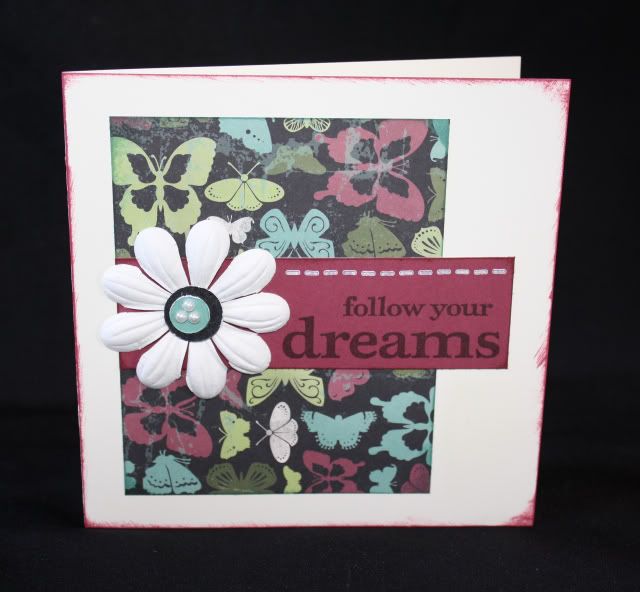
Supplies used on the following card: retired Legendary Moments stamp set, retired Cherish the Moment stamp set, and wide organdy ribbon that I had in my scrap stash
Supplies used on the following card: retired Free Spirit stamp set, Black embossing powder, retired Vineyard Berry embossing powder, Black stitched ribbon

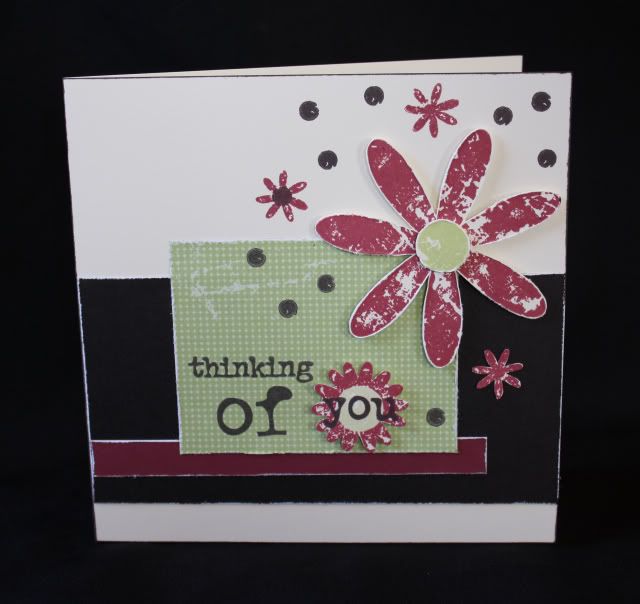
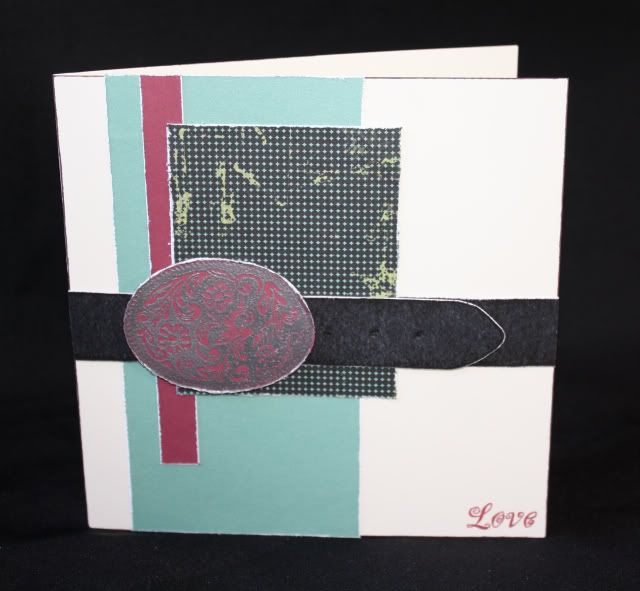
Card 3
Supplies used on the following card: retired Rustic Flowers stamp set.
I'm not too fond of this card - I think I went a little overboard stamping the dots ;-P
Supplies used on the following card: retired Lovely Buckles stamp set, silver embossing powder to emboss the buckle on Vineyard Berry paper

Card 4
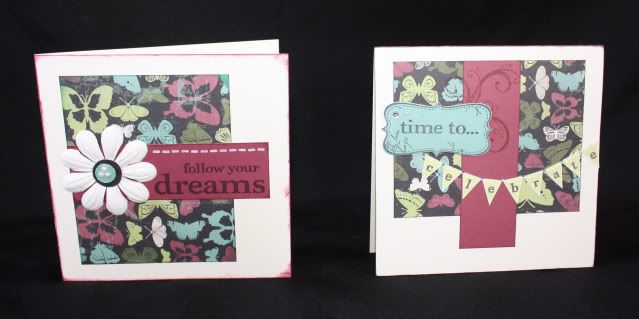
I think these two are my favorite from the entire set - I just love this stamp set that comes with the You & Me kit that's the special for this month - I love the stitches, flourish, and pennant stamps the most!
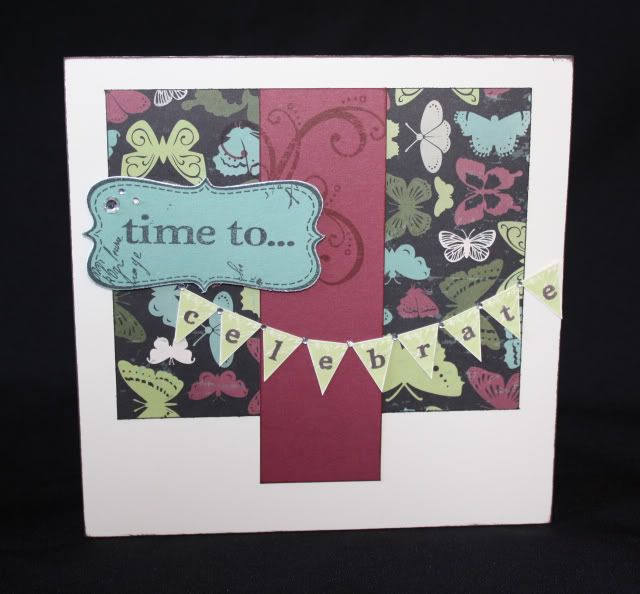
Supplies used on the following card: You & Me stamp set, Colonial White ink for the stitches, paper flower, Opaques pearls
Supplies used on the following card: You & Me stamp set and Sparkles

Card 5
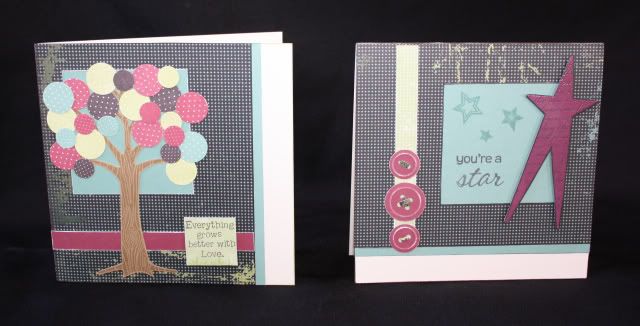
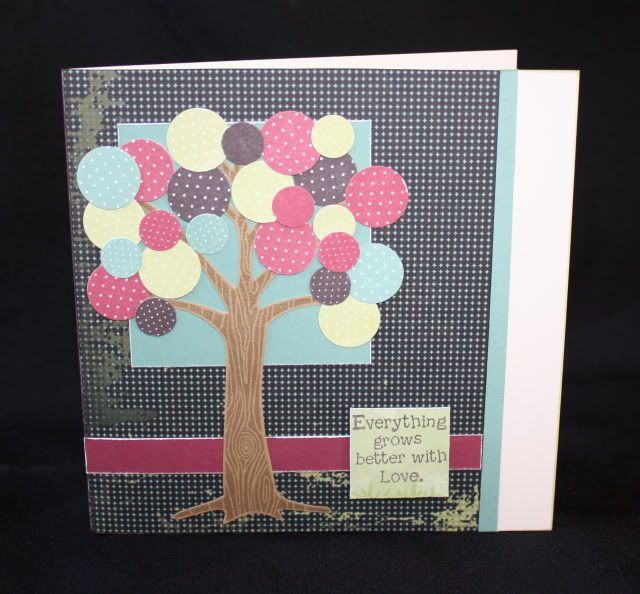
Supplies used on the following card: Grown With Love stamp set, circle punches -I  added some Desert Sand ink to the color combo for the tree.

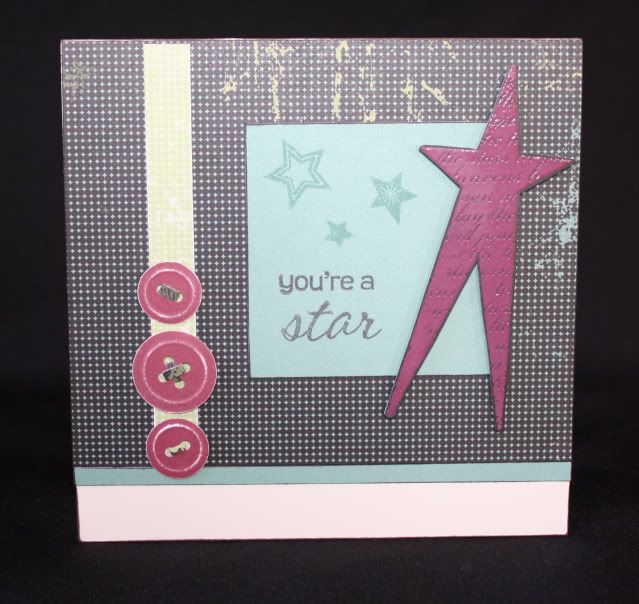
Supplies used on the following card: Shining Star stamp set, button punch with paper strips in the button holes, and retired Vineyard Berry embossing powder to emboss the star on black paper.

Card 6

Supplies used on the following card: Love This stamp set (it was good to finally ink this set up, this stamp was part of a special last year and around the time we moved and I never got a chance to play with it until now) - I also used the For Every Occasion stamp set 

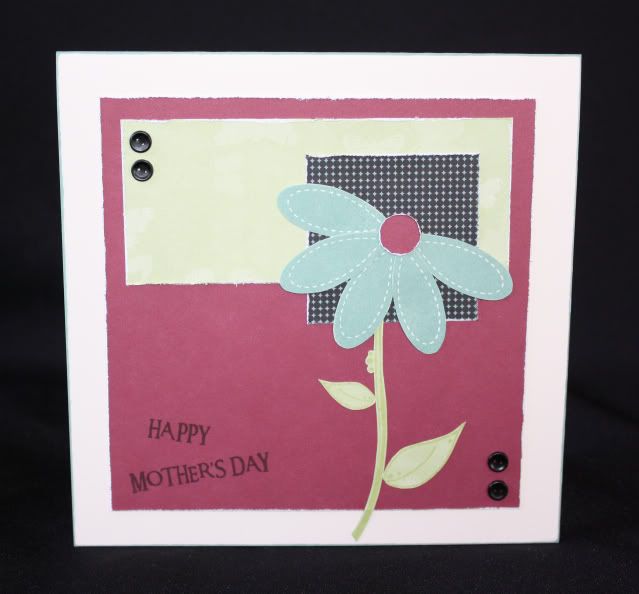
Supplies used on the following card: retired Playful Petals stamp set, Friendship Blessings stamp set for the stem and leaves, Say It In Style stamp set for the sentiment, and black button brads.
Which one is your favorite?
***
Whew, that was a lot - if you're still with me, thanks for visiting!
Friday, April 15, 2011

Reuse. Recycle. Reinvent.

Today's post covers two challenges - I had a lot of fun with this project and hope you enjoy it as much as I do.  First of all, I used this week's challenge over at the Heart 2 Heart Challenges Blog - to use something recycled on our project.  As I started my project, I was looking for the perfect sketch to inspire me and found this week's Sketchy Thursday ESS126 over at Eat Sleep Stamp, and knew it would be perfect!  So, now on to my project!
***
At the end of last month Brianna received the new comforter that she picked out for her new room - this is the packaging that it came rolled up in...
It's going to be so cute with her teal rug and teal sheets that I got for her! 
Anyway, I'm glad I opened it up carefully because as soon as I saw it, I KNEW I wanted to turn it into a mini album.  So, I folded it like this...and then stuck in my crafty 'TO-DO' pile ;-) and didn't touch it again until today.

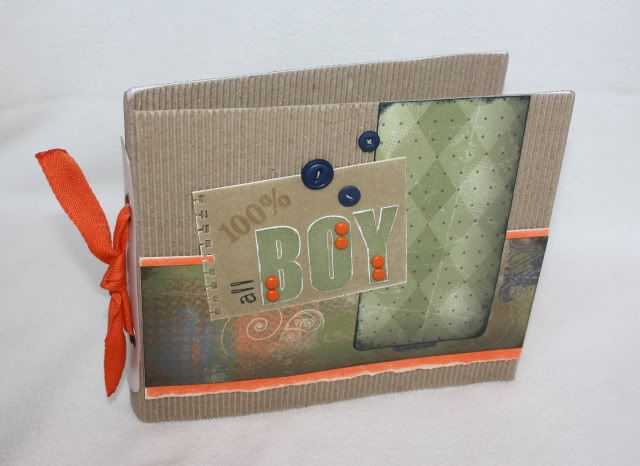
I was thrilled when I saw this week's H2H Challenge - it was just the motivation I needed to get it done!  So this morning I got it out and got to work.  My biggest challenge was coming up with an album theme.  I was going to do a Sisters album, but none of the girly color combos and papers that I picked out were just right with the corrugated cardboard.  Then I remembered that I haven't had a chance to play with the new Lucky papers and they had the perfect colors in it since I also wanted to reuse the ribbon that came with the packaging as well.  This is what I came up with...

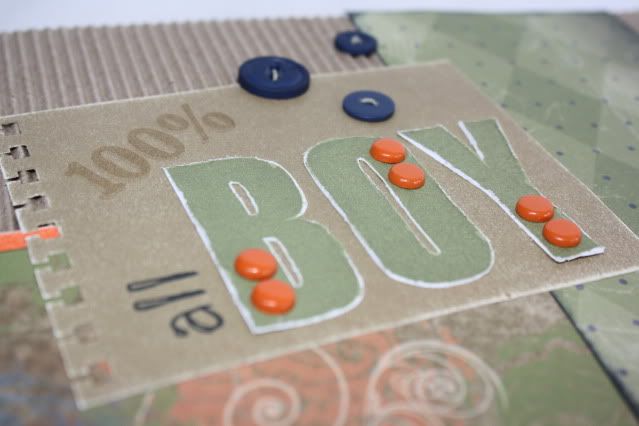
I used Liquid Glass to secure the fold on the cover and also to glue on all of my pieces - it's a pretty nice size, and very sturdy!  I wanted the orange color to match my ribbon so instead of using the Sunset color that is in the papers, I used the retired Orange - I tore the edge and sanded the paper to tone it down a bit.  I also used the following stamp sets - Rustic Alphabet, and the retired sets Legendary Moments and Doodle Alphabet.  I dressed it up with some Outdoor Denim Buttons tied with Olive Waxy Flax, and Orange Brads.  I also used a notebook edge punch and corner rounder on this project.

I haven't figured out what I'm going to do for pages for the inside yet but I will be sure to post them when I get them done!  I am hoping to give this to my brother and his wife when their little boy turns one in just a couple months.  For now this is what the inside looks like - I tied the ribbon loosely so I can untie it and use it if I need to in order to add my pages.

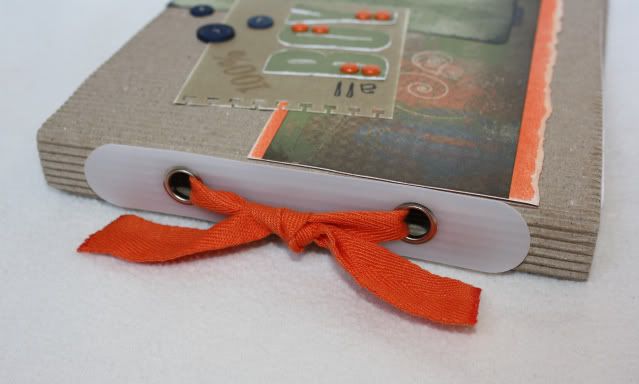
This is the spine of the book - I also added Liquid Glass to the end of the ribbons to stop them from fraying.  I love Liquid Glass, it has so many purposes!

As I was glueing my cover together this morning, I noticed this - I like the word reinvent, which is exactly what I did here!
Thanks for looking!

Friday, December 11, 2009

Flashback Friday

For today's flashback we're going back to 2001 - this is my hubby working as a Radiation Technician - they called them Rad. Tech.s. He had to do LOTS of walking, he went through so many work boots and had sore feet that summer!

This page is a sneak peek at the Felicity papers that will be available from Close To My Heart starting December 15th! I also used some Whimsy Heartfelt Die Cuts, Autumn Terracotta Textured Cardstock, Cocoa CS, Bamboo CS, Barn Red CS, sandpaper, and Autumn Terracotta Photo Clips, and New England Ivy Bigger Brads. This was also a layout from my PageMaps book.
***
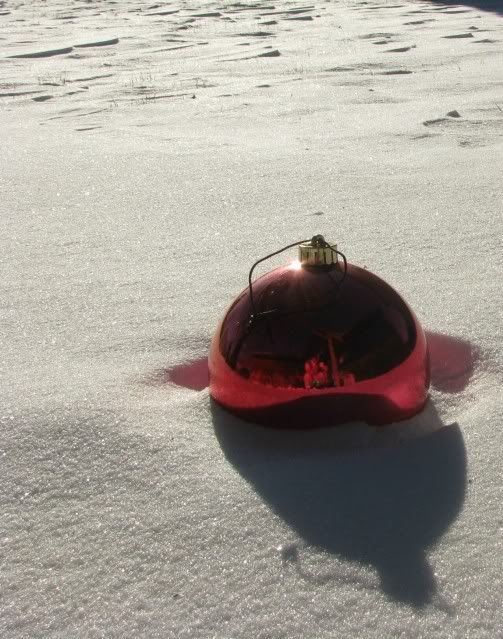
And since I'm up bright and early (since 1:30) with a sick kiddo, I'll share a couple more pictures. Remember that cool picture that I took on Wednesday? Well, I'm glad I braved the below zero temps to get it that morning - that night we had a lot of wind that blew all the snow off the ornaments and some of the ornaments off the tree. I thought they looked cool with the wind-blown snow and shadows so I was out again yesterday morning to get more pictures. I'm sure my neighbors think I'm crazy taking pictures of my ornaments ;-P but I think they turned out pretty cool.
***
Thanks for looking!