Showing posts with label You're Sweet. Show all posts

Wednesday, August 17, 2011

Event Calendar Workshop

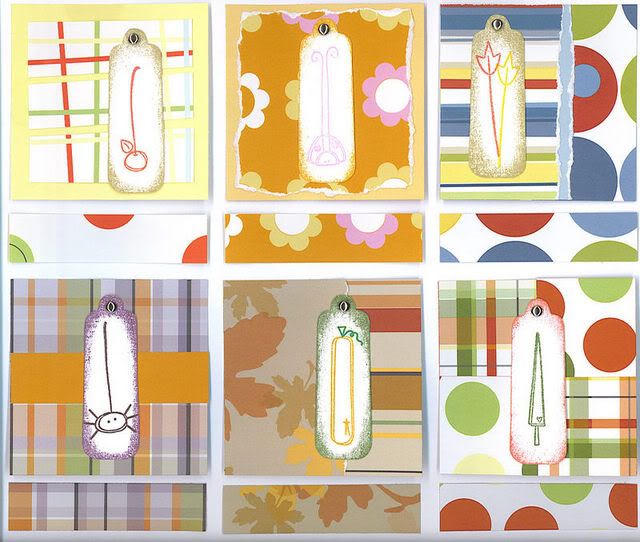
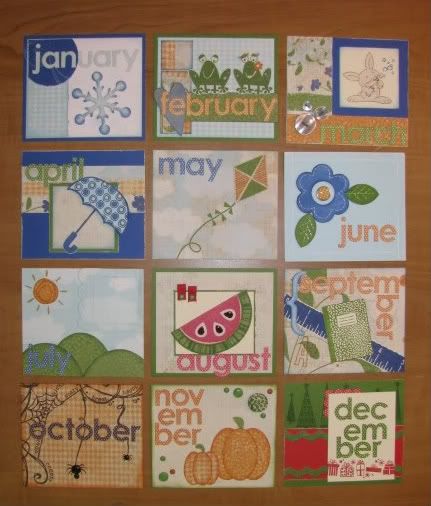
My latest Event Calendar - it's finally done!  These are some of my favorite projects to create (I've made at least 3 different styles in the last 6 years).  This one I started well over a year ago, but it sadly kept getting pushed to the back burner or was forgotten.  I started this as a gift for my sister-in-law's birthday.  Then we moved and I packed it all up.  Then I didn't get my scraproom unpacked as soon as I had hoped.  I actually gave her the blank Event Calendar for her birthday last fall and told her I would eventually finish the month toppers.  Well I finally pulled it out again, and thanks to my Crop 'Til You Drop event last week, I finished it - woohoo!  It really didn't take long to do if you added up the time spent on it, and it is such a fun project, I just wish it hadn't taken me so long to complete it all!
*** 
If you are interested in making one (or more - they make great gifts), I am planning a Workshop next month to make these - I will have all of the pieces pre-cut and I will walk you through the whole creation process including some fun, easy stamping techniques (but of course you are welcome to do your own thing as well).  I promise you it won't take as long as it took me ;-)  Cost is $10 per calendar and includes all supplies (Event Calendar and all pre-cut pieces and accessories) - I just ask that you bring your own adhesive.  I will be giving away a door prize to everyone who orders a workshop kit!

***For those of you unfamiliar with what these calendars are - these are calendars that are not specific to any year.  You fill in each month with Birthdays, Anniversaries, etc, and you can use it year after year!  There is a blank square at the top of each month - that is where these will go!
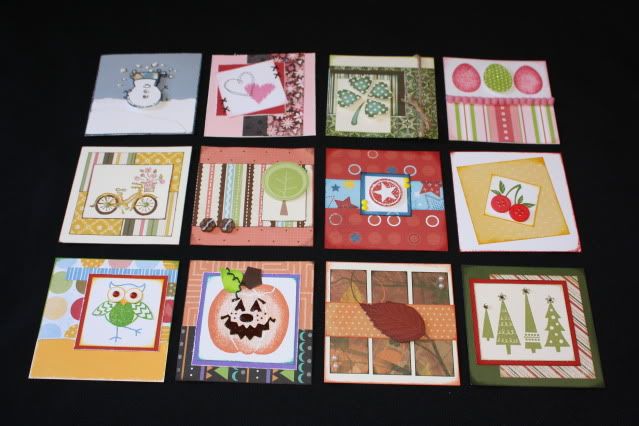
Most of these use retired stamps and papers, but I will link the items that are currently available.
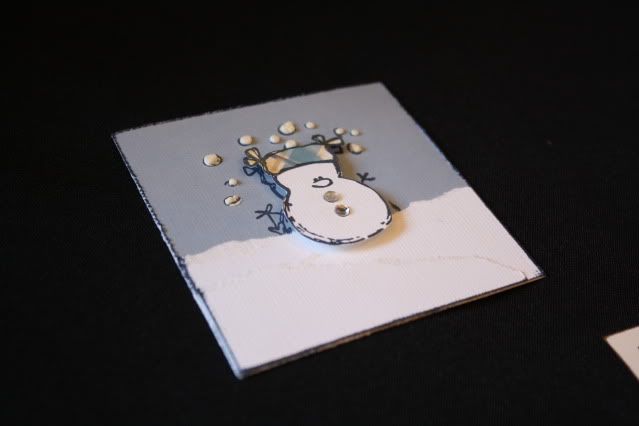
JANUARY
*Uses white textured cardstock (you can't see it in the picture, but I tore layers to create the look of snow), paper piecing technique with Aspen papers for the hat, Sparkles for the buttons, and Liquid Applique for the snowballs, along with the retired stamp set called Snow Friends.
FEBRUARY
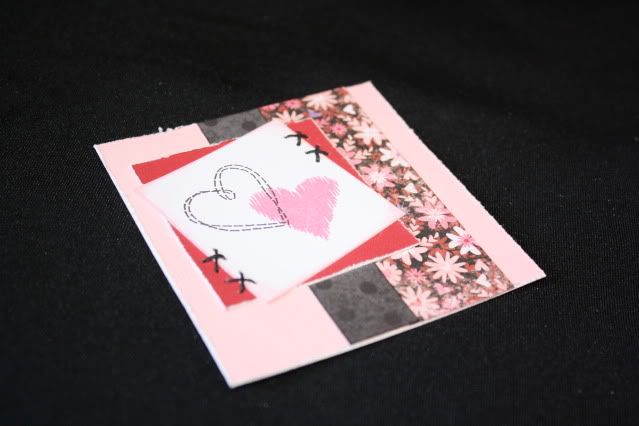
*Uses some more textured cardstock, along with retired Sweetheart papers, Black Waxy Flax for the stitching, Togetherness stamp set and Stitched Together stamp set.  Wishes: Middle Ground pattern.
MARCH
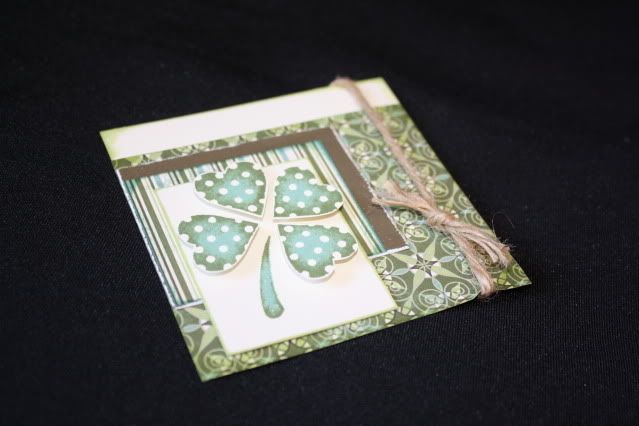
*Uses Wings Creative Basics paper, hemp, So Lucky stamp set with stamp rolling, Wishes: Layered Look pattern
APRIL
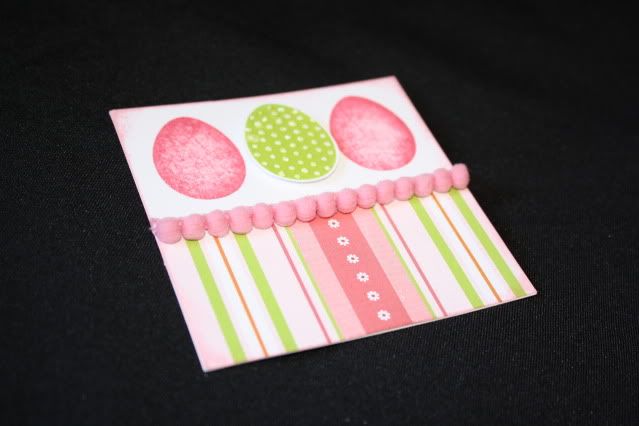
*Uses Sophia papers, Stardust Glitz Gel, retired Easter Eggs stamp set, Wishes: A Cut Above pattern

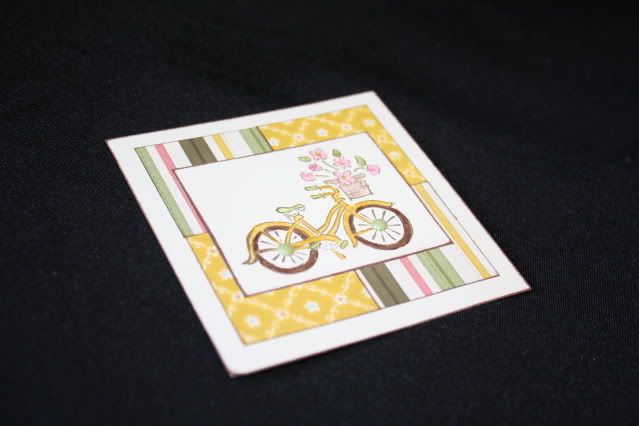
MAY
*Uses Mayberry papers, watercolor pencils, Garden Green brads on the bike wheels, Pair-a-Phrase stamp set (which you can get FREE this month with a qualifying order) Originals: Background Blocks pattern
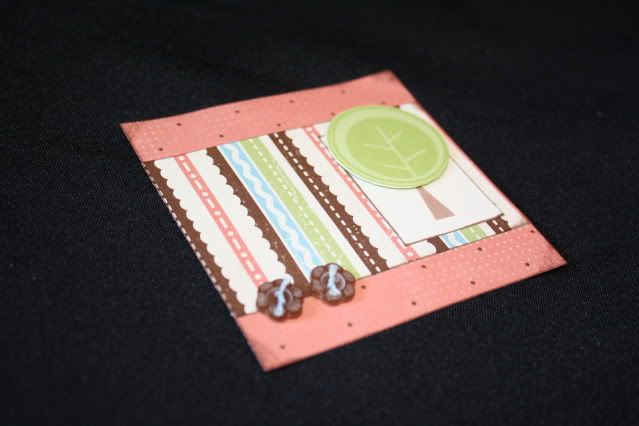
JUNE
*Uses retired Twitterpated paper, Chocolate Flower Buttons, Treetops stamp set, Originals: Side Accent pattern
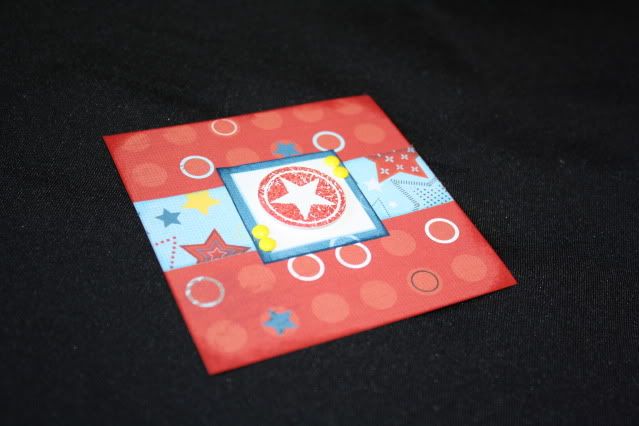
JULY
*Uses Fanfare papers, brads created using retired Sunny Yellow embossing powder, retired Star Struck stamp set, Originals: Center Focus pattern
AUGUST
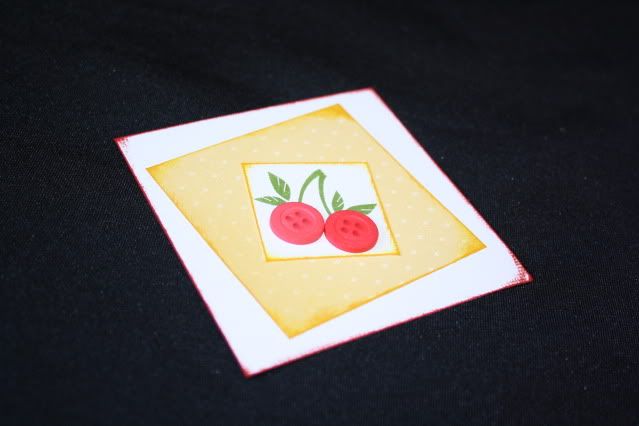
*Uses retired Zipidee paper, You're Sweet stamp set, red buttons for the cherries, Originals: Matted Square pattern
SEPTEMBER
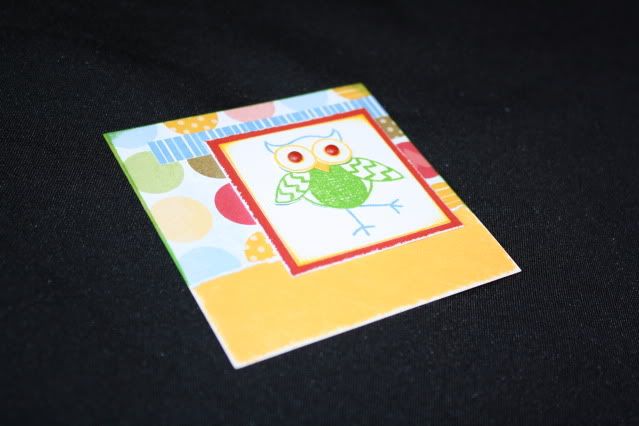
*Uses retired Animal Cookies paper, paper piecing technique using the retired You're a Hoot stamp set, red brads for the eyes, Wishes: Mini Combination pattern
OCTOBER
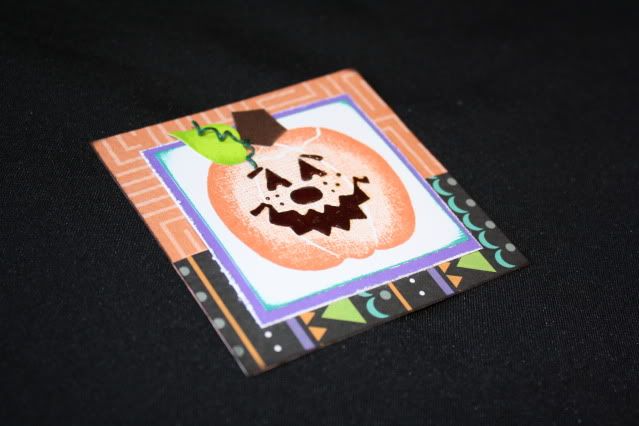
*Uses retired Hooligans paper, stamp rolling technique using the retired Frightenin' Fun stamp set, Liquid Glass to make the face shine, and some curly green waxy flax for the vine, Originals: Fun Flap pattern
NOVEMBER
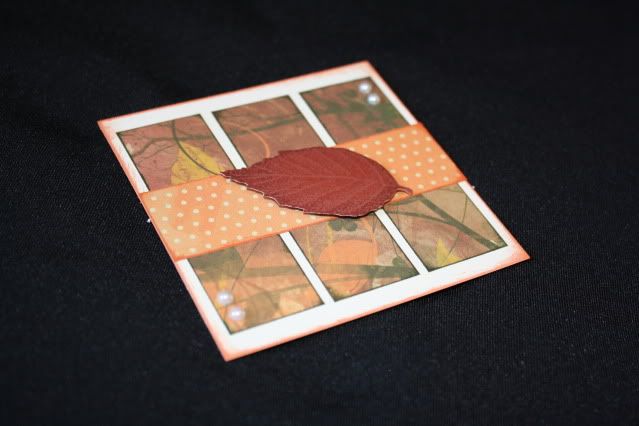
*Uses retired Olivia papers, retired Autumn Splendor stamp set with more stamp rolling, Opaques Gems, Originals: Triple Triple pattern
DECEMBER
*Uses retired Evensong papers, retired Holiday Trinkets with Olive heat embossing for the trees, Sparkles for the tops, Originals: Side Focus pattern
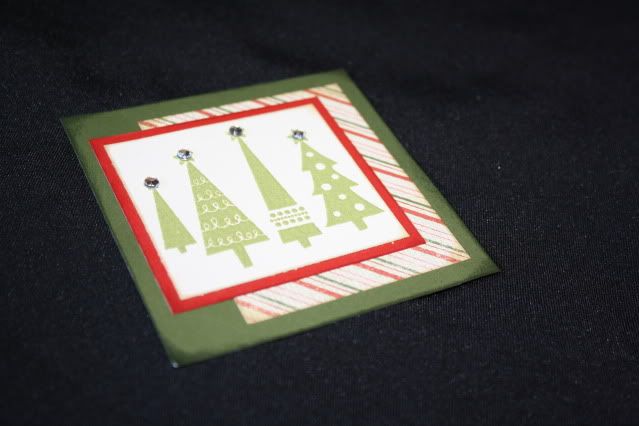

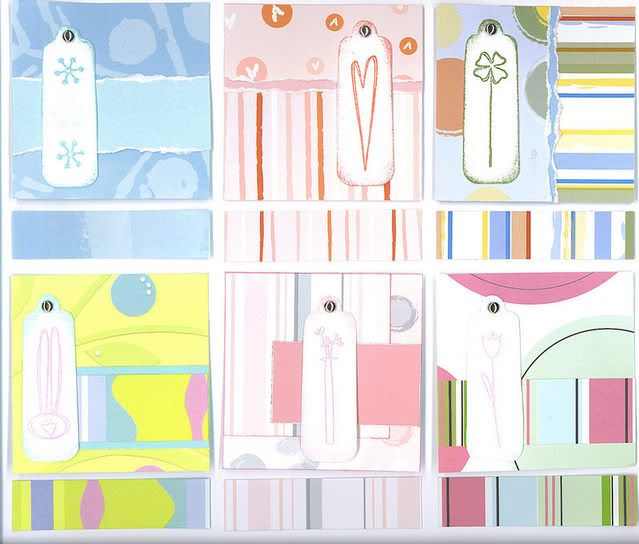
If you're looking for more ideas for Event Calendar toppers, here are some others that I have created:
Click HERE to view a perpetual calendar that I created last year - you could use these ideas for an Event Calendar as well.  You just wouldn't need the month name on each square as that is already printed on the calendar.

Thanks for looking!

Monday, August 15, 2011

CTMH Spotlight Hop - Circle Cards

Welcome to this month's Close To My Heart Spotlight Blog Hop! If you came here from Nikka's blog, you are on the right track. If you are starting here, then just keep hopping along to see all of the other creations.
***
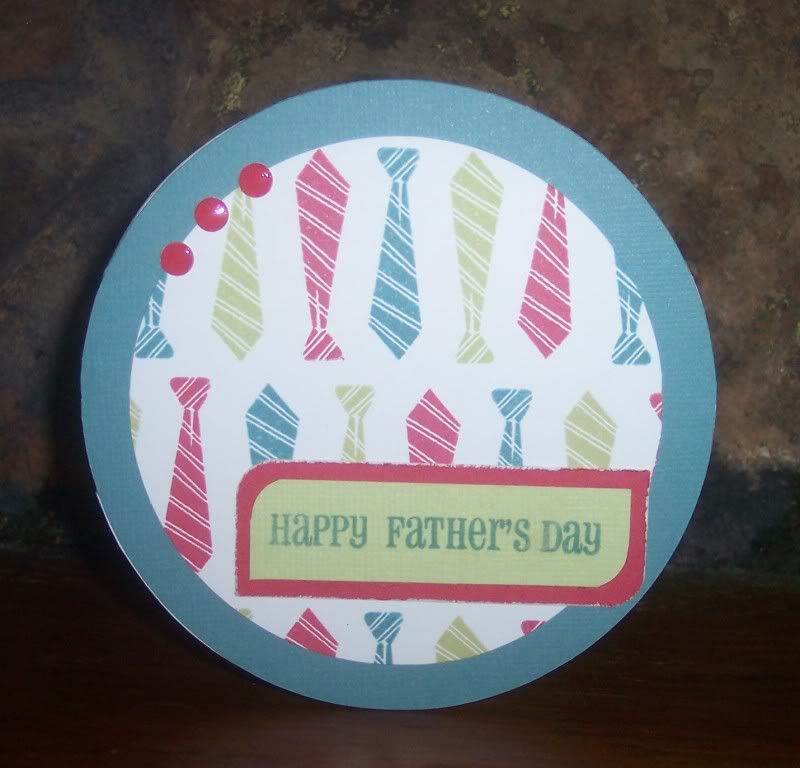
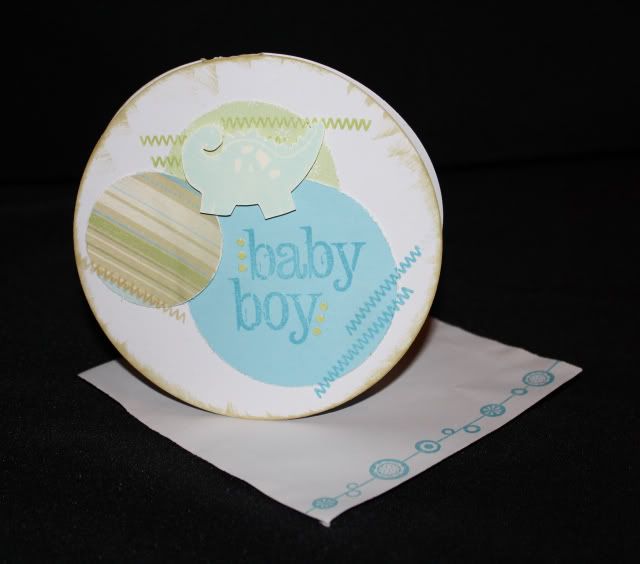
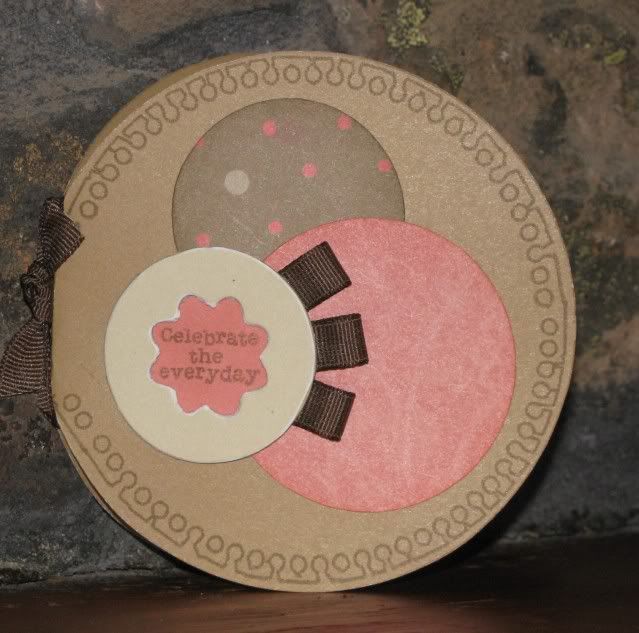
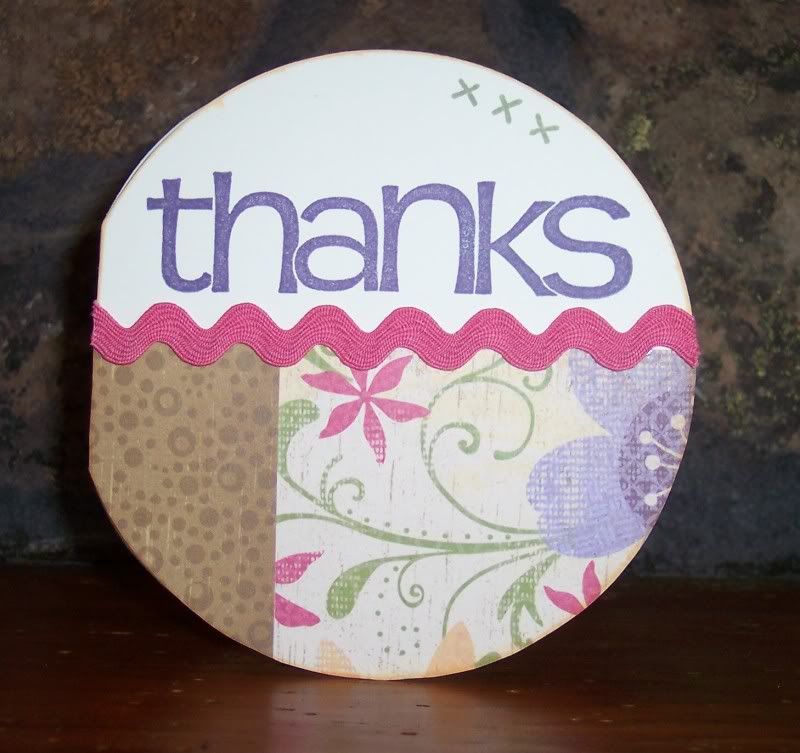
This month we are featuring Circle Cards - I forgot how much I love circle cards, I really should make them more often!  I like using the Colonial White and White Daisy circle cards and envelopes - I love that they come with their own envelope, I always struggled finding the right size before.  I also love the Clear Cards, I need to play around with those some more!
First up I have a card that I made for a niece's first birthday.  This one was really simple, I just cut a Hollyhock ring, a Blush piece for the sentiment, stamped and cut the candle using the Candlelight stamp set and Sophia papers, and added a few pink buttons.  I will admit, I always like to thread my buttons before I put them on a project, they just seem naked without something.  This time I made myself leave them plain - not so bad, right?
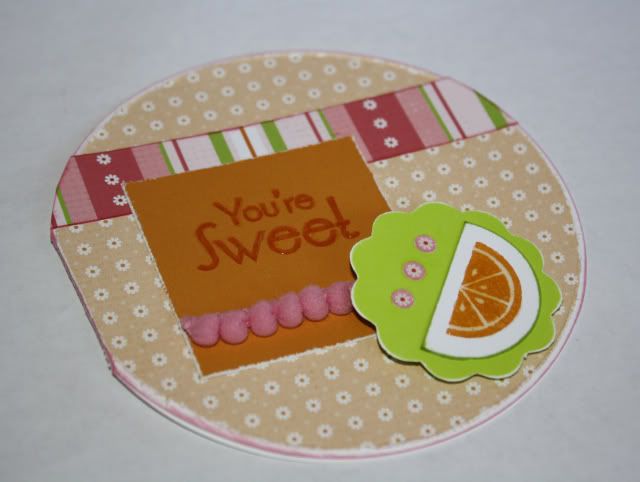
Here is another circle card that I made a while ago but haven't posted yet.  I also used the Sophia papers but this time with the You're Sweet stamp set.  I used Liquid Glass on the orange.
I have more circle cards posted below, but if you are ready to continue along the Blog Hop, the next stop is Amie!
***
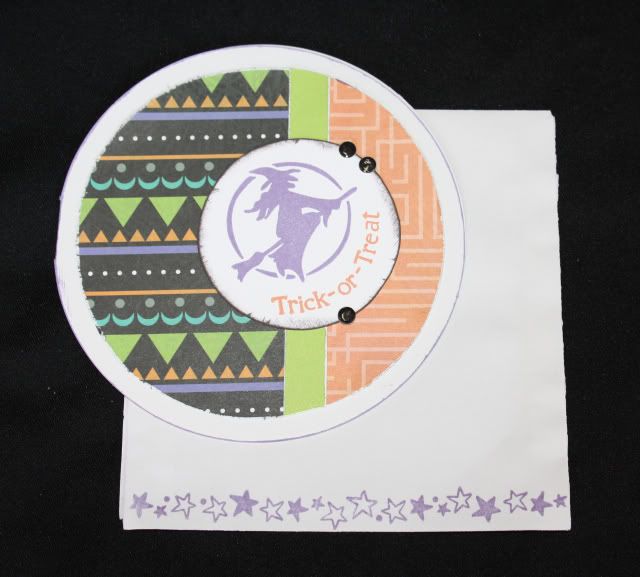
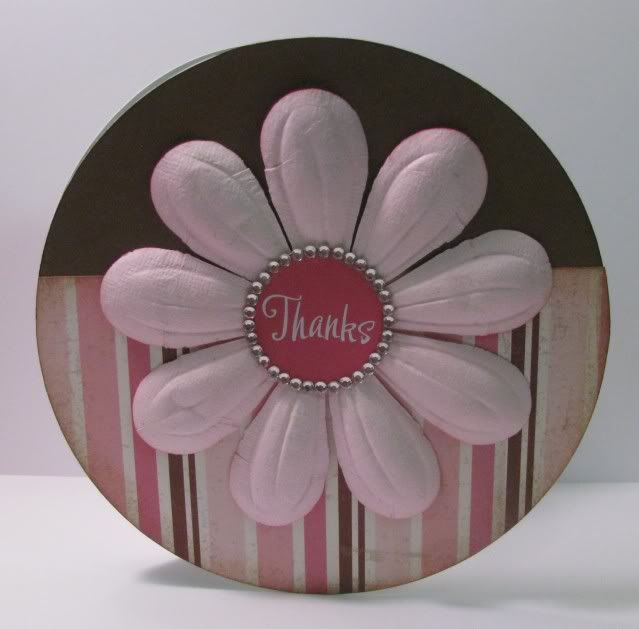
These cards have been posted before, but if you missed them and want more details, just click on the card title to go to the previous post and find out more!

Thanks for looking - don't forget to hop along to Amie's Blog!
Monday, April 4, 2011

Passages Card Set

Using the Greetings Card Workshop template found in the Wishes Book, I created the following cards using just half a sheet of Colonial White Cardstock, along with two patterned papers from the retired Passages paper pack, plus my card bases.  By  changing the orientation of the card, using the opposite side of the paper, and changing the stamp sets, I really like the different looks I came up with for each set.
Card 1
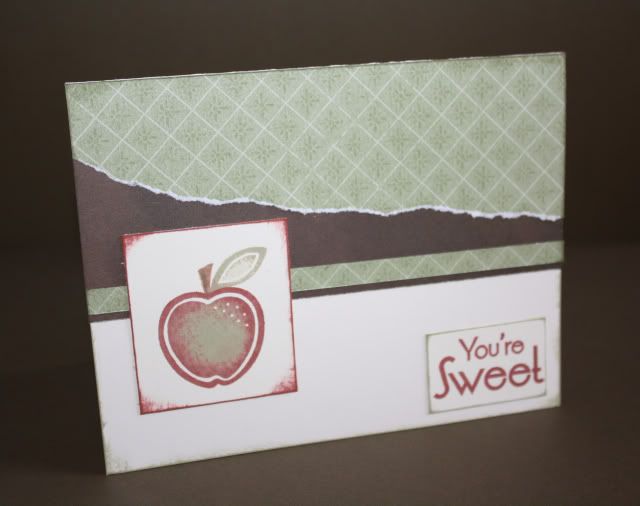
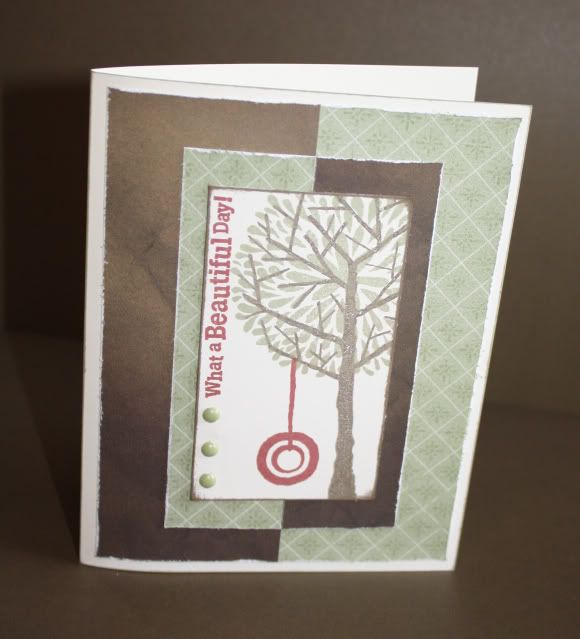
Using the You're Sweet stamp set and stamp rolling technique on the apple.
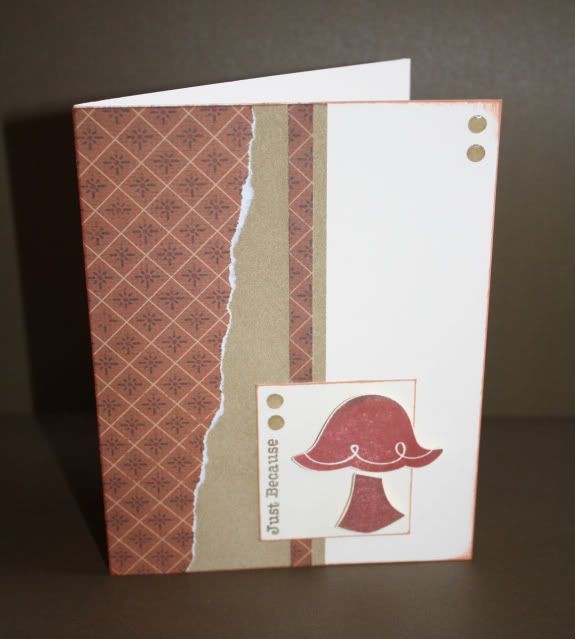
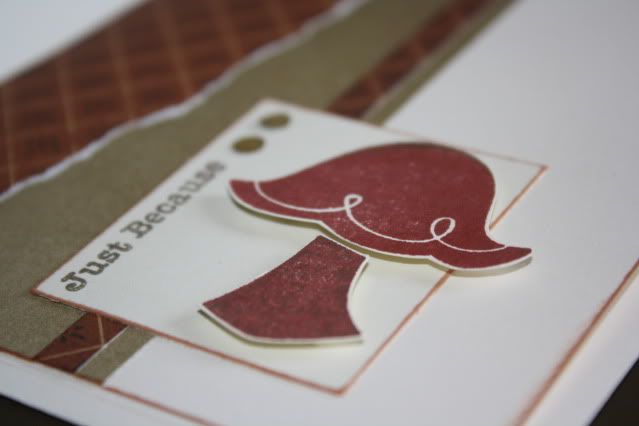
Using the retired Whoo Loves You stamp set for the mushroom and one of my favorite techniques to create faux brads.  Use a hole punch to create small circles (I usually use my Crop-a-dile) then adhere them to the card, then cover with Liquid Glass and voila - faux brads in any color, shape, and size you want!
I also added a little bit of dimension using Foam Tape
Card 2
Using the Trees & Things stamp set, and real brads this time ;-)
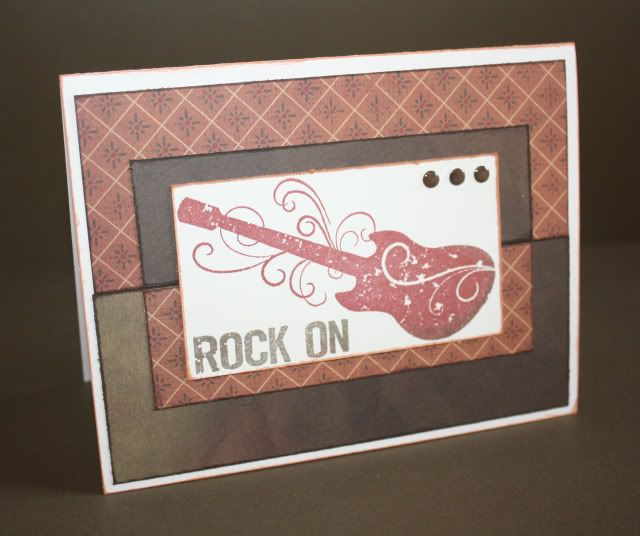
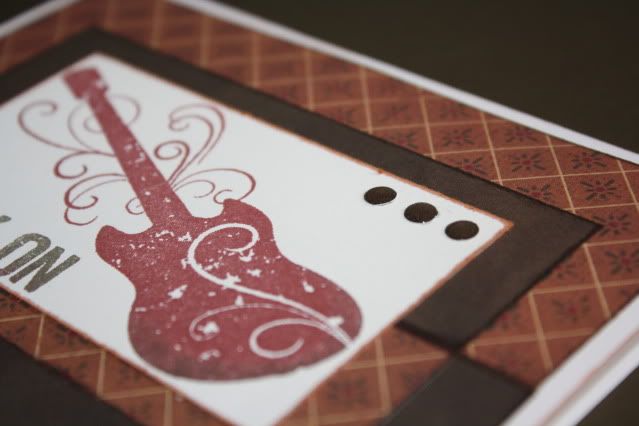
Using the You Rock stamp set and more faux brads.

Card 3
Using the Family Ties stamp set and retired June Word Puzzle stamp set, color pencils, and a 'reverse' faux brad.  This time I punched 3 holes in my paper with the image so the mat paper shows through to create a different look.
Using the Treasure Life stamp set and real brads.
Card 4
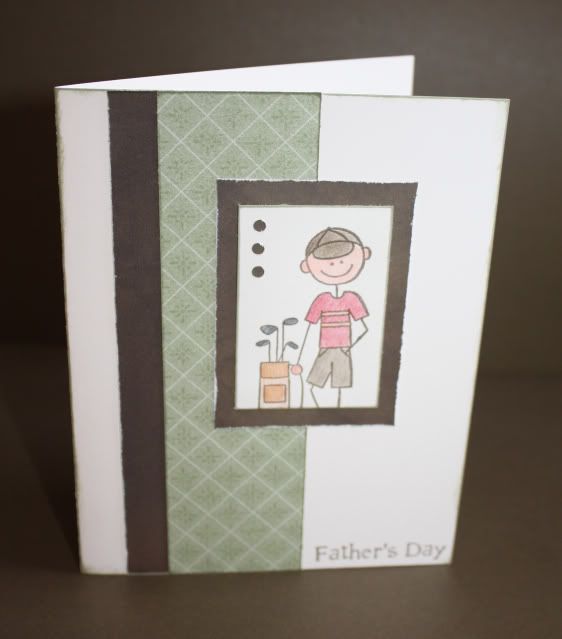
Using the Hot Diggity stamp set and more Foam Tape
Using the retired November Word Puzzle
 Card 5
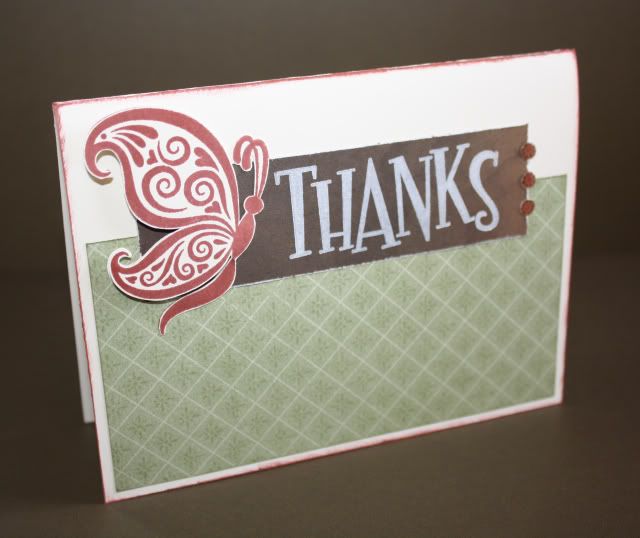
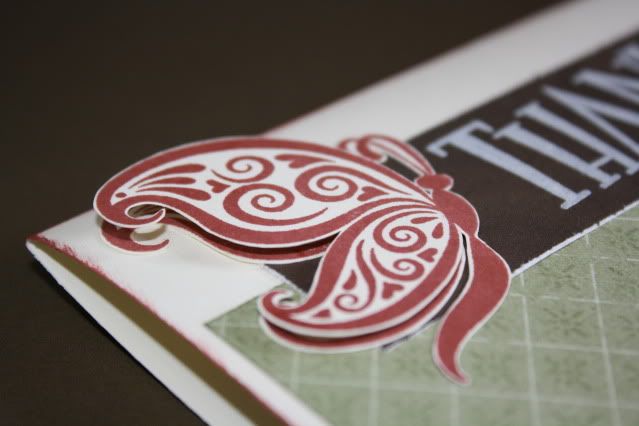
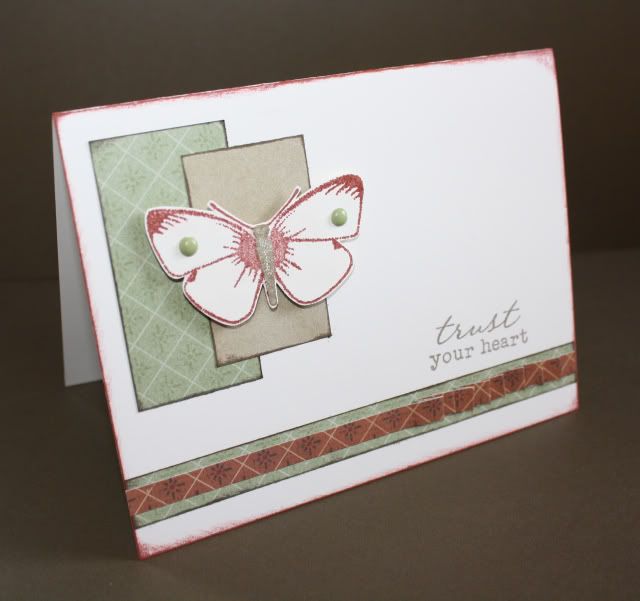
Using the retired Butterfly Wings stamp set, along with A Little Everything stamp set stamped in Colonial White ink, and I also created more faux brads.
I added some dimension to the butterfly's wings as well.
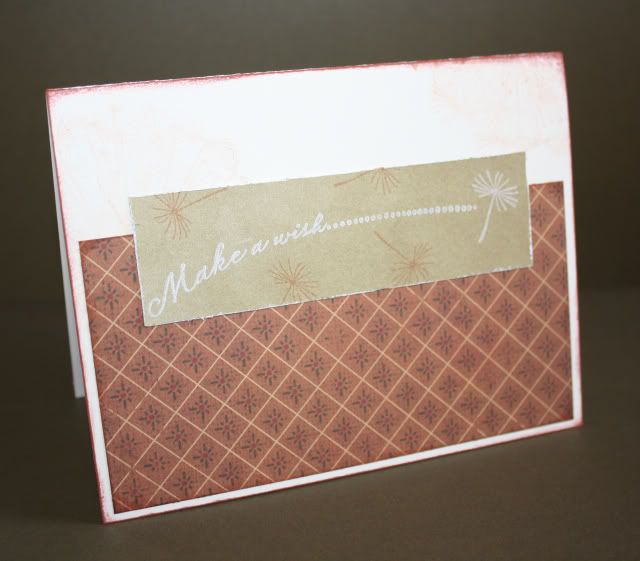
Using the Treasures stamp set - this one is my least favorite card - I added some subtle dandelion stamps on the card base (which I don't think you can even see in this picture) but it just seems so plain, like it's missing something - maybe it's because I didn't include any accessories.  Any suggestions?
Card 6
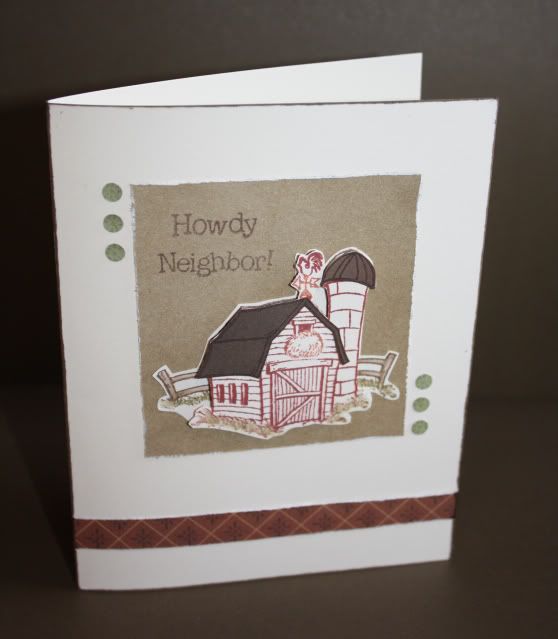
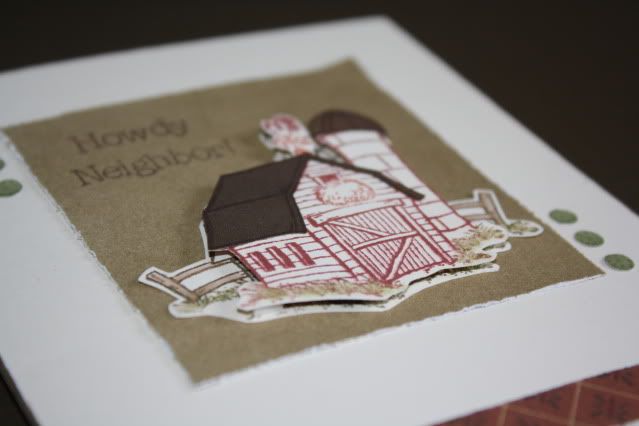
Using the Howdy stamp set and a bit of paper piecing, inking up my stamp with markers to achieve the different colors, and some more Foam Tape, and of course faux brads!
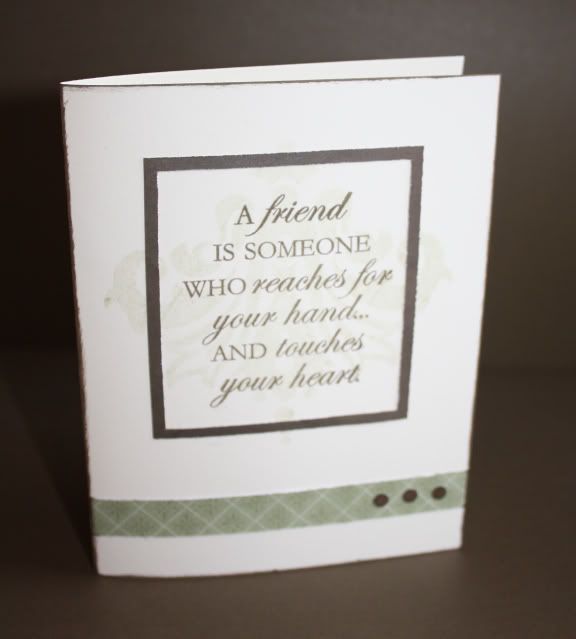
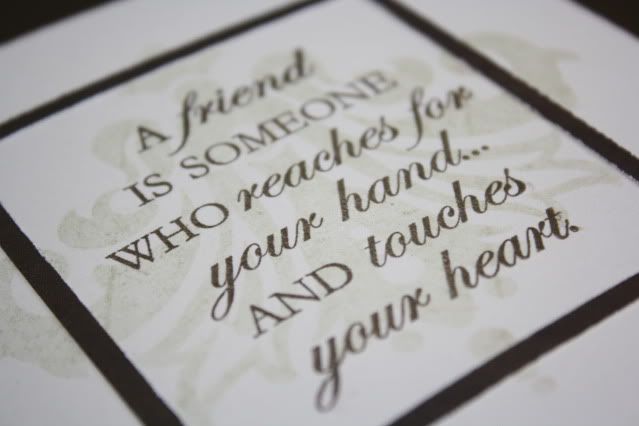
This card uses the Friendship stamp set, which was February's Stamp of the Month, and this time I ended up cutting my focal piece into a frame.  Using second generation stamping and Garden Green ink, I stamped the image directly onto the card base, then adhered the frame over it and then stamped the sentiment in Cocoa ink - I really like how this one turned out.  Once again, faux brads.
Card 7
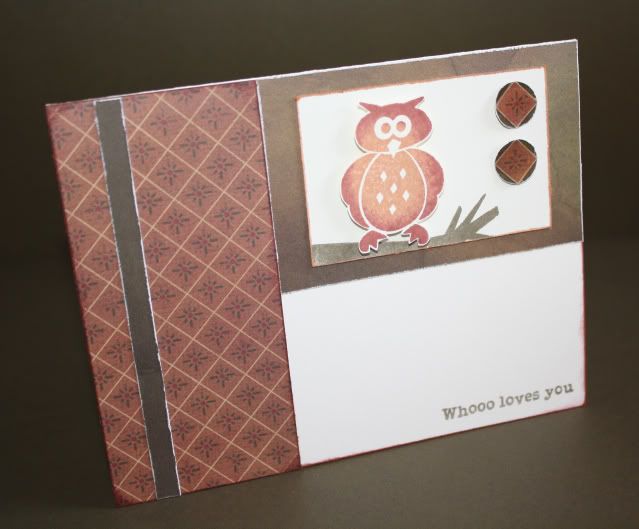
Using the retired Whooo Loves You stamp set, and the stamp rolling technique, along with some bigger faux brads.
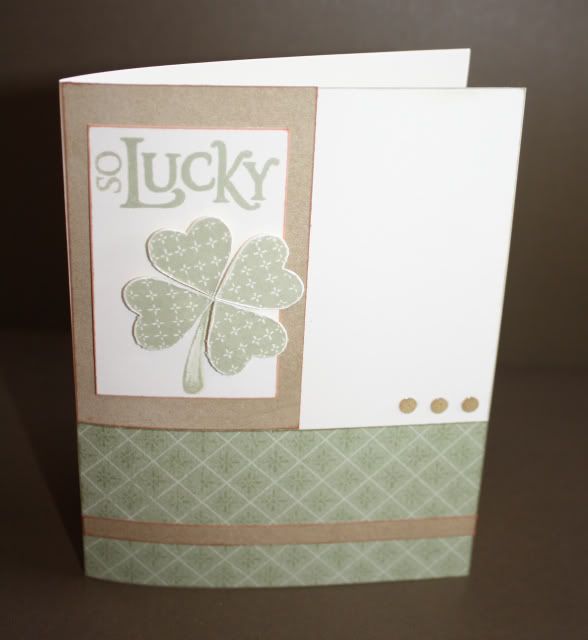
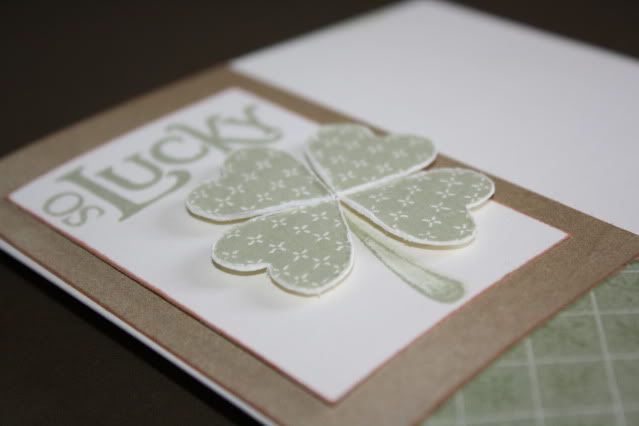
Using the So Lucky stamp set and some Foam Tape and more faux brads.
Card 8
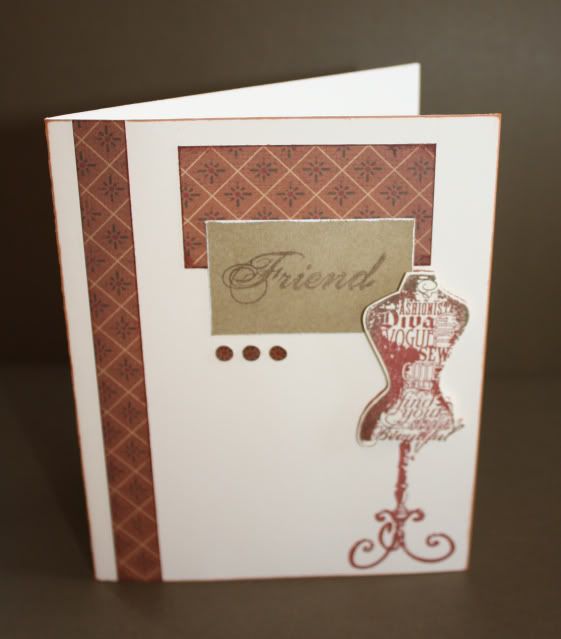
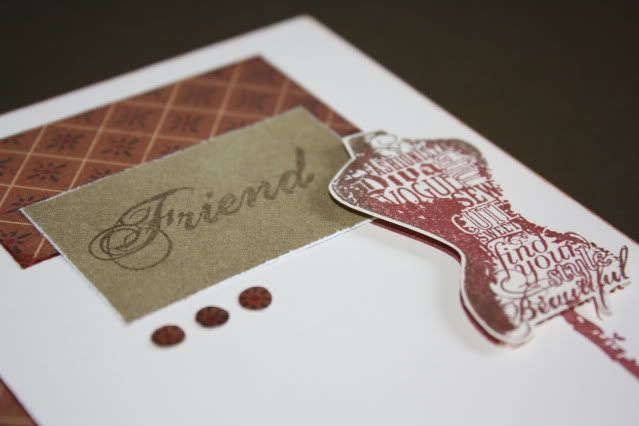
Using the Find Your Style stamp set, which was January's Stamp of the Month - more Foam Tape, faux brads, and stamp rolling going on here!

This was the only card that I stamped on the inside as well.
This was the very last card that I created in the set - usually the last one I make is my least favorite, but not this time!  I used the retired Butterflies stamp set and did a bit of paper piecing with the butterfly and added real brads to the wings, popped up with some Foam Tape.
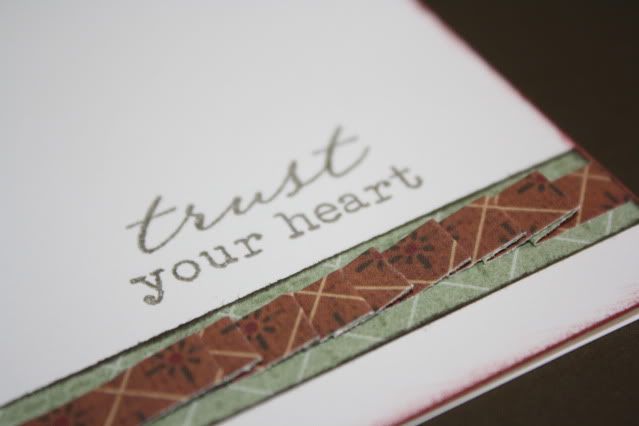
The sentiment came from the retired Treasures of the Heart stamp set.  I pleated a strip of paper for a fun look.
Whew, quite a long post - if you've stuck with me this long, thanks for looking!