Showing posts with label Star Struck. Show all posts

Wednesday, August 17, 2011

Event Calendar Workshop

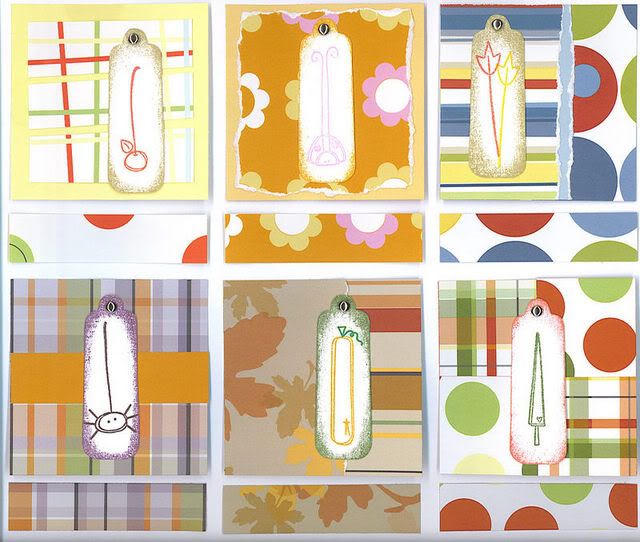
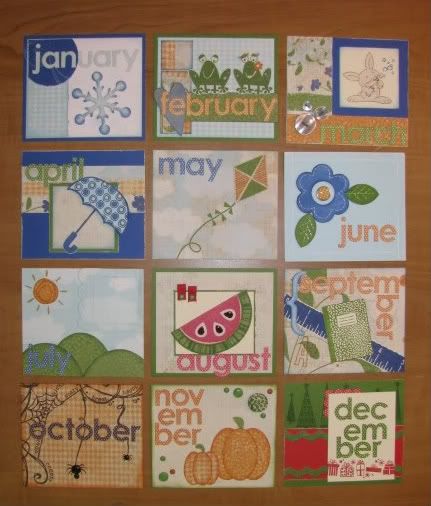
My latest Event Calendar - it's finally done!  These are some of my favorite projects to create (I've made at least 3 different styles in the last 6 years).  This one I started well over a year ago, but it sadly kept getting pushed to the back burner or was forgotten.  I started this as a gift for my sister-in-law's birthday.  Then we moved and I packed it all up.  Then I didn't get my scraproom unpacked as soon as I had hoped.  I actually gave her the blank Event Calendar for her birthday last fall and told her I would eventually finish the month toppers.  Well I finally pulled it out again, and thanks to my Crop 'Til You Drop event last week, I finished it - woohoo!  It really didn't take long to do if you added up the time spent on it, and it is such a fun project, I just wish it hadn't taken me so long to complete it all!
*** 
If you are interested in making one (or more - they make great gifts), I am planning a Workshop next month to make these - I will have all of the pieces pre-cut and I will walk you through the whole creation process including some fun, easy stamping techniques (but of course you are welcome to do your own thing as well).  I promise you it won't take as long as it took me ;-)  Cost is $10 per calendar and includes all supplies (Event Calendar and all pre-cut pieces and accessories) - I just ask that you bring your own adhesive.  I will be giving away a door prize to everyone who orders a workshop kit!

***For those of you unfamiliar with what these calendars are - these are calendars that are not specific to any year.  You fill in each month with Birthdays, Anniversaries, etc, and you can use it year after year!  There is a blank square at the top of each month - that is where these will go!
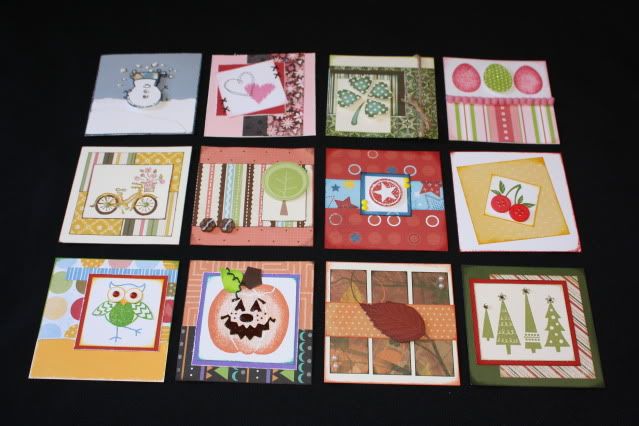
Most of these use retired stamps and papers, but I will link the items that are currently available.
JANUARY
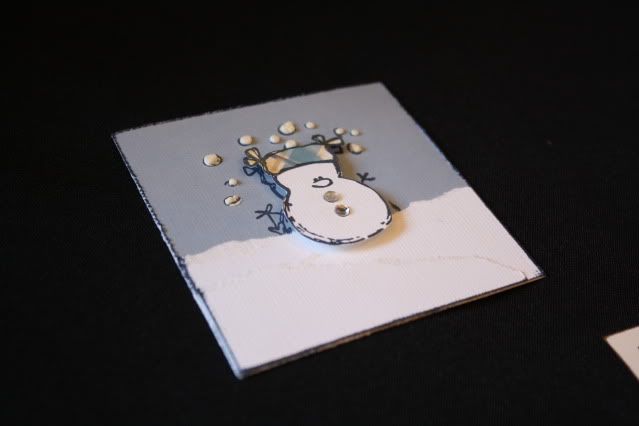
*Uses white textured cardstock (you can't see it in the picture, but I tore layers to create the look of snow), paper piecing technique with Aspen papers for the hat, Sparkles for the buttons, and Liquid Applique for the snowballs, along with the retired stamp set called Snow Friends.
FEBRUARY
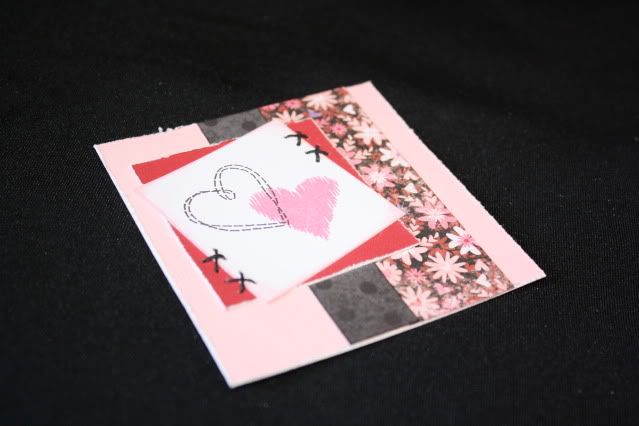
*Uses some more textured cardstock, along with retired Sweetheart papers, Black Waxy Flax for the stitching, Togetherness stamp set and Stitched Together stamp set.  Wishes: Middle Ground pattern.
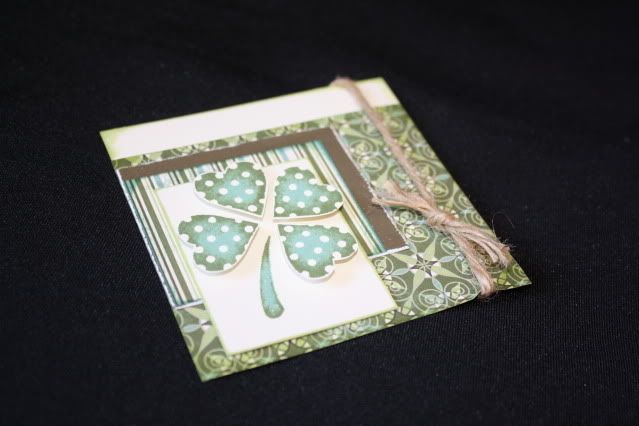
MARCH
*Uses Wings Creative Basics paper, hemp, So Lucky stamp set with stamp rolling, Wishes: Layered Look pattern
APRIL
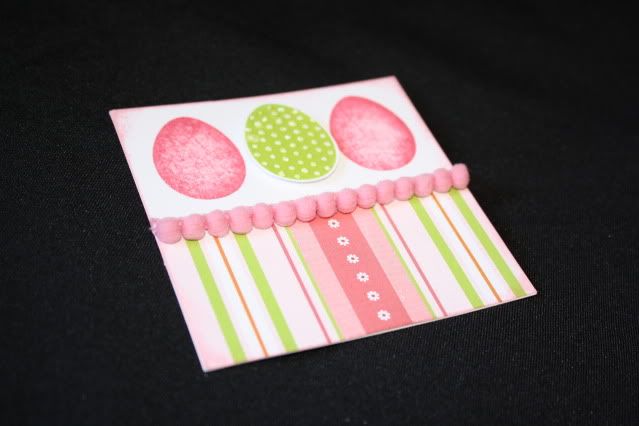
*Uses Sophia papers, Stardust Glitz Gel, retired Easter Eggs stamp set, Wishes: A Cut Above pattern

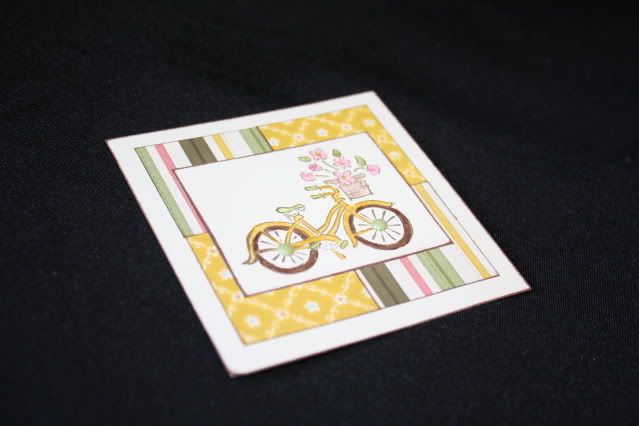
MAY
*Uses Mayberry papers, watercolor pencils, Garden Green brads on the bike wheels, Pair-a-Phrase stamp set (which you can get FREE this month with a qualifying order) Originals: Background Blocks pattern
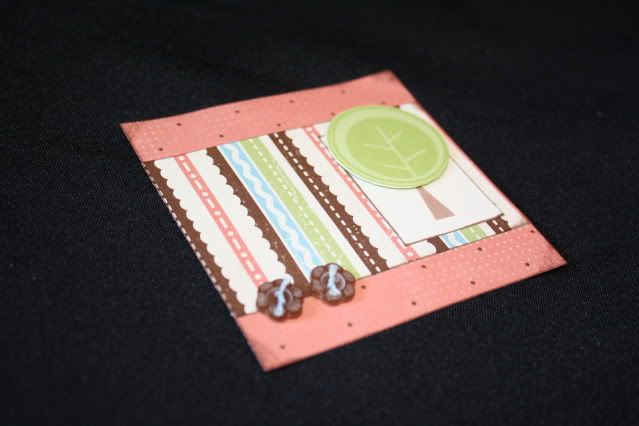
JUNE
*Uses retired Twitterpated paper, Chocolate Flower Buttons, Treetops stamp set, Originals: Side Accent pattern
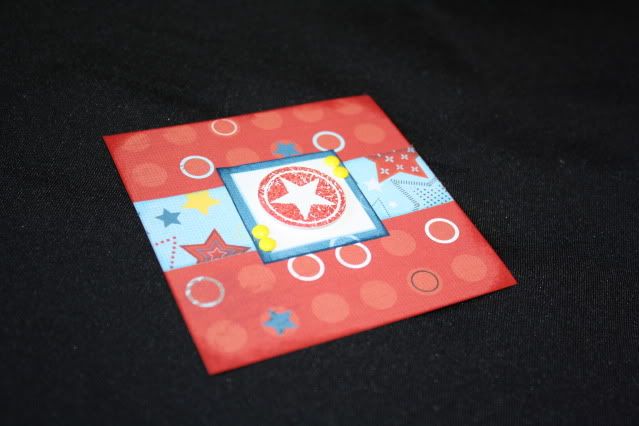
JULY
*Uses Fanfare papers, brads created using retired Sunny Yellow embossing powder, retired Star Struck stamp set, Originals: Center Focus pattern
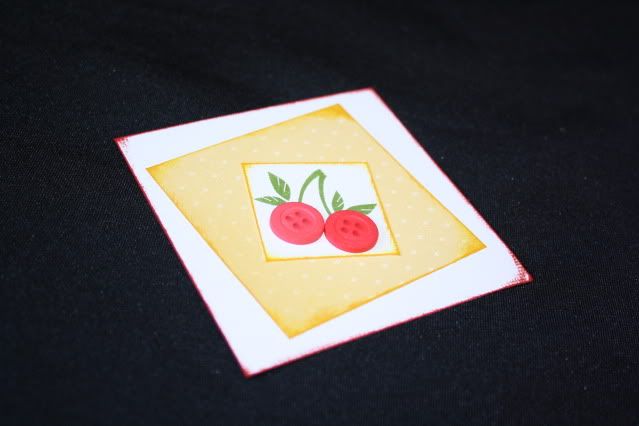
AUGUST
*Uses retired Zipidee paper, You're Sweet stamp set, red buttons for the cherries, Originals: Matted Square pattern
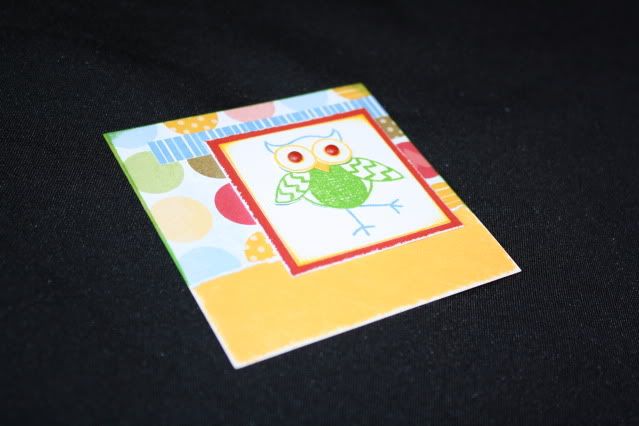
SEPTEMBER
*Uses retired Animal Cookies paper, paper piecing technique using the retired You're a Hoot stamp set, red brads for the eyes, Wishes: Mini Combination pattern
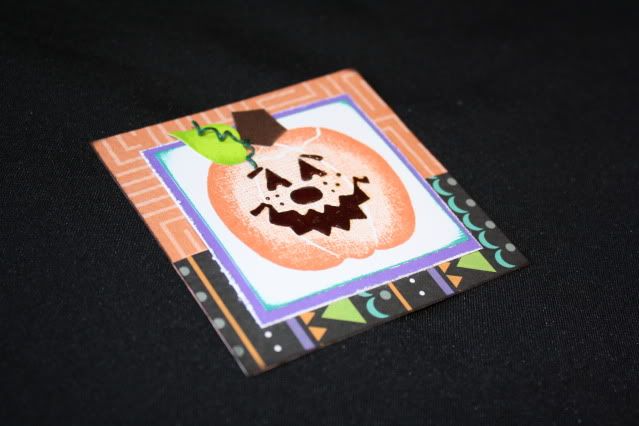
OCTOBER
*Uses retired Hooligans paper, stamp rolling technique using the retired Frightenin' Fun stamp set, Liquid Glass to make the face shine, and some curly green waxy flax for the vine, Originals: Fun Flap pattern
NOVEMBER
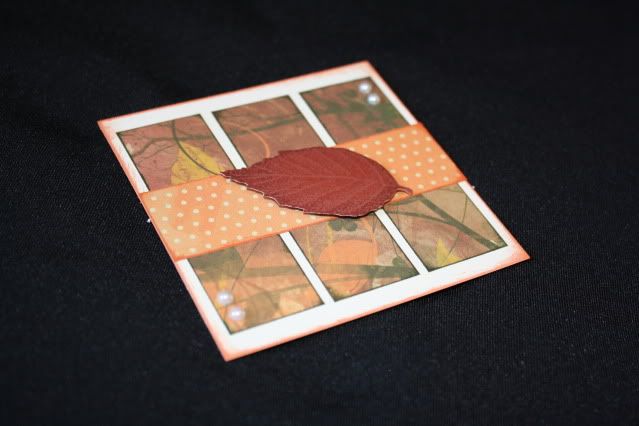
*Uses retired Olivia papers, retired Autumn Splendor stamp set with more stamp rolling, Opaques Gems, Originals: Triple Triple pattern
DECEMBER
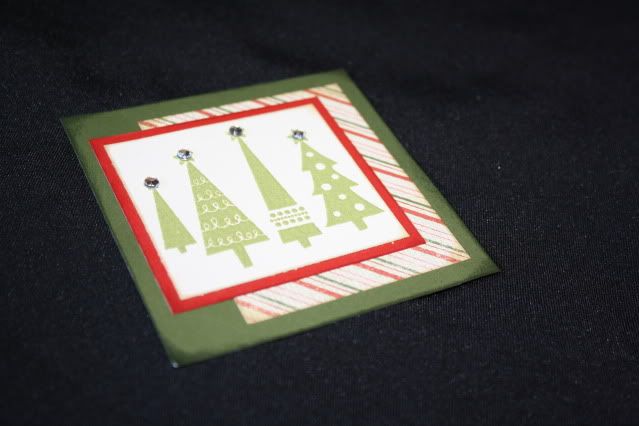
*Uses retired Evensong papers, retired Holiday Trinkets with Olive heat embossing for the trees, Sparkles for the tops, Originals: Side Focus pattern

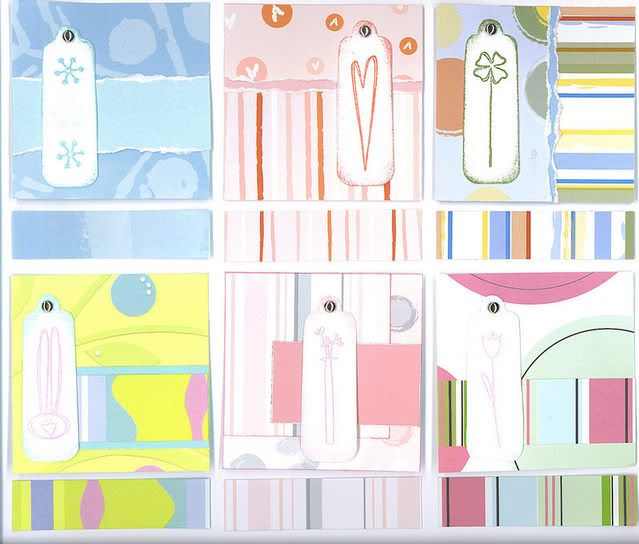
If you're looking for more ideas for Event Calendar toppers, here are some others that I have created:
Click HERE to view a perpetual calendar that I created last year - you could use these ideas for an Event Calendar as well.  You just wouldn't need the month name on each square as that is already printed on the calendar.

Thanks for looking!

Wednesday, March 30, 2011

From Me To You

This set of cards were a Christmas present for my Dad and Shelly - we finally exchanged gifts when they came earlier this month, so I can finally share them here!
***
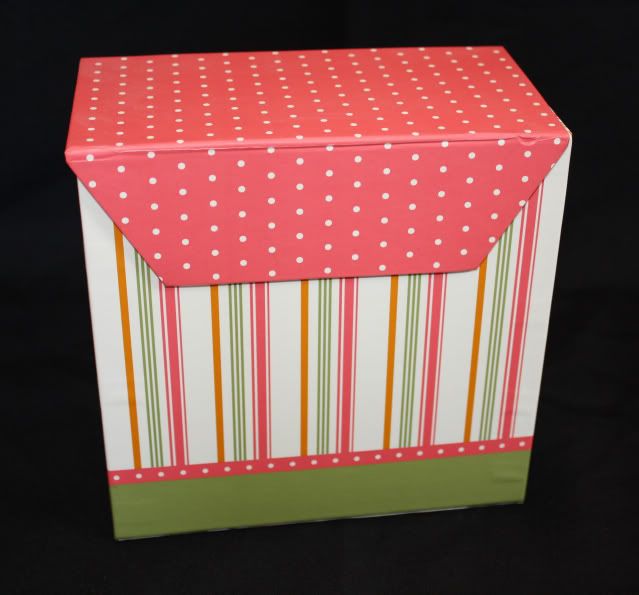
Some of you may remember the From Me To You card set that CTMH had as a special a few years ago - it came in this cute little box...
...and it came with a fun stamp set, supplies, and instructions to create a complete set of cards.  Well, it may come to no surprise that I never did anything with it - until now - finally!  However, I didn't stick with the original colors and changed things up a bit.  I did use the box to hold the gift set, along with the original 8 patterns that came with the kit.  Here is what I did.
Originals: Center Tie, using Bella paper pack
Originals: Floral Trio Tied, using Perfect Day paper - I had flowers stamped and punched out to use on this card but liked it just fine without them so I left them off!
Originals: Offset Focus, using Emporium paper
Originals: Center Stage, using Magic Moments paper
Originals: Accent Band using the Giggles & Grins paper.  This one surprisingly became one of my favorite cards!  This bulk paper was the only pattern I ever had of this paper pack, mostly because of its Disney theme and the fact that I've never been to Disney ;-) so I never really used it much before, but I really ended up liking it on this card.  I used my water color pencils to color the flower and some waxy flax to accent.
Originals: Express Left using Simple Pleasures paper
Originals: View From the Top, using Magnifique paper.  I forgot to center and mat the flower this time, I got a little carried away just doing my own thing ;-)  I added Liquid Glass to the paper center of the flower which gave it a really cool look.

Originals: Equal Angles, using Olivia papers
So those were the card patterns that came in the From Me To You card kit and I also included the following cards in the gift.
Wishes: Lucky Layers, using Twitterpated papers and Treasures of the Heart stamp set.

Wishes: Inner Court, using Hooligans paper and October Word Puzzle
Wishes: Well Rounded using Stardust paper and Treasures of the Heart stamp set, with a bit of Glitz Glitter Gel on the star.

Wishes: Simplicity, using the ????? paper (it's totally slipped my mind - help me out if you can) and You're a Hoot stamp set.
Originals: Always Right, using Veranda paper and a Hero Arts stamp set called Dolls
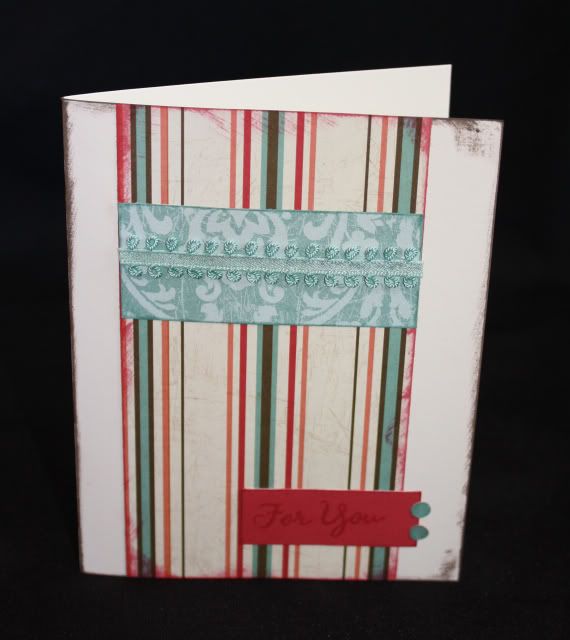
To make an even number of cards I grabbed this one out of my stash and added it to the gift set as well.  This was one I did for my You Rock Workshop last year.
Thanks for looking!
Monday, February 15, 2010

You Rock - Blog Hop

Welcome to our CTMH Product Spotlight Blog Hop! This month we are featuring the stamp set D1346 You Rock. This was a fun stamp set to play with - I used it on my upcoming Workshop featuring the You Rock papers as well! I used the Workshop On The Go for the You Rock papers, but instead of using the Rockin' Top Coats and the Just Be You stamp set that comes in the Workshop Kit, I changed things up and used the You Rock stamp set instead.
***
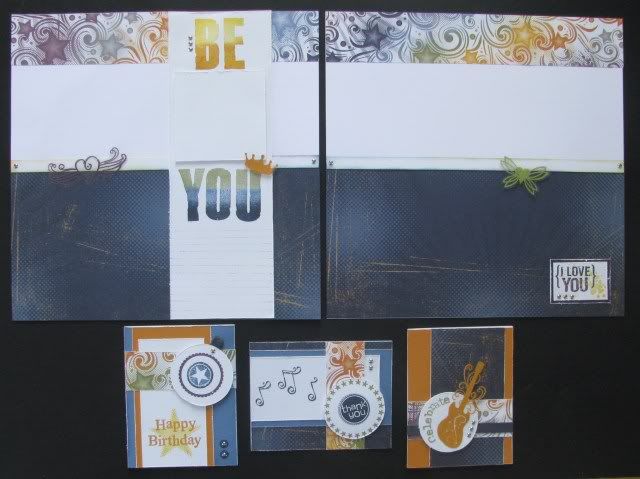
Here are the pages and cards that we will be creating at the workshop...remember you can click on any of the images to view them larger.

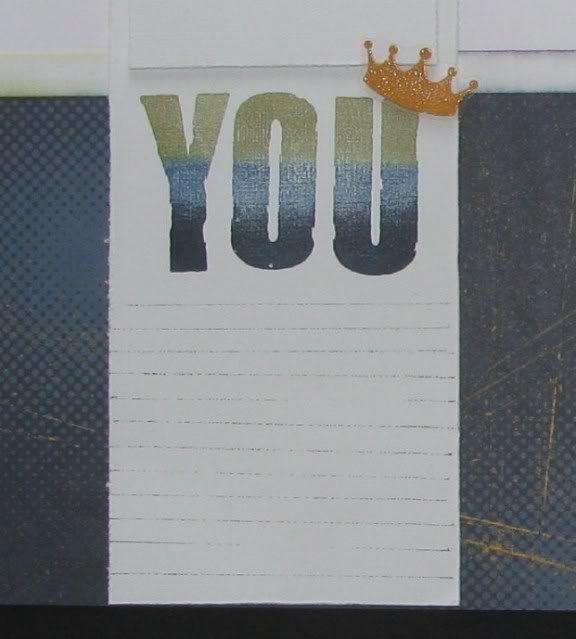
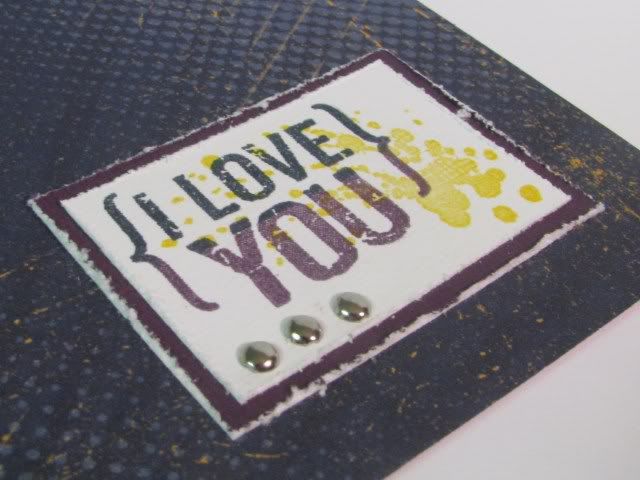
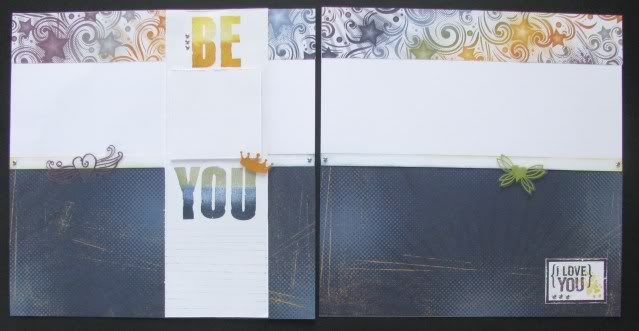
Here are some close-ups of the pages...


Since I didn't have the Rockin' Top Coats to use, I created my own by heat embossing on a transparency and then cutting out - I used Pansy Purple, Olive, and Goldrush (retired) Embossing Powder.


When I stamped the word 'YOU' I accidentally got an edge of the block in the ink and it transfered to the paper - so I made it look like I meant to do that by adding more and voila, I created journaling lines! I think the rough look goes along well with the paper. Here you can also see the crown from the You Rock stamp set that I embossed on a transparency and cut out to add to the page.

And here is my corner accent - I combined two different stamps 'I Love to Play' and 'You Rock' to make it say {I Love You} instead.

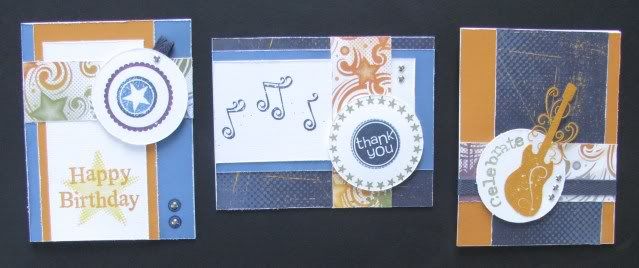
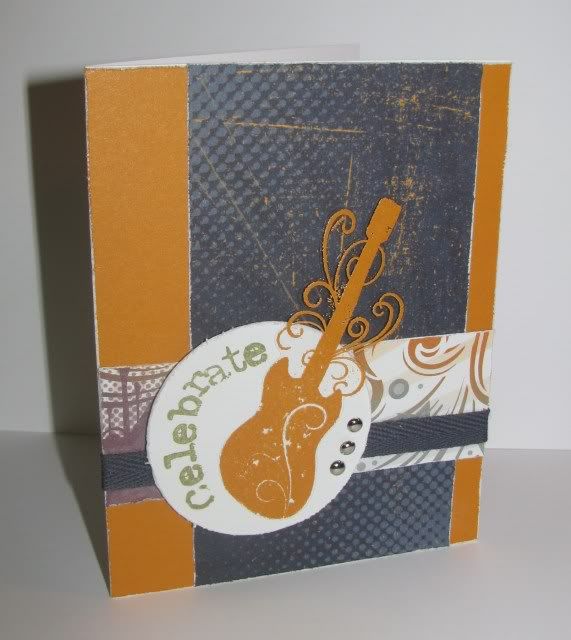
Here are the cards...


...for this one I heat embossed the guitar on a transparency and cut out...


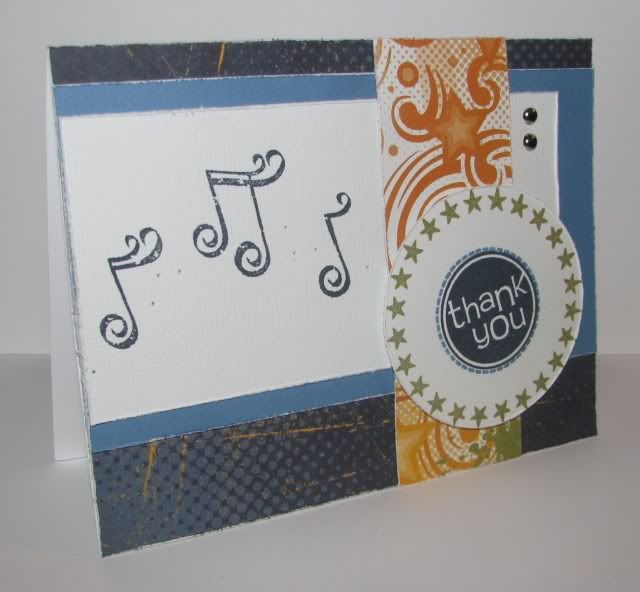
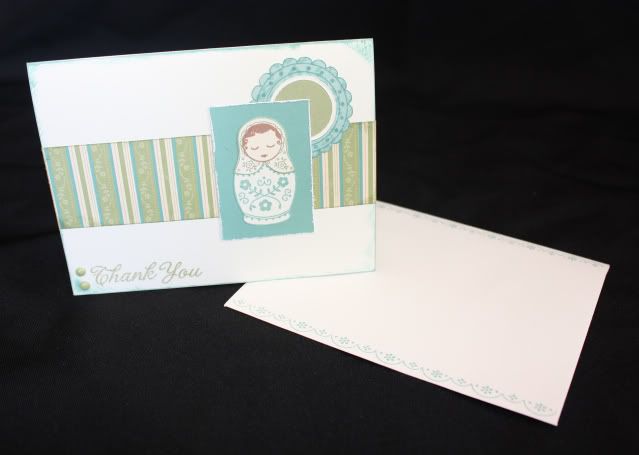
...for this one I also used the Circle Around stamp set and Thanks stamp set...


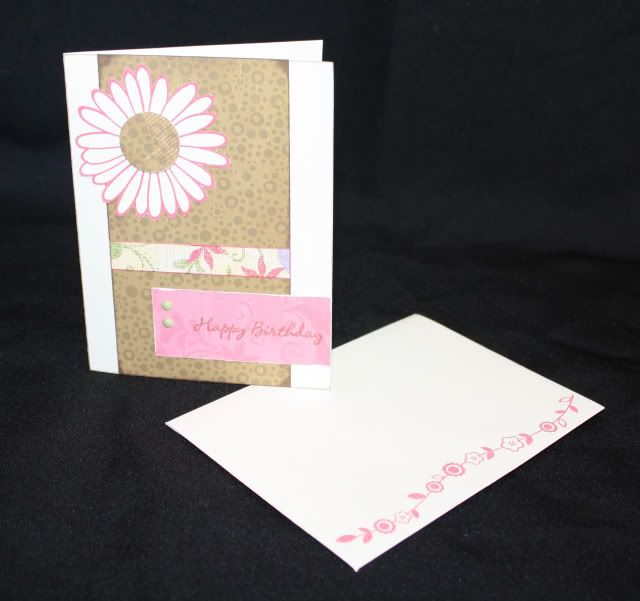
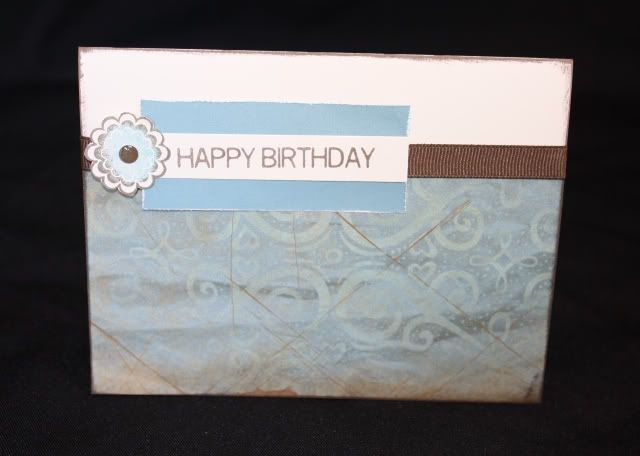
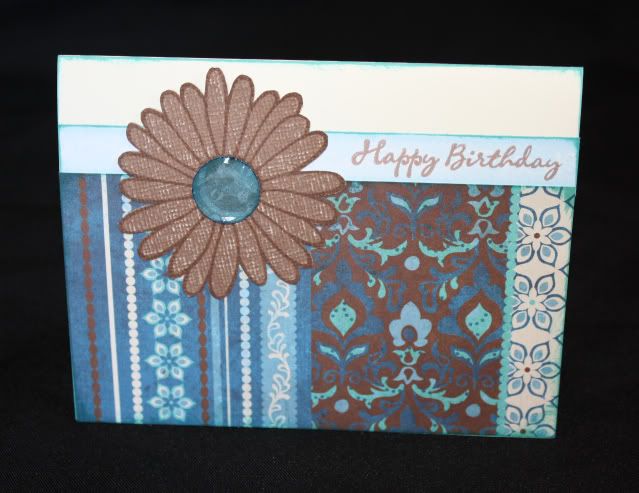
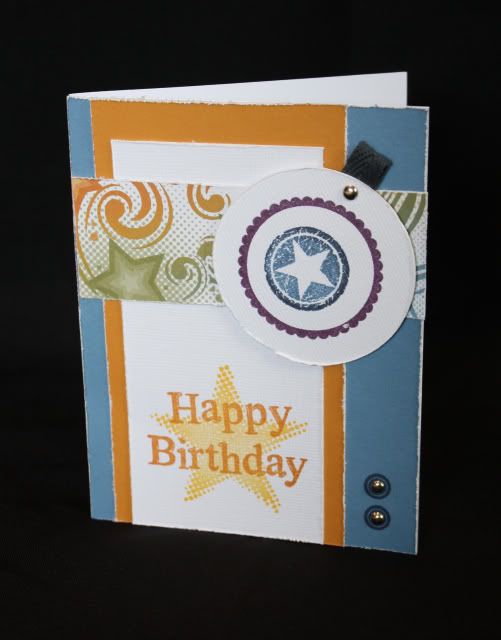
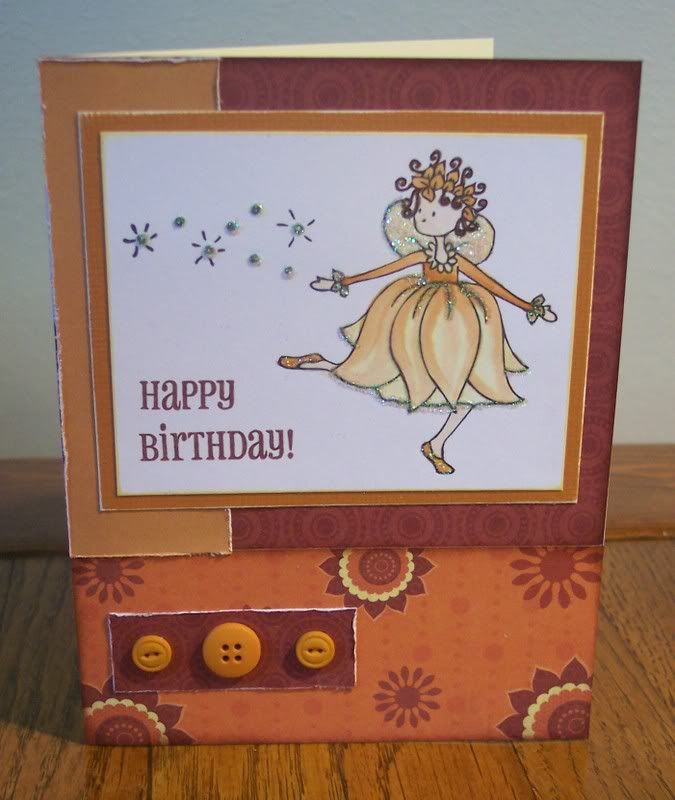
...for this one I didn't use the You Rock stamp set, instead I used the Star Struck stamp set along with the Happy Birthday stamp set...


***
The next stop on this blog hop is Tracy, so don't forget to keep on hopping and check out all the fun artwork using this stamp set.
***
If you get lost or find links not working along the way, here is a complete list of hoppers...

Wendy K http://www.myscrapbookingblog.com/
And for those who would like to see the original Workshop On The Go designs - here is what CTMH created - you can see how I changed mine up.

Thanks for looking - I hope you enjoy the Blog Hop!

Tuesday, November 11, 2008

Squeaky Birthday Wishes

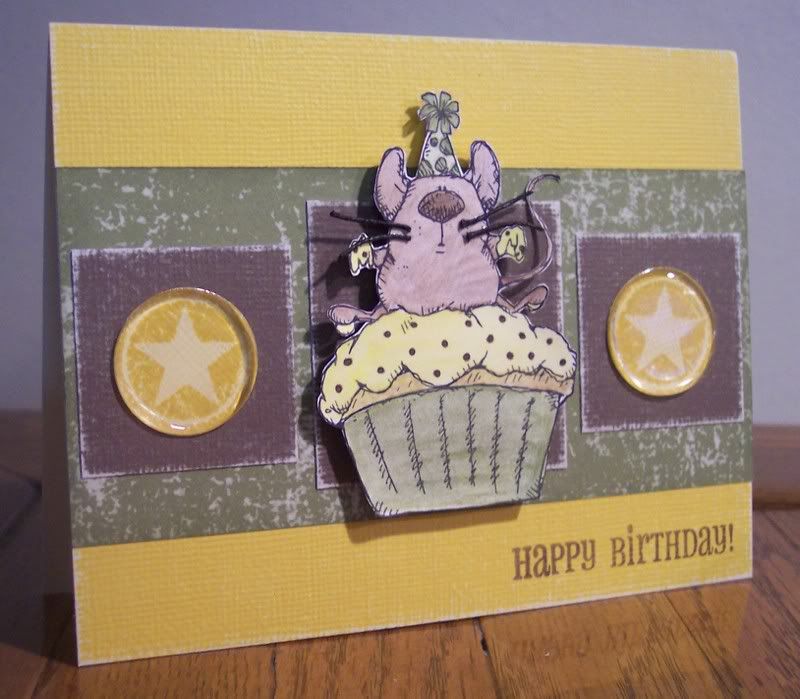
Here is the card I did for this month's Originals Challenge - I also used MCC #31 but I forgot to add the Juniper ;-P but at least I used the minimum of 3 colors - Honey, Cocoa, and Olive. I used one of the fun stamped images that Laurel sent me - what a fun little mouse - I cut waxy flax for his whiskers and added Window Charms on the stars. This card was for my nephew who had a birthday last week - I hope it's masculine enough for a 15 year old!
***
Thanks for looking!
Monday, October 20, 2008

Birthday Cards & Gifts

Here are some birthday cards and gifts that I have made recently and haven't posted yet...
***


For my SIL Liz - she likes orange - or at least I hope she still does ;-P Happy Birthday yesterday, Liz!


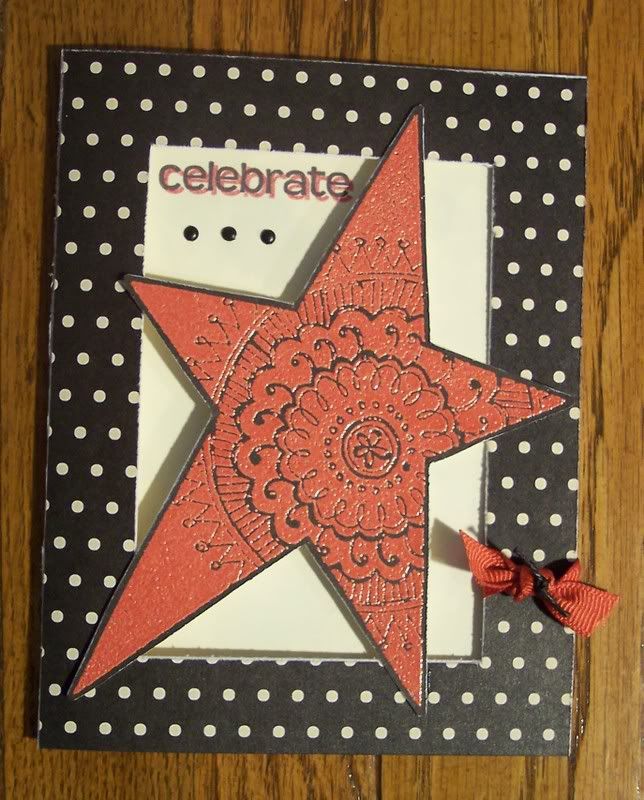
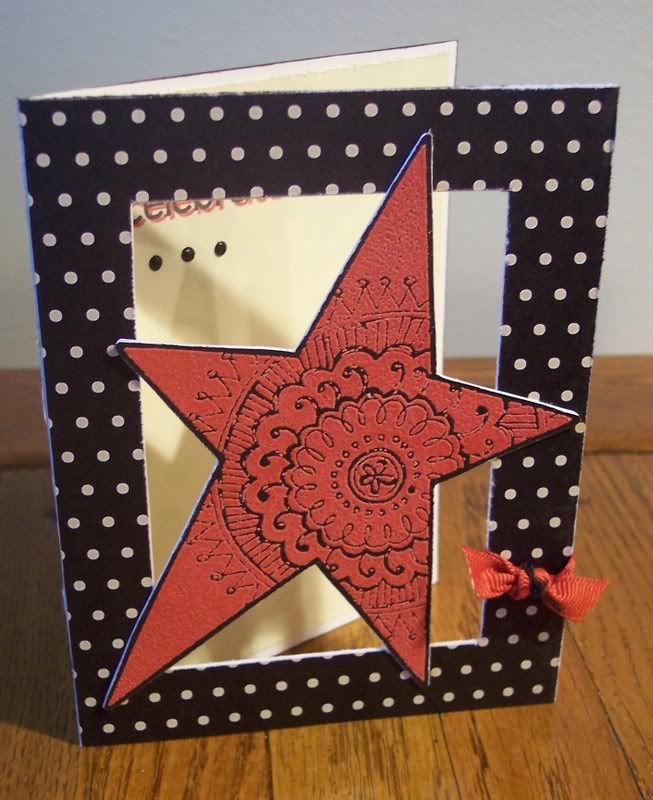
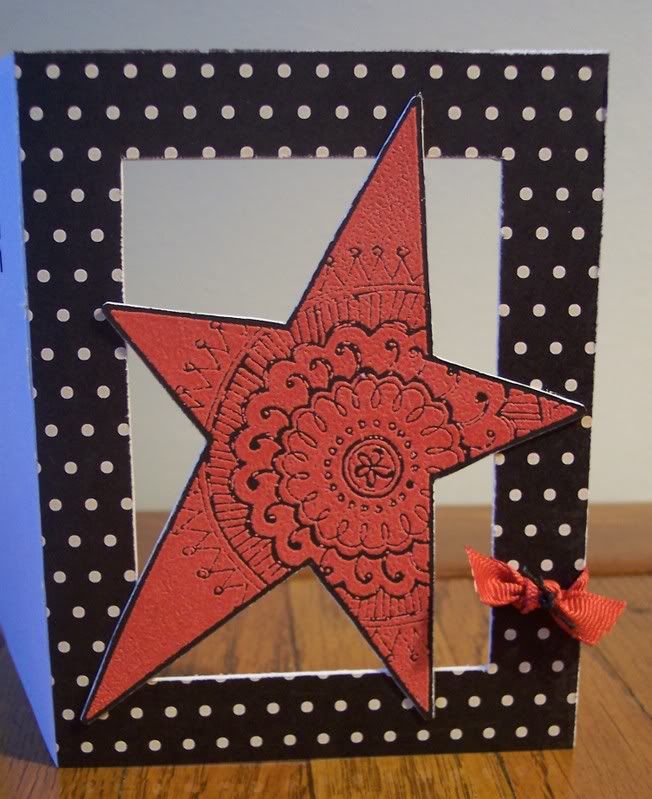
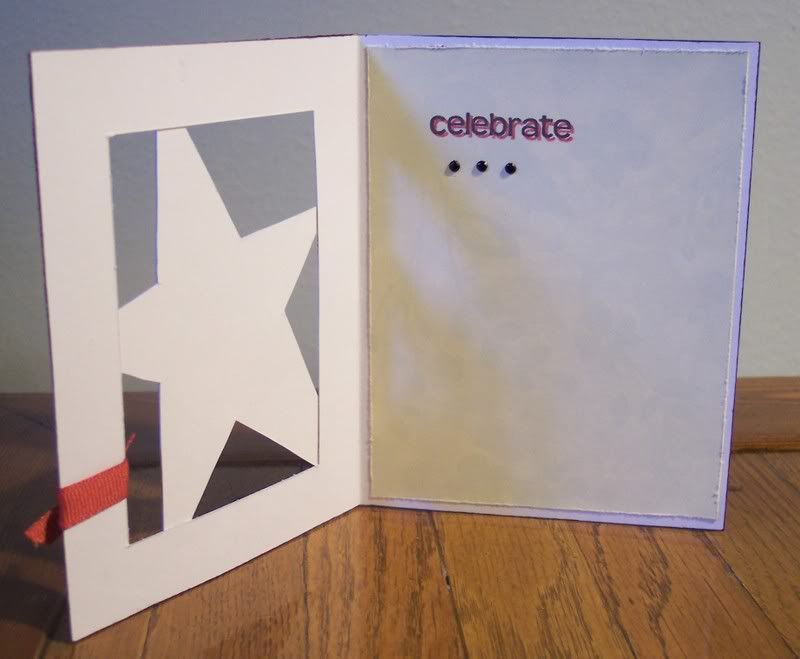
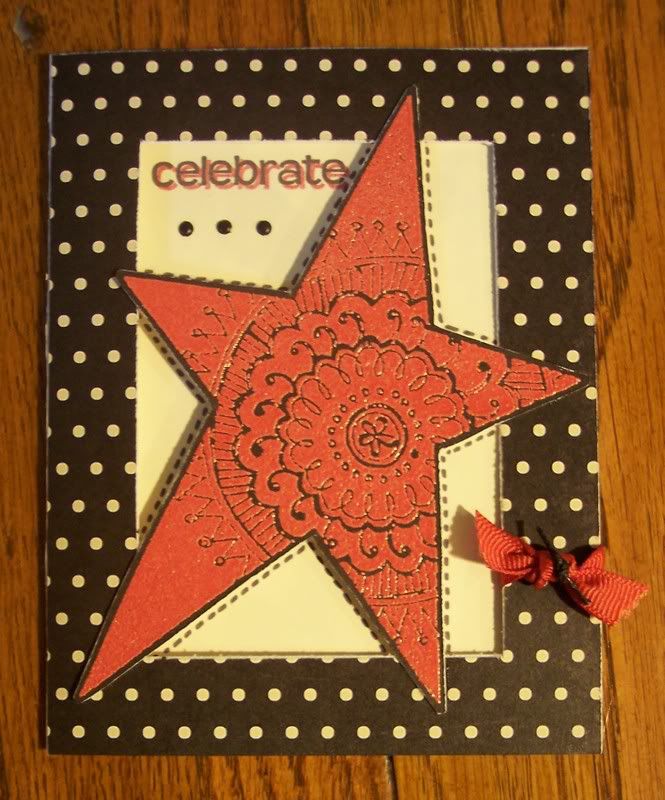
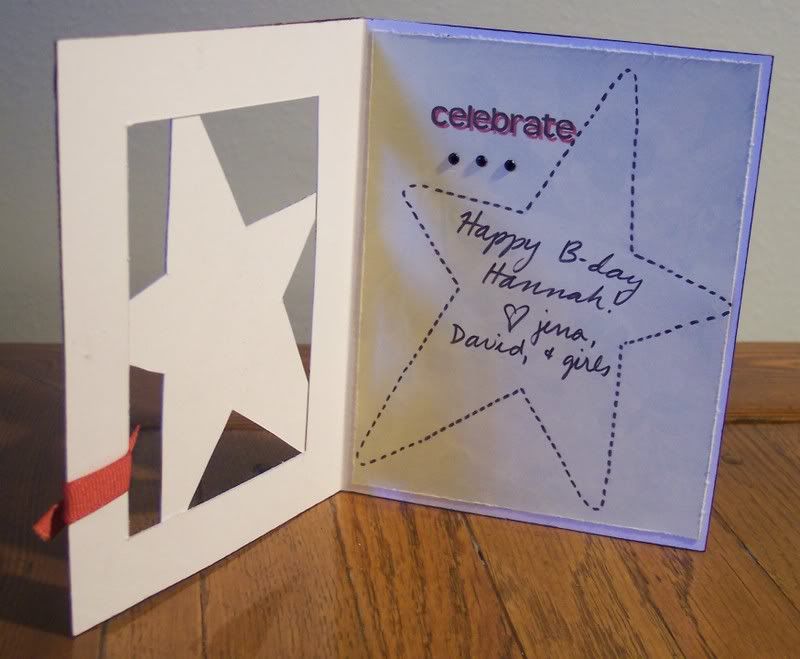
For my SIL Hannah - I really had fun with this card and I took a lot of pics of this one so you get how it looks. I took inspiration from Originals: Window Cutout, but instead of a 3 1/2 x 2 1/2 card, I turned it into a standard sized card (4 1/4 x 5 1/2). I embossed the star from Shining Star with Cranberry EP onto black CS and cut it out - then I mounted it on a piece of white CS and cut out again. then I cut out the center of the front of the card leaving a 3/4 inch border and attached the star. I also used the dot paper from Silhouette (I LOVE that pattern!), some Cranberry Ribbon, Black Waxy Flax, and some Black Bitty Brads.


I played a little more with it after my original pic, adding dashed lines around the star - did I add too much? Which do you like better, the first or second version?


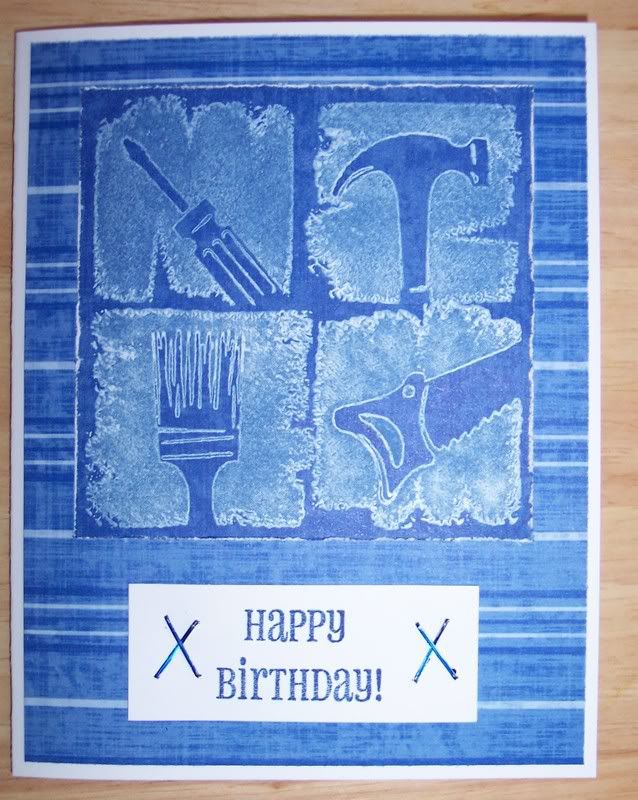
For my nephew Damon who turned 6 last month - just a simple card using the most boyish stamps I own - when you have 3 girls there's just not too much boy stuff around ;-P Brianna picked the color since he is her bud. I stamped the Tool Time stamp sets using White Daisy pigment ink - and used Moonstruck B&T papers, Say It In Style stamp set for the sentiment, and some fun blue staples.


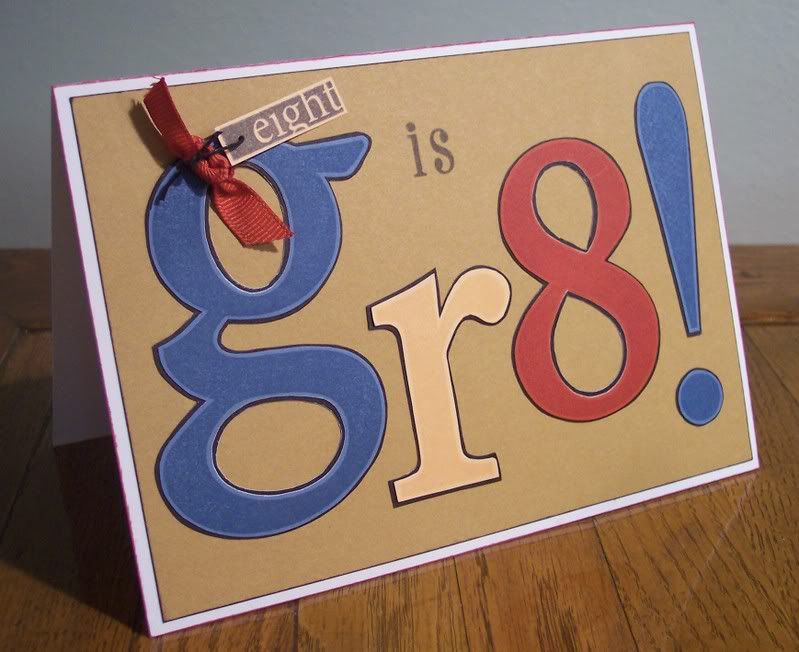
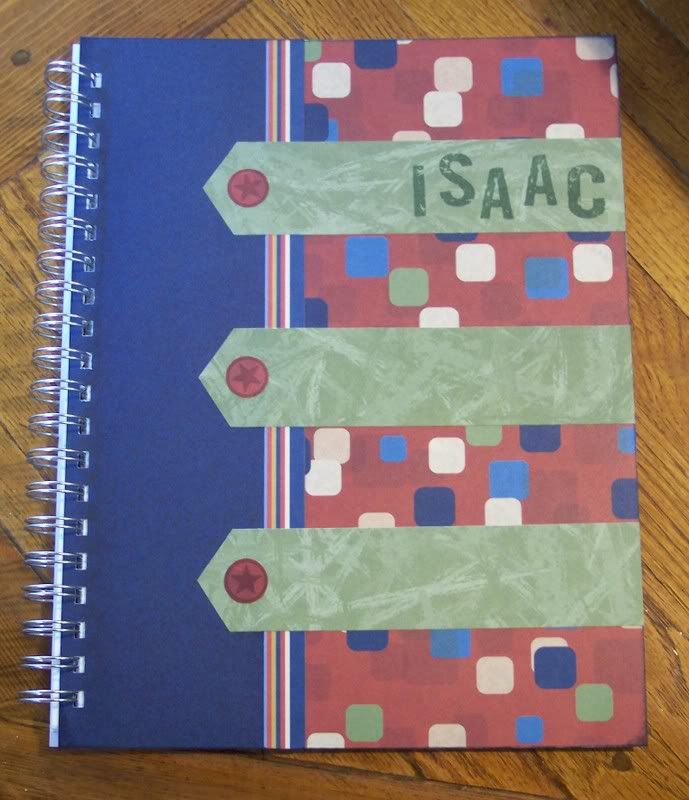
for my nephew Isaac who just turned 8 and was baptized this weekend! I used MCC #34 and Solos (G, R, 8, and the new Punctuation set). I was inspired by a sign at a local fast food place, advertising 'Join a GR8 team!' So I thought it would be perfect for an 8th birthday!


I also made him this journal/notebook - inside the front cover is a picture of Christ getting baptized. This was inspired by Originals: Tie Back Tag but created an 8 1/2 x 11 cover with it.


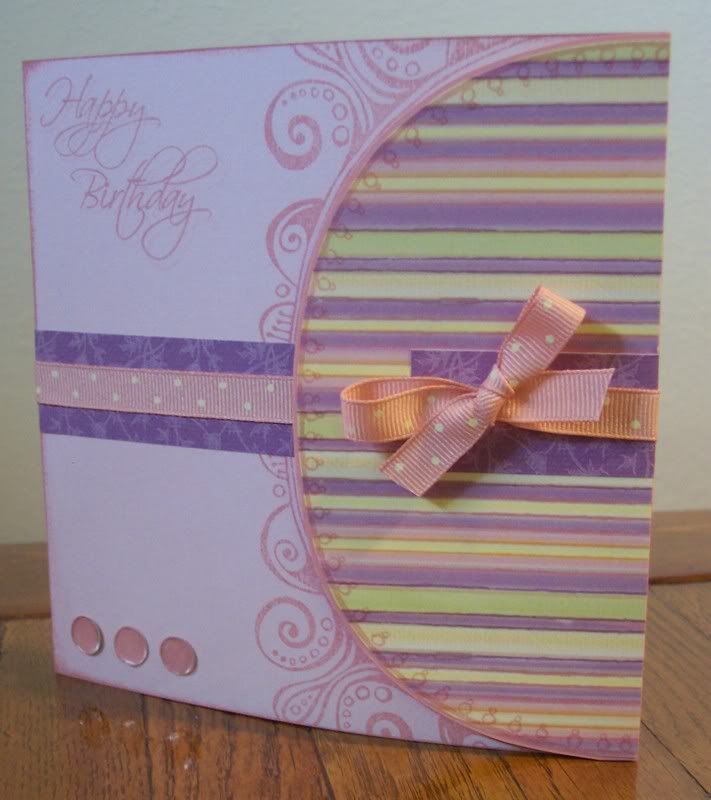
for my MIL - Happy Birthday today! She loves pink, can you tell? I took inspiration from Originals: Ribbon Envelope but turned it into a 6x6 card. I used Adorning Corners and For Every Occassion - I used some mini clear window circle stickers on the dark side of Blush textured CS to create the embellishment in the corner. I used the light side of the Blush textured CS for the front of the card, along with paper from the Paper Garden pack.

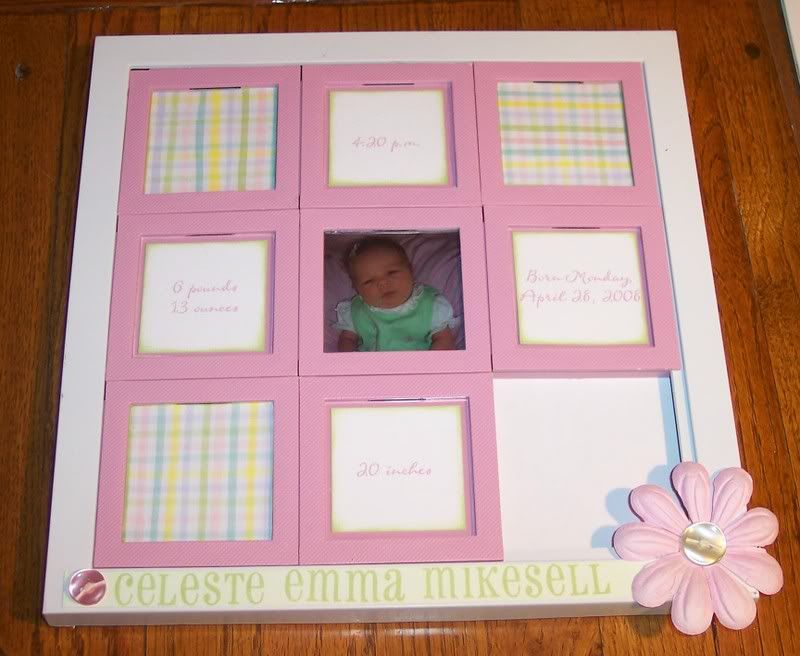
Here is another baby gift - that is LONG overdue! This is a fun puzzle (?) frame that I found - I don't know how else to describe it - each of the squares slides around like those puzzle games. I started this gift right after she was born, then the pics she e-mailed me, I couldn't get to print, so after I finally remembered to tell the mom I needed another picture, I was able to finish it up a few weeks ago when I finally got that picture. I just hadn't given it to the mom and baby yet (sadly she is almost 6 months old now) - I scheduled it to post here so I would finally remember. What a horrible friend I am ;-P