Showing posts with label Dazzling Die-Cuts. Show all posts

Friday, December 18, 2009

Emporium Card Set

I was asked to donate something for a teacher auction that they are having at my girls' school this week, so I decided to do a fun card set. I have always wanted to try one of the card workshops that are in the Wishes book - this was the perfect chance! I used the Just Because workshop starting on page 68, which creates 20 cards, but since I didn't have enough time to do all of them {since I put this project off until the morning it was needed ;-P } I just did the first 8. I was trying to get 10 done but ran out of time, and it's a good thing because I could barely get 8 cards and envelopes in the pouch. Here is the complete set - using the Emporium paper, a favorite of mine!
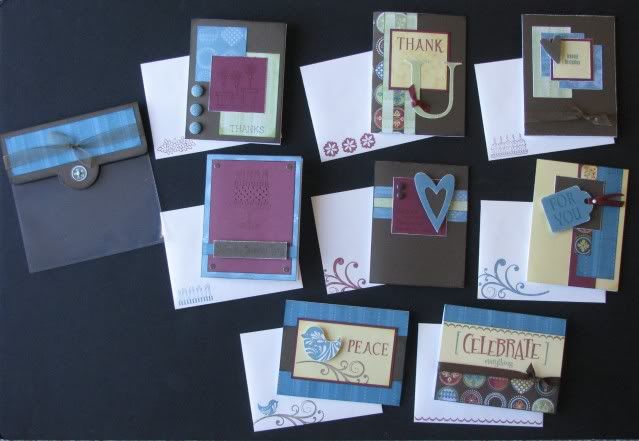
Speaking of the pouch, I created that from a 6x6 page protector, I just cut off the edge with the holes and added a fun flap that closes with velcro.
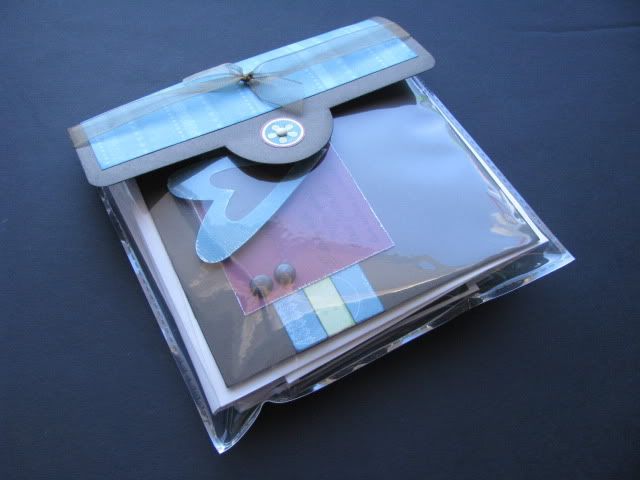
I used a mix of stamp sets, with some sneak peeks at some upcoming SOTM sets, so here are the individual cards and coordinating envelopes...
...I'll show you my favorite first - this one uses the upcoming January SOTM - True Friends, along with a heart from the Dazzling Die-Cuts, and I changed some gold brads by heating them and dipping them in Cocoa Embossing Powder
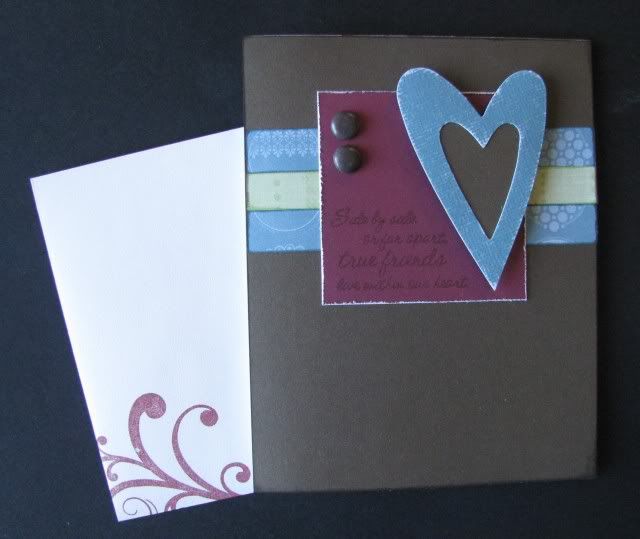
...this one uses the Felicity stamp set
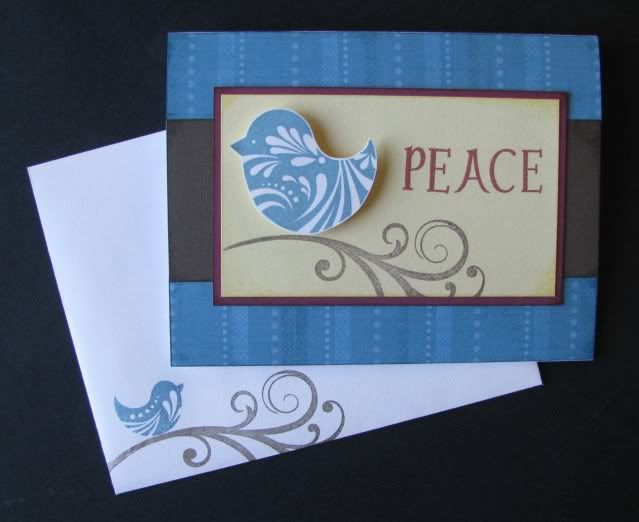
...this one uses the upcoming March SOTM - A Little Everything
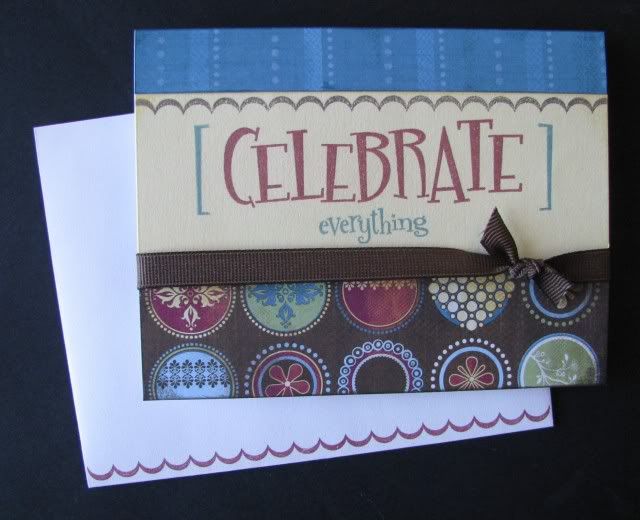
...this one uses the Felicity stamp set and a Dazzling Die-Cut tag
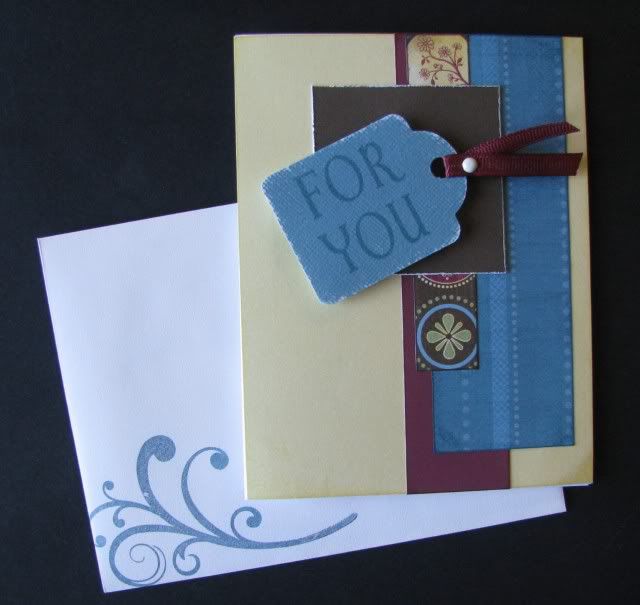
...this one uses the upcoming February SOTM - Piece of Cake
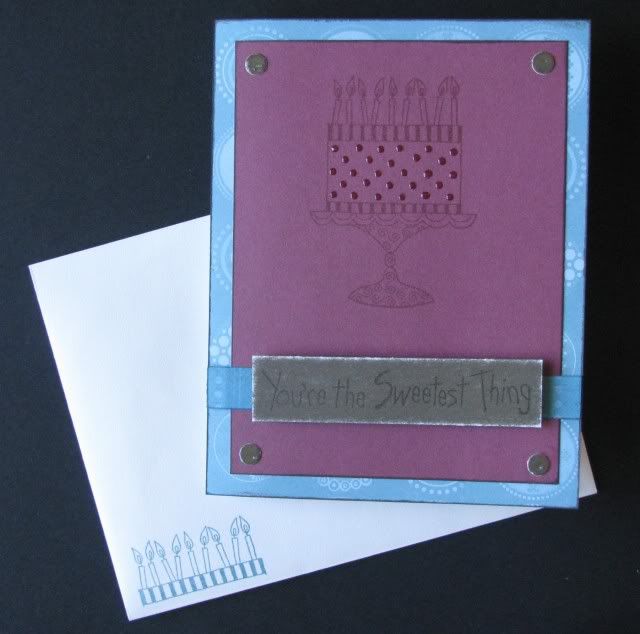
...this one uses the Felicity stamp set and another Dazzling Die Cut for the letter 'U'
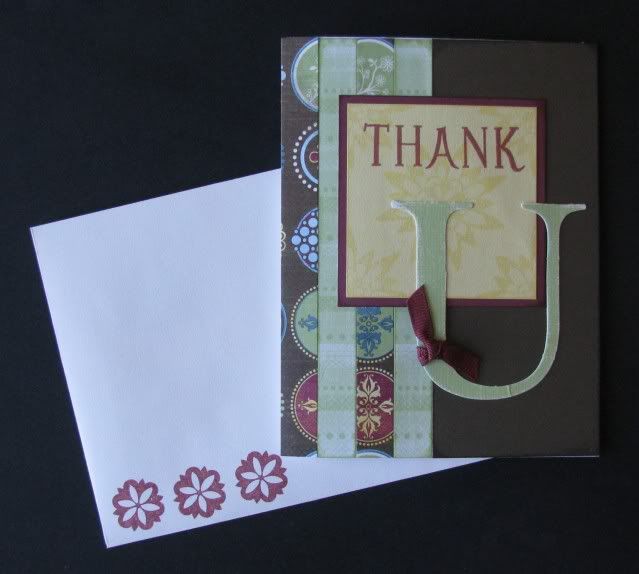
...this one uses the Happy Birthday stamp set and another heart Dazzling Die-Cut for the card and February SOTM - Piece of Cake for the envelope
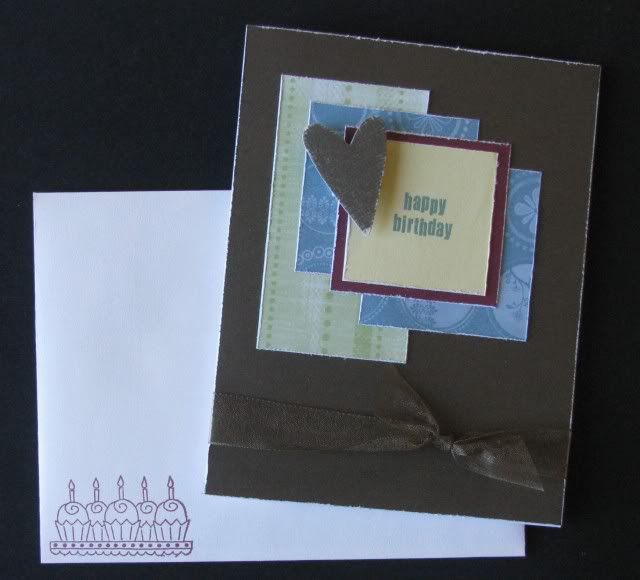
...this one uses the upcoming April SOTM - Flower Pot
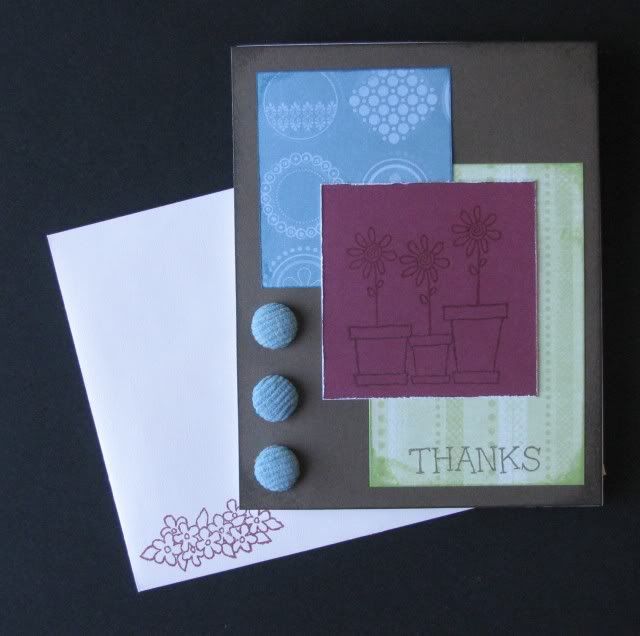

Thanks for looking!

Thursday, April 2, 2009

Reflections Challenge

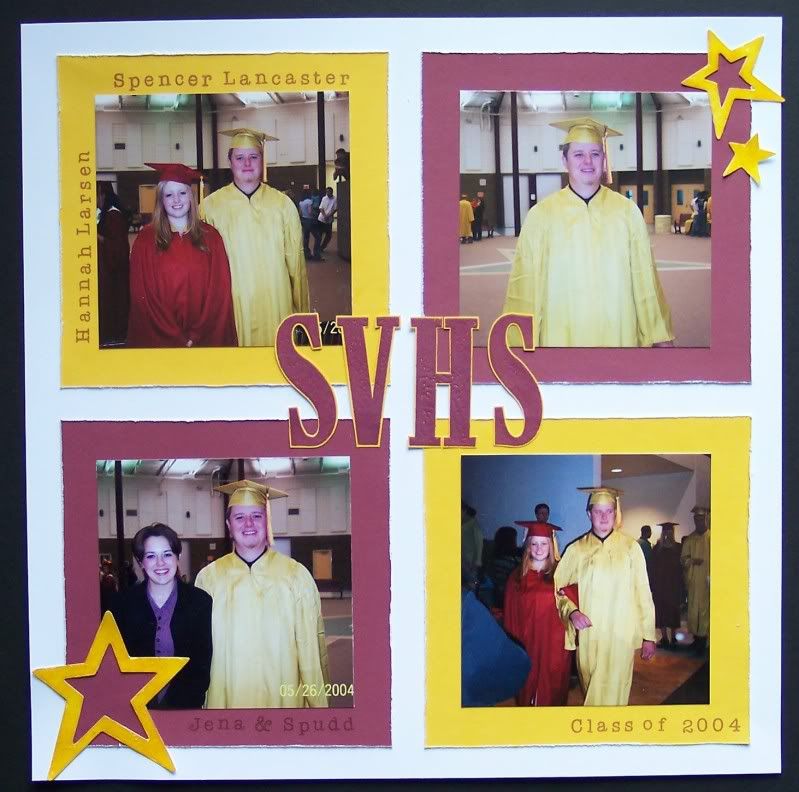
Here is a super simple layout that I did for the Reflections Challenge - you'd never know it was so simple as it took me forever to finally complete it ;-P For some reason I had a hard time finding the time to sit down and work on it - I kept getting sidetracked! I've been doing that a lot lately. Anyway, hopefully next week I'll be inspired to get some projects done!
***
This was my brother's HS graduation almost 5 years ago - I just used Honey, Vineyard Berry, and White Daisy CS, some White Daisy Dazzling Die-Cuts that I brayered with Honey ink and covered with Liquid Glass, the Tiny Typewriter stamp set, and the title SVHS was stamped using the Building Block Alphabet set and embossed using Vineyard Berry EP.

Thanks for looking!

Wednesday, February 4, 2009

Fun with Floss!

Here are a couple of pages that I have done this week - both using embroidery floss.
***
For this first one, I used the Playful Flourishes stamp set to stamp the flourishes, then I used the piercing tool and then needle and Chocolate floss to make them pop.


For this second one, I just free-handed the dashes with my piercing tool and then stitched with Black floss. This is also this month's Reflection's Challenge - I just flipped the layout once, so it's not really a Sidebar, but that's where I got my original inspiration!


Saturday, January 31, 2009

My First Boy Pages!

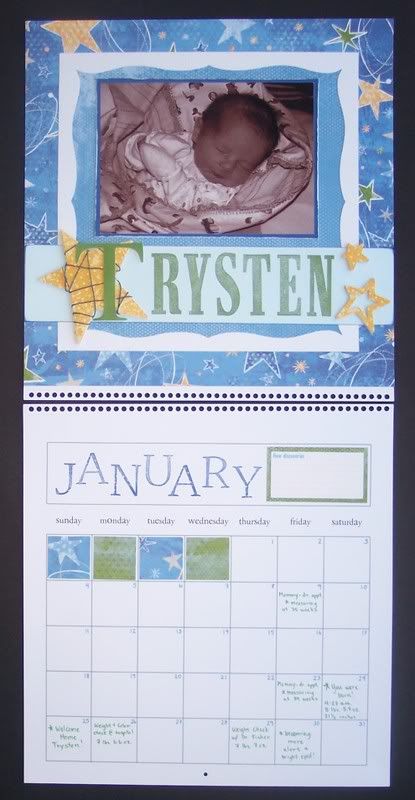
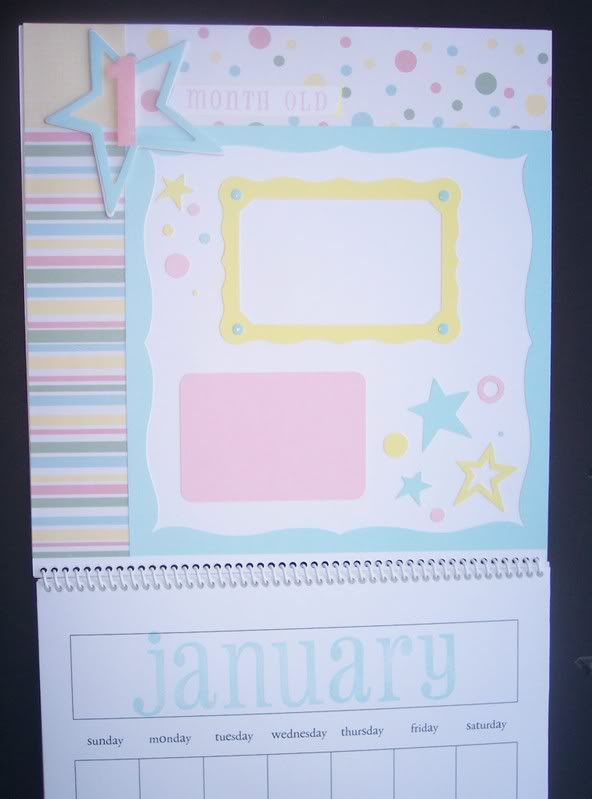
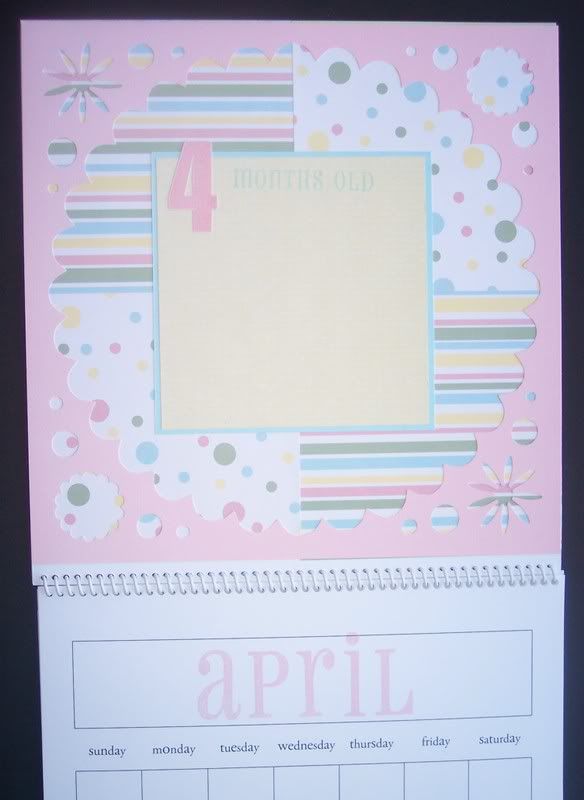
Trysten is now one week old and he already has his first pages done! This is the first month of his baby calendar - I have to wait until I get the rest of my Stardust paper (I only have the bulk paper so far) and a full calendar (I only have this partial one left from when I did my friend's baby calendar) so I can finish the rest, but I'm really excited! I'm probably just going to copy what I did with hers, just to make it easier, but hey, there's nothing wrong with that, right!

I used some Stardust papers, and the white frame and letter 'T'came from the Dazzling Die-Cuts. I also used some DE stars (covered with Honey Textured CS and stamped with the background stamp from Rustic Flowers), some Moonstruck Waxy Flax, the Building Block Alphabet for his name and Classic Caps for the month. So how am I doing with the whole boy scrapping thing so far ;-) It's a whole new world to me but so far a lot of fun! Thanks for looking!
Wednesday, January 21, 2009

Flower Child

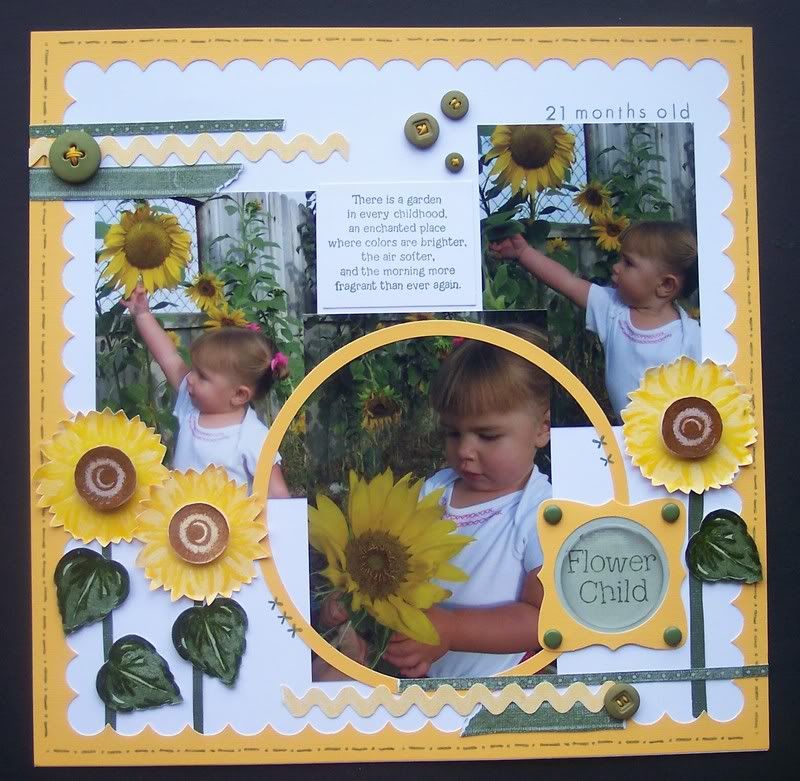
Here is a page I did yesterday. I used a January 2009 PageMaps sketch - I love Becky's sketches! These pictures were taken the same day as the last 4 pages I have done - I must have been really camera-happy that day! But I think that day is finally done ;-)


For this page I used all CTMH Products: Dazzling Die-Cuts for the scalloped frame and the frame around the title, Sunflower Garden stamp set (retired), Flower Child stamp set (which I've had for a while now and have never used), Ritzy Ribbon stamp set, Cupcake Sprinkles for the stitches around the edge, and for the cross stitch marks, I used the 'X' from the Moments In Time stamp set (January Stamp of the Month). I also used Olive Buttons with Sunflower Waxy Flax, a Circle Window Charm on the Flower Child title, and 3-D foam squares and Liquid Glass on the flowers and leaves to make them pop. I love the new Big Circle Coluzzle template - I used that for the circle around the middle pic.
***
Thanks for looking!
Thursday, January 15, 2009

First Page of the New Year!

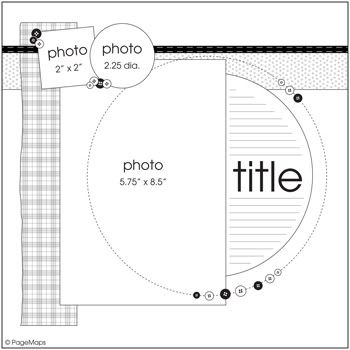
It felt so good to finally get a page done this year! I've had this picture sitting on my desk with this paper for at least the last 6 months, just never got the inspiration to do anything with it. Anyway, this month's PageMaps sketch contest is using the following sketch...


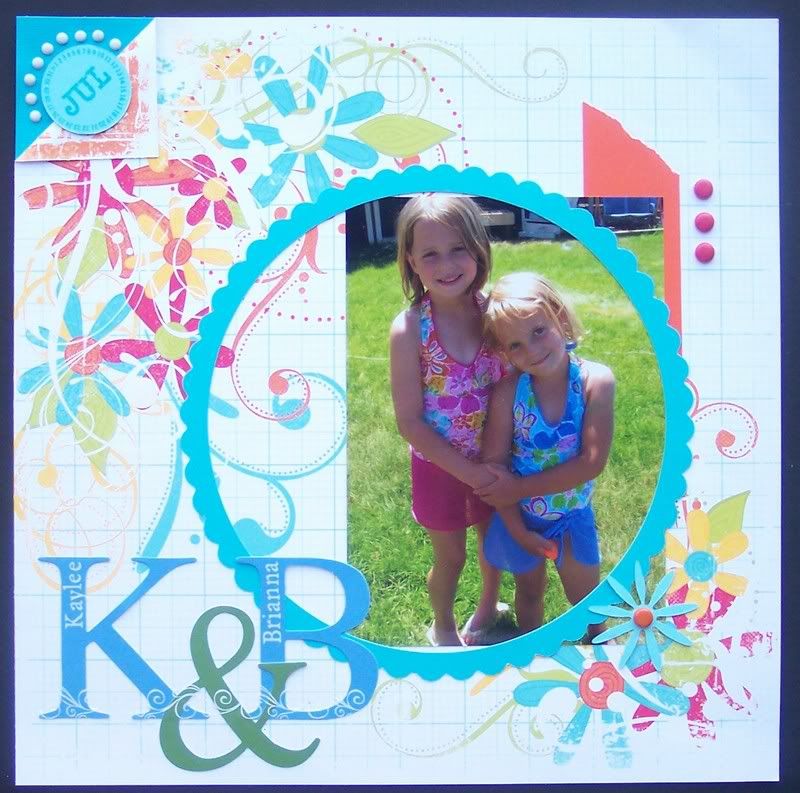
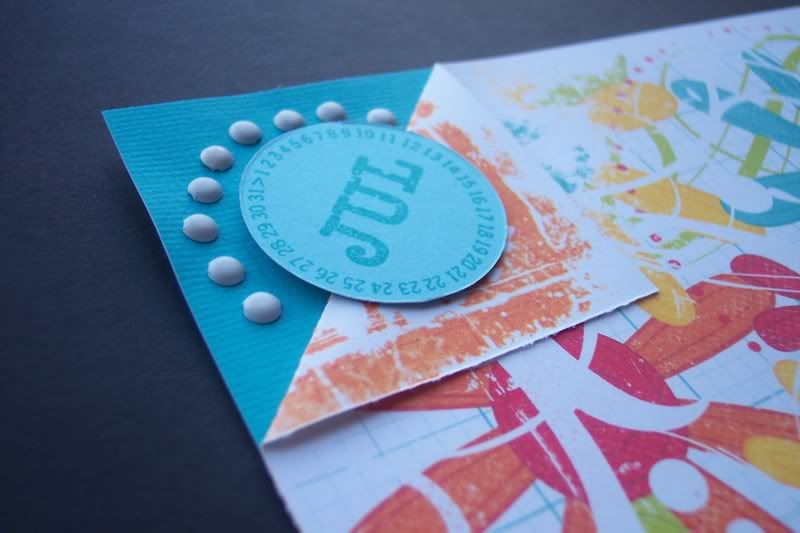
I've used this sketch before on this layout, but wanted to try it again since it's one of my favorites. So as I was flipping through my pictures, I came across this one and knew it would be perfect! I didn't notice until now that both layouts using this sketch are swim/water themed ;-P I didn't add as many layers/papers as there are in the sketch since I didn't want to cover up very much of this paper, but I am really pleased with the results! I also flipped the sketch upside down. I didn't plan on the folded corner thing, but when I finished the LO, I noticed some pen scribbles up there (I wonder who the culprit is...) and had to cover them up, and I really like how that turned out, even though it was just an afterthought. Here are my sweet girls - I just love the looks on their faces here - so full of love!


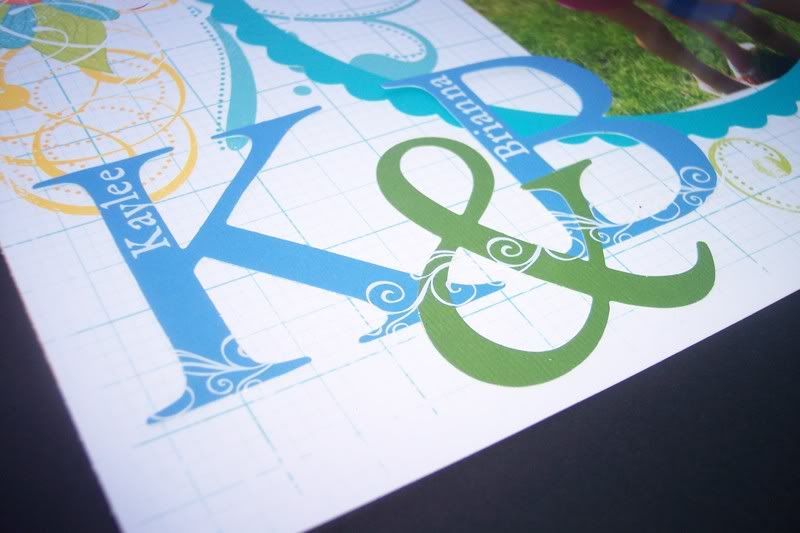
Anyway, enough rambling, here is my layout. I used some paper from We R Memory Keepers (Frenzy - Dither) along with some Summer Celebration Textured Die Cuts, Ocean textured CS for the corner and the scallop circle frame (I cut this with the new Big Coluzzle Circle and then added the scallops using my corner rounder), Orange CS, Summer Carnival Bigger Brads, Love Letters Rub-Ons, white brads, and Today's Date stamp set. Here are some close-ups of the Rub-Ons and folded corner.


Thanks for looking!
Saturday, December 27, 2008

Baby Calendar

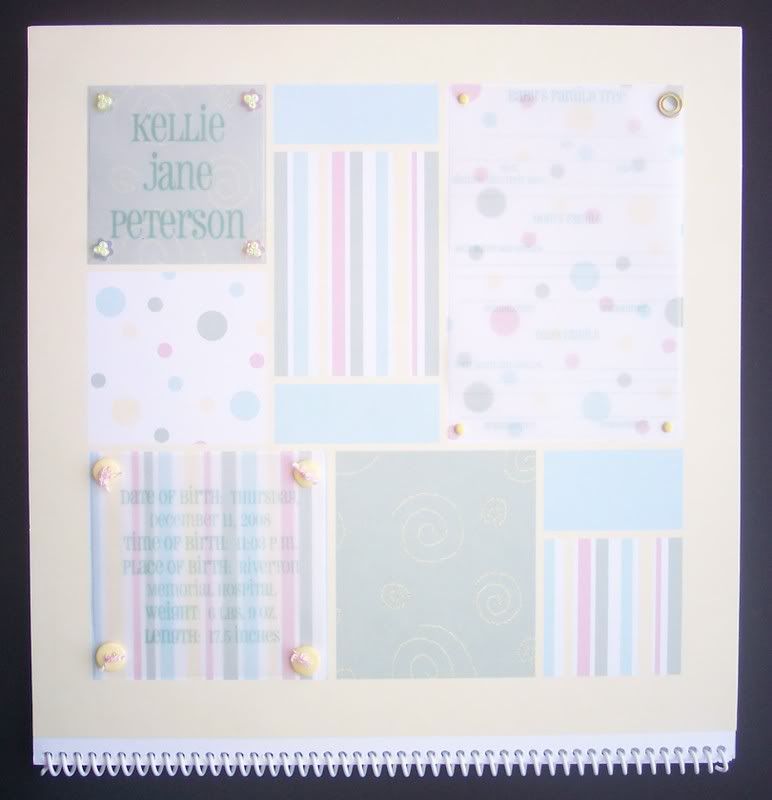
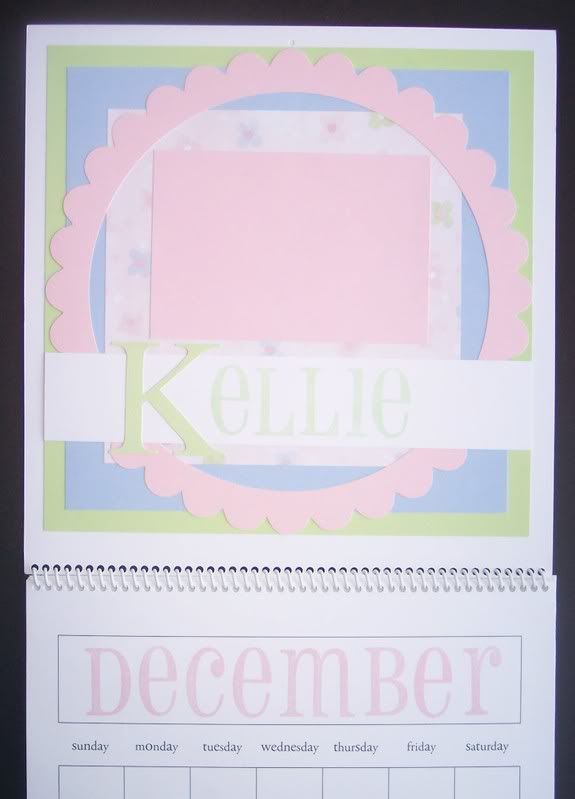
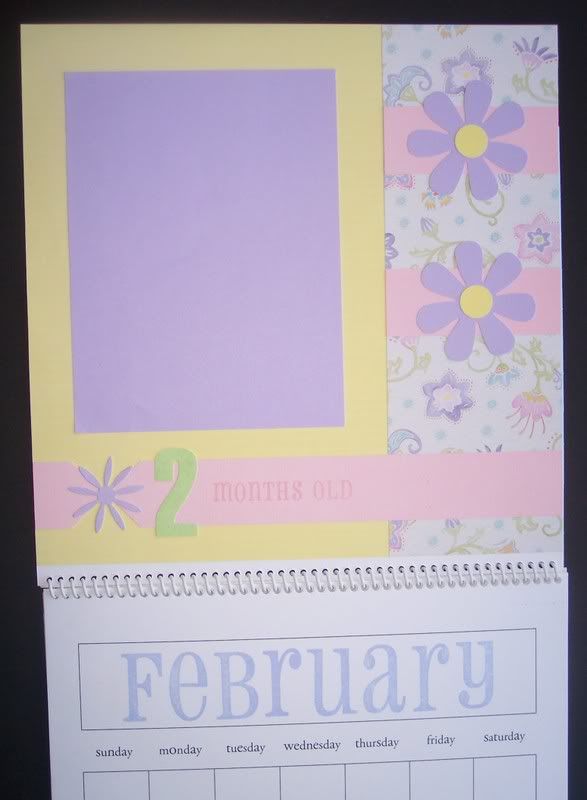
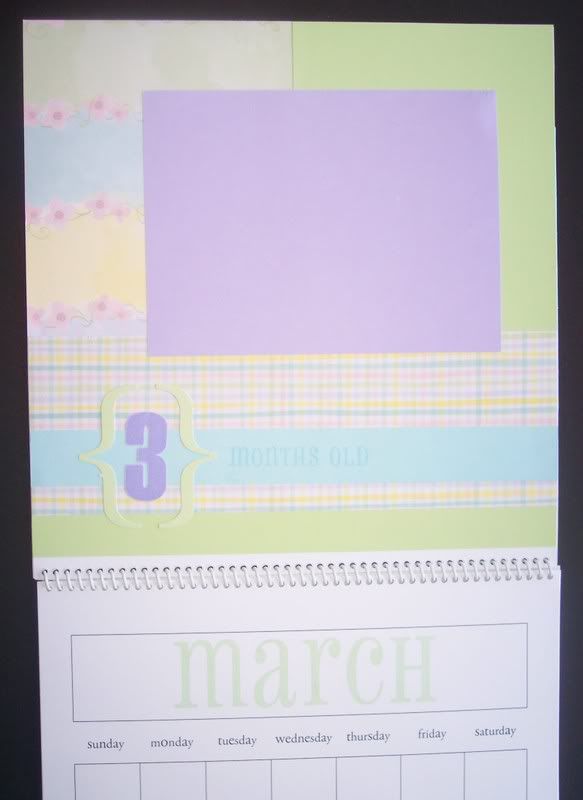
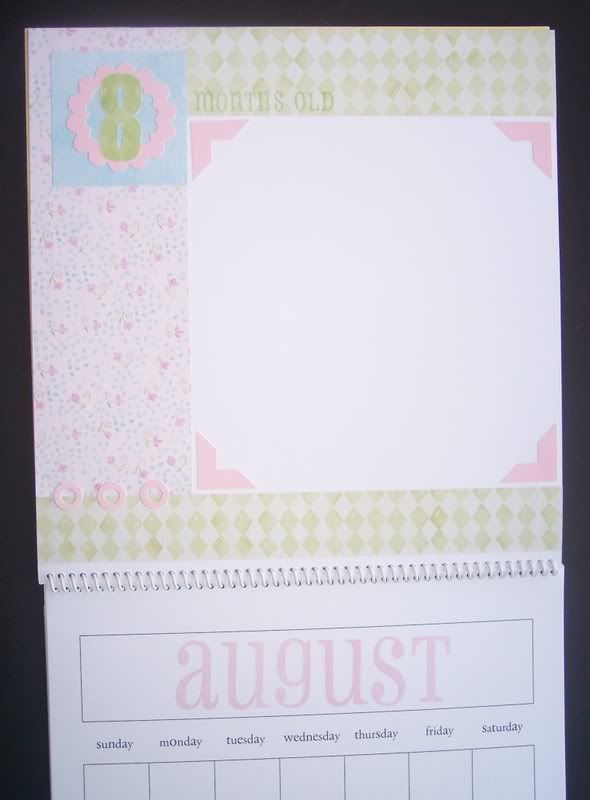
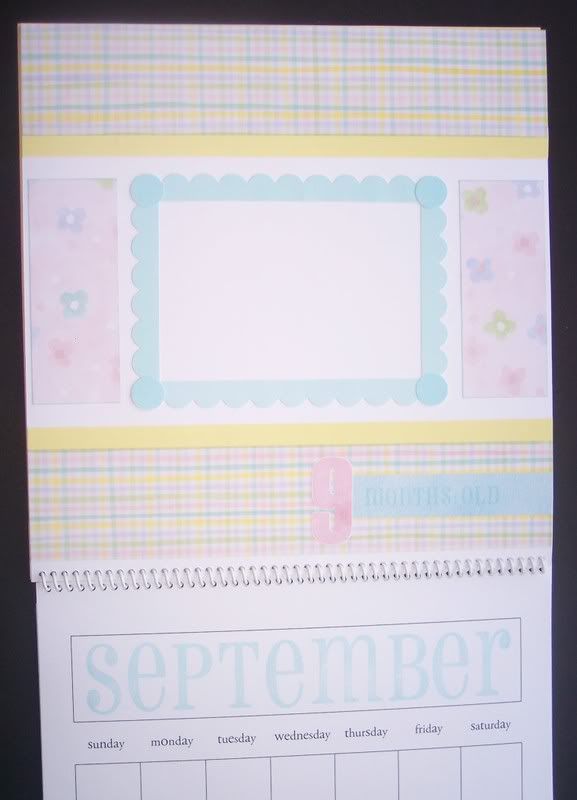
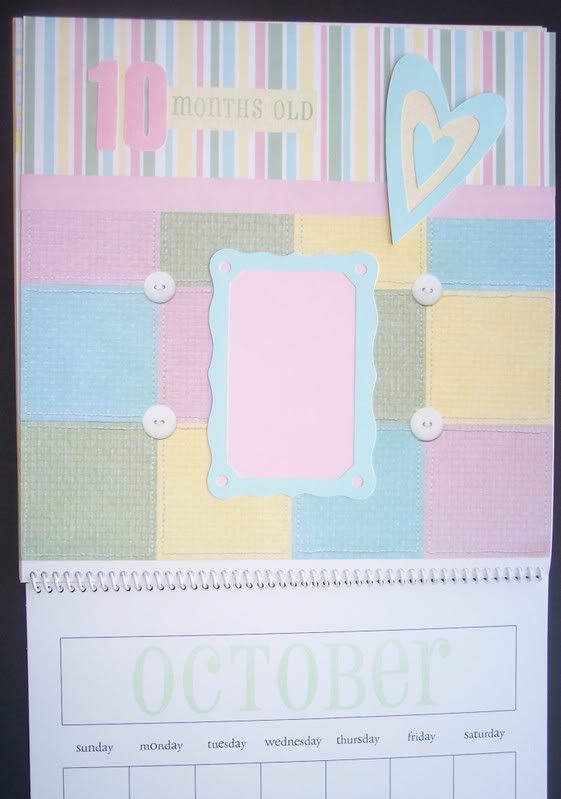
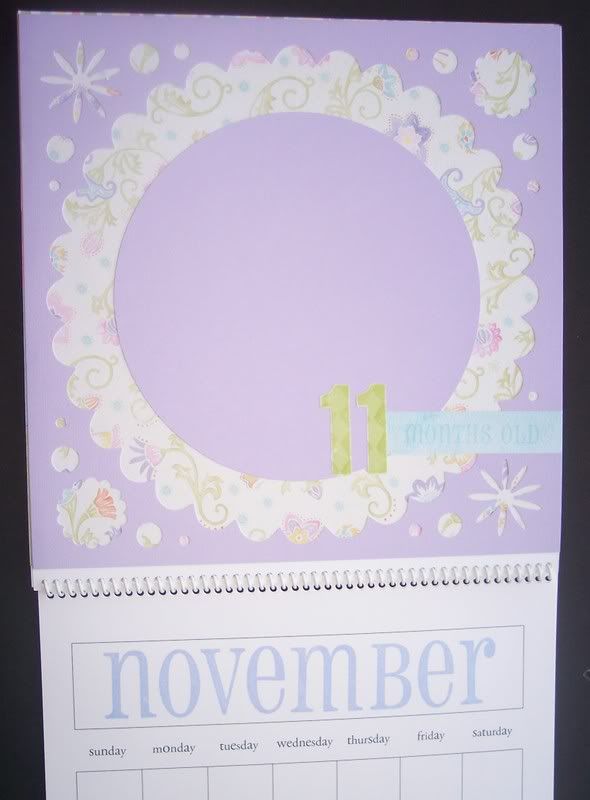
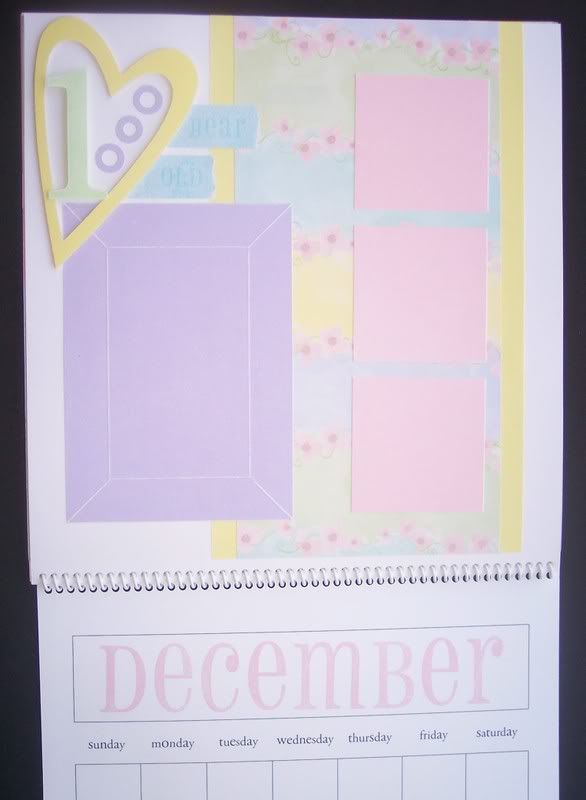
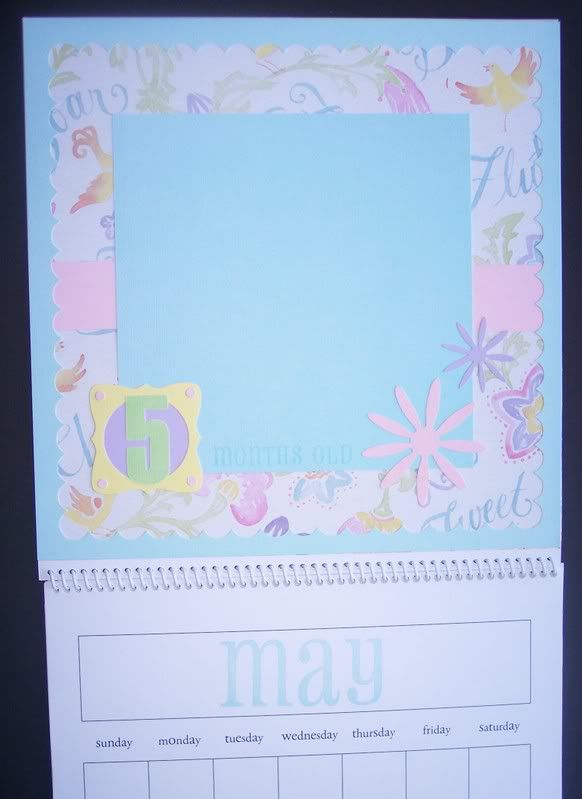
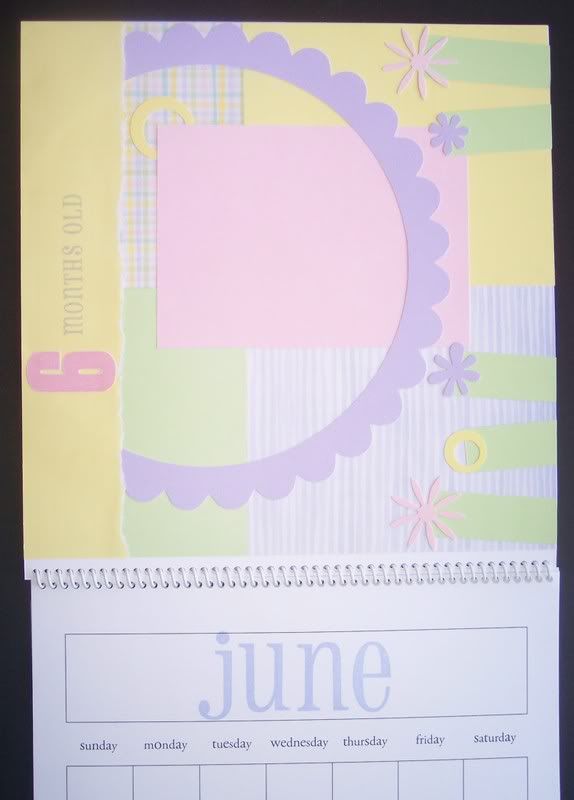
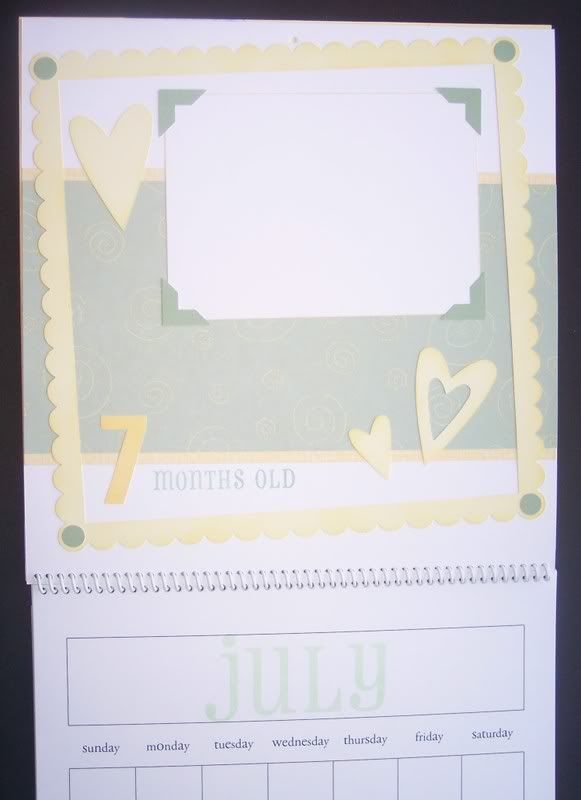
My dear friend (pictured here with our baby bumps) had her baby a couple weeks ago - here is the gift that I made for her. It's a calendar to capture baby's first year. I've bought one for each of my girls when they were babies, but never thought of making one until now. The only thing I didn't think about before I started is that is has to be a 13 month calendar in order to get the full year, so I had to un-bind it and add an extra calendar page and then re-bind it. I worked each page around the Dazzling Die-Cuts (Spring Harmony collection) and used just three different sets of papers from CTMH, Heaven Sent (retired), Sweet Harmony, and Sweet Pea. When she is done with the calendar, she can either leave it as is, or cut each page out and it will fit in a 12x12 album.
***
Level 1 Page from Heaven Sent
The front of the calendar has her name, birth info, and space for a small family tree.
Cherish - A New Perspective - left

Cherish - Color Celebration - right

Imagine - Safe & Secure - right

Imagine - Classical Look - left

Reflections - Main Frame - Four Square

Reflections - Main Frame - Tied Up

Cherish - Give Me Ten - left

PageMaps - April 2008 MiniMap - I copied this layout here

Imagine - In the Groove - left

Reflections - Front & Center - Main Idea

Imagine - Proof Preview - left

Cherish - Unified Whole - left

Cherish - Graphic Texture - right

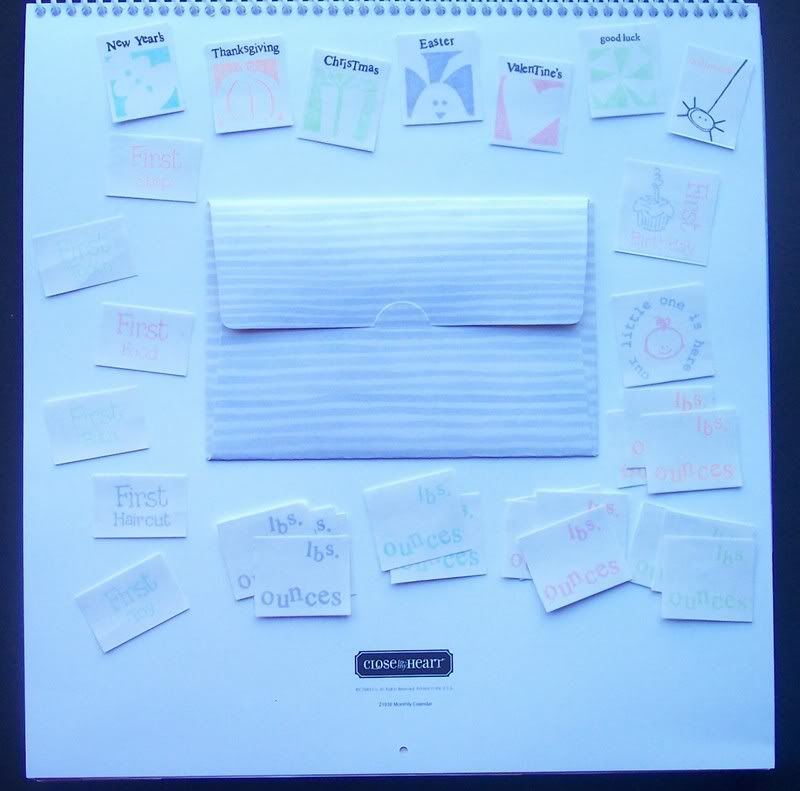
On the back of the calendar there is an envelope with the different stickers to mark milestones, growth, and other important dates.

Friday, November 21, 2008

School Pictures

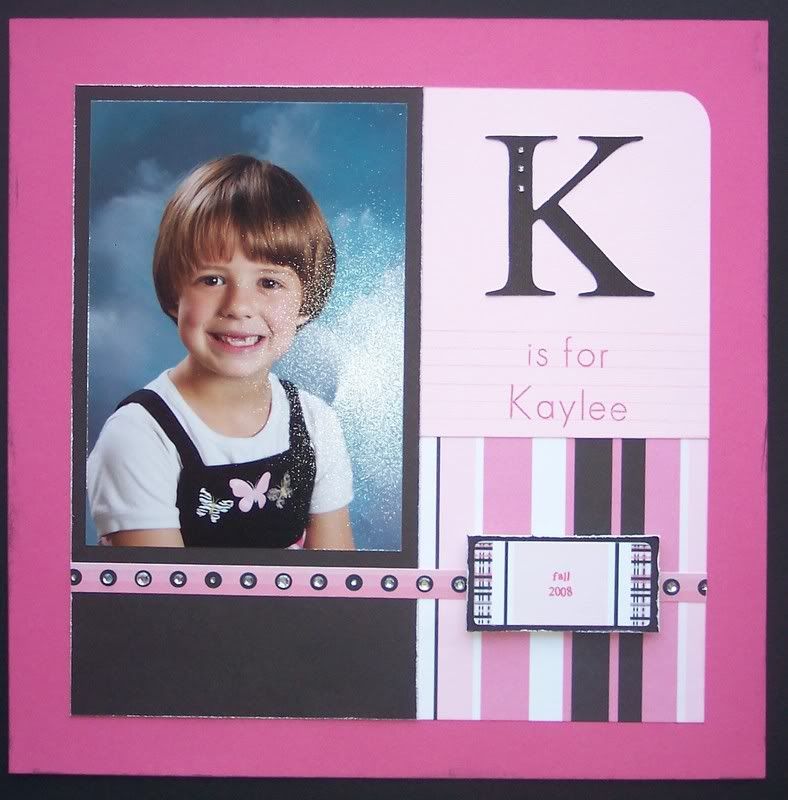
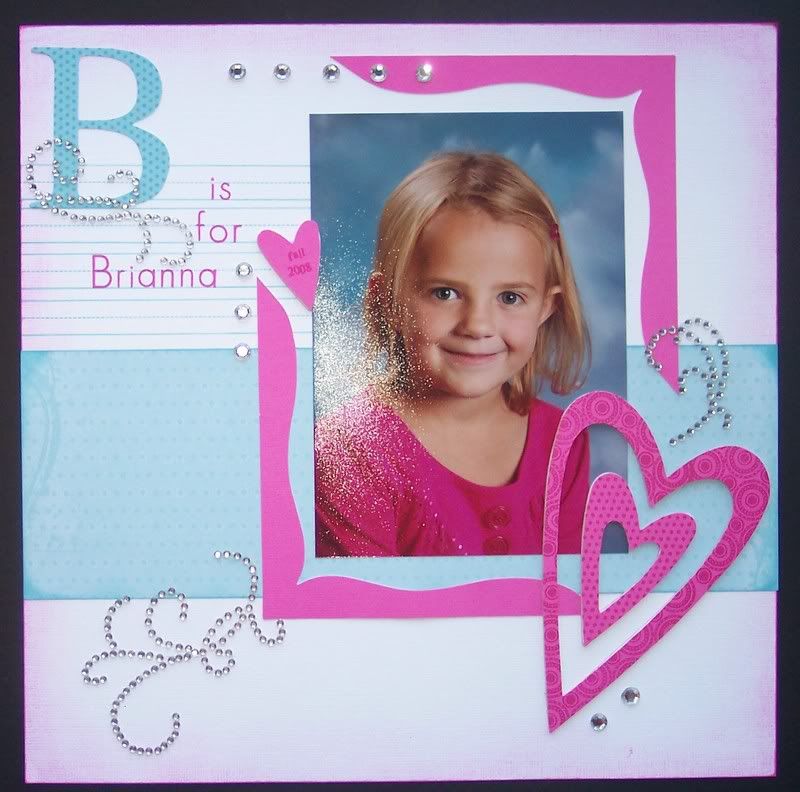
I got this year's school pictures scrapped already - here they are...sorry for the glare on the pics, I couldn't get a decent pic without the flash.
***
I did this one yesterday - I used Erin's Sketch Challenge posted on her blog - as soon as I saw her sketch I knew what I was going to use it for, it just took me a few weeks to get around to it ;-) I used the Stylin' papers and Stickease (retired), and the letter K from the Black Dazzling Die-Cuts, along with the Classmates Alphabet and Sparkles.


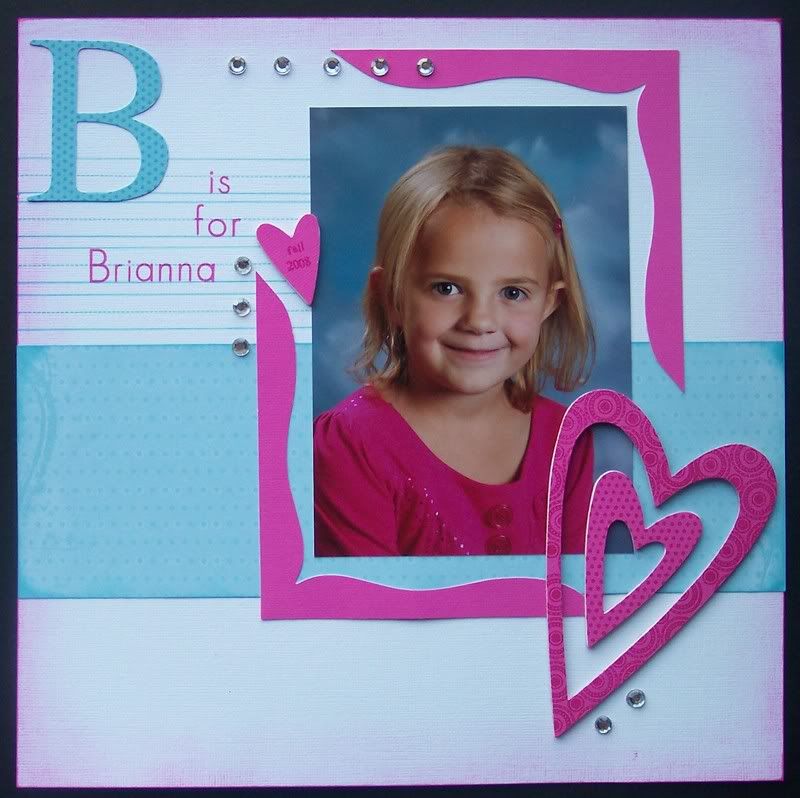
I did this one last week - and my creativity was really lacking. Here is the first end result and I just didn't like it...


...something was missing, plus I hated my spacing on the word 'for' - I don't know what I was thinking! So I let it sit for a few days and then I found these fun sparkly flourishes at WalMart and knew they would be just perfect! It's still not one of my favorite layouts, but I'm much happier with it now. I used the B from the Crystal Blue Dazzling Die-Cuts, stamped with the Spot On Background, and the frame and hearts came from the Watermelon Dazzling Die-Cuts, also stamped with Spot On. I also used the Classmates Alphabet, Sparkles, and paper from the Notebook pack.

Thanks for looking!
Thursday, November 13, 2008

MCC #38

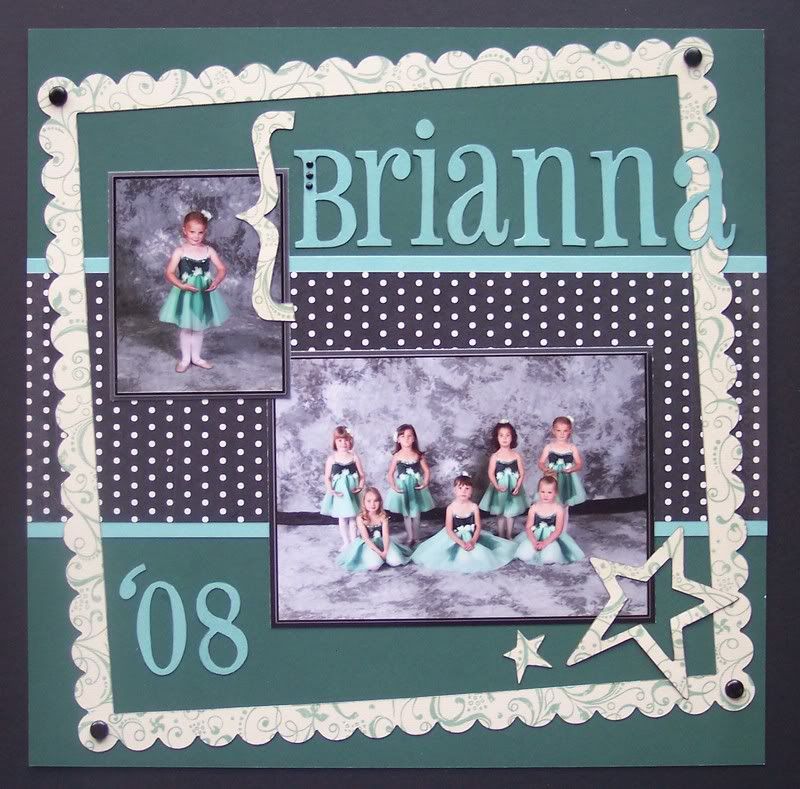
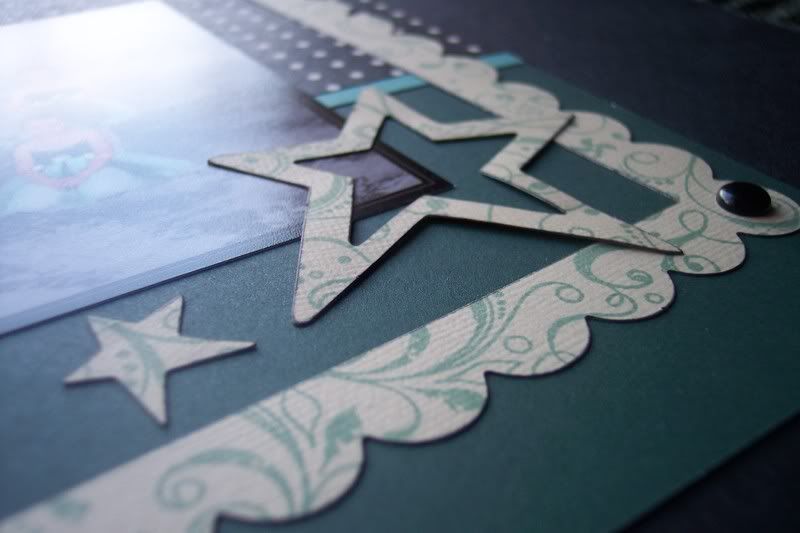
I have had these pictures just sitting on my desk for the last 2 months with this dot paper from Silhouette and some Juniper and Ponderosa Pine CS (since it matches her dance costume so perfectly), but I just wasn't getting the motivation to scrap them - that is, until Marjorie's Color Challenge #38 came along! So I just added Bamboo from Marjorie's color challenge to my original idea, used Black instead of Desert Sand, got to play with my fun new Dazzling Die-Cuts for the first time and hooray, I have another page done! I stamped the Die-Cuts with one of my favorite background stamp sets, Adorable Backgrounds, using Juniper ink, and heat embossed (using Clear EP on Juniper CS) and cut out the title using Friendship Alphabet. I'm not so sure about the 'a' at the end of her name - it seems to get lost to me - what do you think? I'm wishing I had matted the letters on Black CS, but I really didn't want to cut any more ;-) Any suggestions? Also, a very subtle thing I did - I traced each Die-Cut piece using a black marker to give it a very sharp black edge - it's hard to tell in the pic, but it made them pop and I'm glad I decided to do that rather than sponge the edges in black, I really like the clean look. After all that, I ended up with a really quick layout (besides the title cutting which took about 15 minutes) that I'm really pleased with! I forgot to mention, I was inspired by a PageMaps sketch for this one - it's an April 2008 MiniMaps.
***
Thanks for looking!