Showing posts with label Comments. Show all posts

Tuesday, November 15, 2011

CTMH Spotlight Blog Hop - Embossing

Hello and welcome to this month's CTMH Spotlight Blog Hop!  This month we are featuring projects using an Embossing Technique.  If you came from Luisa's blog then you are on the right track!  If you are starting here, then just keep hopping along to check out what everyone else has created.
***
I love embossing, whether it's heat embossing or dry embossing, it's always a fun addition to any project.  Click HERE to view all items available from Close To My Heart to meet your embossing needs.  Today I am featuring some projects using heat embossing.
***
I gave a little sneak peek last week, here are a few of the full pages.  I created these pages for a friend's baby shower.  She only scraps in 8 1/2 x 11 so I had to challenge myself since I've never scrapped this size before.  On these following pages, I heat embossed on a clear transparency to create my own type of overlay.
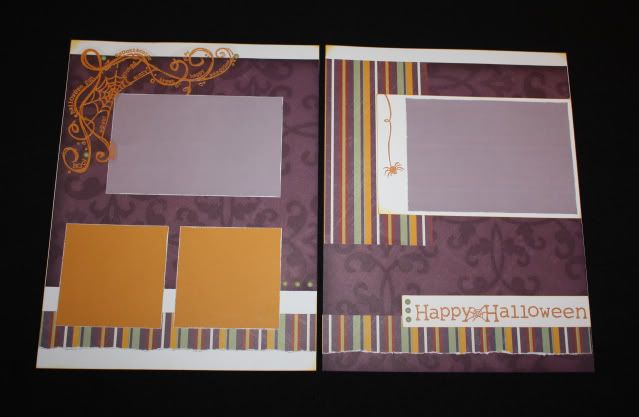
For these Halloween pages I modified the Dialogue pattern from Imagine.  I also used some retired Enchanted papers and Creepy Cobwebs stamp set.  I heat embossed the title and the spider on the right page directly on the white paper.  I heat embossed the spider web on the transparency and trimmed around it.  I attached it with carefully placed dots of Liquid Glass (to hide under the image) and a few coordinating brads.
For the following 4th of July pages I modified the Levitate pattern from Magic.  I used some retired Blue Ribbon paper, along with a Stamp of the Month from this summer, American Celebration, and an old favorite stamp set, Circle Around.
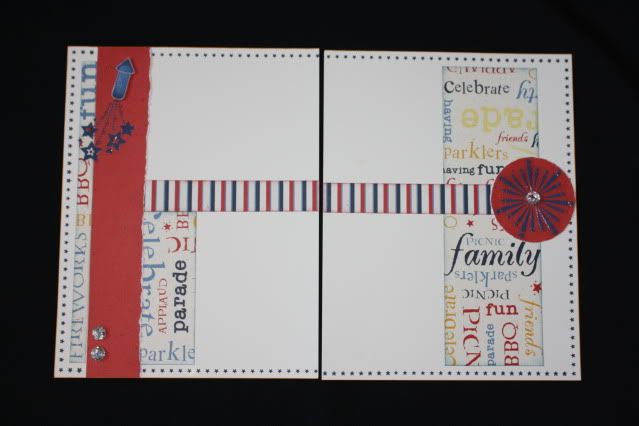
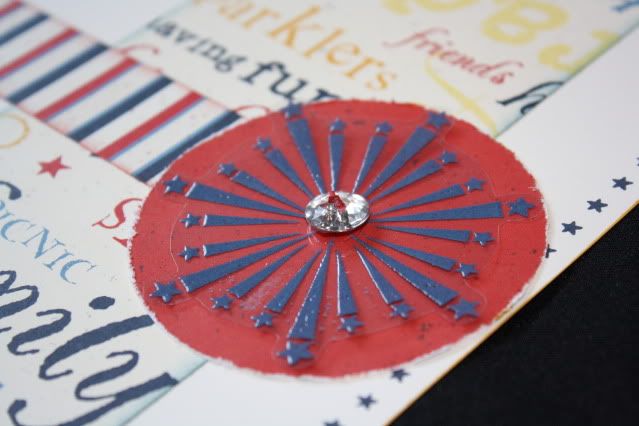
I embossed the firecrackers on the transparency and added a touch of Prisma Glitter to the image while the embossing powder was still hot.  It added just a touch of sparkle.  Like the spider web, I trimmed around the image and attached it to the page using Liquid Glass behind the stars and a few dots.
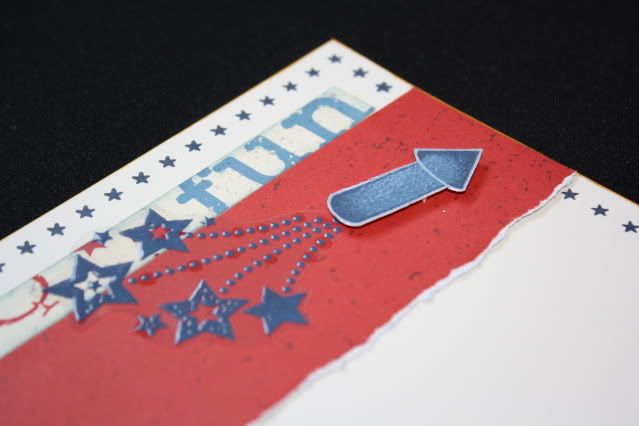
I added a few Bling Buttons as well - this one covers up the glue dot that I used to hold the transparency down.
Here are some pages for Baby's First Christmas with a few different embossing touches added.  I modified the Full House pattern from Imagine.  I used the retired Jingle papers on these pages.  My title was cut using the Cricut Art Philosophy Collection.
I used white embossing powder mixed with Prisma Glitter to color this Dimensional Element Ornament.  It adds just the perfect touch of sparkle and shine.

Another thing I like to do with Embossing Powder is color brads with it.  I took some plain white brads here - heated the brads with a heat gun then dipped them in Baby Pink powder and heated them again.

For some regular embossing, I did a little bit of that here on the Blessing Day pages.  To create these pages I modified the Simple Contrast pattern from Cherish.  I used the retired Silhouette papers.  The title was cut using my Cricut Art Philosophy Collection - with a little help from my Cricut Design Studio I was able to change the look of the alphabet by making it taller and skinnier.  I do NOT use my Cricut without the Design Studio anymore - I know exactly what I am cutting and get the exact size I want without guessing, plus I am able to use my paper better and really customize the look.
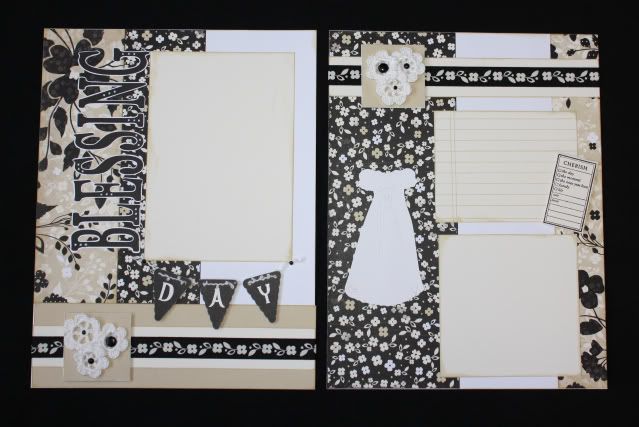
I embossed the word DAY on these black banner pieces (also cut using the Cricut) using white embossing powder and Felicity stamp set.
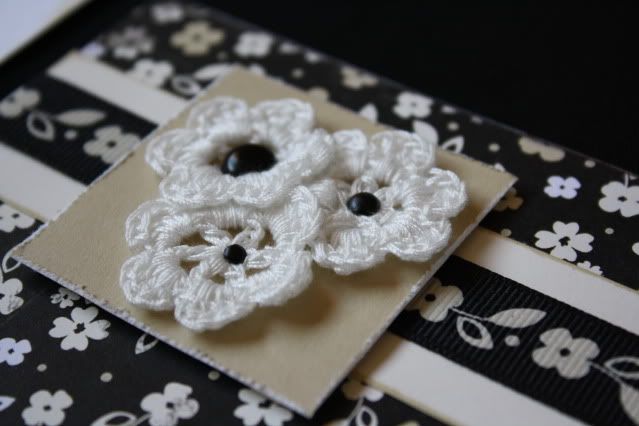
A few more close-ups from these pages just because I love them so much ;-)  Here's a cluster of crochet flowers attached with various sizes of black brads.
The journaling piece was stamped using lines from the Comments stamp set and accented using the Cherish the Moment stamp set.
Thanks for stopping by - to continue along the hop, your next stop is Nikka!

Thursday, February 4, 2010

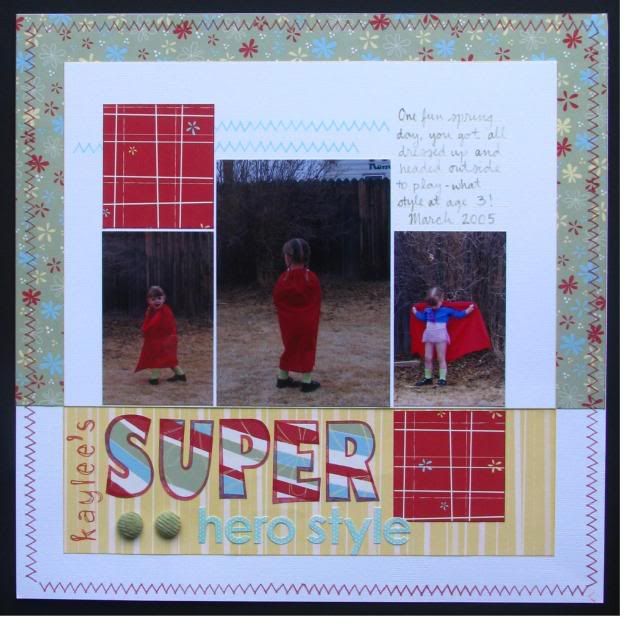
Super Hero Style

I wish I were a Super Hero! This has been quite a week/month/year - I hope I make it through! My computer has crashed, so I am using my super slow laptop (that hasn't been used in over a year since it's such a pain), but thanks to post scheduling, I won't be disappearing from my blog anytime soon. I still have the rest of this month's Design Team work to share, plus I have been scrapping a lot lately - it helps relieve my stress! Thanks for sticking with me even though I am not able to return the sweet comments.
***
Just a quick (but not complete) update - yesterday the two youngest kids were scheduled for their yearly check-ups at the doctor. Brailee went to her cousin's birthday party after lunch and got home about 45 minutes before her appointment. Shortly after getting home she started crying about her ear - she was clearly in pain and I just knew it was an ear infection. Out of all our kids, she has had them the worst - when she was a baby she had a run of them about one a month. We thought we were past that, though as I don't think she has had one for over a year...until now, that is. Usually our doctor visits go so well (even with the shots) but yesterday was a different story. Brailee was hurting and tired (she fell asleep on the way to the appointment) so she was a pill at first, plus it was a fill-in doctor since ours is on vacation, and a new nurse, so I don't think that helped either. After a while she finally got happy again and played with her sisters...but then it was shot time. She only cried for about 30 seconds but she wasn't too happy with me for letting them give her a shot. Oh, and sure enough, it was an ear infection. Trysten wasn't too happy at the doctor's office either - his nap schedule was off yesterday so he was tired as well. He also has at least 3 or 4 new teeth coming in, and on Sunday as we were getting ready for church, he fell and bumped his mouth and tore his frenulum (sp?) so his mouth is pretty sore and makes him cranky! So he wasn't too happy at the doctor, and then he got his shots too - boy that made him mad! We were only there for about an hour but I was glad to get out of there! Luckily David was just getting home from work when we got out so I dropped off all the kids and went to the pharmacy for Brailee's antibiotic. So, anyway, sometimes I just wish I were a Super Mom who could make it all better ;-)

***
Anyway, enough rambling - here is what I came to share this morning. This was a page I did for the last PageMaps Blog contest, but thanks to my computer crashing, I was unable to get it uploaded in time for the contest deadline. I just checked out the winners - they are amazing - I never stood a chance anyway ;-P Here is the sketch used - I rotated it once to fit my pics.


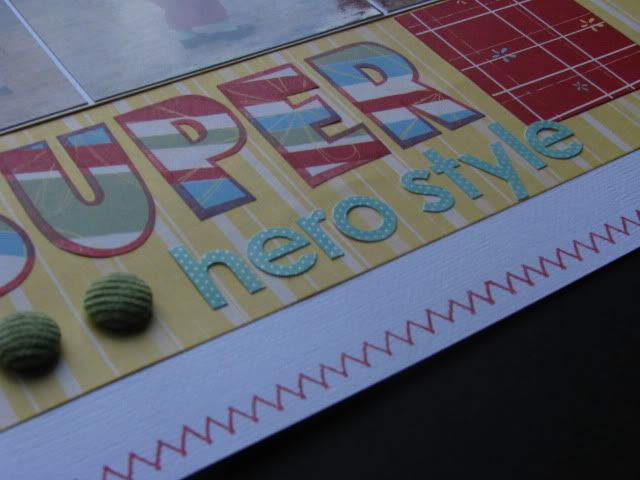
I love these Let's Get Together papers - but you'd never know they were a favorite of mine since this one and Brailee's Birthday Girl pages that I posted earlier this week are the first ones I've done with them - and I've had the papers for over a year now! I want to re-do my journaling spot - the buttercup ink didn't show the journaling lines as well as I would have liked, and my Garden Green marker is going dry so it all just didn't work well together. This was the first time I've used the new Irresistables Color-Ready Alphabets and they are so much fun. I do love these pictures of Kaylee - they make me smile! So I do love the page - just need to order a new marker and fix my journaling spot...eventually!


Products Used (all CTMH): Let's Get Together papers, Posterboard Alphabet stamp set, Doodle Alphabet stamp set, Comments stamp set, Simple Stitches stamp set, Irresistables Lots of Dots (sticker letters), sponged with Breeze ink, Autumn Garden mini medleys (Olive Corduroy Brads)


***
Thanks for looking - and thanks for your sweet comments, they really brighten my day!

Tuesday, January 26, 2010

Challenge #104

This week's challenge over at Sketches! {by tamara} is a journaling challenge from Bethany. Here is the challenge:

"journal about something in your life that you have overcome -- it can be something very personal & of great importance, something that was a big moment or change in your life *or* it can be something that is more light-hearted, maybe not a huge ordeal in your life but still a situtation or something that you had to overcome & make it thru to get to where you wanted to be or to accomplish what you wanted to accomplish."

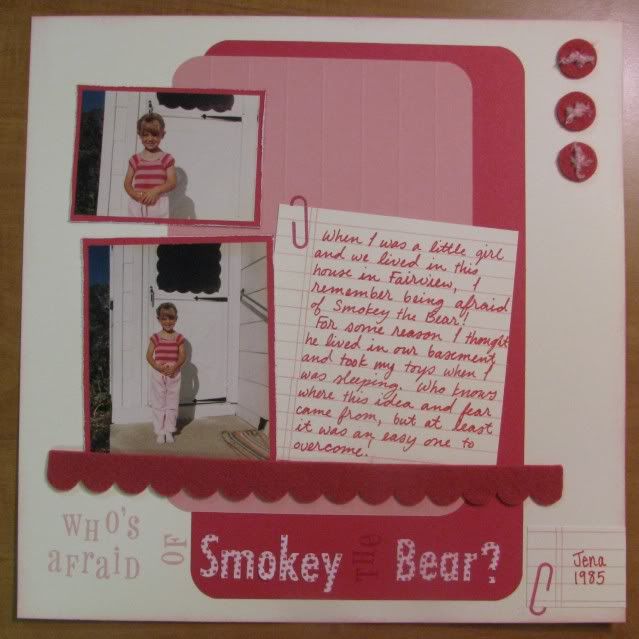
I obviously went with the more light-hearted approach. This topic was a huge challenge for me to journal about but I really like my take on it - totally not what you'd expect but I'm glad to have this memory scrapped, as silly as it is!

***

For this layout I used a sketch from PageMaps, from their December 2009 sketches - I've used a lot from that month's sketches!

***

CTMH Products Used: Colonial White, Tulip, and Blush cardstocks, Whimsy Heartfelt DieCuts (Tulip scallop and buttons), Winter Cozy Sassy Strands (Blush), Friendship Alphabet (small), Bold Color Ready Alphabet stickers (stamped with one of the Spot On Background stamps using Tulip ink, Comments stamp set, and Tulip and Blush inks

Other Products Used: Embossing Stylus, EK Success Large Corner Rounder

***

To see what the rest of the Design Team has created, just click here!

Monday, November 23, 2009

Fishy Face

This week I am going to attempt to play catch up, so be watching for my scheduled posts over the next couple of days!
***
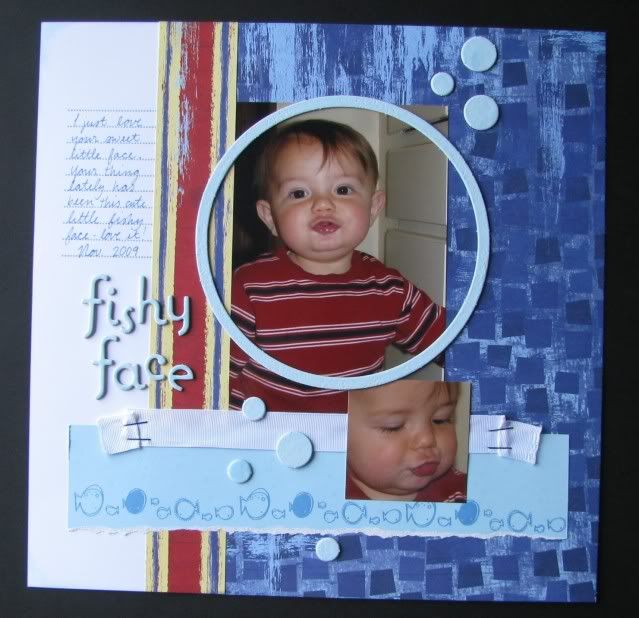
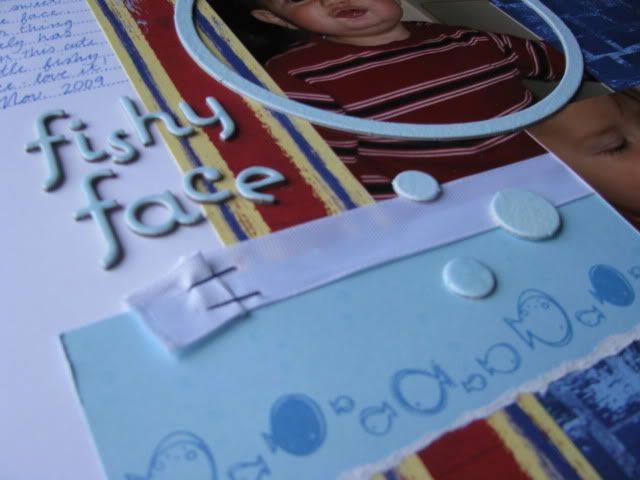
Here is a fun page that I did of Trysten - I love his little fishy lips ;-D I used an October 2009 sketch from PageMaps for this layout, I just flipped it upside down and left off one of the 2x2 photos that it suggested. My original idea for this page consisted of circles cut from a transparency to give a bubble look - I stamped my title and embossed in Heavenly Blue powder on one of the circles but I had a problem with static that day and could not get a clean image no matter what I tried. So I found this fun chipboard alphabet and I embossed that for my title instead. All of the chipboard circles are embossed as well.


CTMH Products Used: Building Blocks paper pack, On Target Dimensional Elements, Heavenly Blue Embossing Powder, Comments stamp set, Solo 8 stamp set, Blue staples, Wide White Ribbon
Other Products Used: Alphabet Chipboard, Blue Zig Marker

Thanks for looking!

Saturday, October 17, 2009

December Word Puzzle

As I mentioned before, I got a LOT of projects done when David was out of town for a couple weeks and I had nights to myself - here is more proof! I got my NOVEMBER workshop samples done and October is barely halfway over - that's like a record for me! PLUS, I added pictures to my layouts - I'm so proud of myself ;-)
***

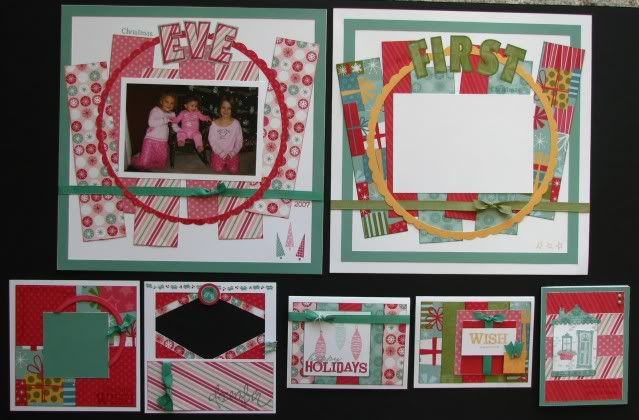
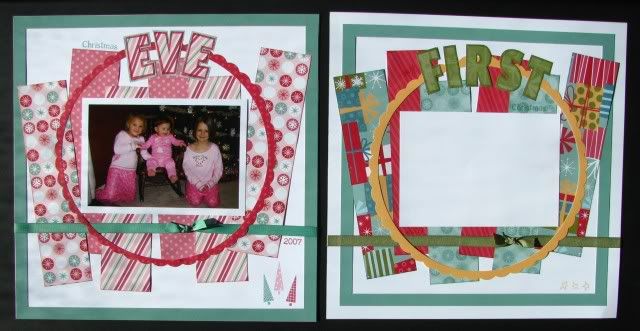
Anyway, here are my workshop creations. I used the *new* Jingle Level 2 paper pack AND the *new* Jingle Creative Basics paper with the ribbon, the December Word Puzzle, November SOTM Around the Block, and Posterboard Alphabet stamp set. And don't forget, if you're unable to attend my workshop on the assigned day, you can purchase the Workshop Kit that includes cutting guides and instructions to create them on your own!
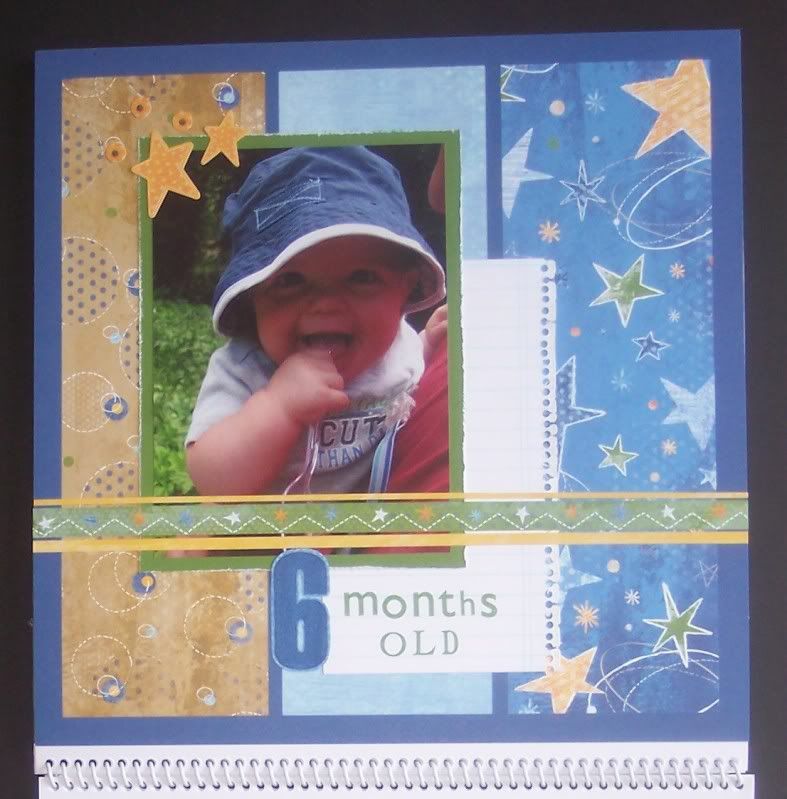

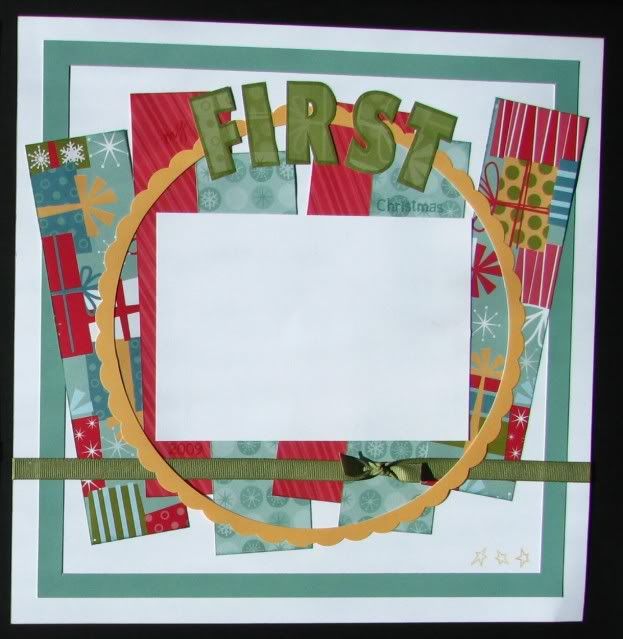
12x12 Option - you will get to pick from the 'girly' layout or the more 'neutral' layout - you will obviously use the title of your choice - this is just what I picked for my pages.


I am saving this page for pictures of Trysten and his first Christmas. I don't know if you can tell in the picture here, but I used the word 'merry' from the Word Puzzle stamp set and just stamped the 'm' and the 'y' before the word 'first' and then 'Christmas' from the same Word Puzzle stamp set is stamped just underneath and to the right of the word 'first', so the title says 'My First Christmas'.

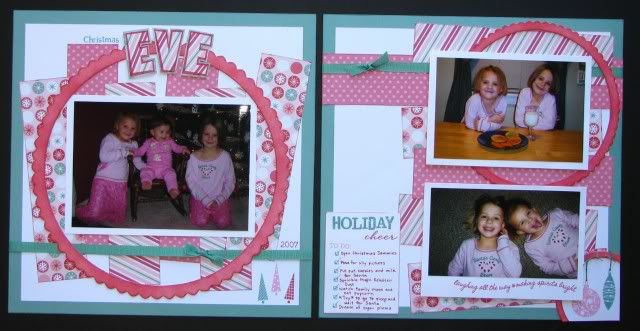
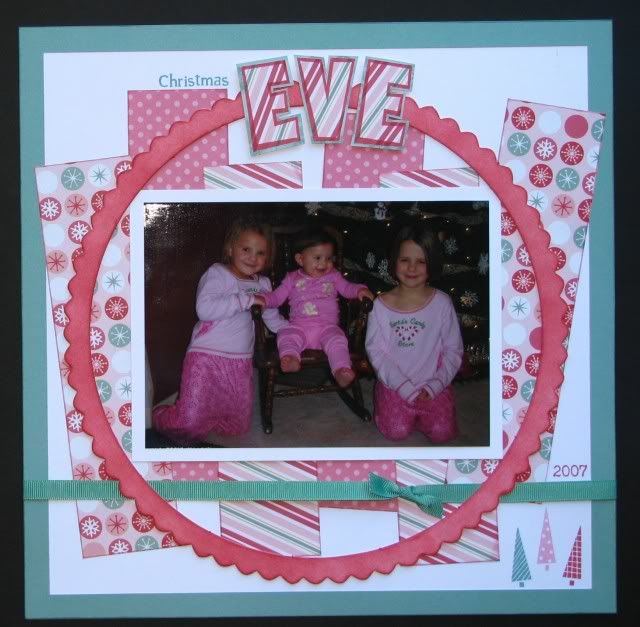
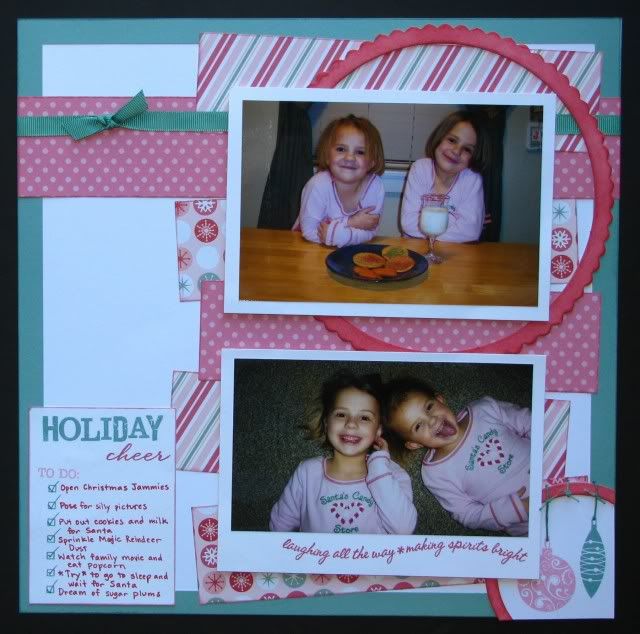
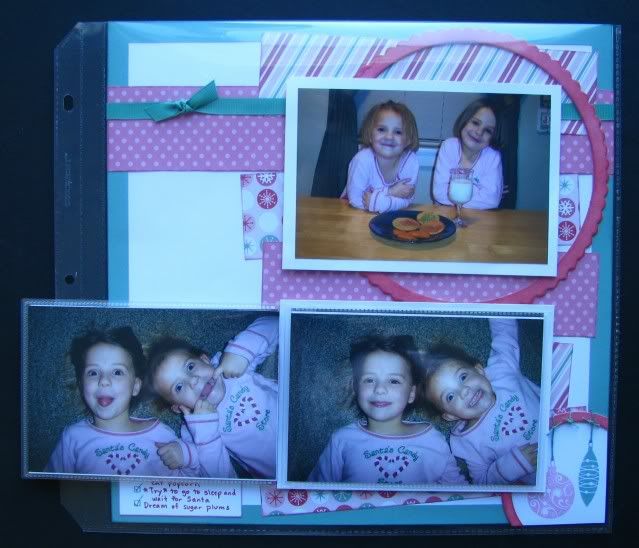
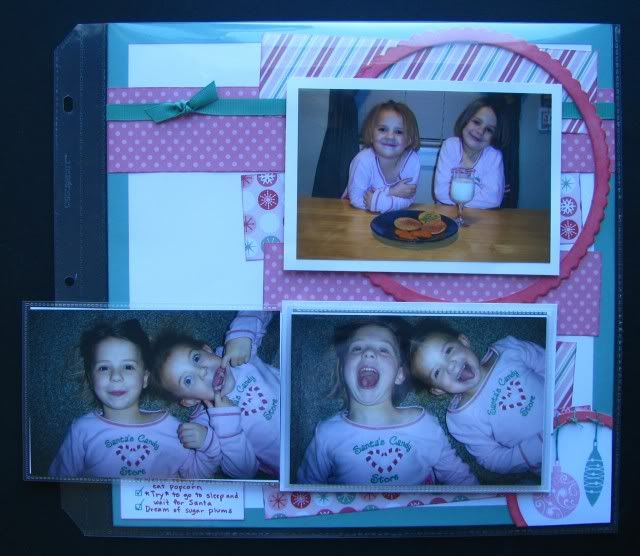
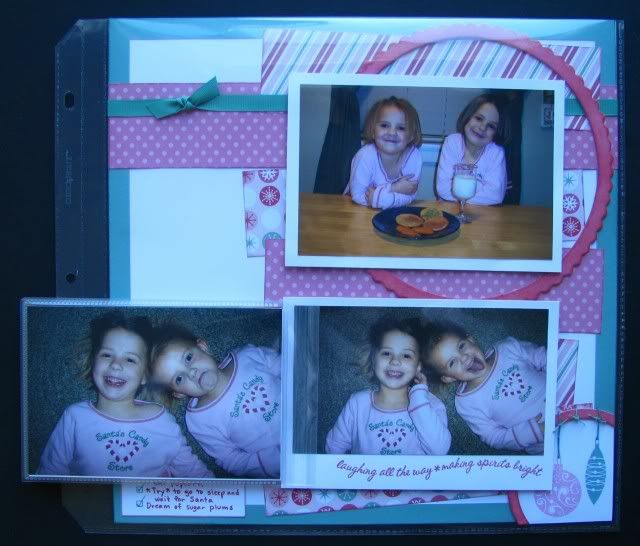
And here are my pages with pictures and the companion layout! For mine I used the *new* On Target Dimensional Elements for the circles - I just sponged on the Tulip color. Workshop participants who order the Exclusive Plus kit will also get to use these fun Dimensional Elements. And how perfect is this paper with my girls and their jammies!


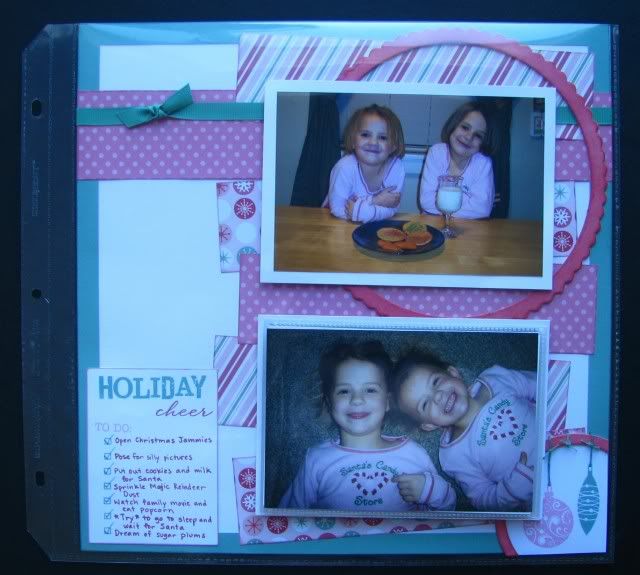
Once I got my pages in the page protectors, I used my Flip Flaps to add even more pictures! I added 6 extra pictures to this page - they were just too funny and I had to include them ;-) Sorry the color is off - I had to turn off my flash to avoid the glare and the coloring looks weird now - but you get the idea!


6x6 Option - I used the scrap dimensional element from the right page of my layout to add to one of these pages, but workshop attendees will be using a circle cut using the Coluzzle instead. Also - the right page shown here has a 'reverse' mat - so the picture will actually attach to the back of the page but show through the front - make sense?


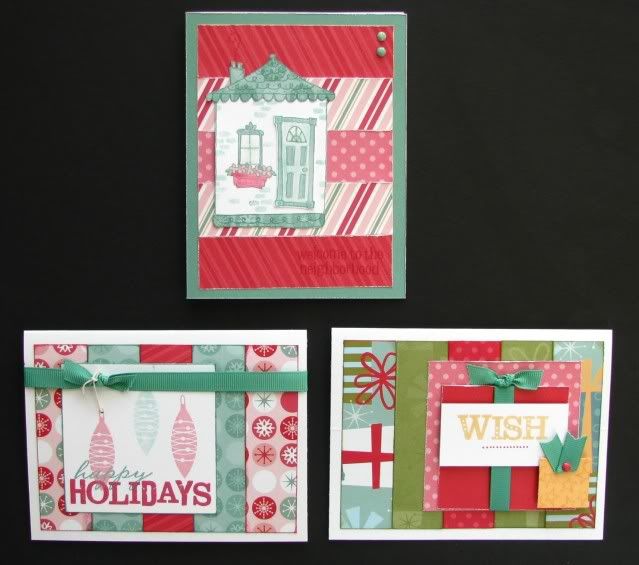
Card Option


Here are the layouts and cards exactly as they are created in the Workshop Guide - you can see that I changed mine a bit. I didn't get the Exclusive Workshop Kit once again this month, so I didn't use the stamp set that comes in the kit on my samples. You can click HERE to request more information on this month's featured kit.


The Jingle Exclusive Workshop Kit that I will be featuring next month is only $29.95 (retail value $35.85) and includes the Jingle Level 2 Kit, Exclusive B-size stamp set - Somethin' Special, Twinkle Brads Jolly Assortment, and a Workshop Guide. What a great deal! But there are also other pricing options for the workshop - ranging from $5 to $43, so don't forget to check out my workshop details HERE.
Thanks for looking!

Thursday, August 13, 2009

PageMaps - Apron Strings sketch contest


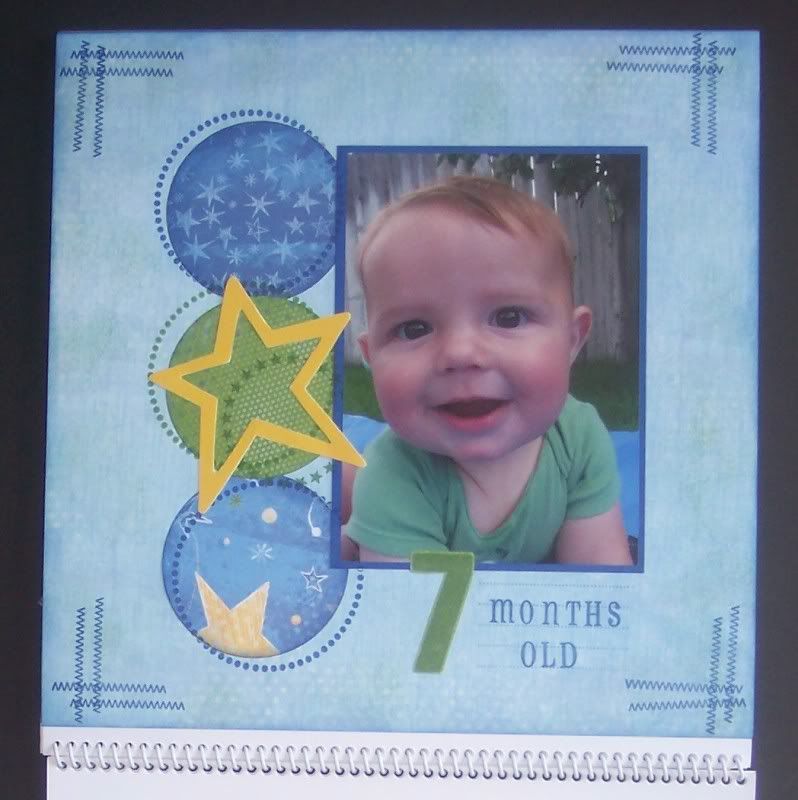
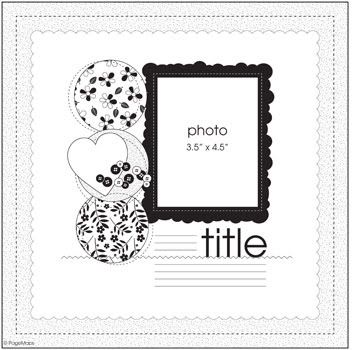
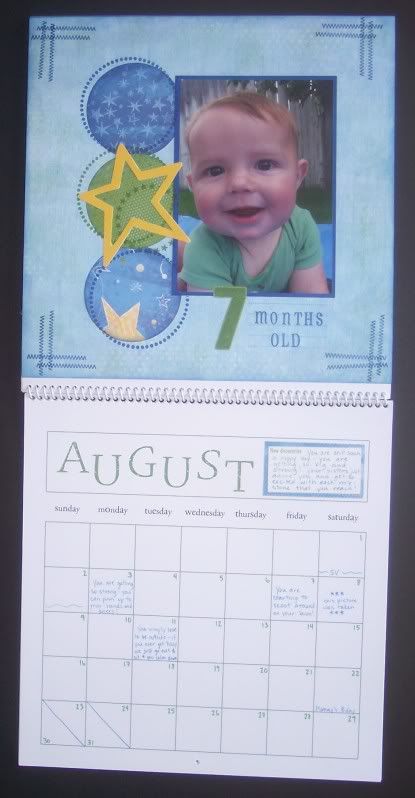
I used the following sketch from the PageMaps Blog's latest contest and created this page for Trysten's 7 Month Calendar page. This contest was supposed to have a summer theme - I think the only way it qualifies is the fact that the picture was taken in the summer ;-) as it has more of a baby theme to me! But it's been a while since I've entered their contests so it was fun to try again!

This is where I got a little ahead of myself - usually for his calendar pages I like to use a picture that was taken close to the 24th so I can get a good month in between pictures, but I just loved this picture way too much and had to use it, even though this picture was only taken one week after his 6 month page picture. Isn't he just the cutest! This was another super quick page - all I had to cut was the circles and photo mat and the stamping was fast and easy - you can tell I did it quickly as I got some of my 'stitches' crooked, but I like how it turned out. Oops - I just noticed on all the calendar pages that I posted this week that I forgot to add my filler squares - I'm off to do that now!
Products Used (All CTMH): Stardust Paper Pack, Circle Around stamp set, Rustic Numbers, Hodge Podge Alphabet, Comments stamp set.
***
I have one more page from Trysten's calendar to post tomorrow so I hope you're not sick of it and will come back to see more! Thanks for looking!
***
Oh, and if you'd like to check out all the calendar pages, you can view them at the following links:
Birth Month

Wednesday, August 12, 2009

6 Month Calendar Page

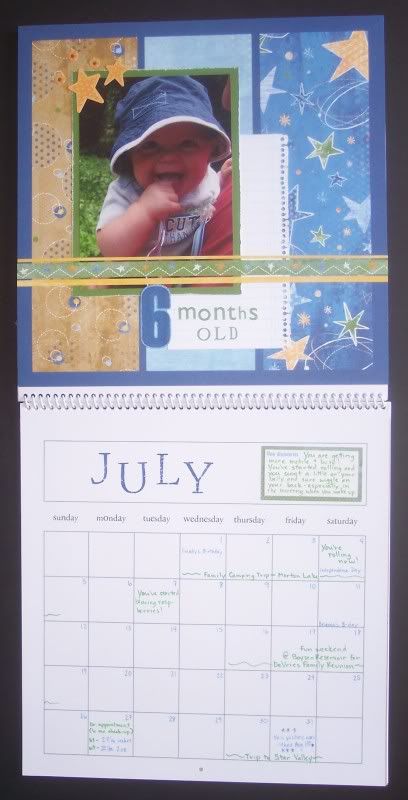
Here is another calendar page that I got done - this one was inspired by another layout from the August 2009 PageMaps, but I had this last Level 1 page left from my Stardust pack and I put the two ideas together.


***


Click on the picture to view it larger.


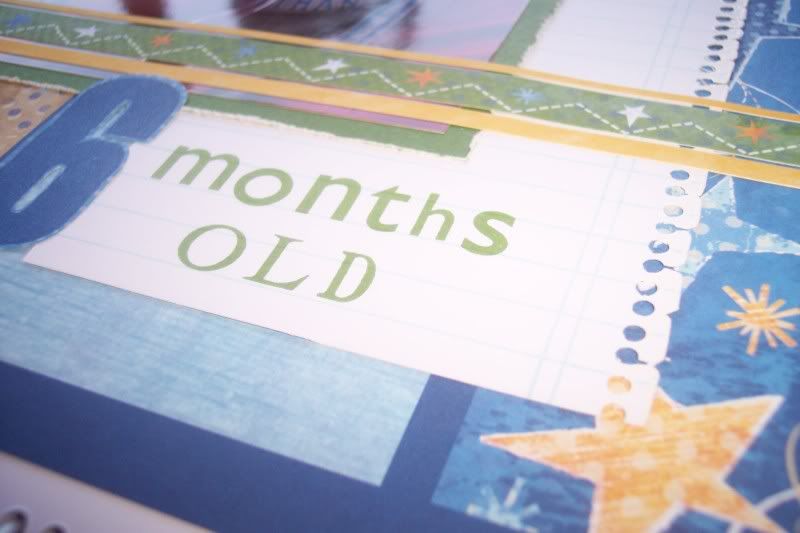
And a close-up of the 'notebook paper' that I created with the Comments stamp and a sneak peek at the upcoming December SOTM, Notice the Details - I embossed the edge onto the paper, then used my Crop-a-dile to punch the holes and cut along the edge.


Products Used (All CTMH): Stardust Paper Pack and Stickease, Rustic Numbers, Hodge Podge Alphabet, Comments stamp set, Notice The Details stamp set.


Check back tomorrow for another calendar page - it's one of my favorites! Thanks for looking!


Oh, and if you'd like to check out all the calendar pages, you can view them at the following links:


Tuesday, June 2, 2009

Teacher Gifts

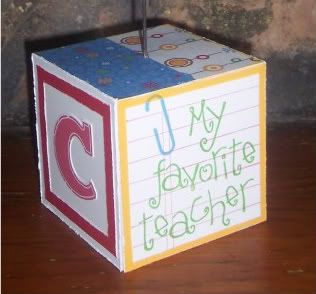
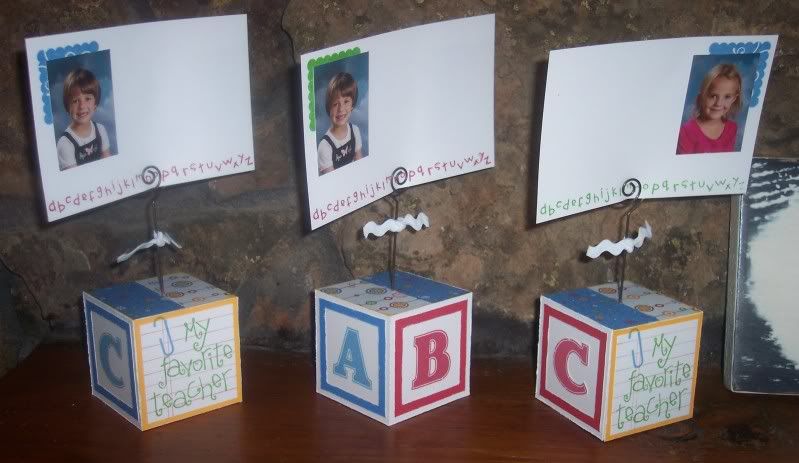
These were the gifts I made for the girls' teachers on the last day of school - seriously, I should win the Procrastinator of the Year Award ;-P

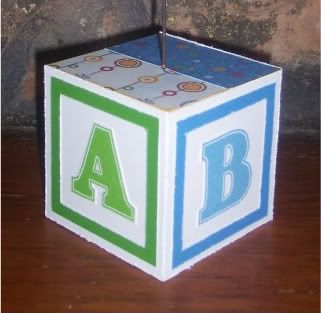
I used some blocks that I ordered from Oriental Trading ages ago but just hadn't used yet - all other products I used are from CTMH. I covered the top with paper from the Animal Cookies Creative Basics paper pack, the alphabet block look was created using cardstock (White Daisy, Tulip, Dutch Blue, and Clover Meadow) and the Essential Alphabet stamp set. I then tied just a bit of White RicRac on the photo holder to finish it off. The girls wrote a note to their teachers on the papers with their picture. The 'My favorite teacher' stamp came from a retired set called School and the paper lines and paper clip stamp came from a new stamp set called Comments.
Thanks for looking!