Showing posts with label Springtime. Show all posts

Tuesday, May 24, 2011

Wings and Wishes

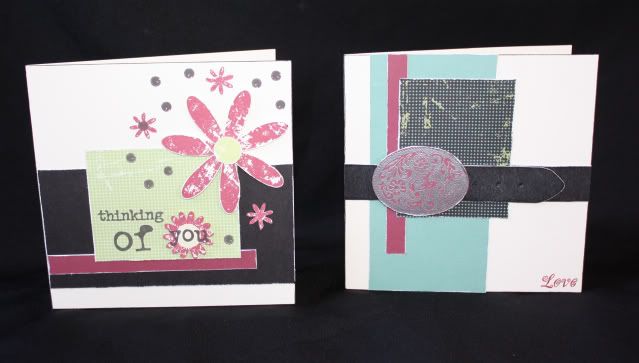
I LOVE the card workshops in the Wishes How-To Book.  I've also really enjoyed playing with the Wings paper - watch for more posts with this paper coming up!  I finished putting this set together a couple of weeks ago, I'm finally getting around to sharing it.  Using the Celebration Card Workshop cutting guide and just 2 patterned papers, 2 cardstock papers, plus 6 more cardstocks for the card bases, I was able to create 12 cards (2 each of 6 different patterns)!  I love how they turned out - now I just need to find some 6x6 envelopes!  Here is the entire set:
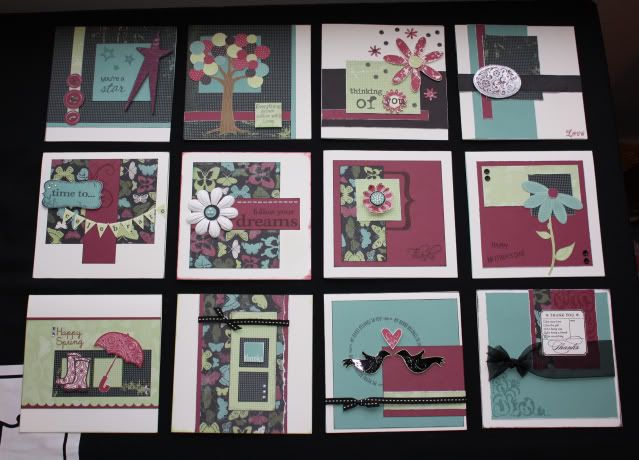
Here are the cards - notice how I either used the opposite side of the paper or rotated the card and used different stamps to get a completely different look from each card pattern.
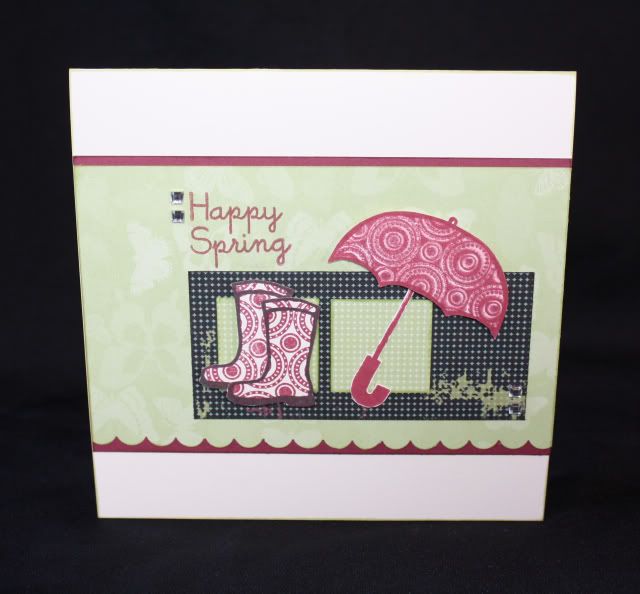
Card 1
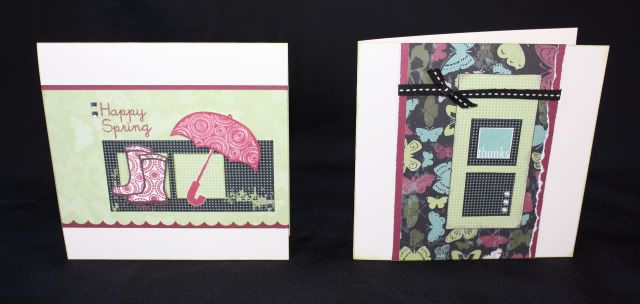
Supplies used on the following card: Springtime stamp set, retired Spot On Backgrounds stamp set, Sparkles, and a scallop border punch.  I used the stamp kissing technique on the umbrella using the Spot On Background stamp, and I used the same stamp to directly stamp the pattern on the boots - I love the different look it gave.

Supplies used on the following card: Thank You stamp set, Black stitched ribbon, Opaque Pearls.
Card 2
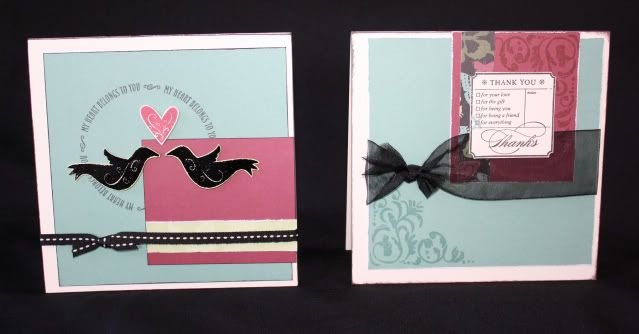
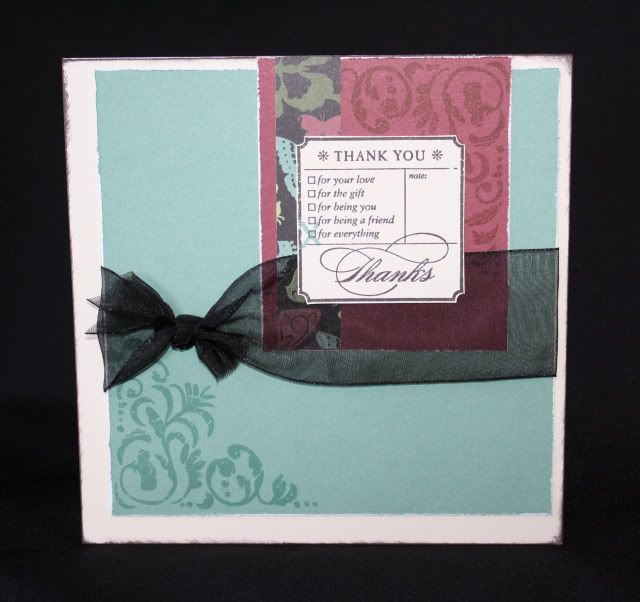
Supplies used on the following card: retired Legendary Moments stamp set, retired Cherish the Moment stamp set, and wide organdy ribbon that I had in my scrap stash
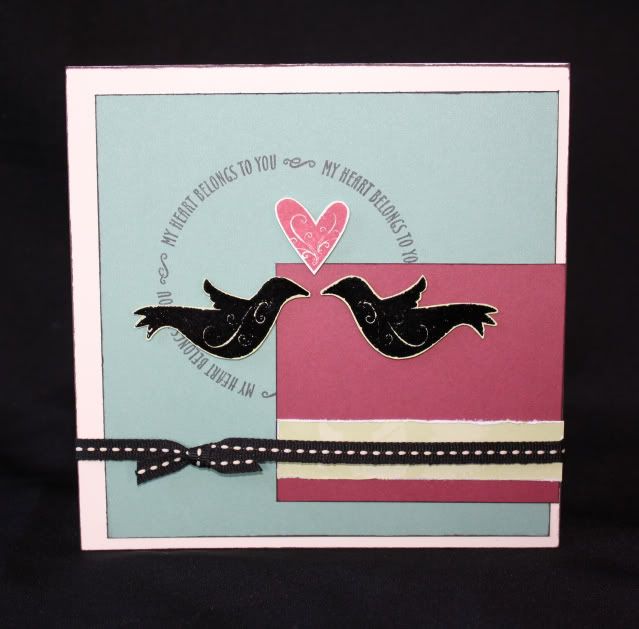
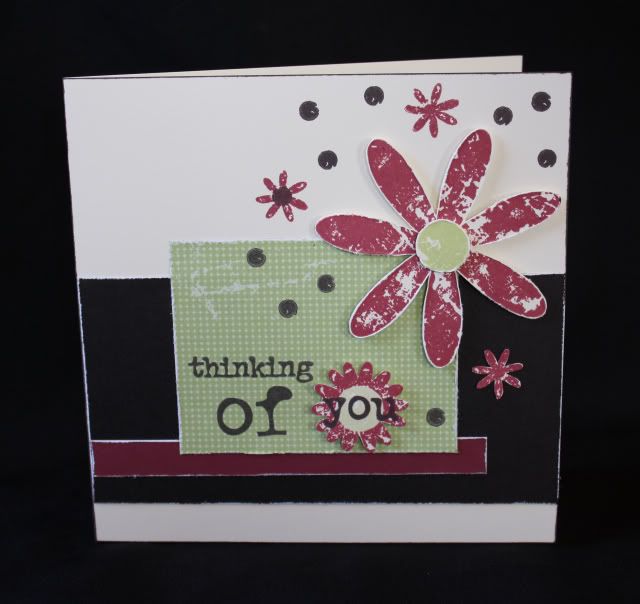
Supplies used on the following card: retired Free Spirit stamp set, Black embossing powder, retired Vineyard Berry embossing powder, Black stitched ribbon

Card 3
Supplies used on the following card: retired Rustic Flowers stamp set.
I'm not too fond of this card - I think I went a little overboard stamping the dots ;-P
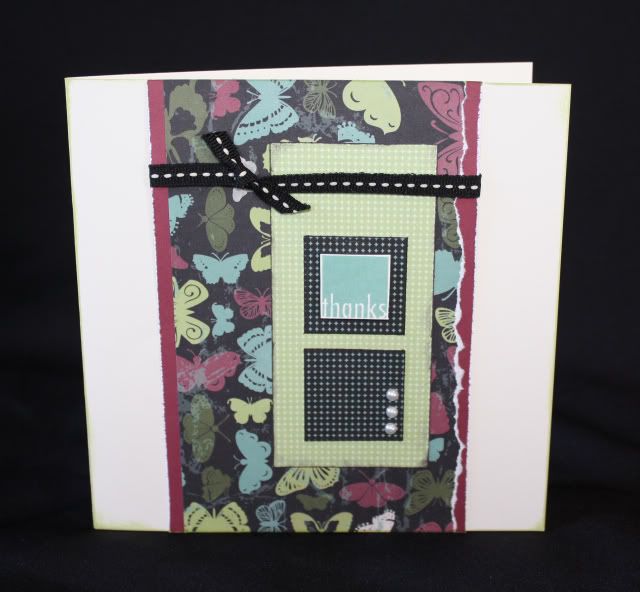
Supplies used on the following card: retired Lovely Buckles stamp set, silver embossing powder to emboss the buckle on Vineyard Berry paper
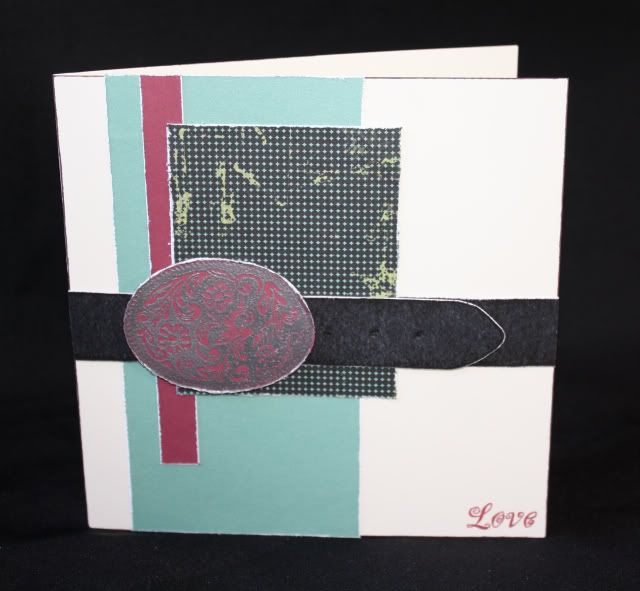
Card 4
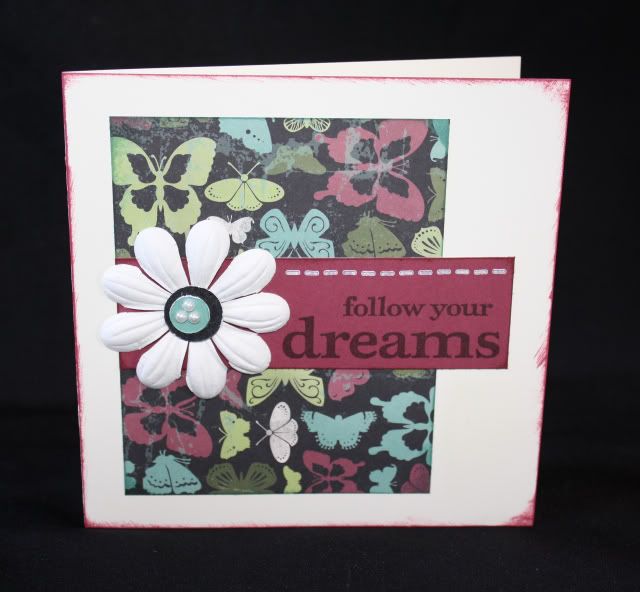
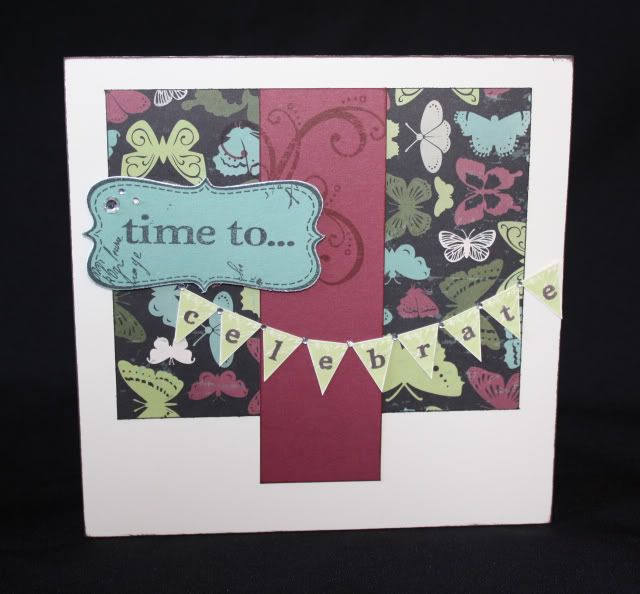
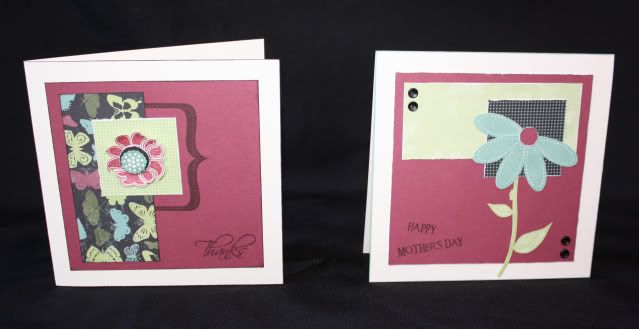
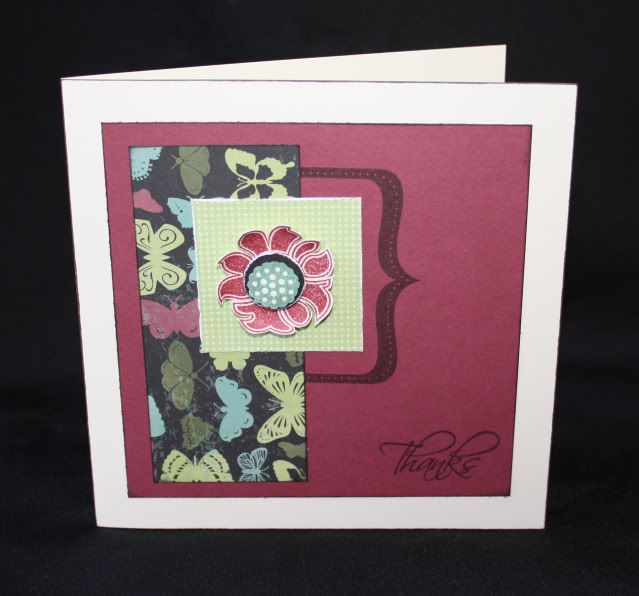
I think these two are my favorite from the entire set - I just love this stamp set that comes with the You & Me kit that's the special for this month - I love the stitches, flourish, and pennant stamps the most!
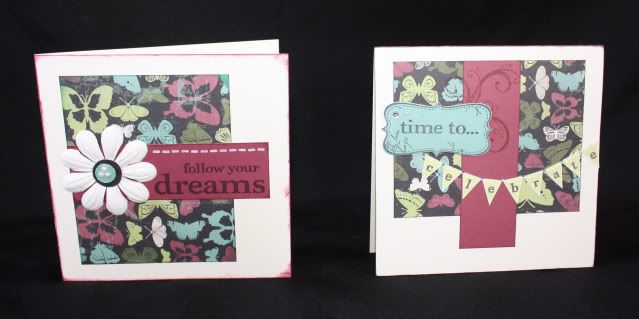
Supplies used on the following card: You & Me stamp set, Colonial White ink for the stitches, paper flower, Opaques pearls
Supplies used on the following card: You & Me stamp set and Sparkles

Card 5
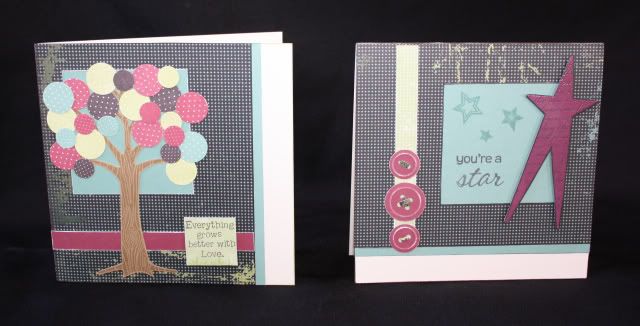
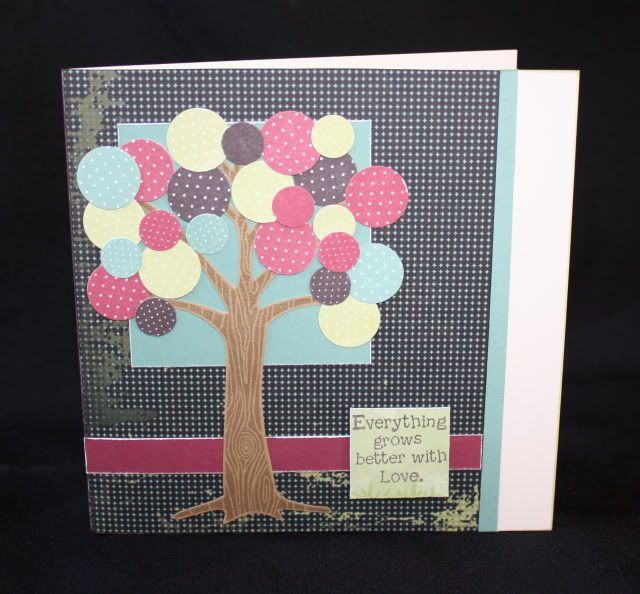
Supplies used on the following card: Grown With Love stamp set, circle punches -I  added some Desert Sand ink to the color combo for the tree.

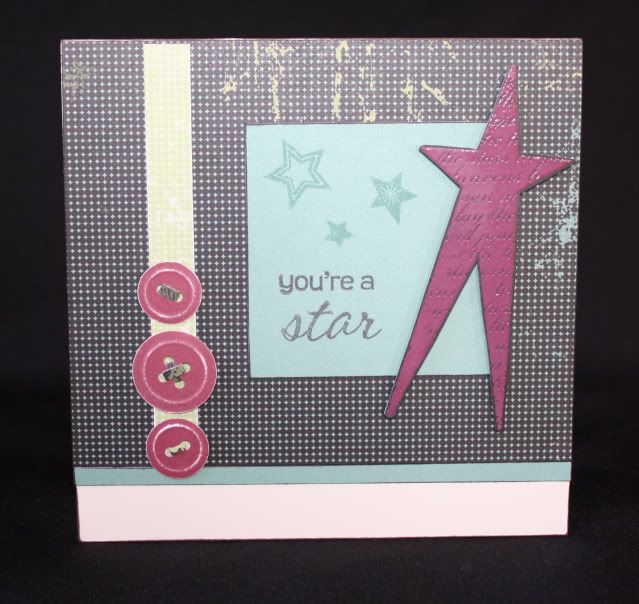
Supplies used on the following card: Shining Star stamp set, button punch with paper strips in the button holes, and retired Vineyard Berry embossing powder to emboss the star on black paper.

Card 6

Supplies used on the following card: Love This stamp set (it was good to finally ink this set up, this stamp was part of a special last year and around the time we moved and I never got a chance to play with it until now) - I also used the For Every Occasion stamp set 

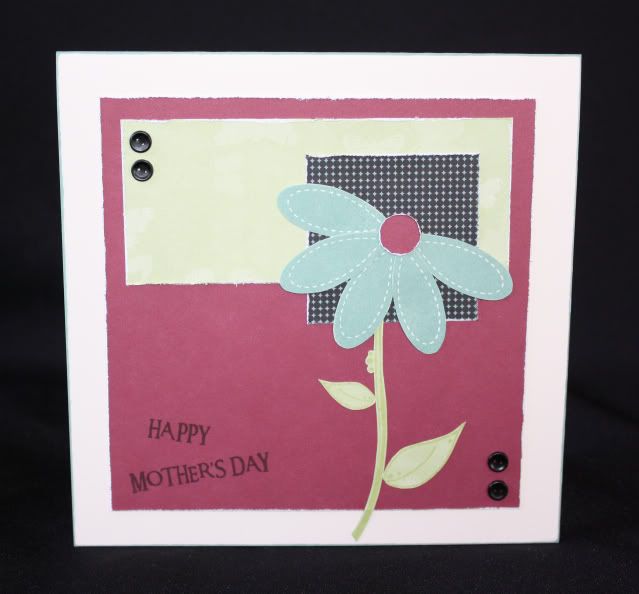
Supplies used on the following card: retired Playful Petals stamp set, Friendship Blessings stamp set for the stem and leaves, Say It In Style stamp set for the sentiment, and black button brads.
Which one is your favorite?
***
Whew, that was a lot - if you're still with me, thanks for visiting!

Thursday, July 8, 2010

Convention, here I come!

No, I wasn't able to attend Close To My Heart's Convention this year in D.C. (which starts today) but I'd like to say a little piece of me is there this year! I was so honored earlier this year when I received a very special invitation from Close To My Heart. I was asked to participate in this year's Silent Auction to benefit Operation Smile. What an honor to be asked, but what pressure! I remembered a couple of last year's participants, Lisa and Tresa, and wondered how I could ever compare to the talented Consultants that would also be creating artwork for the auction. I finally accepted the fact that I could never compare but just to create something from my heart! I had plenty of time to work on it, luckily (though most of that time was spent just pondering my project) and finally the week that it was due to be postmarked, I started...and pulled it off!
***
I am really pleased with how it turned out, and I look forward to seeing the other auction items. I hope it helps raise a lot of money for a good cause! I have shared a sneak peek here, but now here is the entire calendar project, as many of you correctly guessed. I used the Splendor paper pack on the entire calendar, just added a color here and there to fit with the month/theme. I also used the Irresistables Lots of Dots - it was great to customize the color for each month.
***
January - also used Flurry Dimensional Elements and added Moonstruck CS - sponged the snowflake with Heavenly Blue and Moonstruck ink. It's hard to see in the picture, but under the chipboard snowflake and going up over the circle at the top, I stamped one of the snowy flourishes from the Flurries stamp set in White Daisy ink and chalked it with a light blue chalk.
February - also used the frog Stickease from Splendor, and a Heart Dimensional Element (but wish I would have sponged it a different color)
March - also used Bunny Love stamp set and Heavenly Blue buttons from the Spring Craft Button collection. The bubbles have the Glitz Stardust Glitter Gel on them to make them sparkle.
April - also used the Springtime stamp set, accented with Colonial White brads.
May - also used the Childhood stamp set for the kite.
June - also used Pizzazz Irresistables colored with Moonstruck and Topiary ink, and Splendor Designer Brads - dry embossed and sanded the border.
July - also used my new favorite stamp set Over the Rainbow - this month's page is one of my favorites - check out what I did with the window from the new A-Door-Ables. Here it is closed...can you see it?
and open...the balloon has the Glitz Stardust Glitter Gel on it.
August - also used the Summer Sweetness stamp set, Liquid Glass on the seeds, Tulip ribbon, and Topiary brads, and Tulip ink.
September - also used the Good Work stamp set and a bracket from the Pizzazz Irresistables inked with Heavenly Blue ink.
October - also used the Creepy Cobwebs stamp set and added black ink and black brads for the spiders.
November - this is another one of my favorites - I made the pumpkins using my oval Coluzzle cut from different Goldrush patterns from the Splendor pack and sponged the edges - I also added Splendor Designer Brads and Autumn Terracotta and Topiary Brads. This page got a little too thick with all of the brads but I still like it. I will be doing a lot more pumpkins like this - so cute and so easy - and you can do them any size you want!
December - I also used the Holiday Trinkets stamp set, some ricrac Stickease from the Splendor set, and added Tulip ink and CS. To create the scallop corner I took my Irresistables Lots of Dots 'leftovers' (the circles from the insides of the letters o, d, b, etc), colored them, and just added them under the corner.
Well, that's it - thanks for looking! I'd love to hear what you think - which month is your favorite?