Showing posts with label Tiny Typewriter. Show all posts

Tuesday, November 15, 2011

CTMH Spotlight Blog Hop - Embossing

Hello and welcome to this month's CTMH Spotlight Blog Hop!  This month we are featuring projects using an Embossing Technique.  If you came from Luisa's blog then you are on the right track!  If you are starting here, then just keep hopping along to check out what everyone else has created.
***
I love embossing, whether it's heat embossing or dry embossing, it's always a fun addition to any project.  Click HERE to view all items available from Close To My Heart to meet your embossing needs.  Today I am featuring some projects using heat embossing.
***
I gave a little sneak peek last week, here are a few of the full pages.  I created these pages for a friend's baby shower.  She only scraps in 8 1/2 x 11 so I had to challenge myself since I've never scrapped this size before.  On these following pages, I heat embossed on a clear transparency to create my own type of overlay.
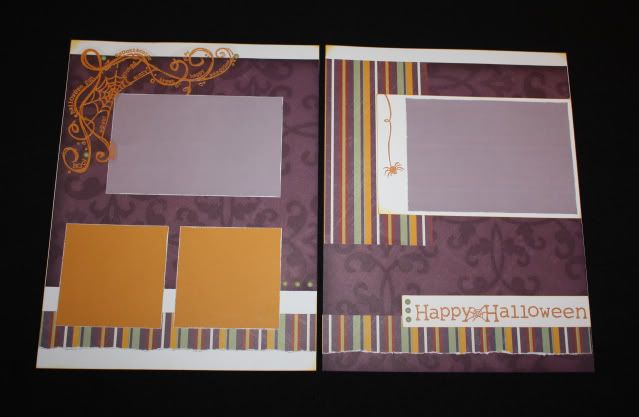
For these Halloween pages I modified the Dialogue pattern from Imagine.  I also used some retired Enchanted papers and Creepy Cobwebs stamp set.  I heat embossed the title and the spider on the right page directly on the white paper.  I heat embossed the spider web on the transparency and trimmed around it.  I attached it with carefully placed dots of Liquid Glass (to hide under the image) and a few coordinating brads.
For the following 4th of July pages I modified the Levitate pattern from Magic.  I used some retired Blue Ribbon paper, along with a Stamp of the Month from this summer, American Celebration, and an old favorite stamp set, Circle Around.
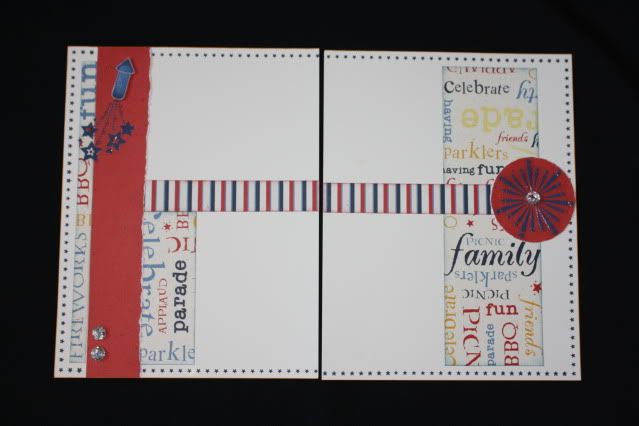
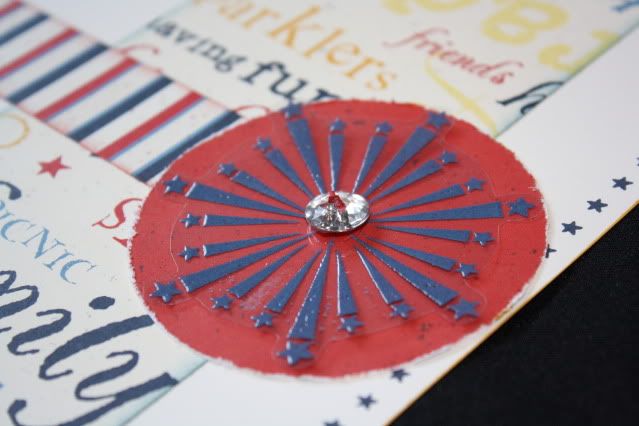
I embossed the firecrackers on the transparency and added a touch of Prisma Glitter to the image while the embossing powder was still hot.  It added just a touch of sparkle.  Like the spider web, I trimmed around the image and attached it to the page using Liquid Glass behind the stars and a few dots.
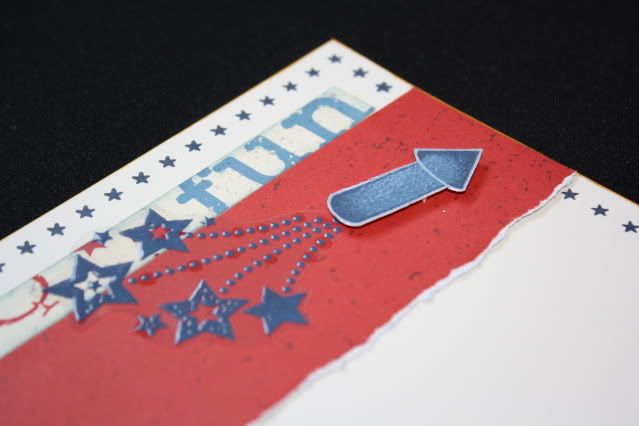
I added a few Bling Buttons as well - this one covers up the glue dot that I used to hold the transparency down.
Here are some pages for Baby's First Christmas with a few different embossing touches added.  I modified the Full House pattern from Imagine.  I used the retired Jingle papers on these pages.  My title was cut using the Cricut Art Philosophy Collection.
I used white embossing powder mixed with Prisma Glitter to color this Dimensional Element Ornament.  It adds just the perfect touch of sparkle and shine.

Another thing I like to do with Embossing Powder is color brads with it.  I took some plain white brads here - heated the brads with a heat gun then dipped them in Baby Pink powder and heated them again.

For some regular embossing, I did a little bit of that here on the Blessing Day pages.  To create these pages I modified the Simple Contrast pattern from Cherish.  I used the retired Silhouette papers.  The title was cut using my Cricut Art Philosophy Collection - with a little help from my Cricut Design Studio I was able to change the look of the alphabet by making it taller and skinnier.  I do NOT use my Cricut without the Design Studio anymore - I know exactly what I am cutting and get the exact size I want without guessing, plus I am able to use my paper better and really customize the look.
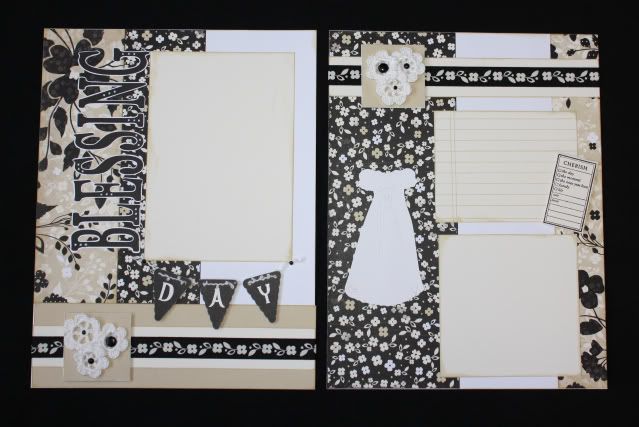
I embossed the word DAY on these black banner pieces (also cut using the Cricut) using white embossing powder and Felicity stamp set.
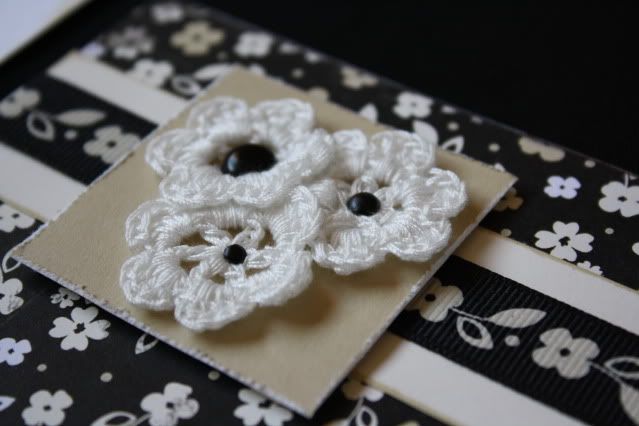
A few more close-ups from these pages just because I love them so much ;-)  Here's a cluster of crochet flowers attached with various sizes of black brads.
The journaling piece was stamped using lines from the Comments stamp set and accented using the Cherish the Moment stamp set.
Thanks for stopping by - to continue along the hop, your next stop is Nikka!

Monday, August 22, 2011

Name Frames

This last weekend we attended one of my step-sister's wedding reception.  It still feels so weird to say that I have step parents and siblings and I have a hard time calling them that especially since I haven't met half of them on my mom's hubby's side, and I used to babysit the ones on my dad's wife's side!  We didn't make it to SV for her wedding the weekend before, but her reception was closer to us, so my dad and his wife came over on Friday and then we drove a little less than 2 hours that afternoon for the reception.
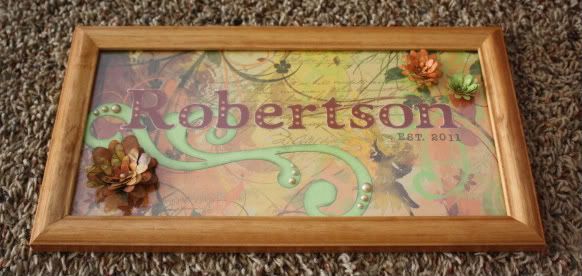
This is the gift that I made for the newlyweds - I wish I'd know what strong Scottish ancestry they had before I made the gift and I would have used the plaid paper from the new Roxie kit instead.  I knew how much they love the outdoors, so I figured these papers from Olivia covered that theme.  I really like how this turned out and will have to stock up on more of these frames!  I used to make these as baby gifts with the baby's name on it, but I really like this twist.  I had a hard time getting a good picture before I wrapped it up because of the glass - everything is under the glass except the flowers and gems. 
I used the new Art Philosophy Cricut Collection to cut the letters in the name, the large green flourish, and the 3-D flowers.  I also added some Mocha Gems.  Here are some close-ups of some of the details.
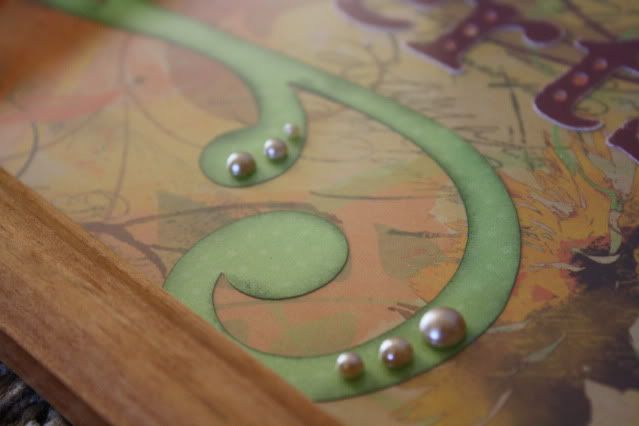
After cutting the flourish with my Cricut, I sponged the edges with New England Ivy ink and once it was all under glass, I added some gems on top of the glass to accent the flourish.
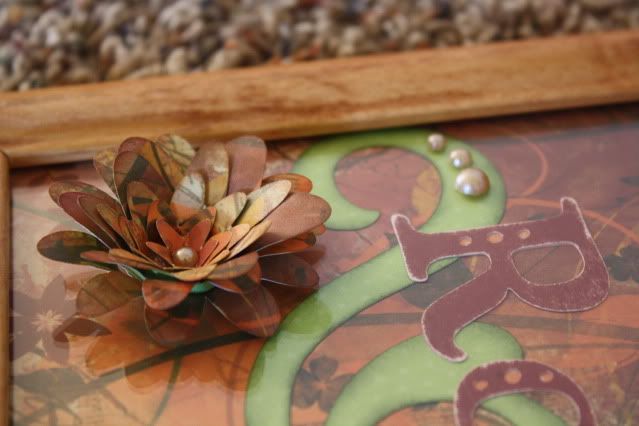
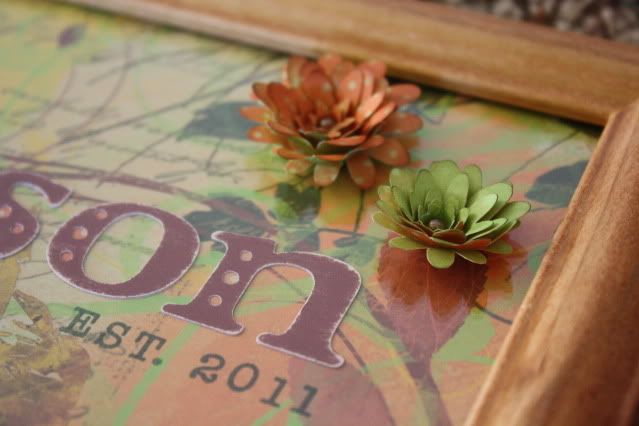
Here are the flowers and the letters - I sponged the edges of the flowers and sprayed them with a clear sealer to protect them.  I also sanded the Barn Red letters (there is a solid Sunset letter behind each Barn Red letter - it shows through the holes)
I used the Tiny Typewriter stamp set to stamp 'EST. 2011'
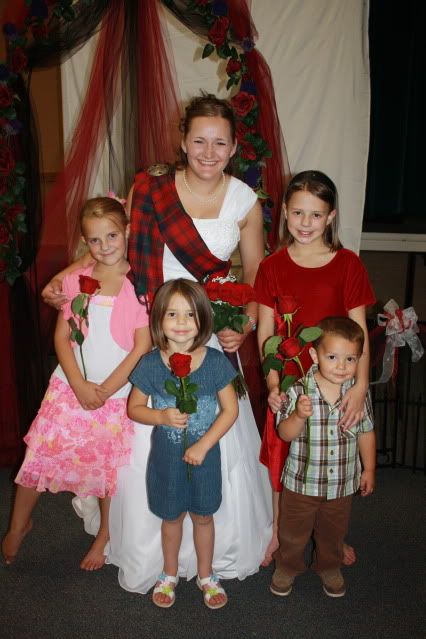
It was a beautiful reception - I loved the Scottish decorations and the bride was beautiful!
Thanks for looking!

Wednesday, May 18, 2011

Teacher Appreciation

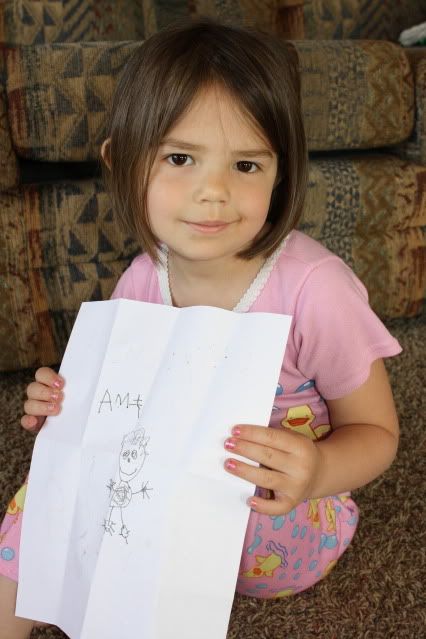
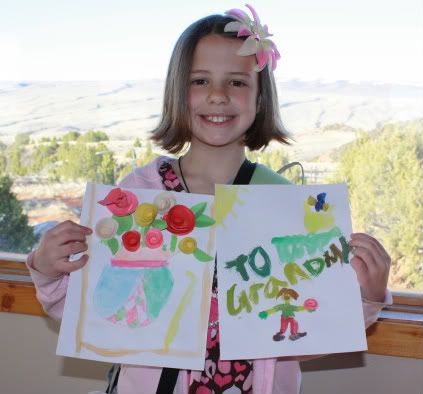
Here is what the girls made for their teachers during Teacher Appreciation week.  Brailee drew a picture - here she is still in her jammies and hair not brushed ;-)
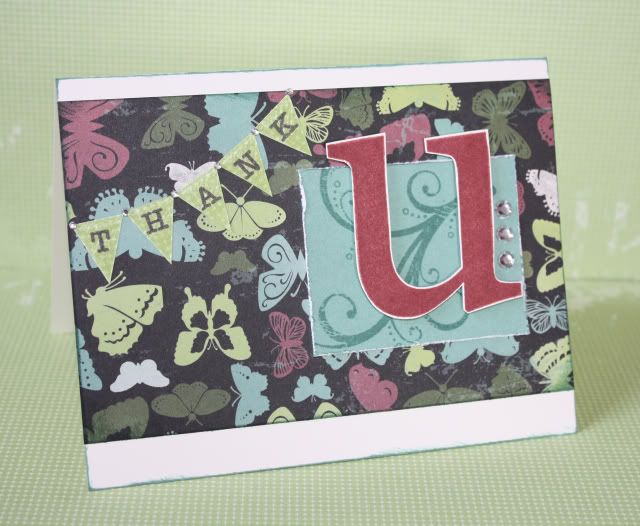
This is the card I made for Amy, who is Brailee and Trysten's preschool teacher - we love her!  I used the Wings paper pack, You & Me stamp set for the flourish and pennants, Solo U and Tiny Typewriter stamp sets for the letters on the banner.  I finished it off with some Sparkles.
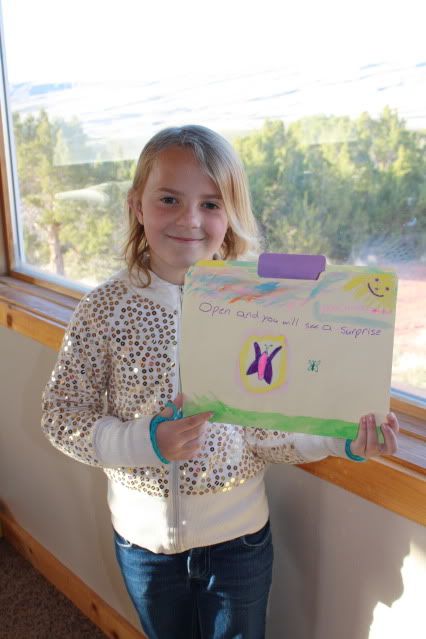
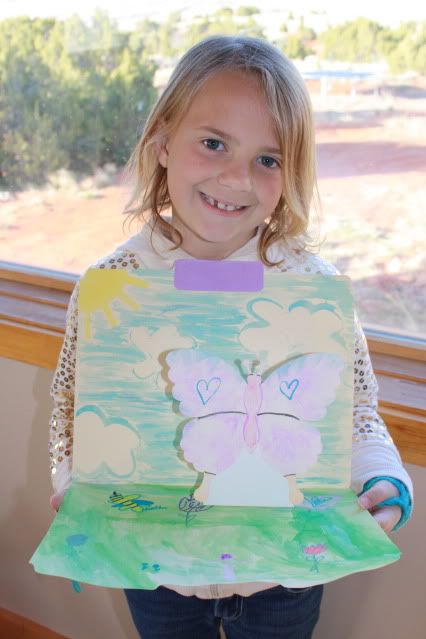
Brianna's teacher loves purple and butterflies so Brianna is always coming up with something along those lines.  She loves to do 3D projects with the butterflies - for Valentines she found a fun pop up/easel card idea that we incorporated (wish I'd taken a picture!), and here we did a different pop up project.  Her teacher had cleaned out her closet that week and given various leftover supplies to her students - Brianna got this folio and a butterfly cut-out.  So Brianna decorated both and put them together to create this:

Her teacher liked it so much she wants to put it in the fair.

Kaylee made some paper flowers for her teacher and their 'Grandma' helper.  They loved her flowers so much that she got to teach her class how to make them!
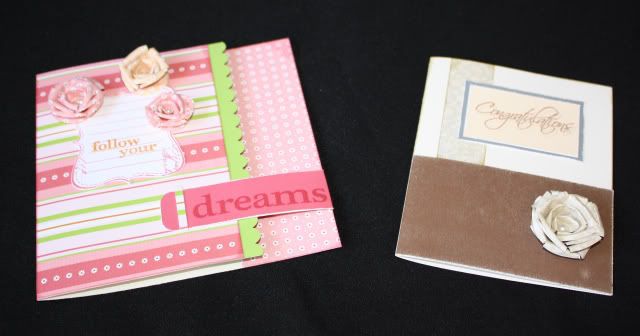
Kaylee was inspired by these cards that I was making that week - we love making these paper flowers!  The card on the left uses the Sophia papers, You & Me stamp set, Opaque Pearls, and Designer Tab card pattern from Wishes.  The card on the right uses the Bliss papers, For Every Occassion stamp set, and I have since changed out the Opaque Pearl gem in the center of the flower for a brown one from the Mocha assortment for more contrast (I just couldn't find my Mocha ones when I first created my cards).  I used the Upper Level Focus card pattern from Originals.
Thanks for looking!

Friday, October 23, 2009

Flashback Friday

So for this week's Flashback Friday I've decided to do something a little different. I am going to share some past creations AND past pictures at the same time - this week's theme is Fall, of course! These pages were done about 2-4 years ago...I like to see how my work has changed over the years - or I think it has anyway!
***
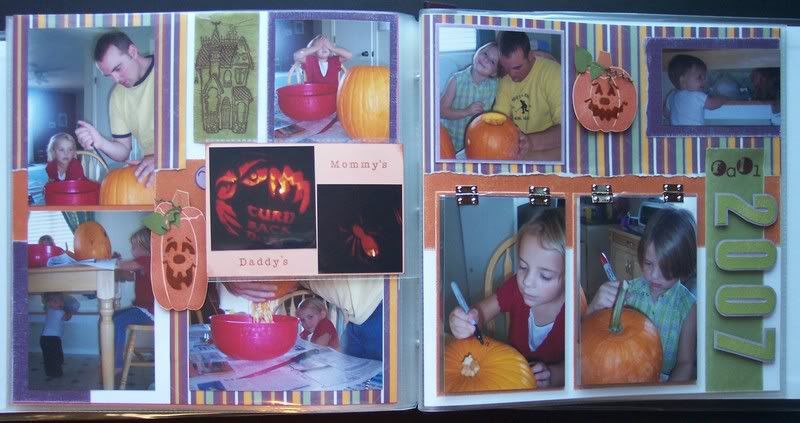
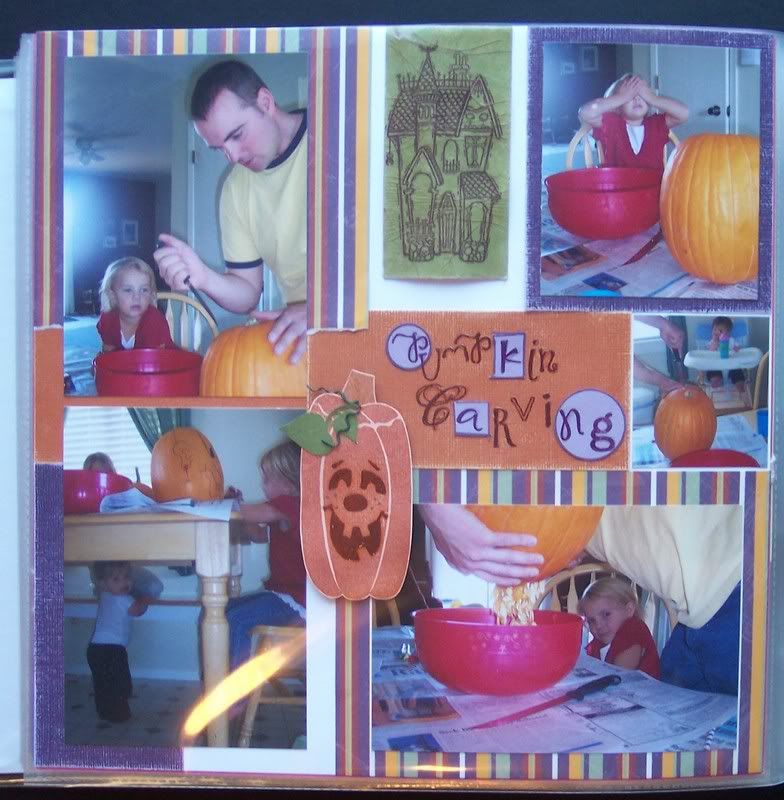
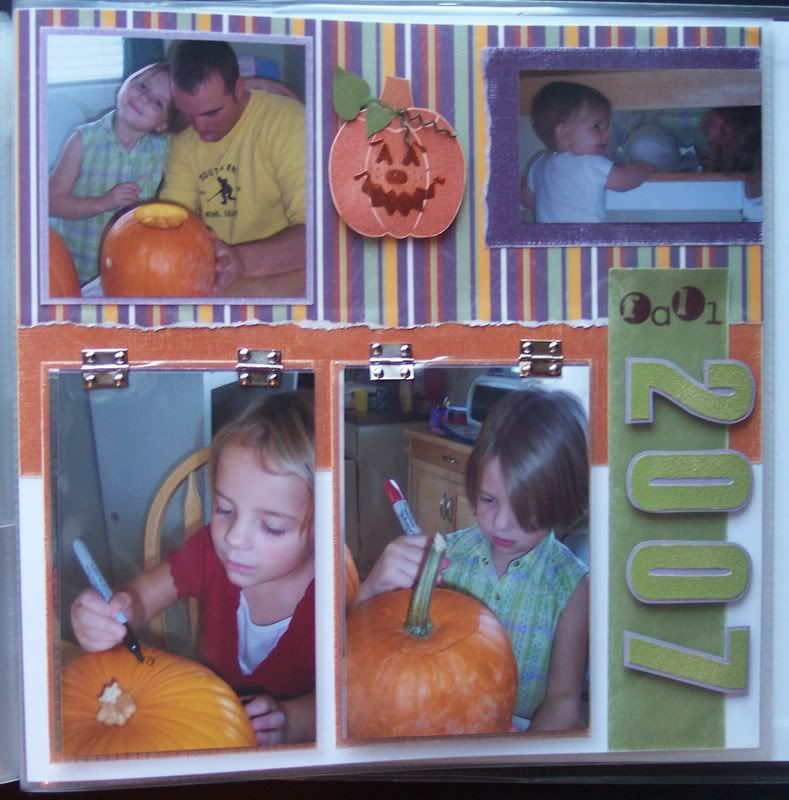
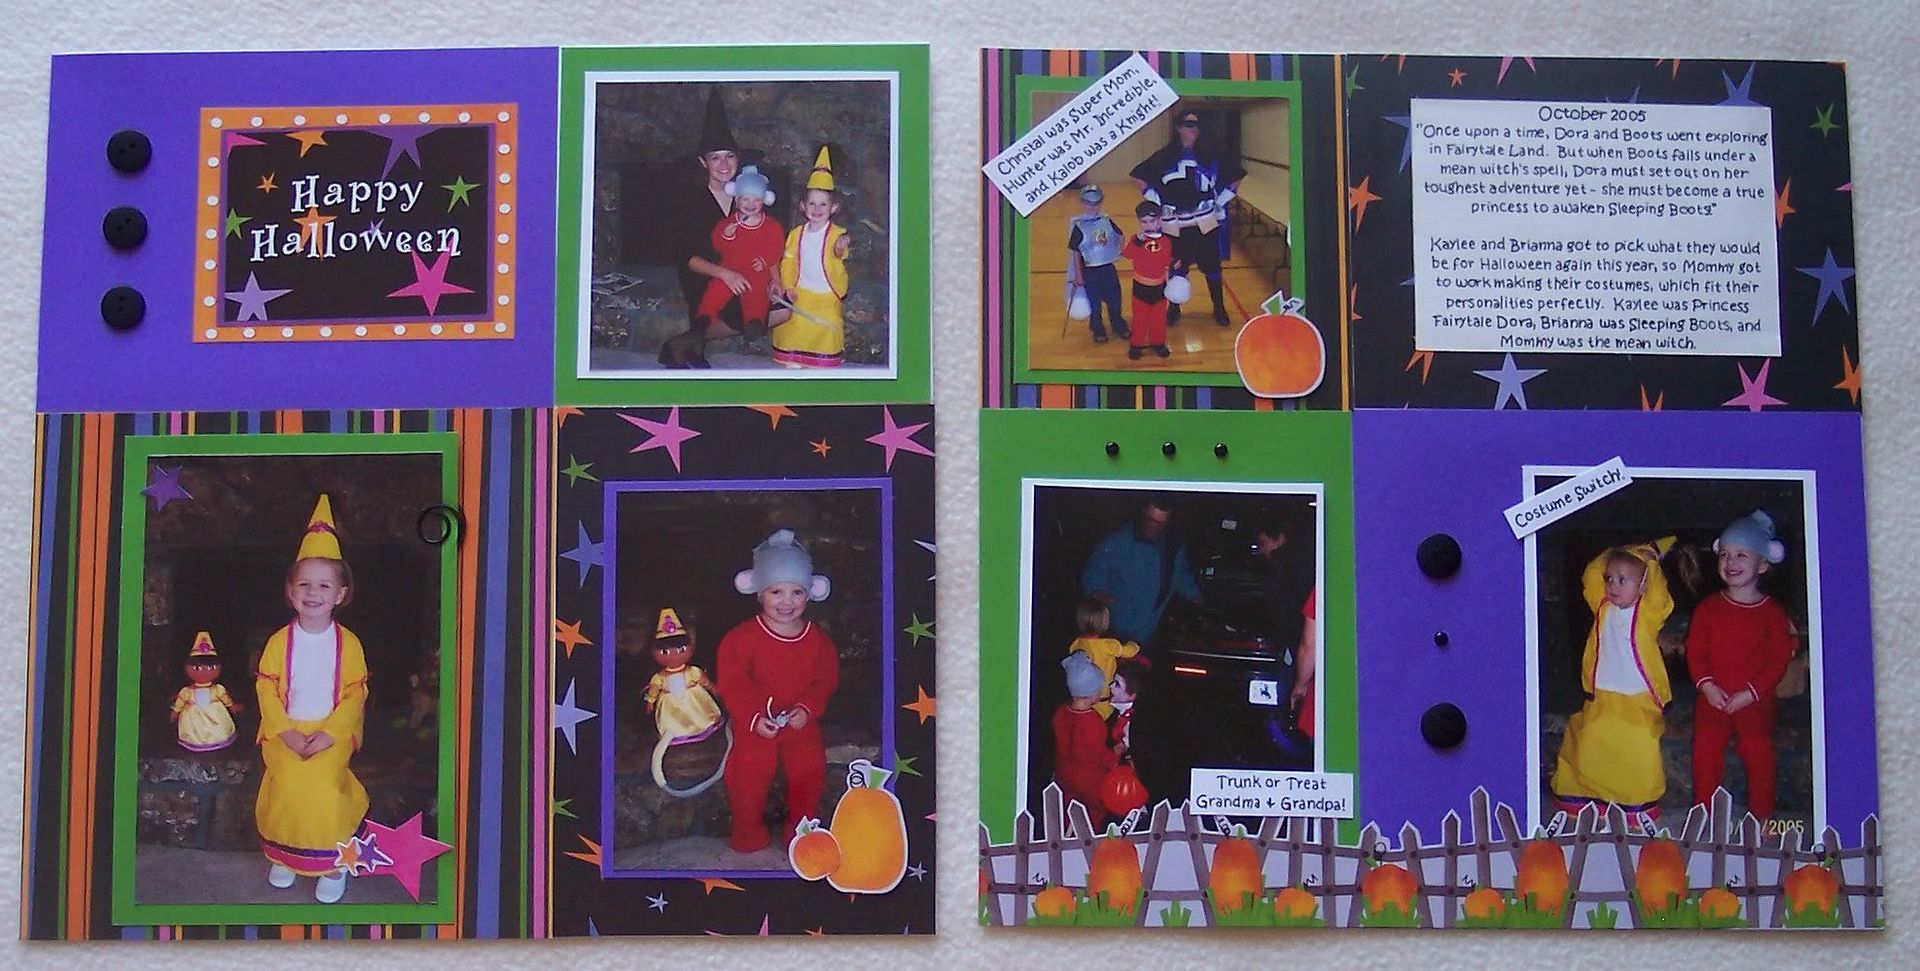
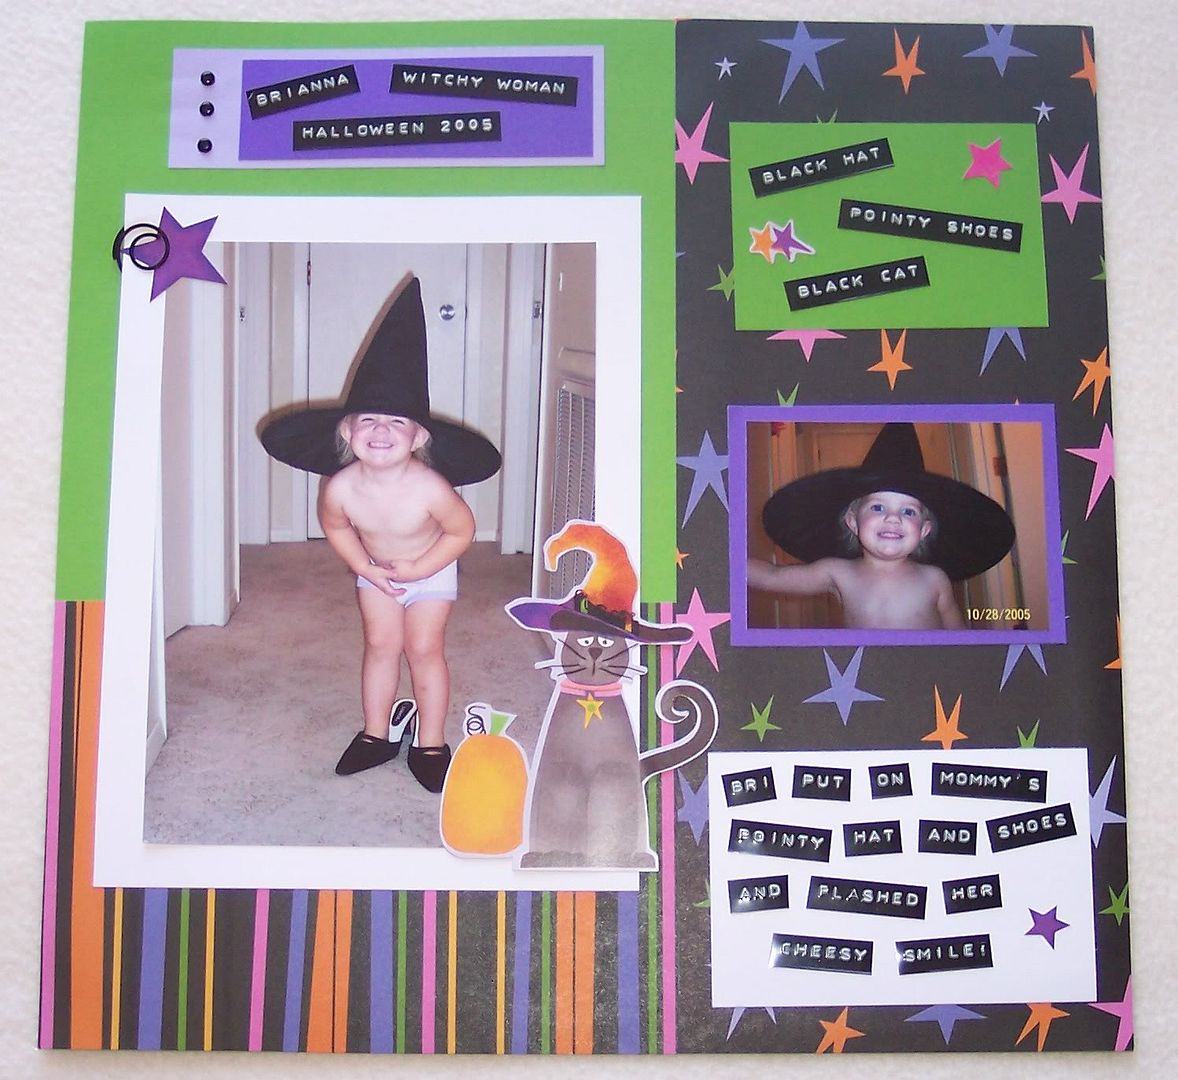
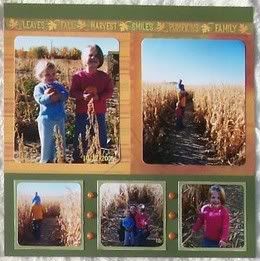
I'll start with some of my favorite Fall pages - these were done just two years ago and I am still really pleased with how they turned out, maybe just because of everything I fit in there!
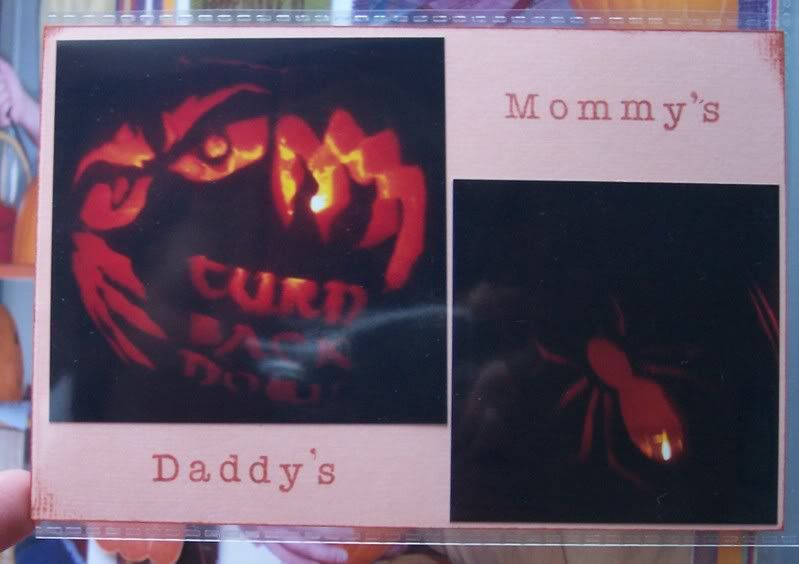
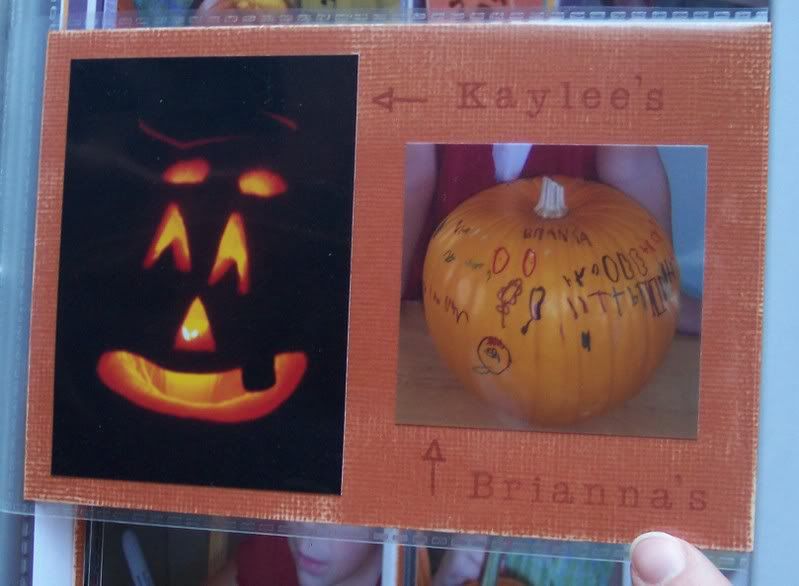
Here are the pages together - you can see the flap I inserted in the middle - it has pictures of all of our finished pumpkins - this insert was just created using an extra pocket from the photo storage page that I cut up and used on the right page - this was before we had Flip Flaps!

Here is a close-up of both sides of the flap:
Here is the left page:
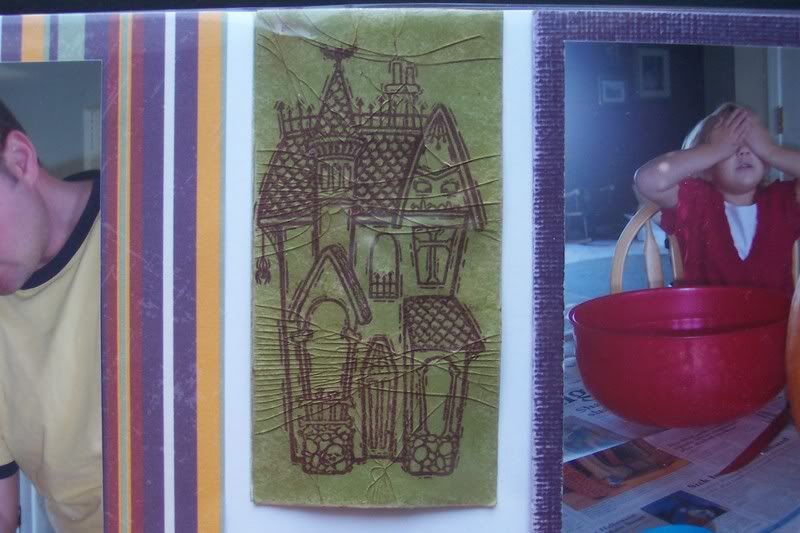
I used the Cracked Glass Technique on the Haunted House (from the Happy Haunting stamp set).
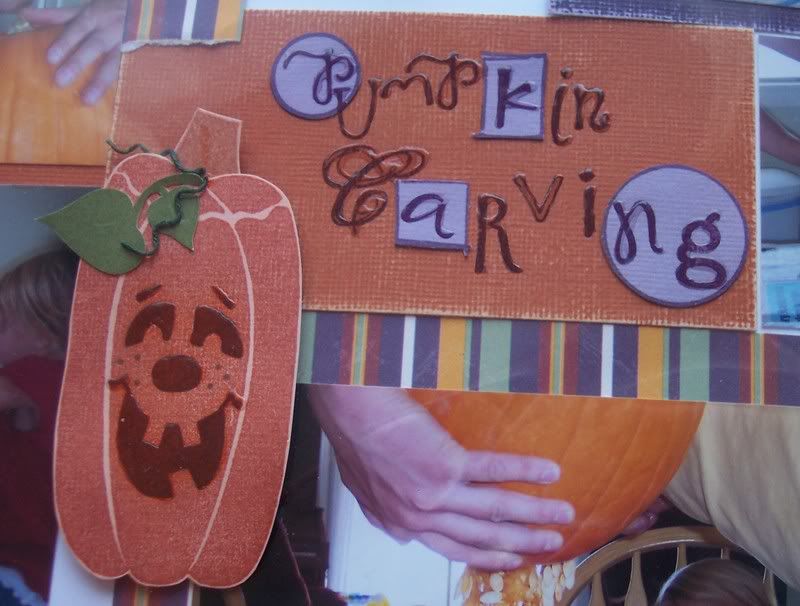
The title came from the Fall stamp set but I altered it a little. The stamp actually says 'Pumpkin Patch' (and you can see the stamp used below on one of my older pages), but I only used the word 'Pumpkin' and then I created the word 'Carving' from the Delightful Alphabet stamp set - doesn't it work perfectly! I stamped both directly on the page and then on purple as well to cut out and piece to get the different colors for my title. I also traced the title with Liquid Glass.
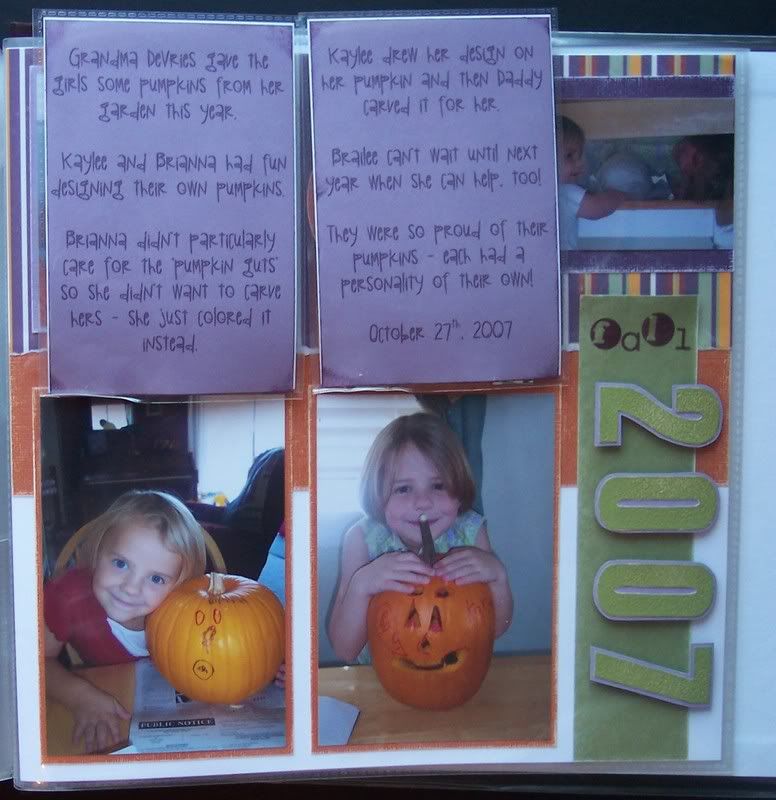
Here is the right page - see the hinges? Those are attached to the pockets I cut from the photo storage page - they lift up to reveal the journaling and pictures of the girls with their finished pumpkins.
Here are the flaps lifted.
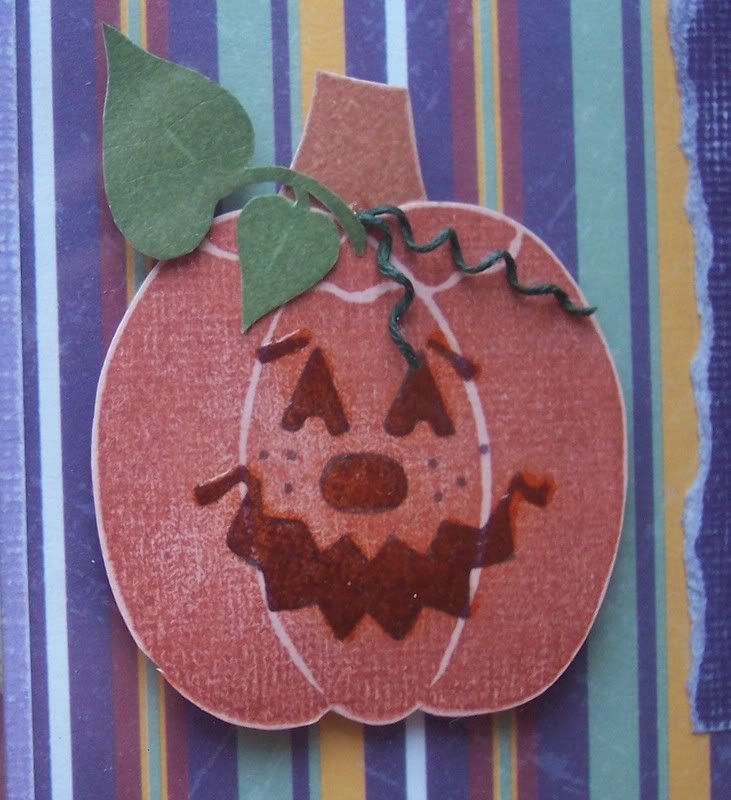
And aren't these pumpkins too cute? They are stamped on Textured CS, and I used Liquid Glass on their faces, and green Waxy Flax for the vines. Both pumkins came from the Frightenin' Fun stamp set.

And here are some of my older pages - some are almost 4 years old!


Thanks for looking!

Friday, August 14, 2009

Calendar Cover

Here is the page I created for the cover of Trysten's calendar. It's not completely done until I add the picture, but I'll wait until he turns 1 for that pic. I totally scraplifted this layout from the SOTM artwork from the Summer 2008 Idea Book - it was for the August SOTM, which was Todays Date. I just changed the paper and colors used to keep with my Stardust theme through Trysten's calendar.

Products Used (all CTMH): Stardust paper pack and Stickease, Todays Date stamp set, Rustic Alphabet, Spot On Background (for the stamp kissed title), Tiny Typewriter, Circle Coluzzle, White Daisy Conchos
***
Thanks for looking - that's it for Trysten's calendar, for now anyway!

Friday, June 19, 2009

Ghostbuster Pages

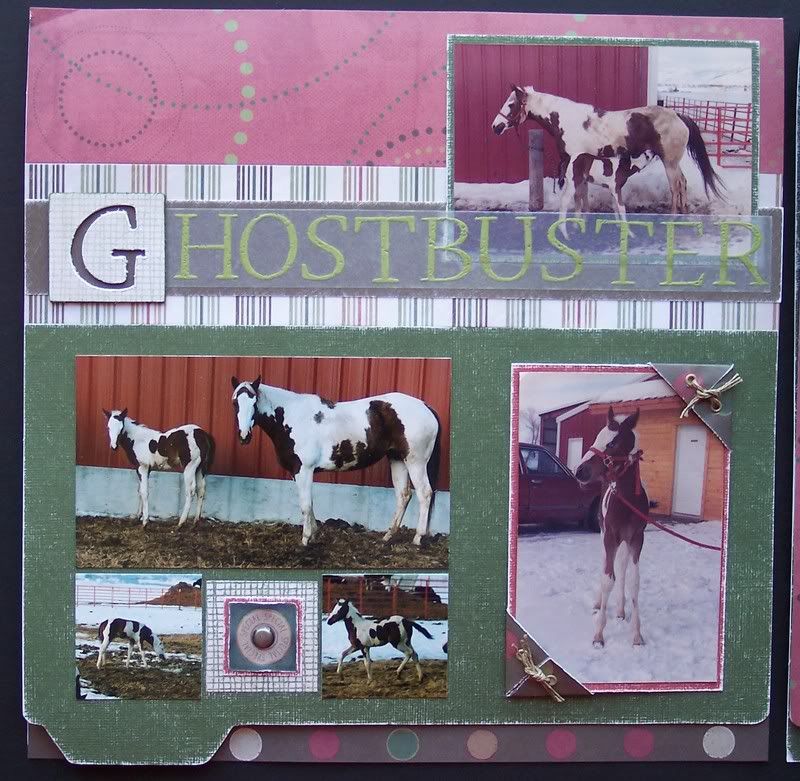
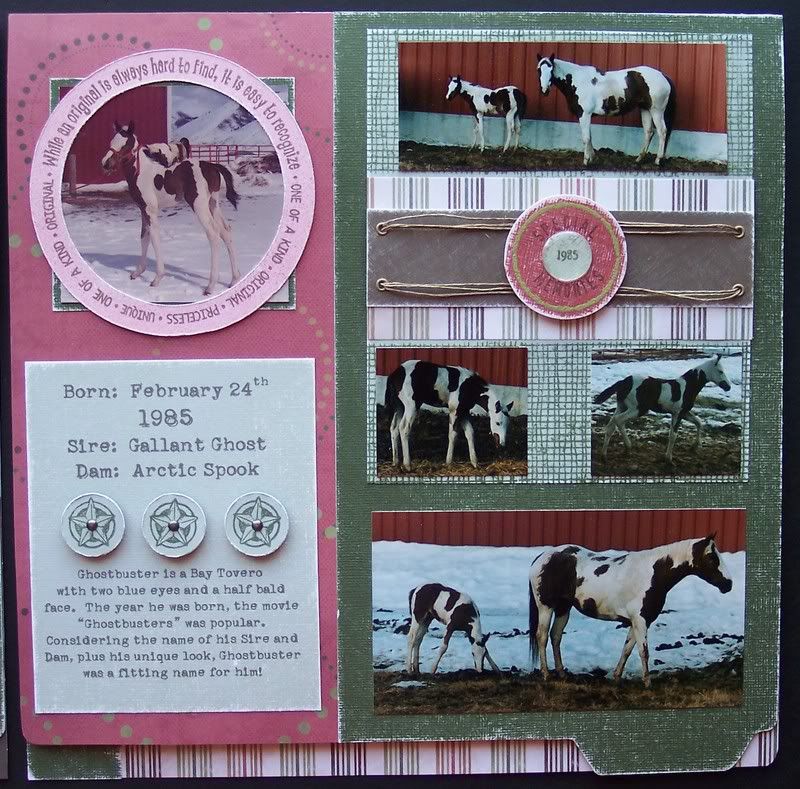
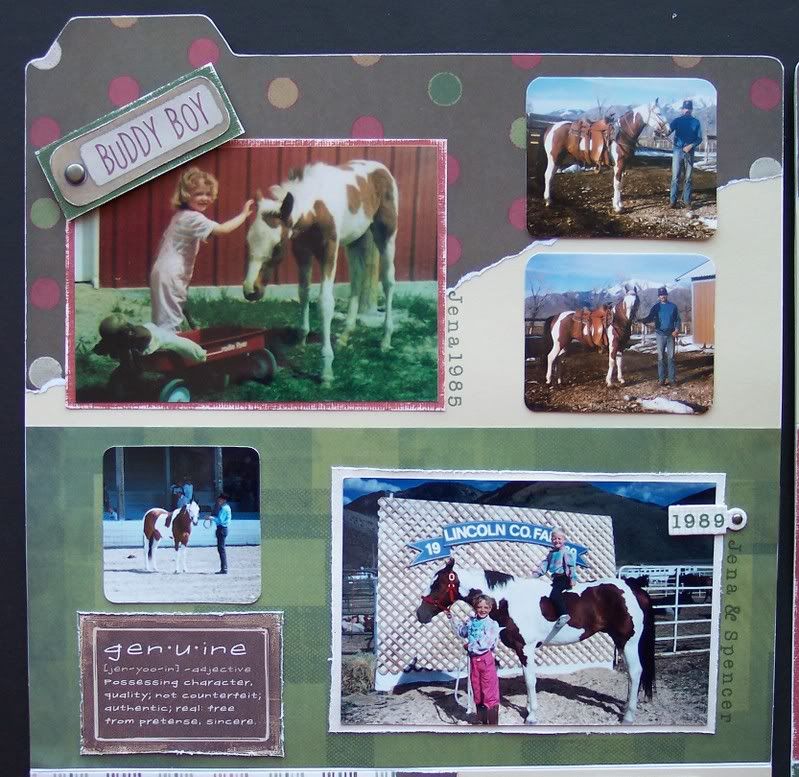
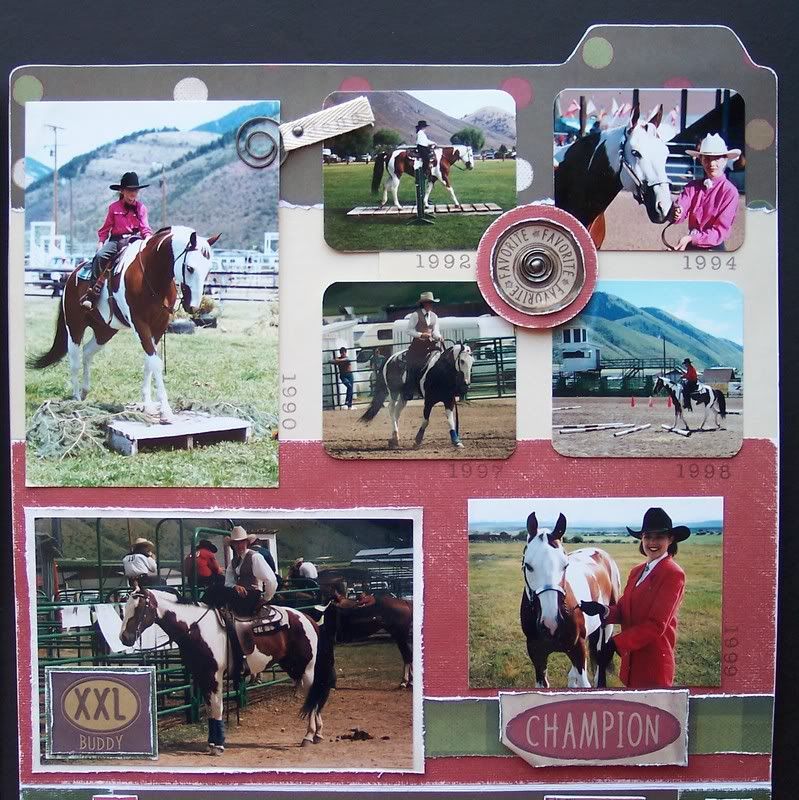
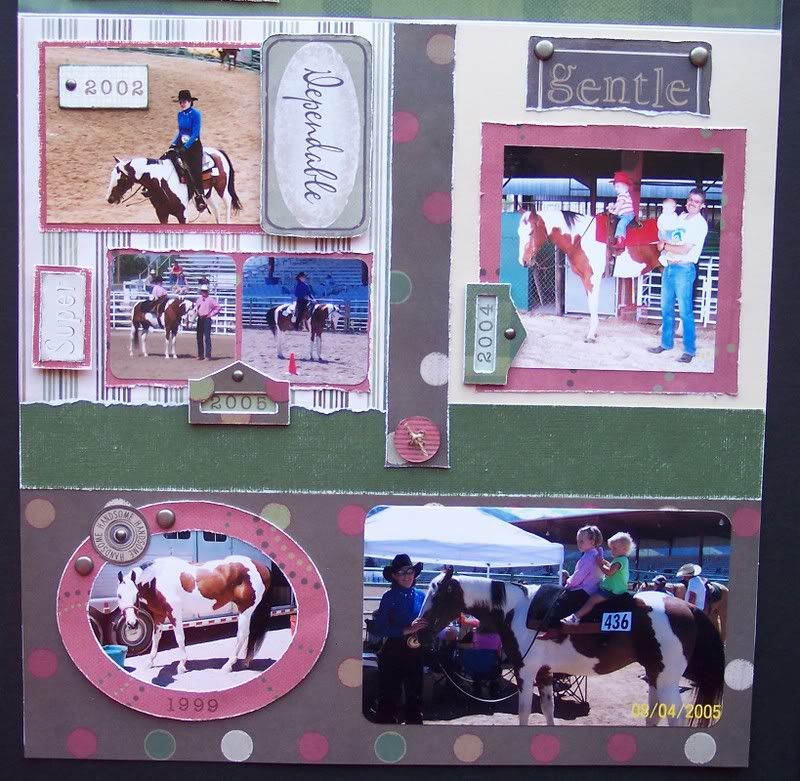
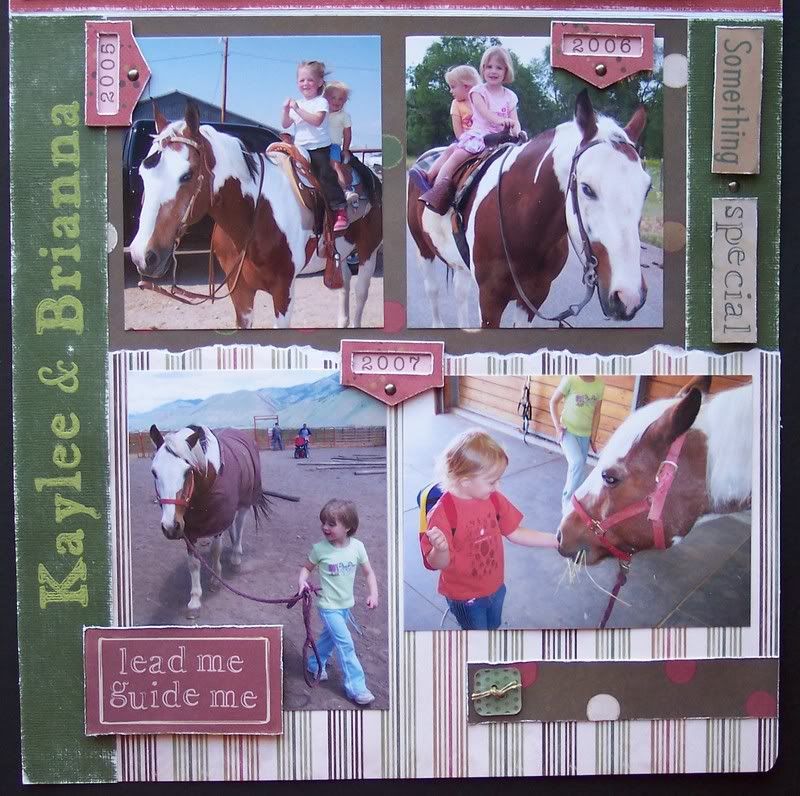
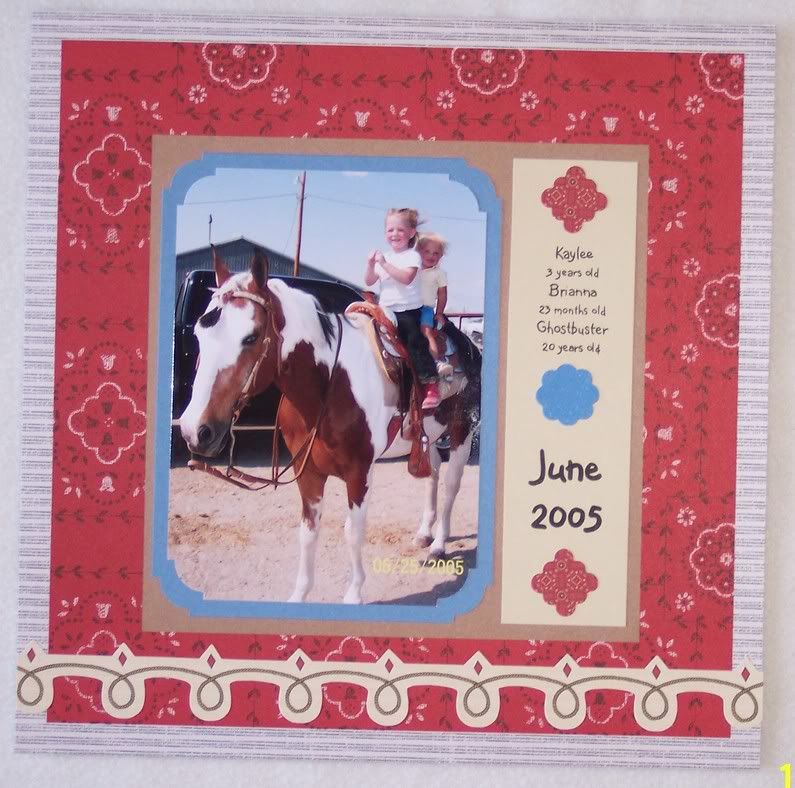
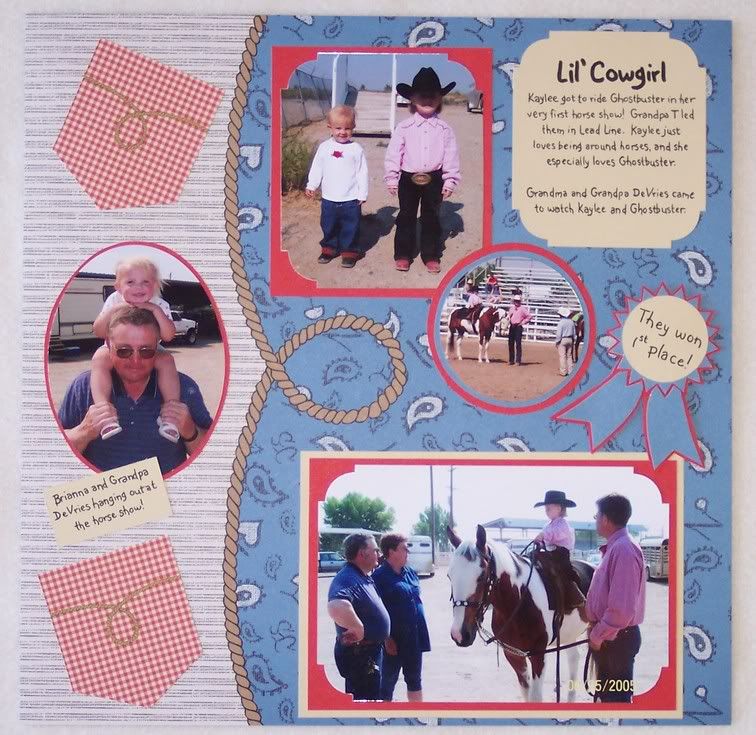
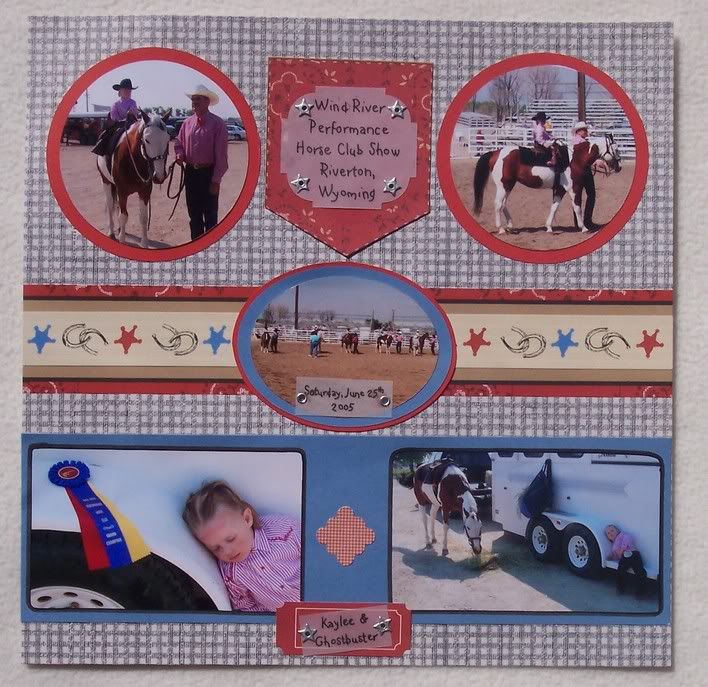
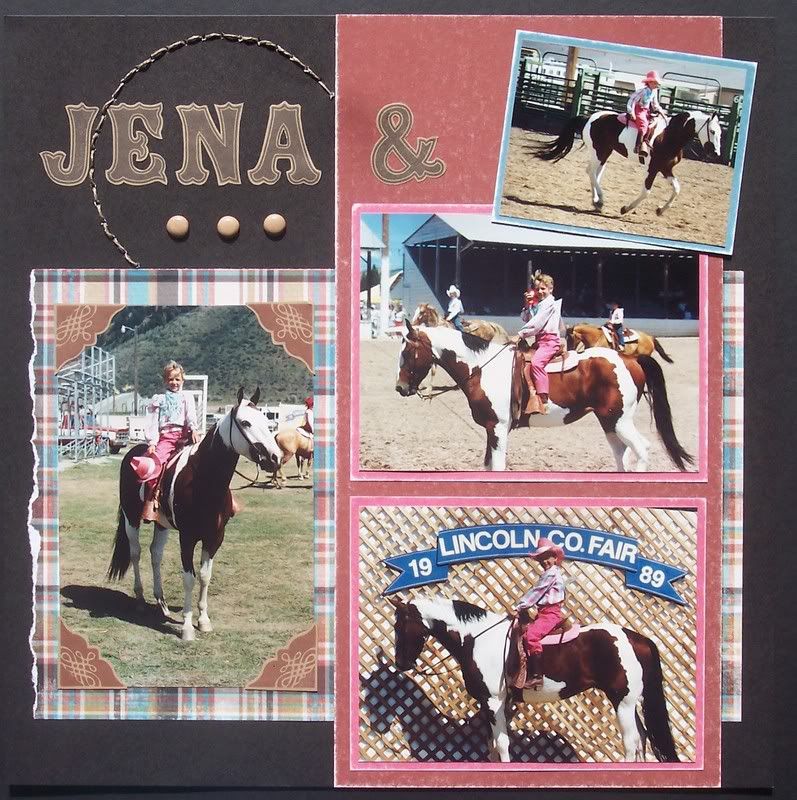
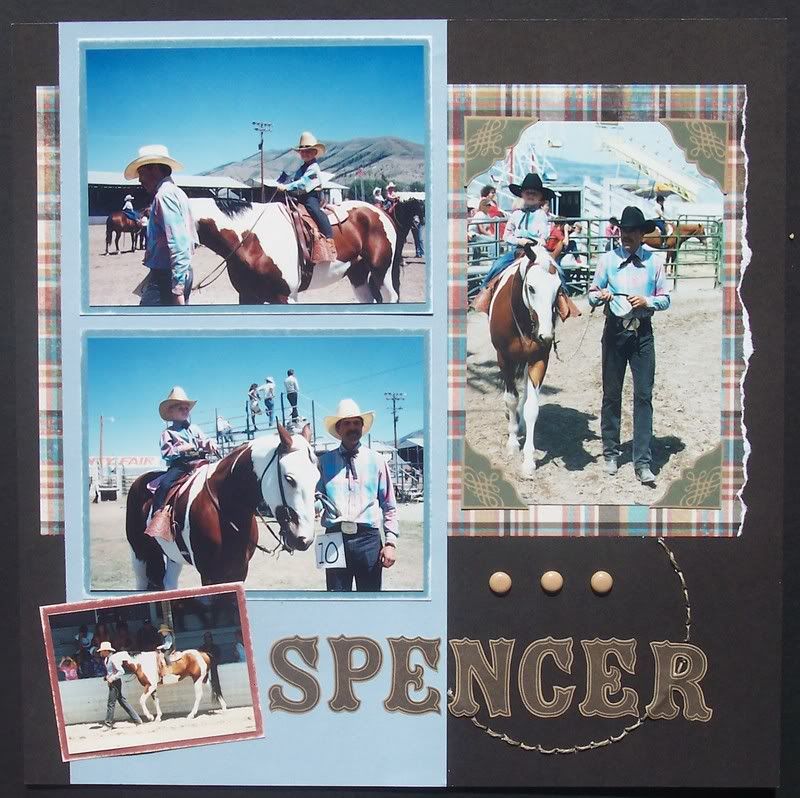
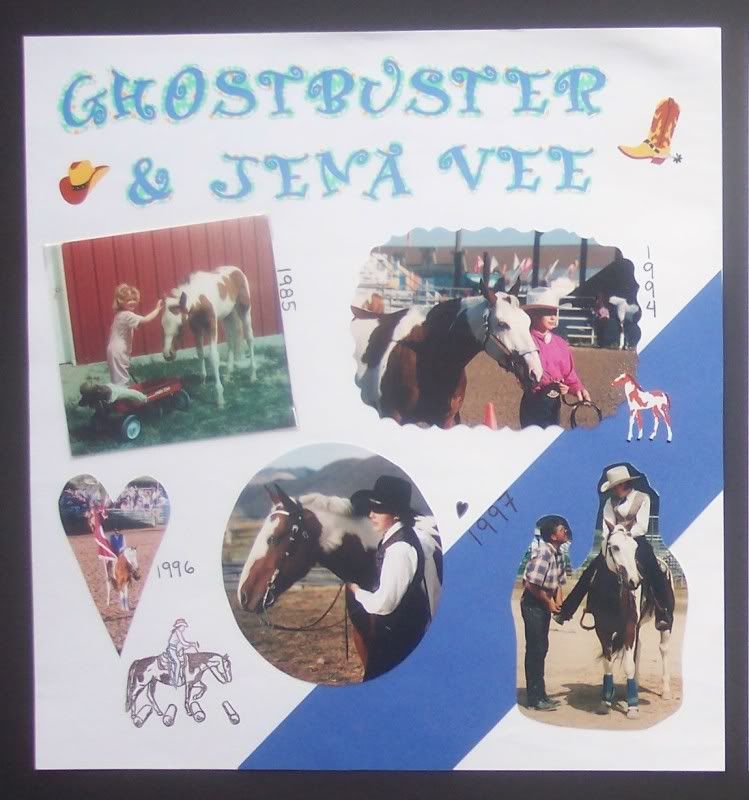
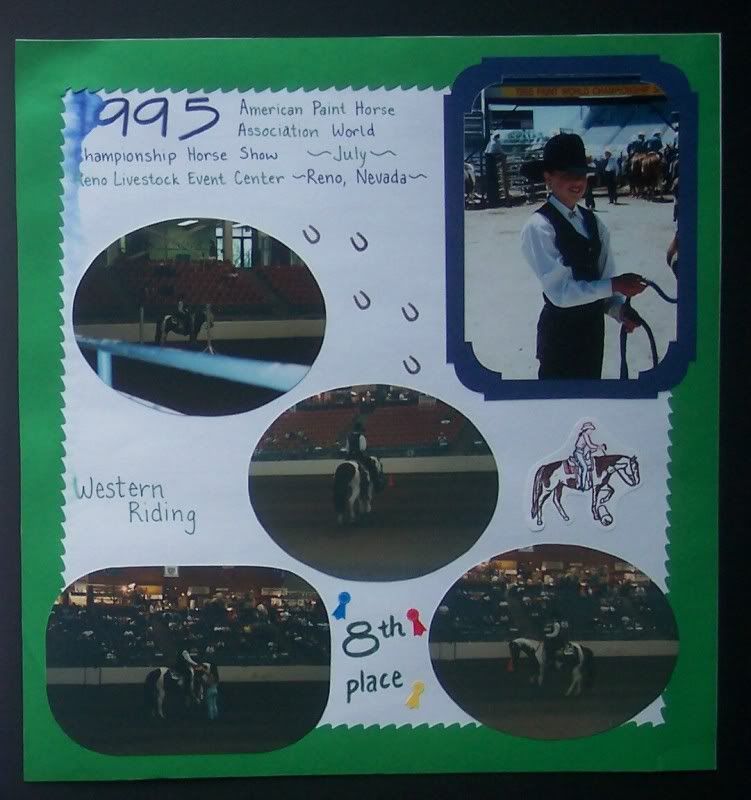
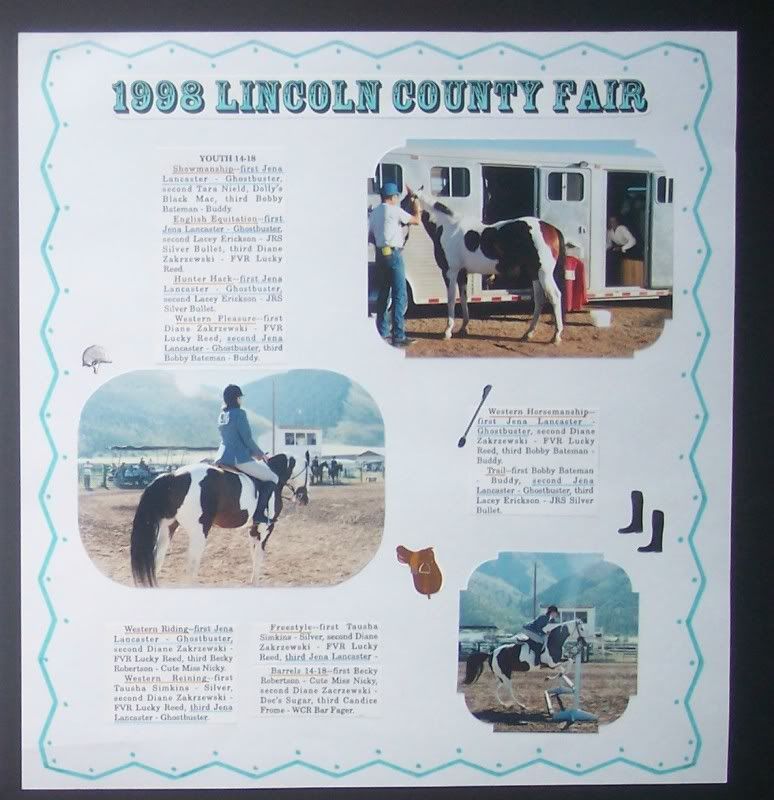
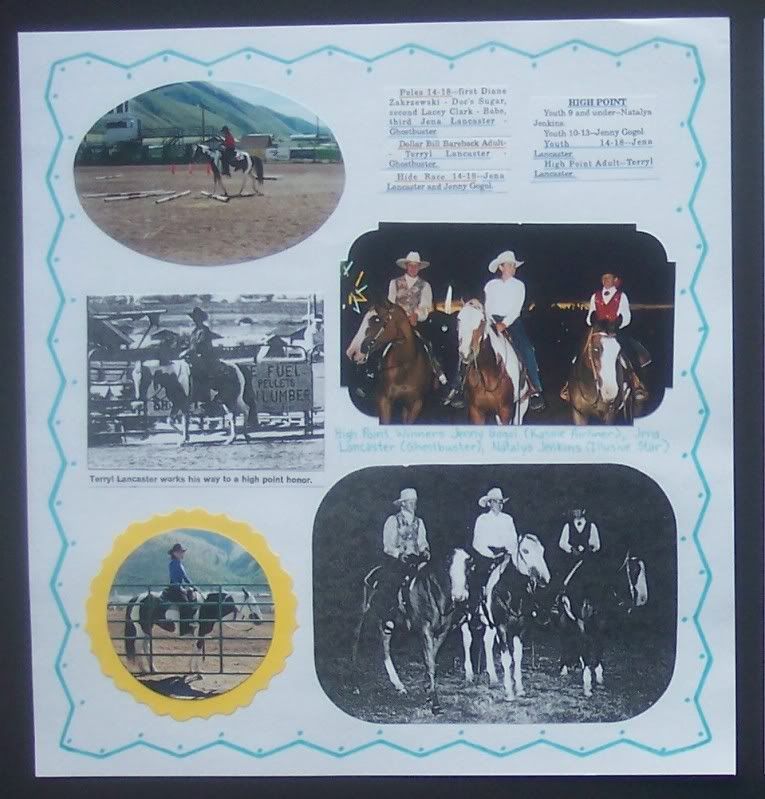
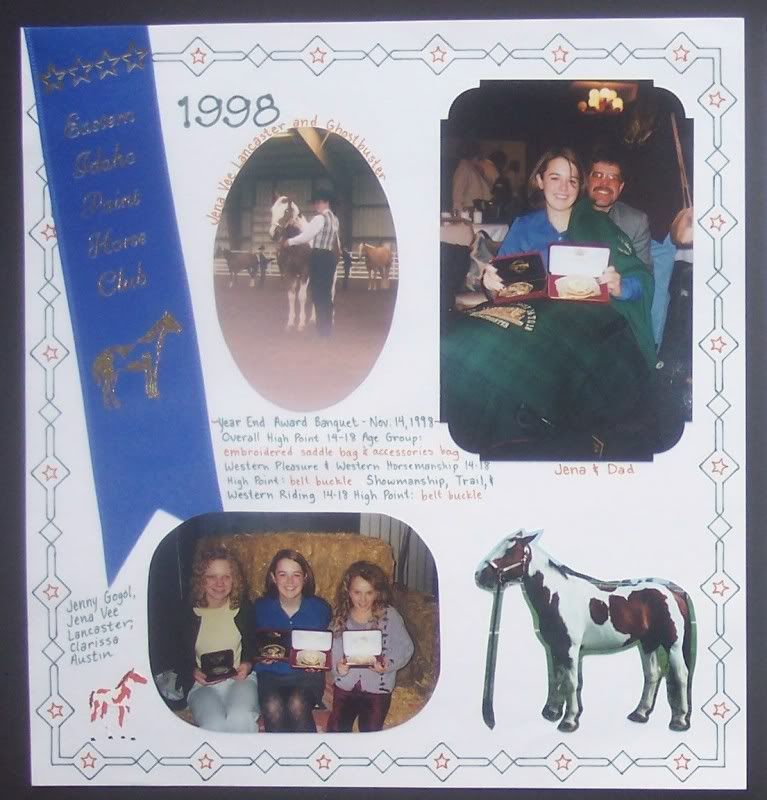
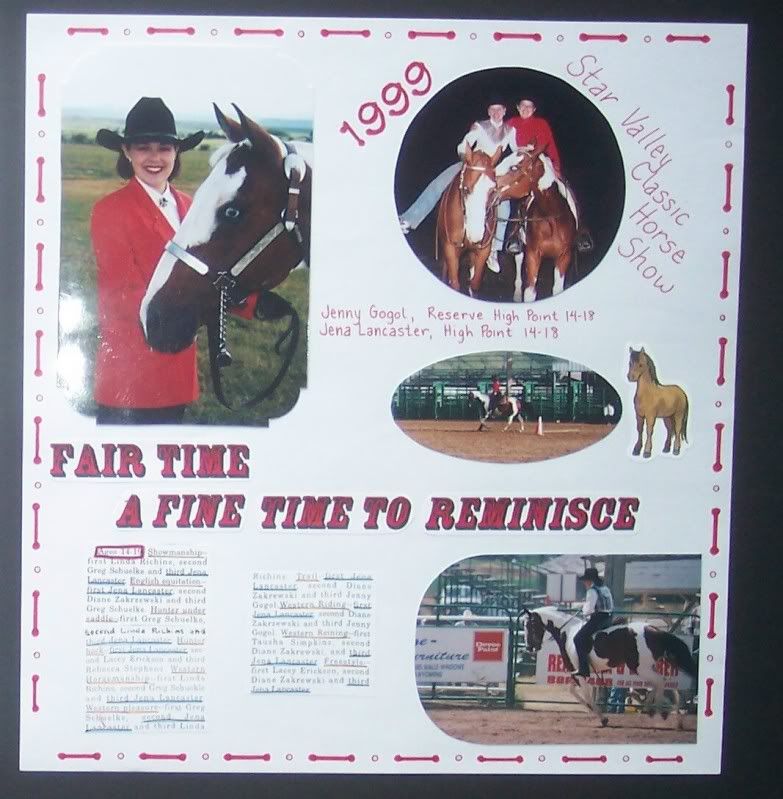
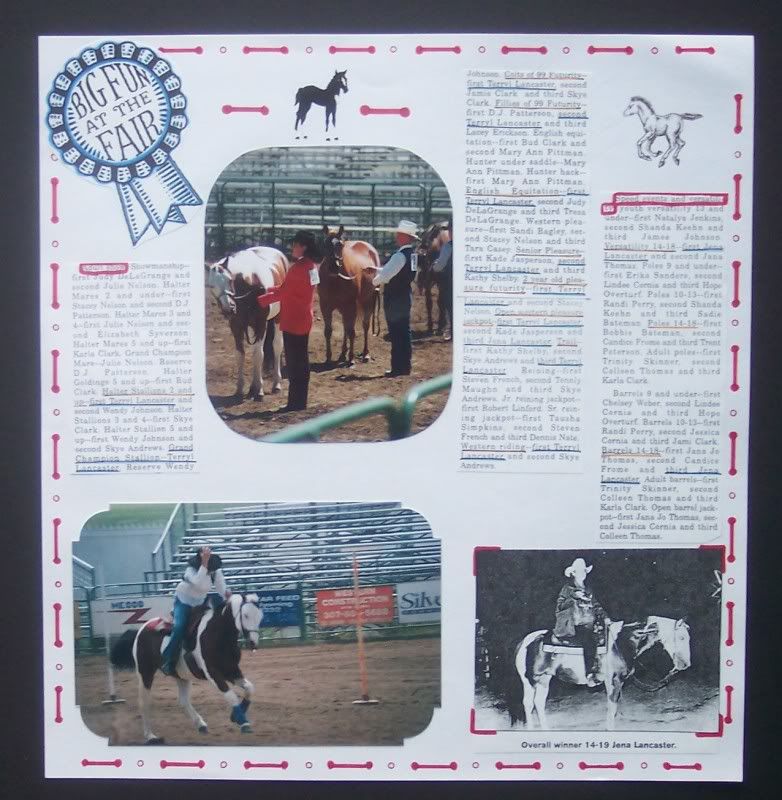
Here are some pages I have done of Ghostbuster - he was such a great horse - he will be missed! Thank you for looking and thanks for all the sweet comments and encouraging words! My kids have handled it better than I thought they would - Kaylee especially loved Ghostbuster, she takes after me with her love of horses. After I talked to my dad, Brailee could tell I was upset and asked me why I was sad. I told her that Ghostbuster had died and she said, "Will he wake up tomorrow?" I briefly tried to explain the best I could to a 2 year old and we haven't talked about it since. Then last night when David got home she went up to him and said, "Ghostbuster died and now I can't ride him anymore." Oh how I wish that weren't so!
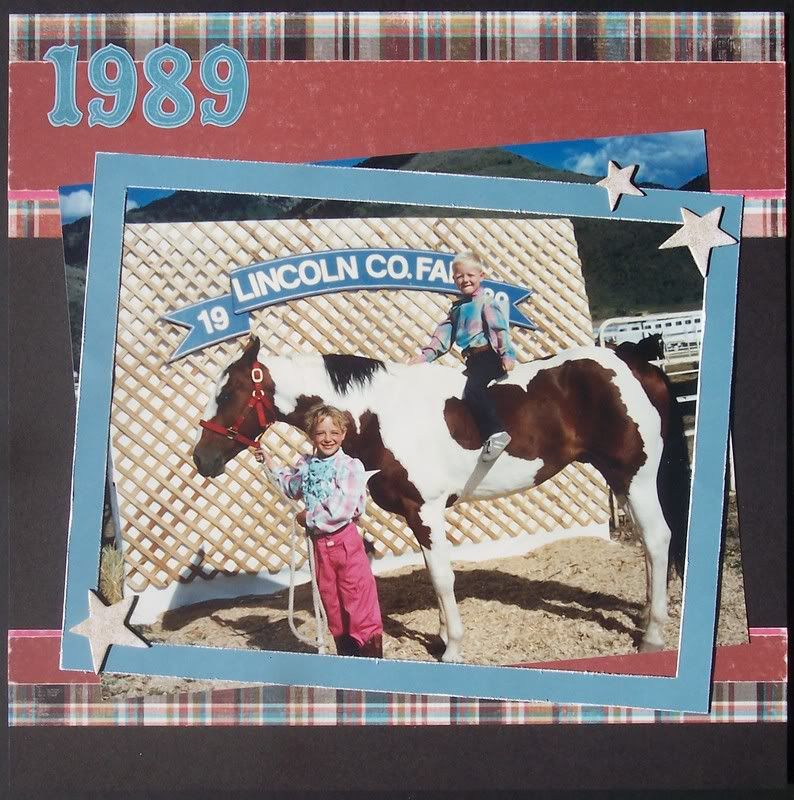
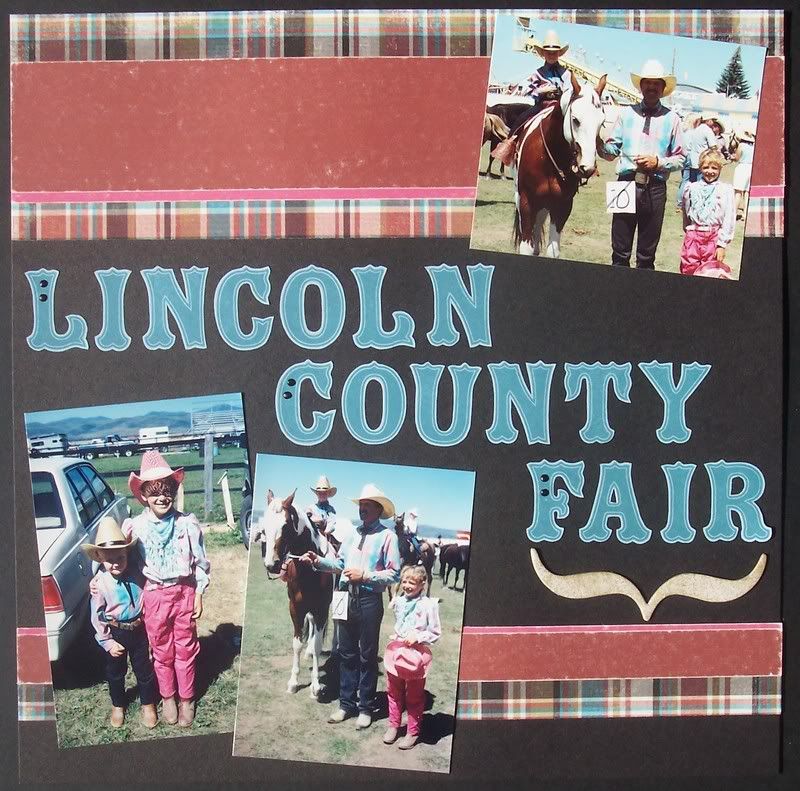
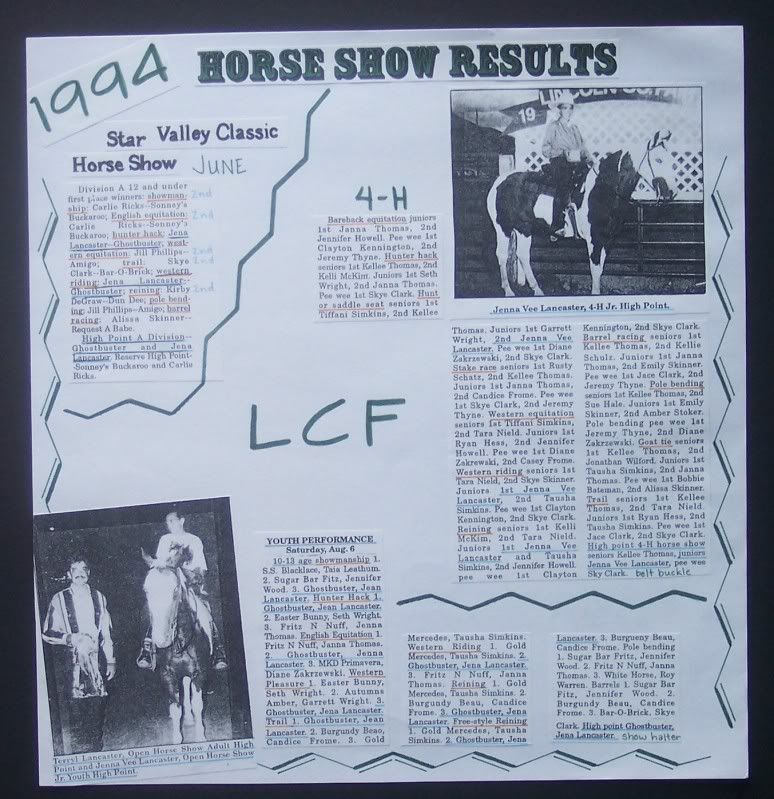
I'm even getting brave enough to post some "old" pages - I did these at least 10 years ago! Now keep in mind, I did these back in high school, so lack of supplies and experience contributed to these pages - thank goodness for decorative scissors (which I still have, by the way), decorative borders and markers, or they would be even plainer! As much as I don't like my style on these pages, I will never re-do them (except maybe the water damaged one) as it shows how my style has changed over the years!