Showing posts with label Thanks stamp set. Show all posts

Monday, August 15, 2011

CTMH Spotlight Hop - Circle Cards

Welcome to this month's Close To My Heart Spotlight Blog Hop! If you came here from Nikka's blog, you are on the right track. If you are starting here, then just keep hopping along to see all of the other creations.
***
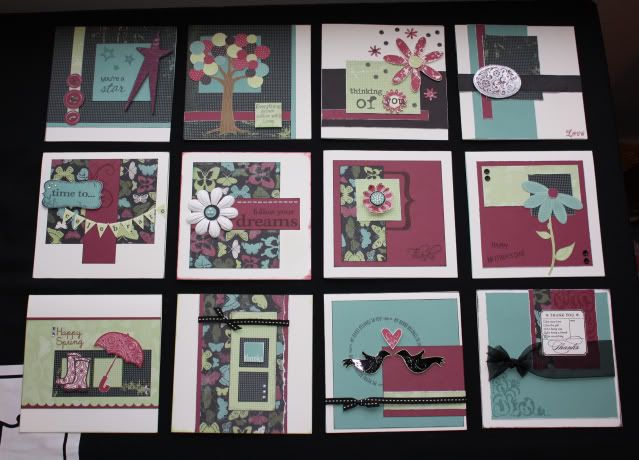
This month we are featuring Circle Cards - I forgot how much I love circle cards, I really should make them more often!  I like using the Colonial White and White Daisy circle cards and envelopes - I love that they come with their own envelope, I always struggled finding the right size before.  I also love the Clear Cards, I need to play around with those some more!
First up I have a card that I made for a niece's first birthday.  This one was really simple, I just cut a Hollyhock ring, a Blush piece for the sentiment, stamped and cut the candle using the Candlelight stamp set and Sophia papers, and added a few pink buttons.  I will admit, I always like to thread my buttons before I put them on a project, they just seem naked without something.  This time I made myself leave them plain - not so bad, right?
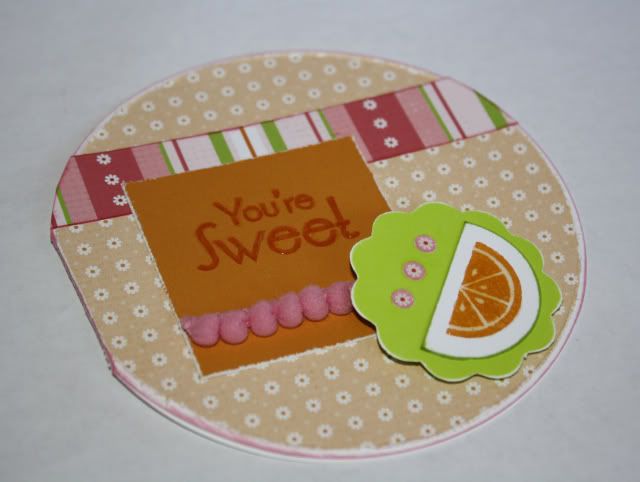
Here is another circle card that I made a while ago but haven't posted yet.  I also used the Sophia papers but this time with the You're Sweet stamp set.  I used Liquid Glass on the orange.
I have more circle cards posted below, but if you are ready to continue along the Blog Hop, the next stop is Amie!
***
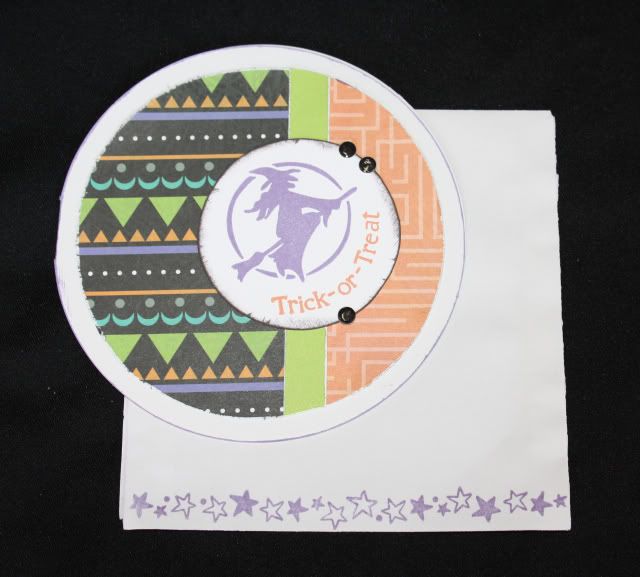
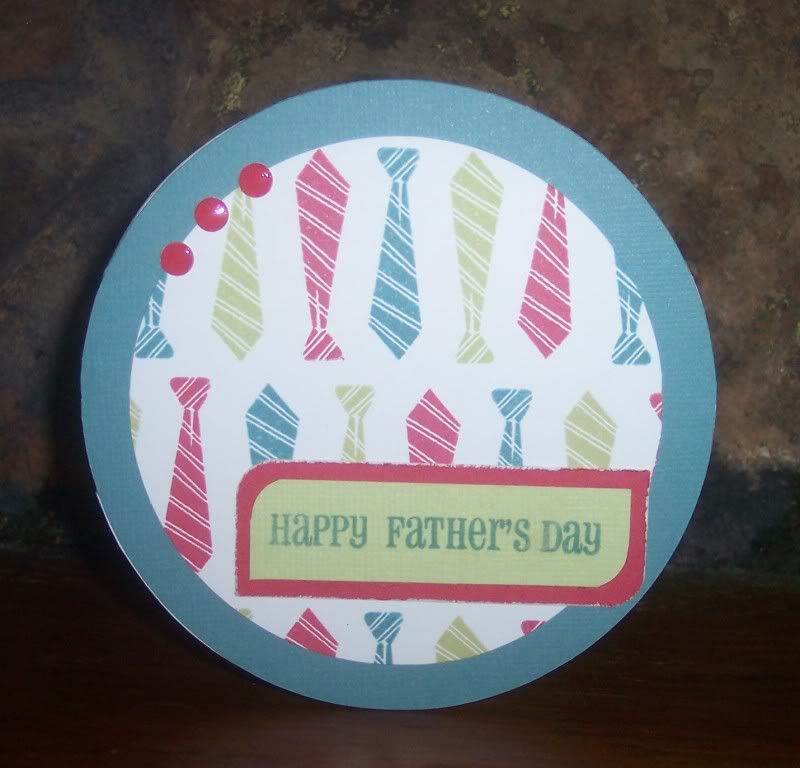
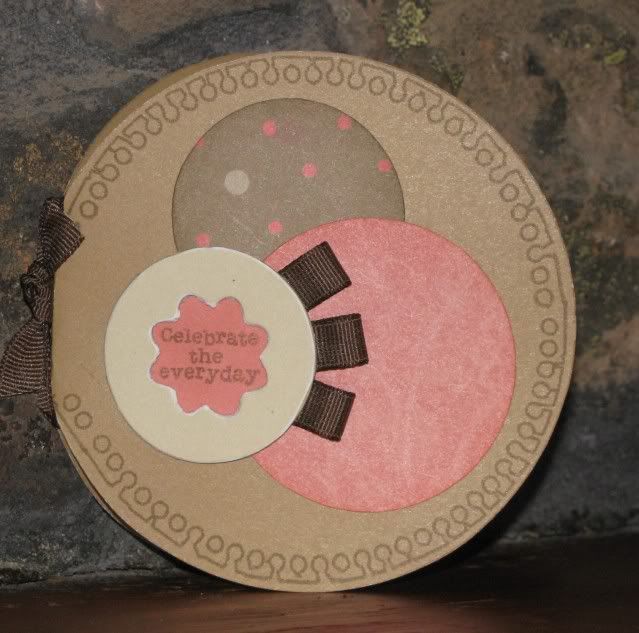
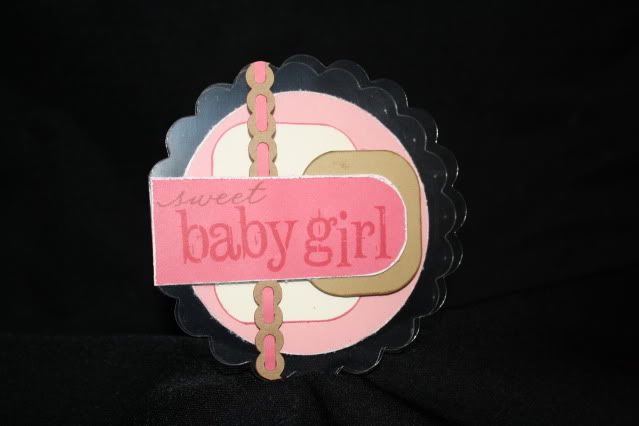
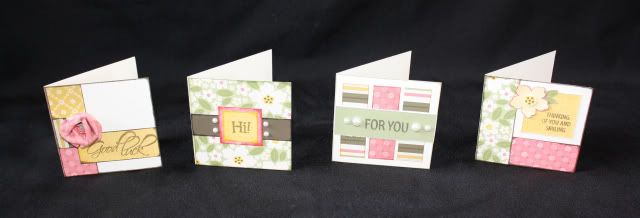
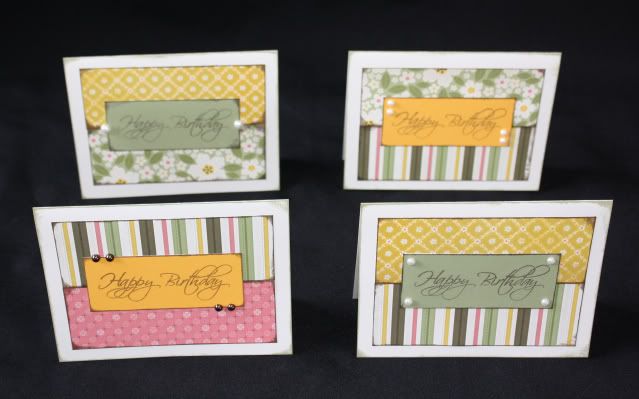
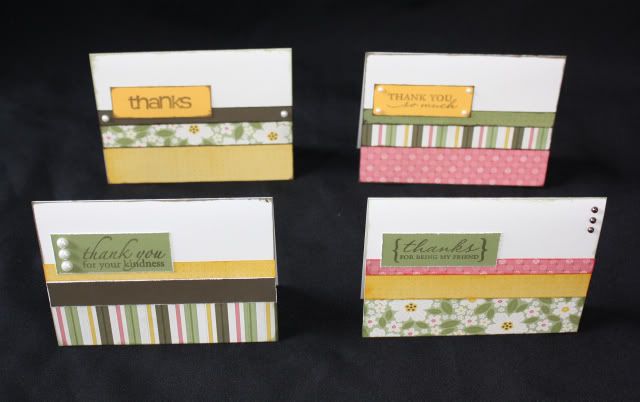
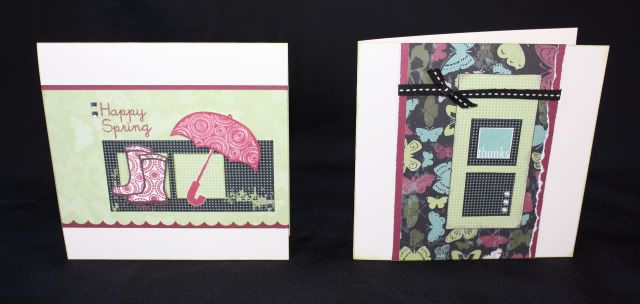
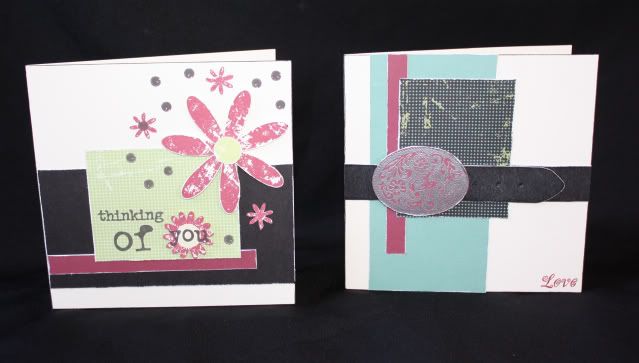
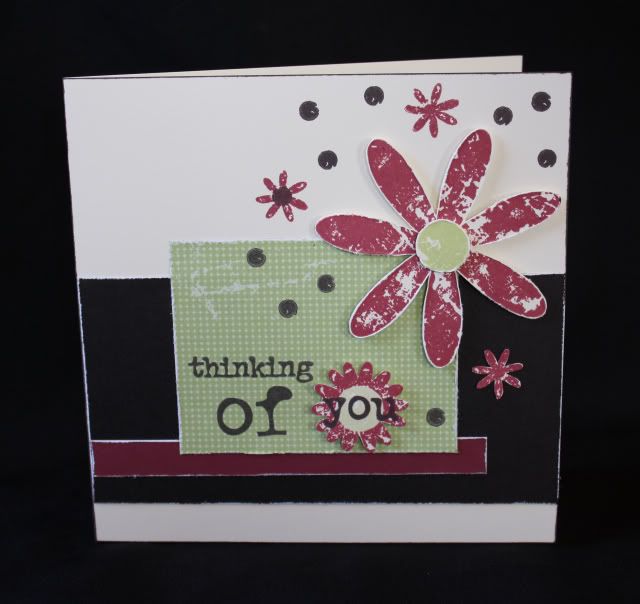
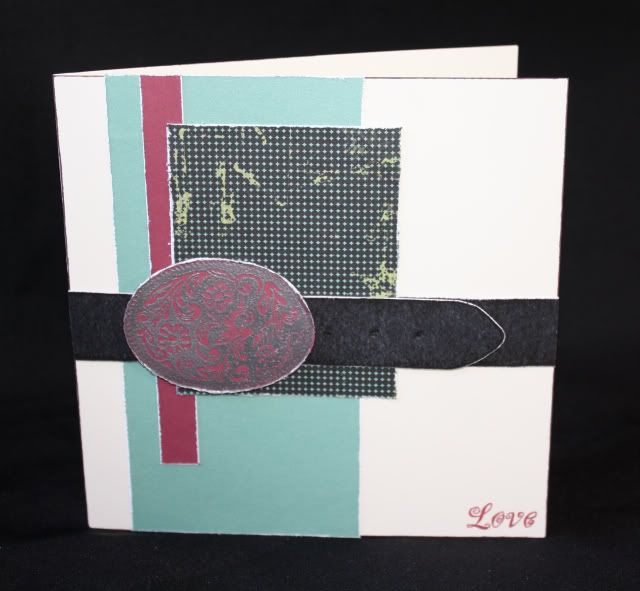
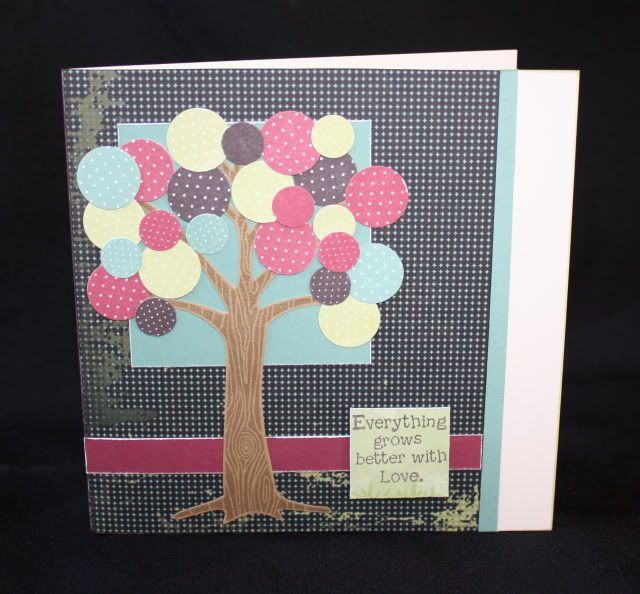
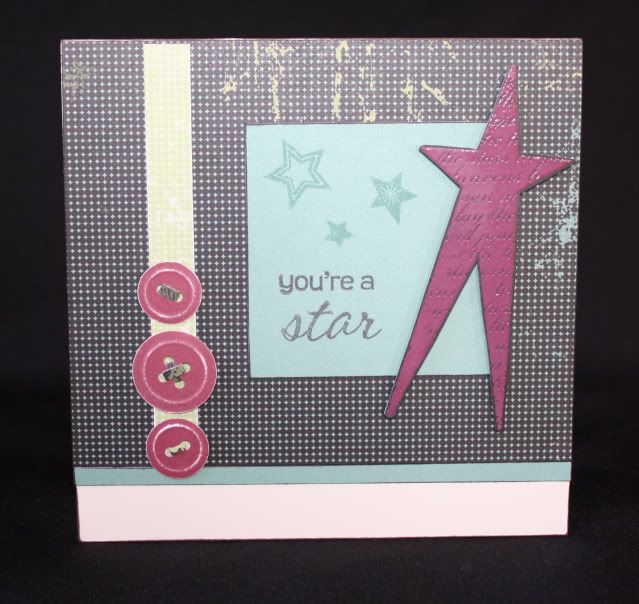
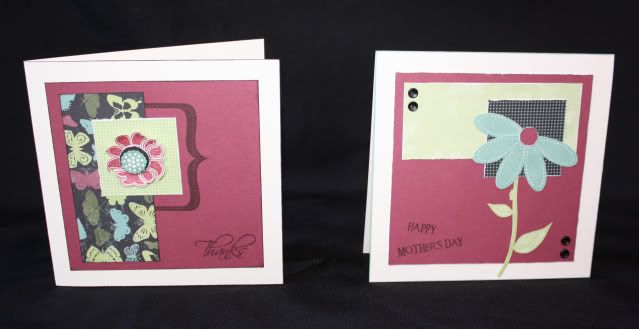
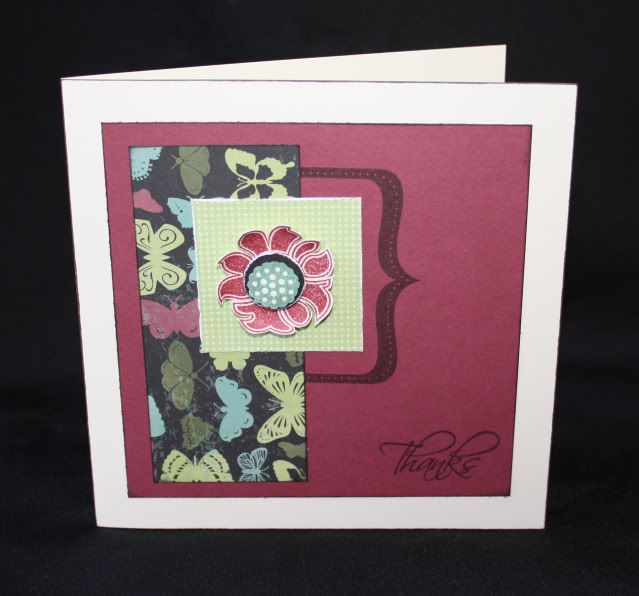
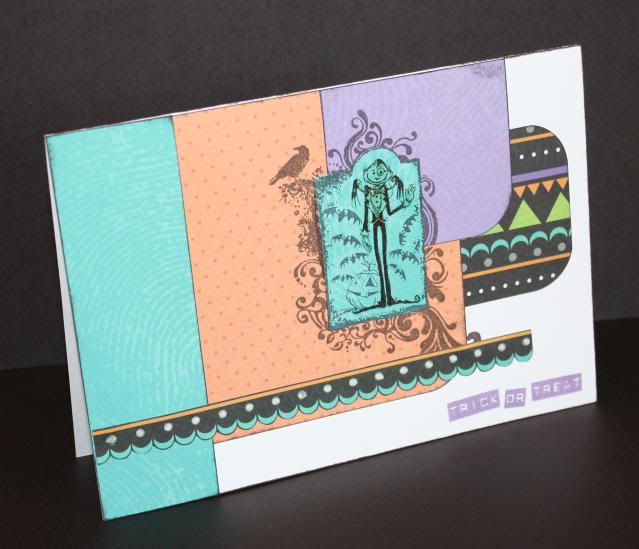
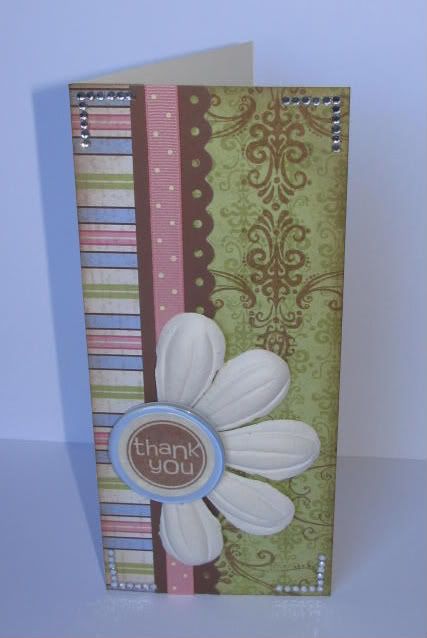
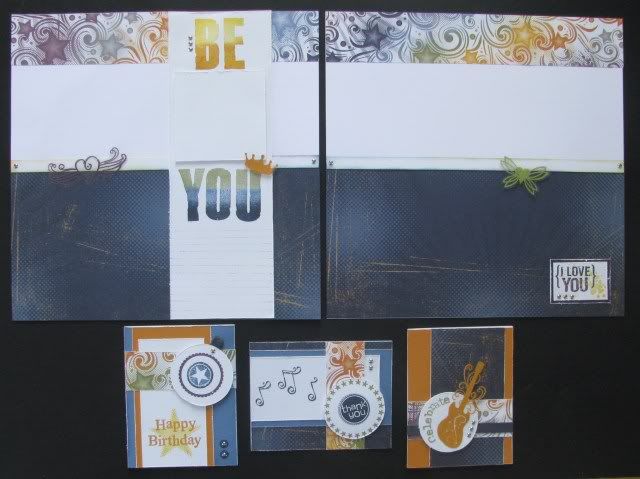
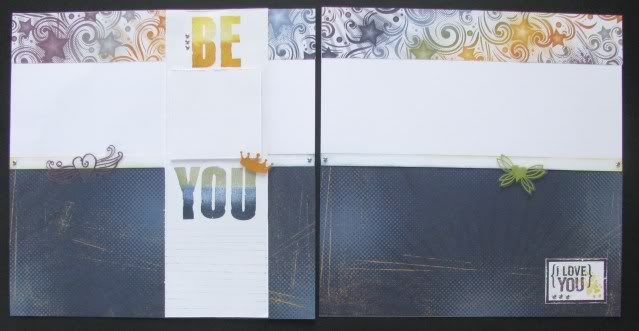
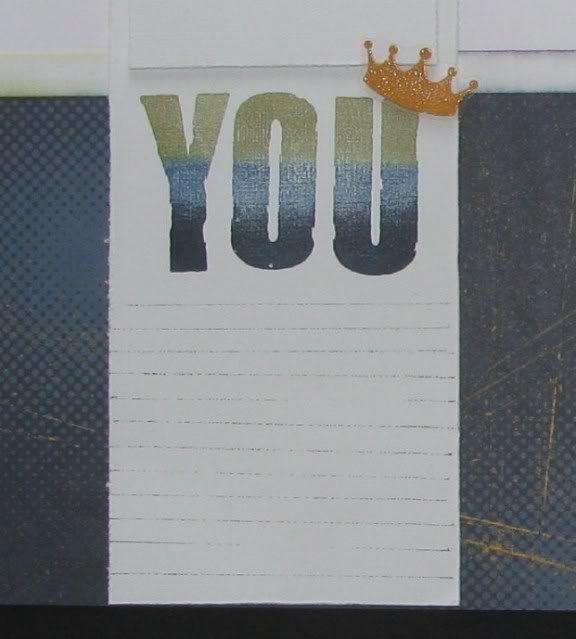
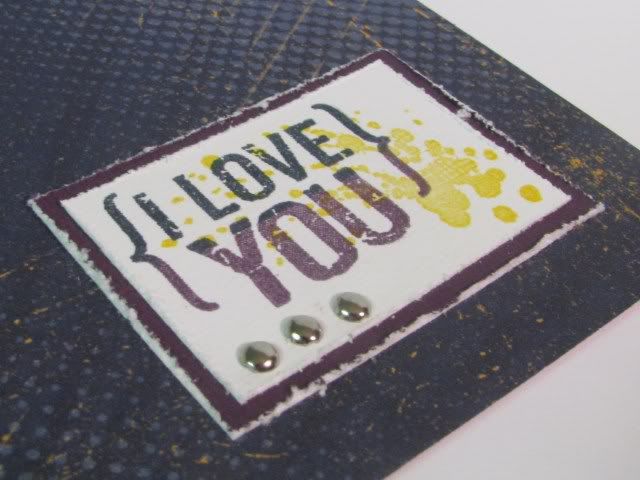
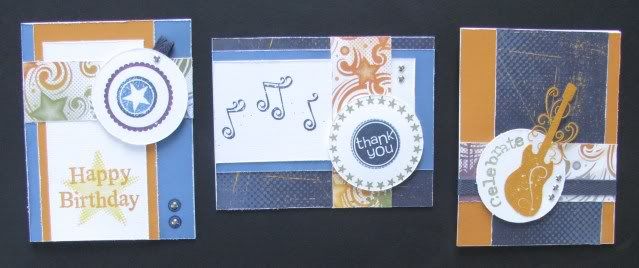
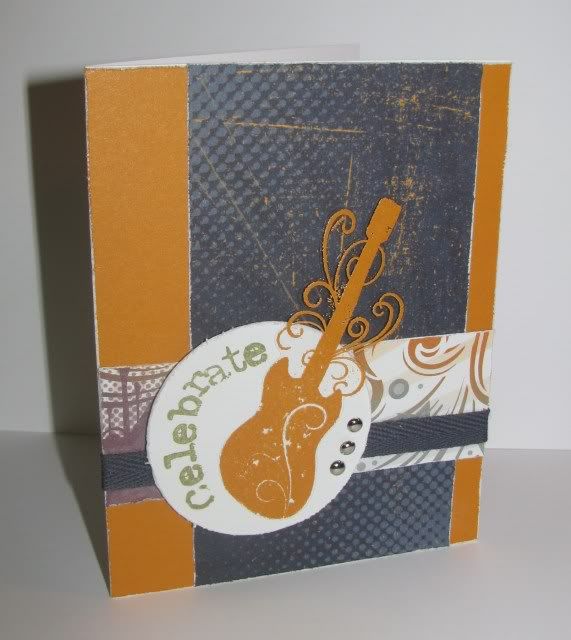
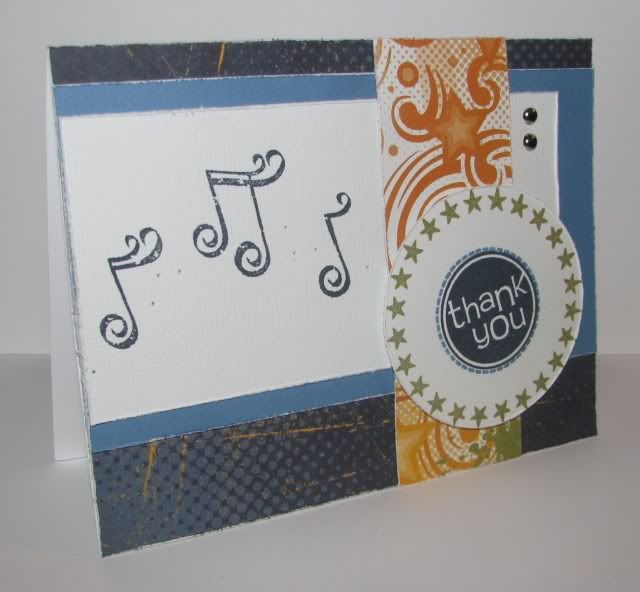
These cards have been posted before, but if you missed them and want more details, just click on the card title to go to the previous post and find out more!

Thanks for looking - don't forget to hop along to Amie's Blog!

Thursday, July 28, 2011

Operation Smile

You may or may not remember this little sneek peak that I posted a while ago.  Well it's about time I actually share my project!  I was honored to be asked once again to donate something for the Operation Smile Silent Auction at Close To My Heart's Convention in Disneyland this year.  Click here to see last year's donation.  Since I've never been able to make it to Convention yet, I am thrilled that a part of me does get to go and be a part of such a good cause!  I made a stationary box - once I find the link with the instructions and measurements that I used I will post it here!  I LOVE how the box turned out - especially the pinwheel flower on the front - this was the first one I ever made and I will be making a lot more they are so fun!  I used the Mayberry Papers.  Here is the box closed...
...take the top off and it opens up...
...and here are all the contents.
This was a little address book - I just covered the front and back with pretty Mayberry paper - wish I'd had time to put a tag with 'Addresses' or something like that on the front.
Here is the inside.
These 3x3 mini cards are my favorite.  I used the For Every Ocassion stamp set and Opaques Pearls on these.
I wish I'd had more time to work on these, but I didn't so I kept the standard size cards really basic - used the same pattern just changed up the papers and stamps used and added some fun Opaques Pearls and Opaques Mocha Gems.  These cards use the For Every Ocassion stamp set also.  They are good for a quick Thank You or Happy Birthday card!
These cards use the Thank You stamp set.
You can't see it very well in the picture but I found this cute mini pink pen - I put a strip of patterned paper in side the tube to help it coordinate.

To finish it off, I wrapped the envelopes with a strip of patterned paper.
Thanks for looking!

Tuesday, May 24, 2011

Wings and Wishes

I LOVE the card workshops in the Wishes How-To Book.  I've also really enjoyed playing with the Wings paper - watch for more posts with this paper coming up!  I finished putting this set together a couple of weeks ago, I'm finally getting around to sharing it.  Using the Celebration Card Workshop cutting guide and just 2 patterned papers, 2 cardstock papers, plus 6 more cardstocks for the card bases, I was able to create 12 cards (2 each of 6 different patterns)!  I love how they turned out - now I just need to find some 6x6 envelopes!  Here is the entire set:
Here are the cards - notice how I either used the opposite side of the paper or rotated the card and used different stamps to get a completely different look from each card pattern.
Card 1
Supplies used on the following card: Springtime stamp set, retired Spot On Backgrounds stamp set, Sparkles, and a scallop border punch.  I used the stamp kissing technique on the umbrella using the Spot On Background stamp, and I used the same stamp to directly stamp the pattern on the boots - I love the different look it gave.

Supplies used on the following card: Thank You stamp set, Black stitched ribbon, Opaque Pearls.
Card 2
Supplies used on the following card: retired Legendary Moments stamp set, retired Cherish the Moment stamp set, and wide organdy ribbon that I had in my scrap stash
Supplies used on the following card: retired Free Spirit stamp set, Black embossing powder, retired Vineyard Berry embossing powder, Black stitched ribbon

Card 3
Supplies used on the following card: retired Rustic Flowers stamp set.
I'm not too fond of this card - I think I went a little overboard stamping the dots ;-P
Supplies used on the following card: retired Lovely Buckles stamp set, silver embossing powder to emboss the buckle on Vineyard Berry paper

Card 4
I think these two are my favorite from the entire set - I just love this stamp set that comes with the You & Me kit that's the special for this month - I love the stitches, flourish, and pennant stamps the most!
Supplies used on the following card: You & Me stamp set, Colonial White ink for the stitches, paper flower, Opaques pearls
Supplies used on the following card: You & Me stamp set and Sparkles

Card 5
Supplies used on the following card: Grown With Love stamp set, circle punches -I  added some Desert Sand ink to the color combo for the tree.

Supplies used on the following card: Shining Star stamp set, button punch with paper strips in the button holes, and retired Vineyard Berry embossing powder to emboss the star on black paper.

Card 6

Supplies used on the following card: Love This stamp set (it was good to finally ink this set up, this stamp was part of a special last year and around the time we moved and I never got a chance to play with it until now) - I also used the For Every Occasion stamp set 

Supplies used on the following card: retired Playful Petals stamp set, Friendship Blessings stamp set for the stem and leaves, Say It In Style stamp set for the sentiment, and black button brads.
Which one is your favorite?
***
Whew, that was a lot - if you're still with me, thanks for visiting!

Wednesday, January 19, 2011

Long Lost Cards

It's been too long since I've posted a paper project, and I'm hoping to be posting more soon.  For now I've been organizing my temporary craft room and came across these cards that I completely forgot about and never posted, so here they are!  Okay, after you've picked yourself up off the floor in shock, take a look!
***
This one I think I did with one of my Hostess Clubs last spring using the Topstitch Paper, a pink Just Bloom flower, and Togetherness stamp set for the stitches.
The next two are way out of season, and meant to share them months ago, but they got put away and forgotten as well.  I hosted a Crop 'Til You Drop night back in October and had some friends over to crop the night away!  I played a bit with Studio J (I'll share those layouts later) and created these two Halloween cards using the Hooligans Paper, Thriller stamp set, Glitz Gel, and a bit of Liquid Glass and my craft sewing machine.
For the main image I inked the image in Gypsy (purple) ink, then I rolled it in Black and then stamped it.  Then I stamped the image again in Gypsy, cut out the skull and used a pop dot to attach it to my card.  I then glitzed up the eyepatch with the Glitz Glitter gel.  I also used the Glitz on my 'fake' brads (aka punched out paper circles) to give them some bling and dimension.
For this card I stamped the main image once on the card and then again on the Lagoon paper and cut it out.  I added some Liquid Glass to Dracula to give him some dimension and shine.  You can't tell in the pic but I also used the Glitz Gel on the dots on the scalloped piece that I cut from the patterned paper.
Thanks for visiting!

Tuesday, March 16, 2010

Thank You

This week's challenge over at Sketches! {by tamara} is a Card Sketch:
I used this sketch to create a card for a dear friend who has really been there for me lately.
CTMH Products Used: Life Delights paper (retired), Thanks stamp set, Rhinestone Frame (CC Reward), Circle Window Charm (retired), Just Blooms Big Pinks flower, Chocolate ink, Blush Dot ribbon
Other Products Used: Fiskars Scallop punch
***
Don't forget to check out what the rest of the Design Team has created using this sketch! Thanks for looking!

Monday, February 15, 2010

You Rock - Blog Hop

Welcome to our CTMH Product Spotlight Blog Hop! This month we are featuring the stamp set D1346 You Rock. This was a fun stamp set to play with - I used it on my upcoming Workshop featuring the You Rock papers as well! I used the Workshop On The Go for the You Rock papers, but instead of using the Rockin' Top Coats and the Just Be You stamp set that comes in the Workshop Kit, I changed things up and used the You Rock stamp set instead.
***
Here are the pages and cards that we will be creating at the workshop...remember you can click on any of the images to view them larger.

Here are some close-ups of the pages...


Since I didn't have the Rockin' Top Coats to use, I created my own by heat embossing on a transparency and then cutting out - I used Pansy Purple, Olive, and Goldrush (retired) Embossing Powder.


When I stamped the word 'YOU' I accidentally got an edge of the block in the ink and it transfered to the paper - so I made it look like I meant to do that by adding more and voila, I created journaling lines! I think the rough look goes along well with the paper. Here you can also see the crown from the You Rock stamp set that I embossed on a transparency and cut out to add to the page.

And here is my corner accent - I combined two different stamps 'I Love to Play' and 'You Rock' to make it say {I Love You} instead.

Here are the cards...


...for this one I heat embossed the guitar on a transparency and cut out...


...for this one I also used the Circle Around stamp set and Thanks stamp set...


...for this one I didn't use the You Rock stamp set, instead I used the Star Struck stamp set along with the Happy Birthday stamp set...


***
The next stop on this blog hop is Tracy, so don't forget to keep on hopping and check out all the fun artwork using this stamp set.
***
If you get lost or find links not working along the way, here is a complete list of hoppers...

Wendy K http://www.myscrapbookingblog.com/
And for those who would like to see the original Workshop On The Go designs - here is what CTMH created - you can see how I changed mine up.

Thanks for looking - I hope you enjoy the Blog Hop!