Showing posts with label Layouts. Show all posts

Friday, February 24, 2012

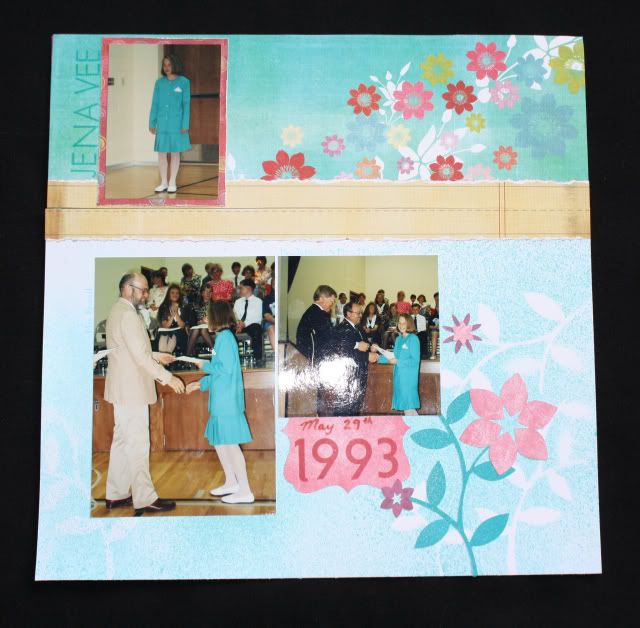
Flashback Friday - 6th Grade Graduation

We got hit with a yucky sick bug at our house this week - the older girls missed a couple of days of school and we haven't done much this week.  For some reason (named Valerie) I got the urge to go through some old pictures so I pulled the box out of my closet and started my trip down memory lane.  For my friends on Facebook, sorry if you're sick of all the old pics I've been posting ;-)  Anyway, it also got me in the mood to start scrapping again - like hands on scrapping, not just digital.  Since moving here I have hardly printed any new pictures, which is a good thing, I guess, since I do have a lot already printed!  In R-ton I lived a block away from Walgreens so I would go online, order the pictures I wanted to scrap, pick them up in less than an hour, and do a page or two.  Here we don't have good local photo printing options - I have to take a memory card or jump drive to the hardware store, sort through and order my pics on a dinky little kiosk, which is just no fun, especially with kids.  Plus I've never been pleased with the prints, the colors always seem off, and it takes forever for just a couple of prints.  Now I know I could always order them online and have them shipped but I am just never that prepared in advance to know which pictures and what sizes I want to order a large quantity of pics to make it worth the shipping cost. Thankfully Studio J has kept me scrapping recent pictures, so I can't complain!  If I want to get some hands on scrappin' done I will turn to my box of already printed pages - it's a good way to accomplish that goal anyway!

Anyway, didn't mean to ramble - what I really came here for today is to share some pages that I finished up yesterday.  I used some Fancy Kewl papers from Fancy Pants Designs that I've had in my stash for a few years now.  I picked this paper because of the teal color (which matches my dress) and notebook lined papers (which goes along with my school theme).  I only had one page of the teal pattern I wanted to use, and only a few inches left of the lined paper, so I had to stretch it as much as I could.  I will show you how I did below.  I used a sketch from the PageMaps 2 book.
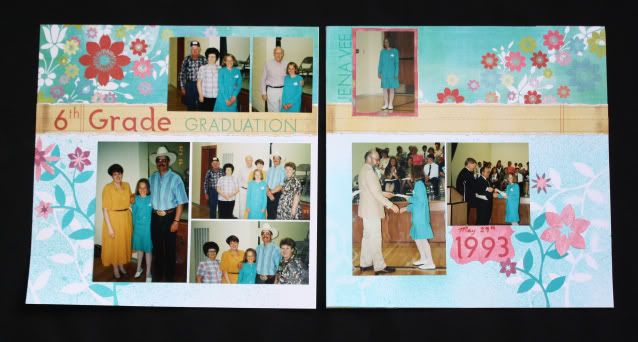
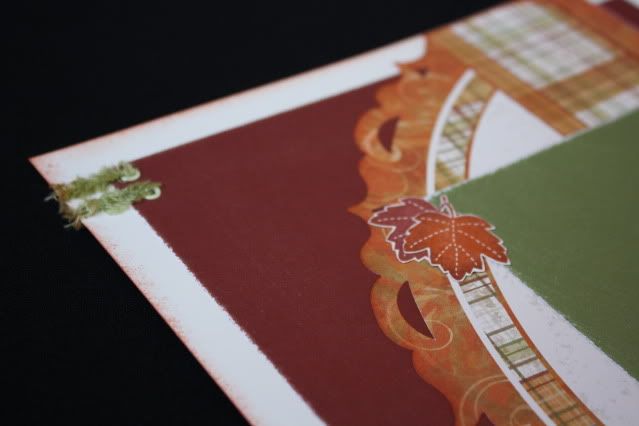
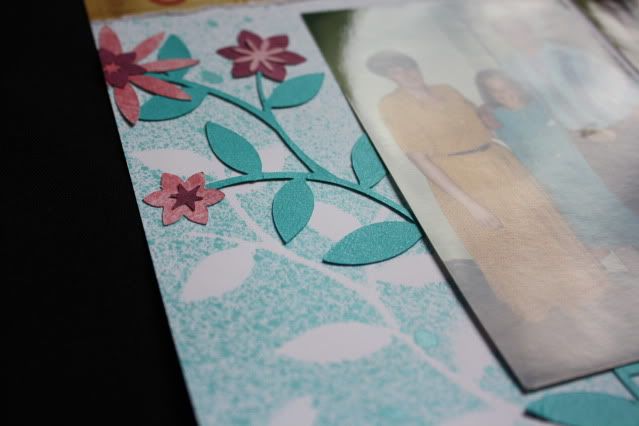
You can see that I used the patterned paper along the top of both pages.  Then I got the idea to use my Cricut and the CTMH Art Philosophy cartridge to add some leaf shapes to the bottom white space and tie in the pattern above.  Then I got the idea to use my spray pen (mixed with water, re-inker, and pearl paint) to mask some designs with the shapes that I had just cut out.  I am really pleased with how it turned out.
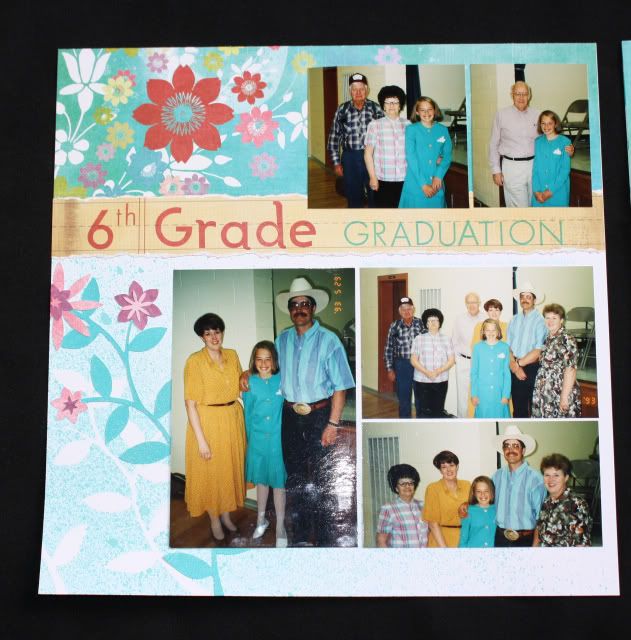
I used the Field Trip Alphabet and Classmate Alphabet stamps for my title.  I used the CTMH ink colors Ocean (retired), and Tulip as they matched well.  I think Lagoon would have worked as well, but Ocean was the first color that came to my mind.
But wait, that's not all - I also wanted to fit more pictures without adding more pages, so I used the handy Flip Flaps (I used one 4x12 and one 8x12) and now the entire right page opens up to reveal more.  Here you can see how I stretched the last 4x12 piece of teal flowered paper - the top piece is actually the back of the pattern from the front page - I was going to cover it or fill it up with something but decided to leave it as is.
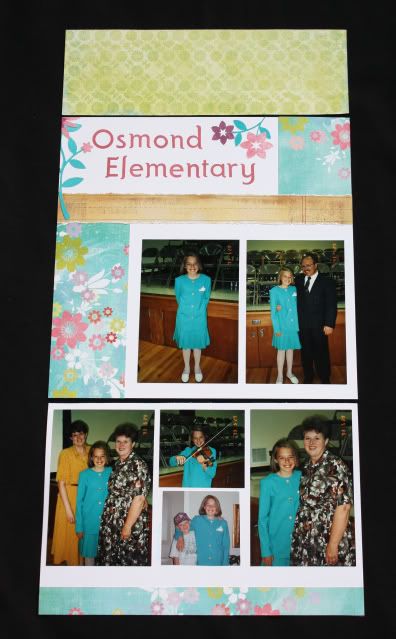
Here is how it looks in the page protectors/Flip Flaps all put together (except the top flap is closed in this picture).
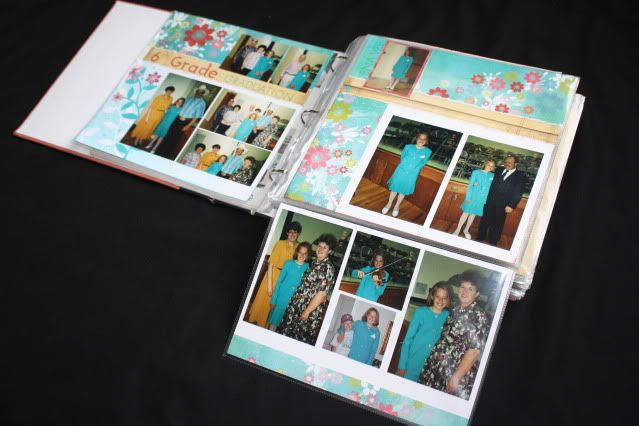
This scrapbook is the very first scrapbook I ever received - my grandparents gave it to me years ago and ultimately (along with some help from my aunt) got me started in scrapbooking.  This one is full of just my childhood pages and is about 4 inches thick, but I think it's time to divide it up!
Thanks for looking and joining me on my flashback!

Sunday, February 5, 2012

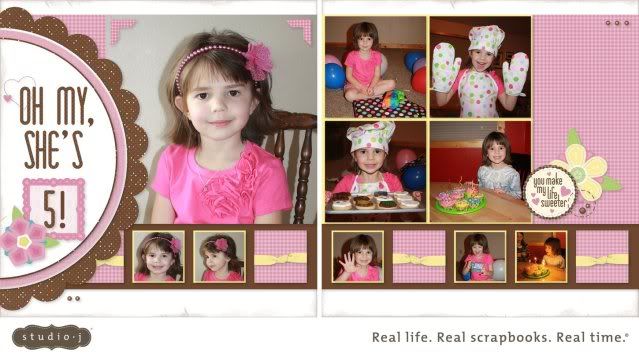
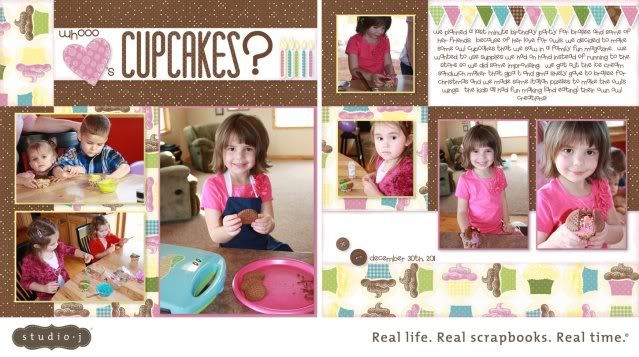
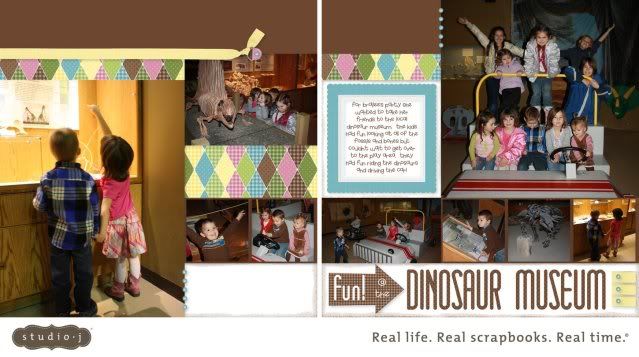
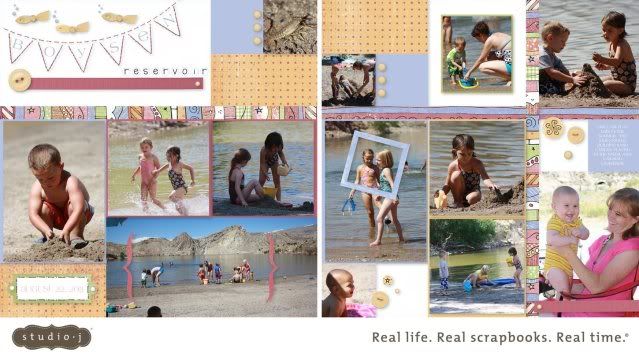
My Latest Studio J Layouts

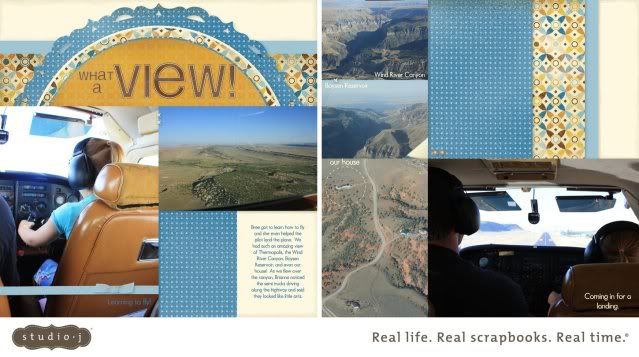
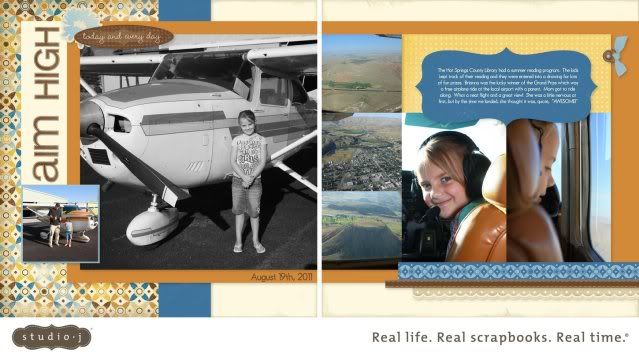
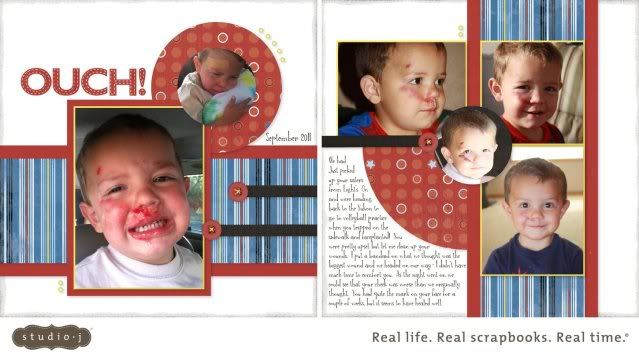
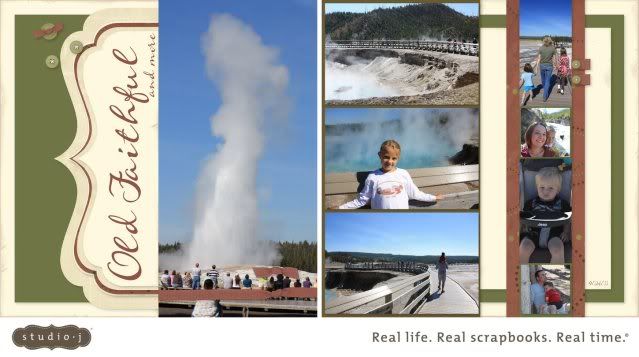
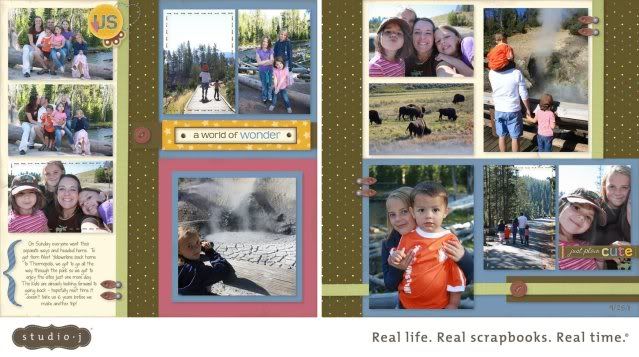
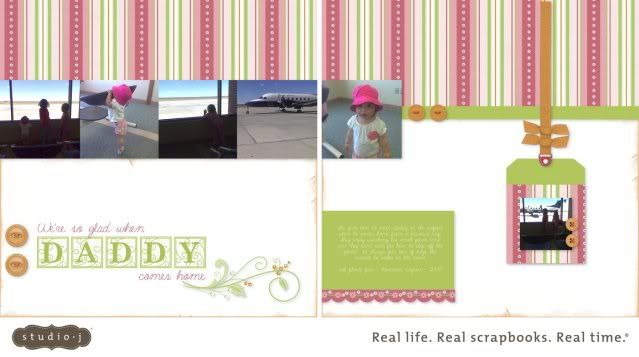
Thanks to the awesome Studio J special last month, I got a lot of layouts completed and ordered (some I ordered duplicates of) - and thanks to this month's special, I will get even more done!  I love filling up my books so quickly and easily!  Some of these I kept really simple, and some I had fun playing around with the stitching and layering Stickease.  Here is a quick look at the pages I've done lately.


Thursday, November 10, 2011

A little peek...

...at a fun little project I've been working on lately...stay tuned to see it all!

Monday, June 27, 2011

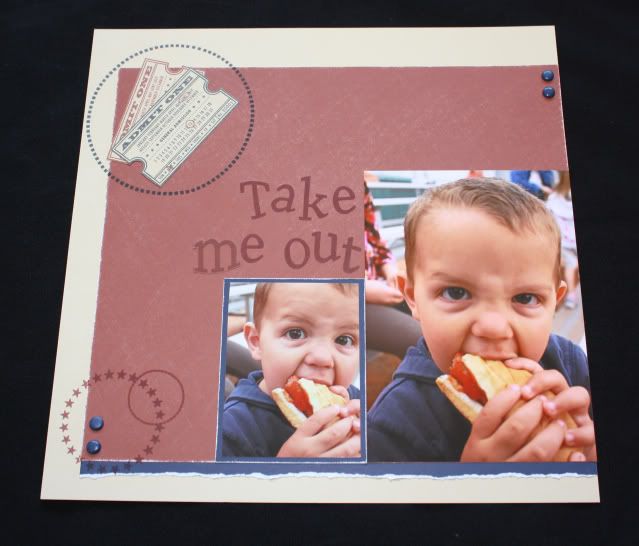
H2H Color Challenge - Take Me Out to the Ballgame

This week over at the Heart 2 Heart Challenges Blog was a color challenge - it was also my final week as the June Guest Designer.  I had a lot of fun playing along and look forward to participating in future challenges - stay tuned this fall as I'm also going to be a sponsor!
***
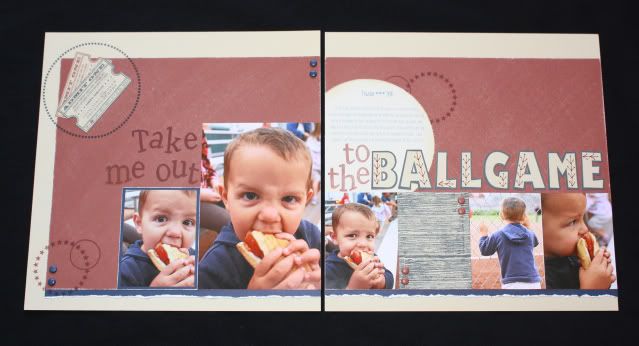
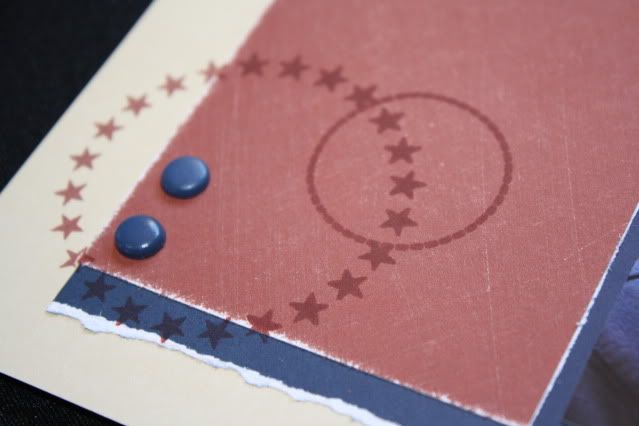
The colors for this week's challenge are Barn Red, Bamboo, and your choice of blue.  As I was reviewing the challenge, I came across these pictures that I took 2 weeks ago and knew they'd be perfect.  I added some Outdoor Denim as my choice of blue since it matched his jacket.  Here is the page that I created using a sketch from the PageMaps 2 book.
Gotta love the faces he pulled as he enjoyed his ballgame hot dog!
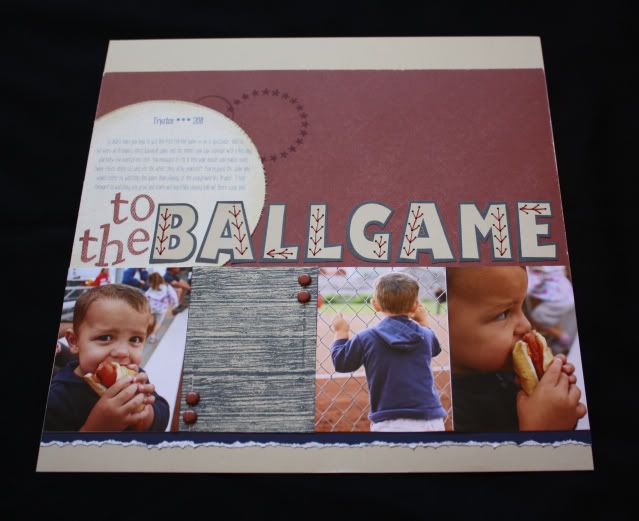
I ran out of Outdoor Denim Bigger Brads for the right page, so I created some more.  I used some Gold Bigger Brads that I had - holding them with my tweezers I heated them with my craft heater.  Then I dipped them into Outdoor Denim embossing powder and heated them again, and set them aside to cool.  This is such a great way to customize your brads!  Anyway, I didn't notice until after I took the pictures and sent them to the H2H coordinator that I forgot to actually add the brads once they cooled - oops!  We were out of town until last night so I will try to get a chance today to update my layout picture.  For now here is the right page.
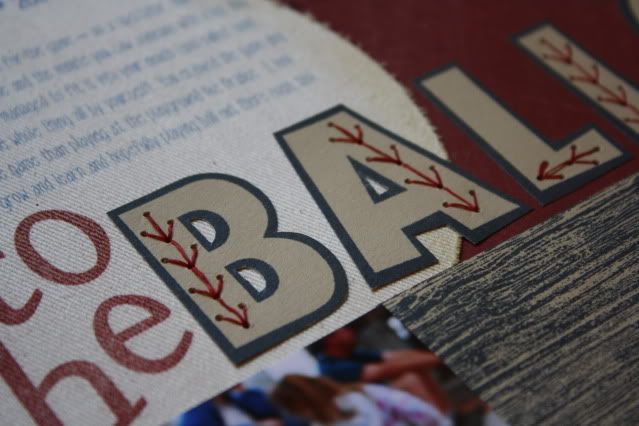
One of my favorite things about the page is my stitched title.  It did kind of intimidate me at first because I was afraid it wouldn't turn out like I envisioned it, and it was the very last thing I did to complete my page (besides adding on my missing brads).  Once I finally did it, I was really pleased with the results!  I used Cranberry Waxy Flax, even though the page uses Barn Red, and I actually divided the waxy flax - I used 2 strands for my stitching.  For the title I used the Poster Board Alphabet and Giggle Caps and Giggle Lowercase alphabets.  For the circle element on the right page I printed my journaling on some Twill StickStock - I wish CTMH still carried it!  I also used the wood grain stamp from the Universal Backgrounds stamp set to create the piece between the two pictures on the right page - you can see a bit of it in the following picture.
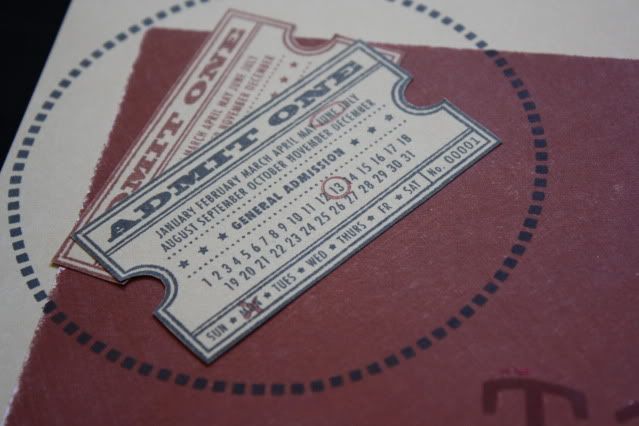
I also used the On This Day stamp set for the tickets that mark the date, and Circle Around stamp set for the circle elements on both pages.
Thanks for looking - I hope you'll play along over at H2H this week and share what you've created!

Monday, May 16, 2011

Busy little jBee!

Okay, so it's been a couple of weeks since my last post - I've been super busy and hopefully I'll get a chance to share all the fun things we've been up to.  I do have a couple of Top Secret Projects that I've completed and am in the process of working on, but I will be able to share those within the next couple of months!
***
For starters, I'm going to share a layout that I started back in February - I would have completed it if I'd just had the pictures but I didn't get those printed and picked up until the weekend of Mother's Day (I took them in March), but it's finally done!  Thanks to my mom for editing my photos for me and getting them just right - which included completely blacking out the background that my black tablecloth didn't cover, and swapping faces to get all of them smiling in one picture - I really need to get Photoshop and learn how to use it! 
***
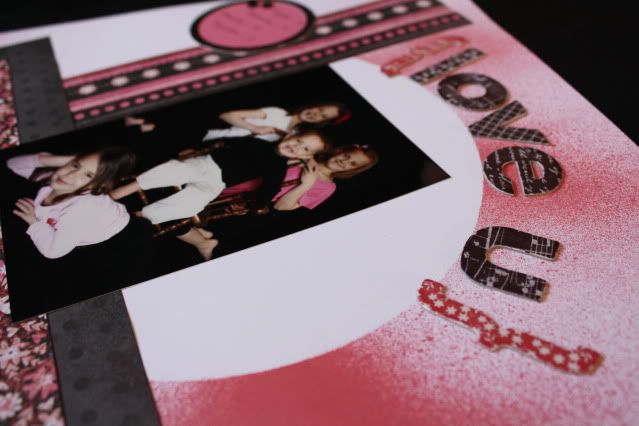
This was my first layout from the newest Magic How-To Book from Close To My Heart - this one, called On With The Show, has been a favorite of mine every time I looked through the book.  I used the Spray Pen and masking technique in place of some of the paper pieces - I really love the look it gave, plus I saved on paper!  Here is a picture of the base page after spraying with the Spray Pen - filled with Tulip re-inker, water, and a drop of Pearl Paint.  I haven't played with my Spray Pen since I did this back in February, I really should get it out and play around some more with it, it's so much fun!
Here is the final layout with paper, accessories, and pictures added.  I choose the Sweetheart papers because I wanted to do something around the Valentine/love theme and these colors were perfect.  I also used the Sweetheart Level 2 Assortment, Black Button Brads from the Mini-Medley Accents Black Collection, and Irresistibles™ Eclectic Chipboard Die-Cuts inked with Black and Cotton Candy ink.


BTW - this is the first Traditional scrapbook page that I've done since we moved and it feels so good!  I've done TONS of cards and lots of Studio J lately, but I will never give up this kind of scrappin' and I loved getting back into it again!
Thanks for visiting!

Saturday, April 30, 2011

Productive Day

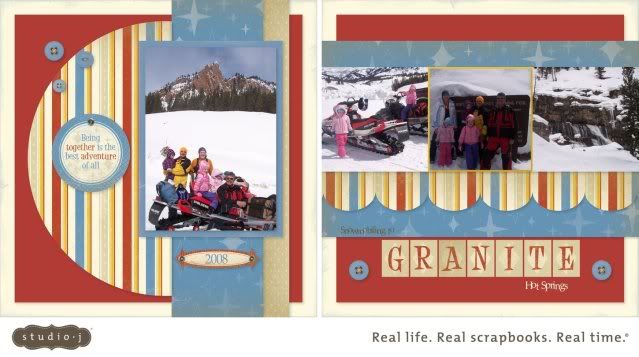
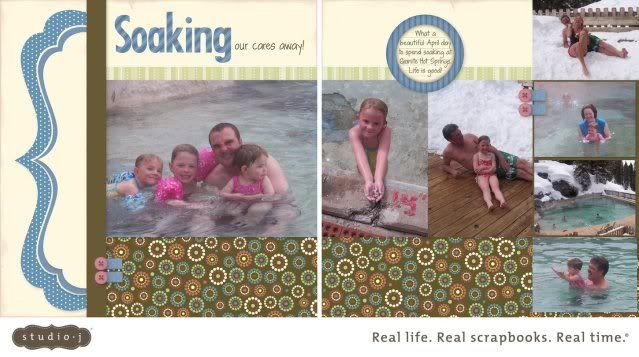
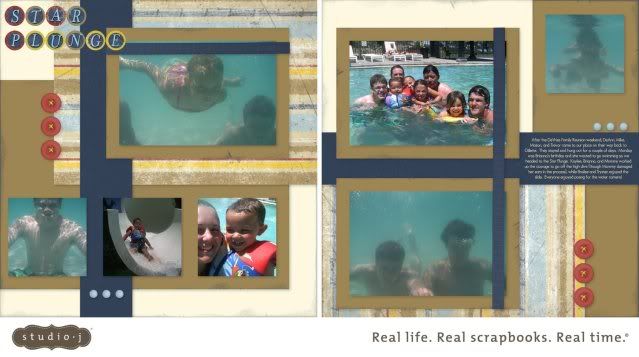
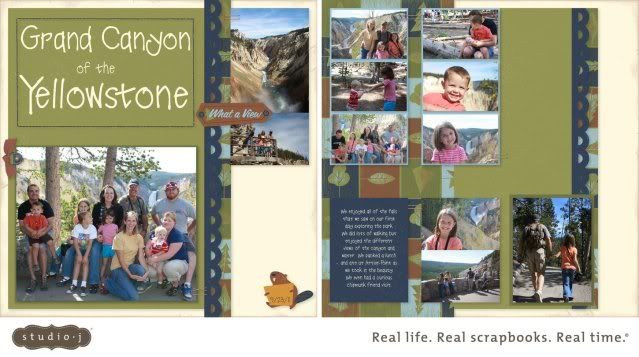
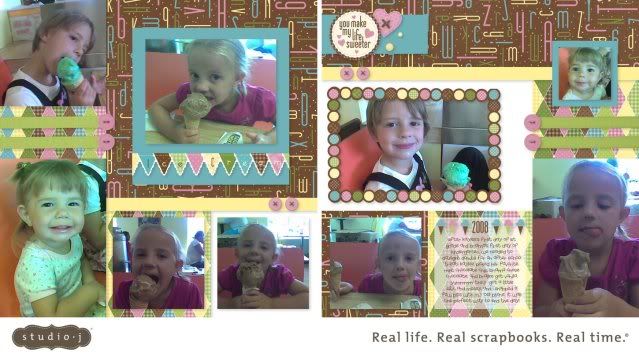
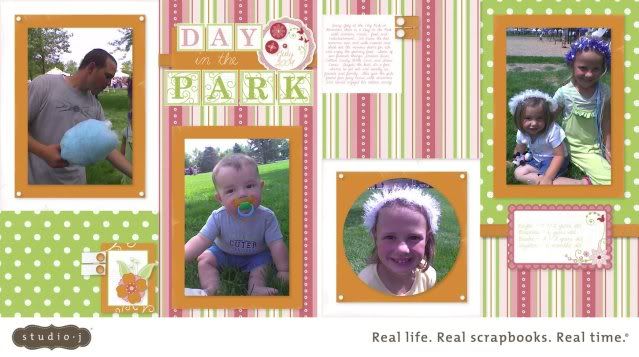
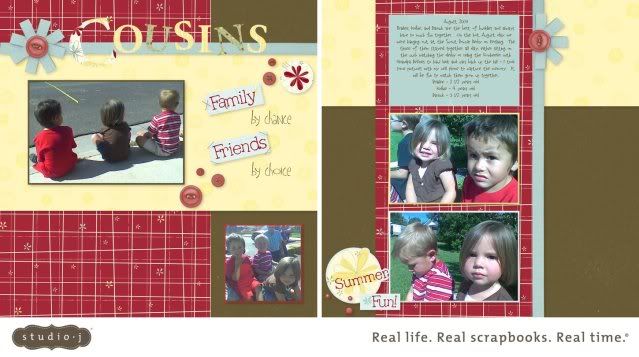
Yesterday David had the day off so I took advantage of the available 'babysitter' and made a trip to the chiropractor to work on some problems and I think it did the trick, I had quite the productive day today!  By 10 a.m. this morning I had already (1) been to town to pick up my Bountiful Basket (love this program!), (2) made homemade Buttermilk pancakes, bacon, and fresh cut fruit from my basket for breakfast, (3) baked 2 loaves of banana bread, and (4) started dinner in the crock pot.  That's a lot for me for a Saturday morning!  After that, it was time to relax and hang out with the family and I got the following Studio J layouts done so I could place my order before the end of the month and get my free Sparkles and Opaques (and free shipping and page protectors of course)!
***
Here are my pages:
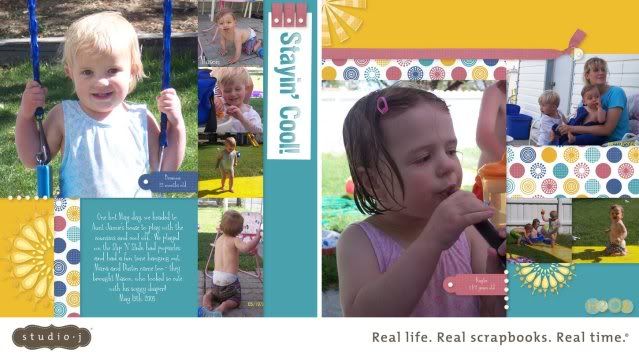
This one is a flashback - 6 years ago, look how they've grown!  I had fun 'trimming' the Stickease on this layout.  These papers are from Splash Zone, which is a Studio J exclusive.

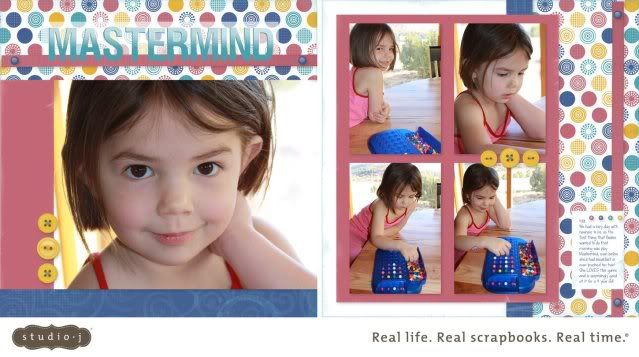
My next layout uses the same papers, even though it's not a water layout - I love how versatile the CTMH papers really can be.  The colors in the papers went with my pictures, plus the circles in the patterned paper reminded me of the game pieces.  I didn't do a lot of playing around with this layout - this one was quick and to the point.

Another flashback layout - these pictures are from 2 1/2 years ago, and they were taken with my cell phone, so the quality is not good, but the memories sure are!  I used the Take the Cake papers which are another Studio J exclusive kit.  I had fun playing with the different Stickease in this kit as well - I especially love the banner border that I turned into a title piece by adding text and alphabet Stickease.

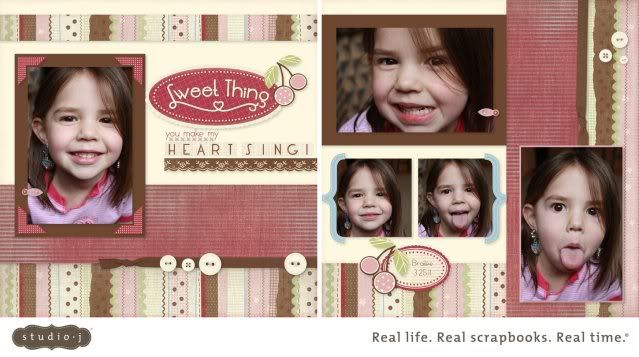
This layout uses the fun Cherry-O  papers - I had fun playing around with the Stickease and stitches for my title.  I am going to use Flip-Flaps to add even more pictures to this layout once I add it to my album.  She was such a goof and kept pulling silly faces and I kept snapping away - I love that about digital cameras!
Here are a couple of Sophia pages.  Both are more flashback cell phone pics - the quality once again is not the best, but I just love all pictures ;-)  I had fun playing with the titles on both of these layouts by combining Stickease and Journaling Boxes.

Can you tell I just love that stripe paper?!?
I finally got some pages scrapped from Kaylee's baptism.  I have one that has been in my 'to-do' pile for quite a while now and I hope I can get it done and complete this event.  It uses the Voice Recorder and I recorded Kaylee playing a song on the piano that she learned and played at her baptism.  Here are the rest of the pages for now.
On this page I turned the journaling box into a photo well.  I played around with the Stickease once again.
On this layout I added a touch of Topiary since green is Kaylee's favorite color.  I also played around with the title/journaling box and added a fun shadow effect by layering two identical journaling boxes - one with Bamboo lettering and the other with black.  I really love the look it achieved!
On this layout, the horizontal picture on the left page is actually two different photo wells - I just put the same picture in both wells and enlarged them and lined them up so they look like one!  Thanks to a fellow CTMH Consultant who shared this idea - when I find the name and video where I saw this, I will post it here!
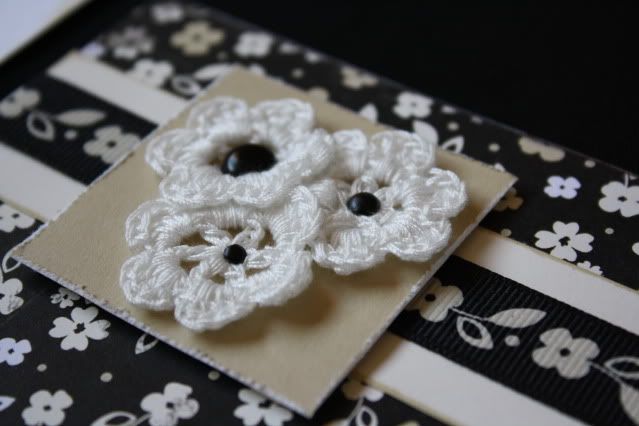
One more - more cell phone pics.  I played around with some ribbon tabs on this layout and created some ribbon flowers - love them!

I love that I got so many pages done in so little time, at a great price, and clean-up was a breeze - just logged out and closed the laptop!  Have you tried Studio J yet?  What are you waiting for!
***
Thanks for visiting - I hope you are enjoying your weekend!

Tuesday, March 8, 2011

Scrapbook Update

I just added 36 pages to my scrapbook yesterday (plus 4 more pages for gifts) - all for less than $100 (which included free shipping and free page protectors) thanks to Studio J.  Eighteen of those pages were duplicates from the ones I gave to my mom for Christmas, without any extra work, just the click of a button.  I couldn't have done that many layouts, that quick, or that cheap with traditional scrapping.  I will NEVER give up my traditional scrapping (I actually have a current page in progress that I hope to share soon) but I am sure loving Studio J right now!  Here are the pages I added:

Thanks for visiting!