Showing posts with label Treasures. Show all posts

Monday, April 4, 2011

Passages Card Set

Using the Greetings Card Workshop template found in the Wishes Book, I created the following cards using just half a sheet of Colonial White Cardstock, along with two patterned papers from the retired Passages paper pack, plus my card bases.  By  changing the orientation of the card, using the opposite side of the paper, and changing the stamp sets, I really like the different looks I came up with for each set.
Card 1
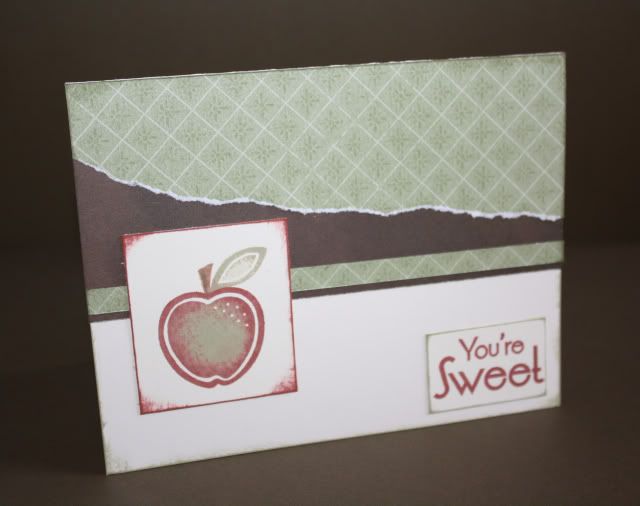
Using the You're Sweet stamp set and stamp rolling technique on the apple.
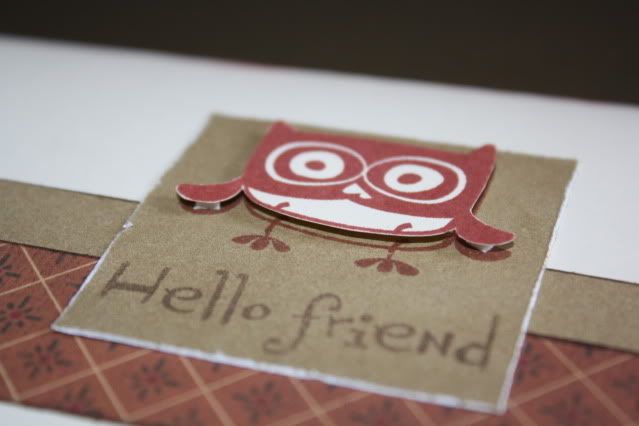
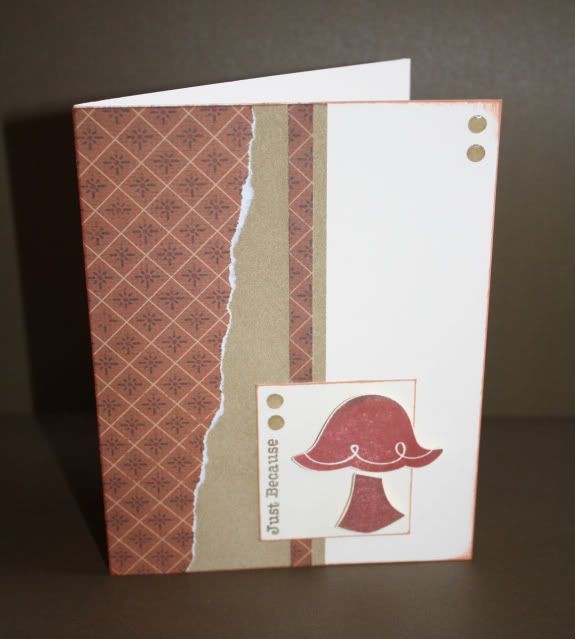
Using the retired Whoo Loves You stamp set for the mushroom and one of my favorite techniques to create faux brads.  Use a hole punch to create small circles (I usually use my Crop-a-dile) then adhere them to the card, then cover with Liquid Glass and voila - faux brads in any color, shape, and size you want!
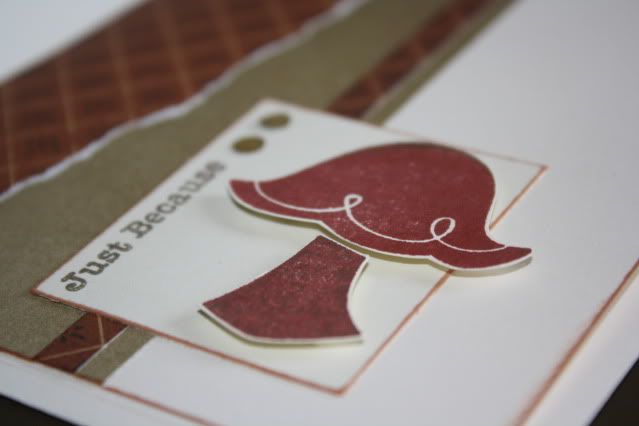
I also added a little bit of dimension using Foam Tape
Card 2
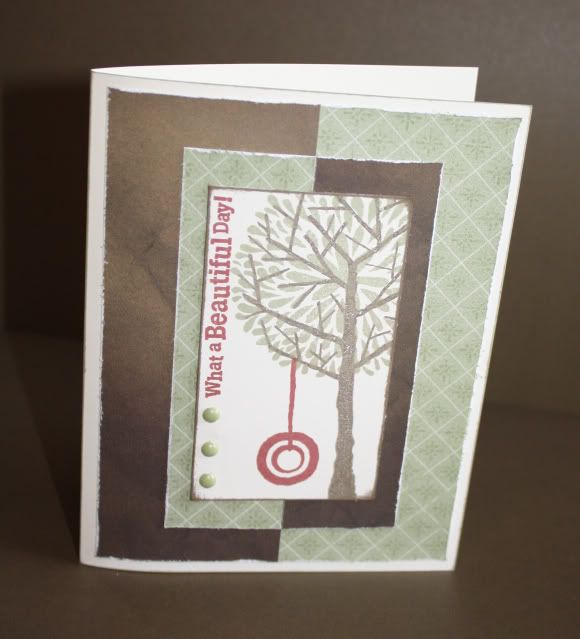
Using the Trees & Things stamp set, and real brads this time ;-)
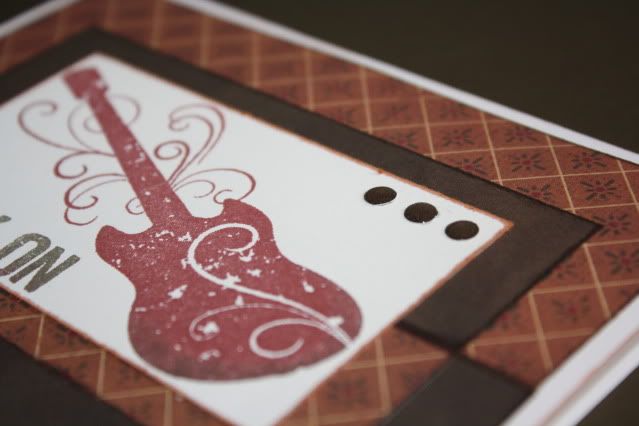
Using the You Rock stamp set and more faux brads.
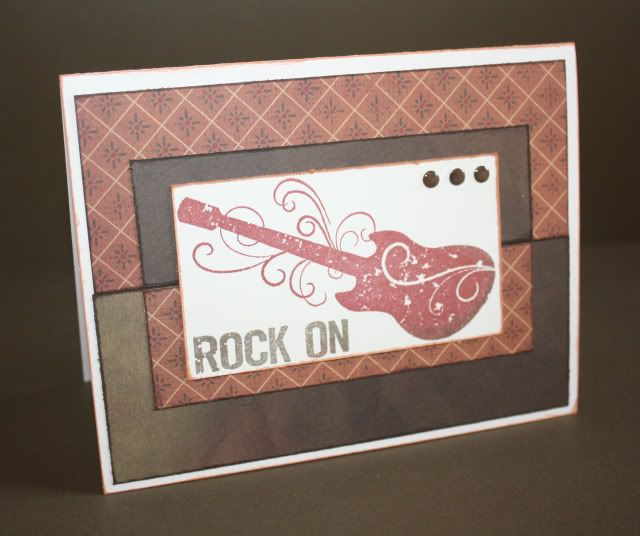
Card 3
Using the Family Ties stamp set and retired June Word Puzzle stamp set, color pencils, and a 'reverse' faux brad.  This time I punched 3 holes in my paper with the image so the mat paper shows through to create a different look.
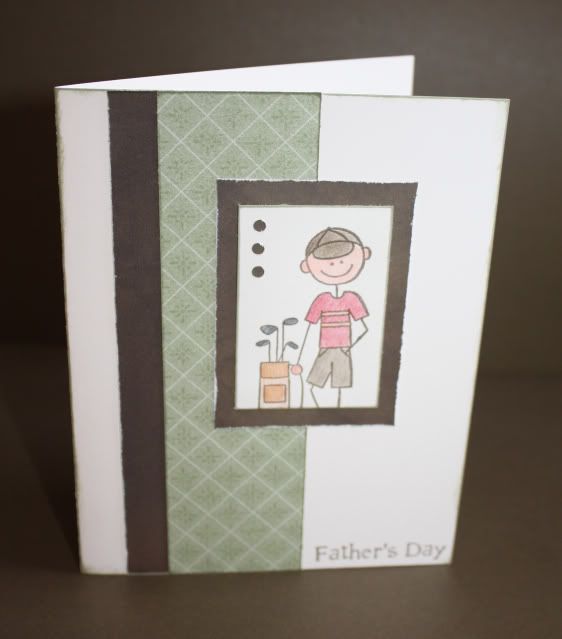
Using the Treasure Life stamp set and real brads.
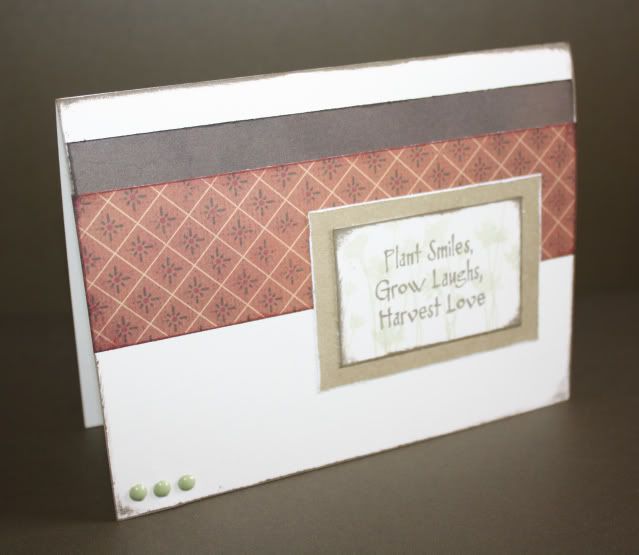
Card 4
Using the Hot Diggity stamp set and more Foam Tape
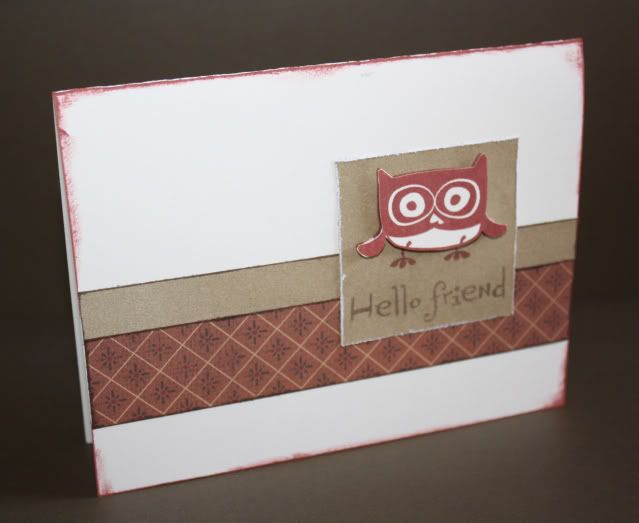
Using the retired November Word Puzzle
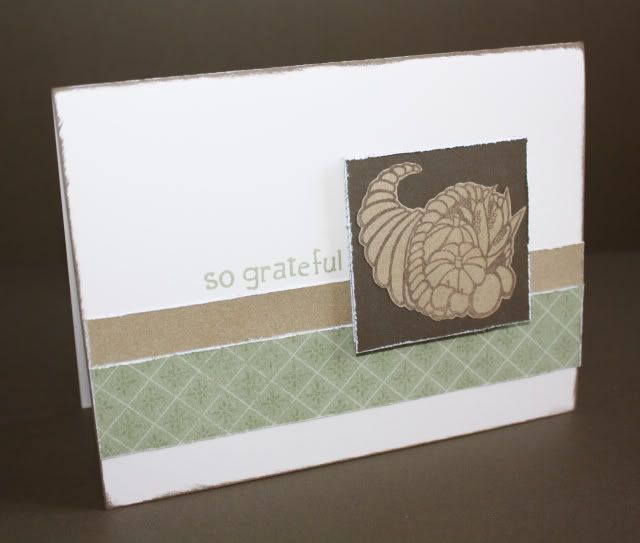
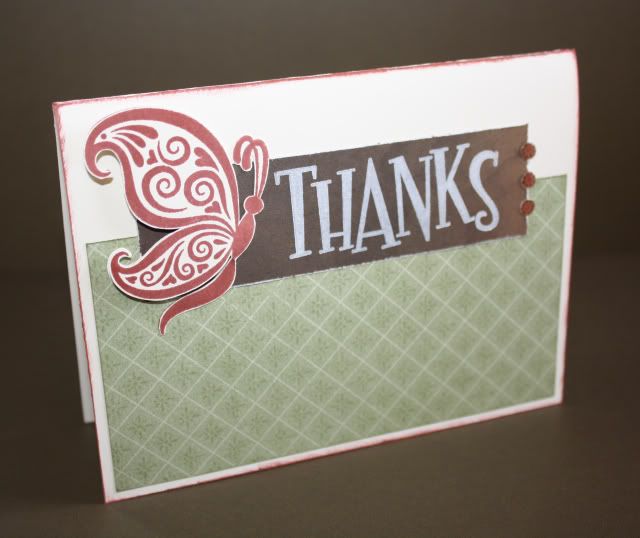
 Card 5
Using the retired Butterfly Wings stamp set, along with A Little Everything stamp set stamped in Colonial White ink, and I also created more faux brads.
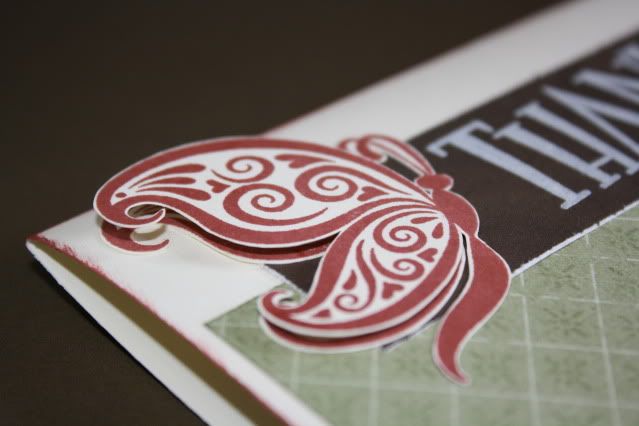
I added some dimension to the butterfly's wings as well.
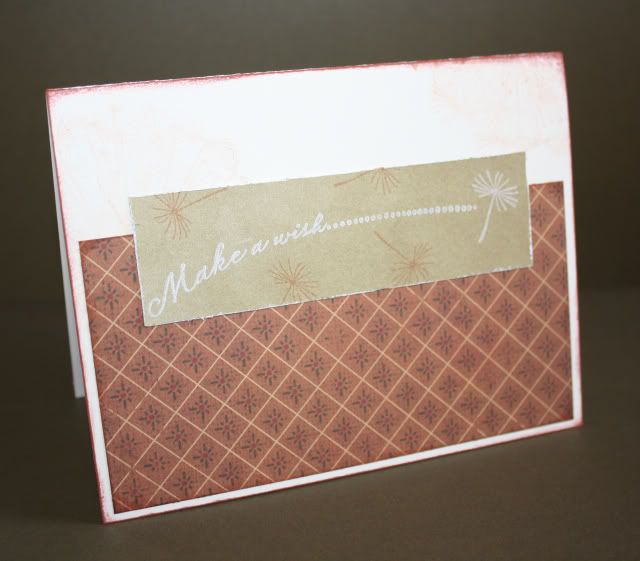
Using the Treasures stamp set - this one is my least favorite card - I added some subtle dandelion stamps on the card base (which I don't think you can even see in this picture) but it just seems so plain, like it's missing something - maybe it's because I didn't include any accessories.  Any suggestions?
Card 6
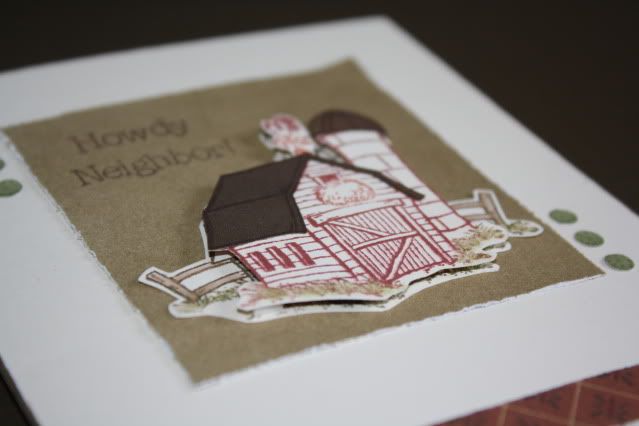
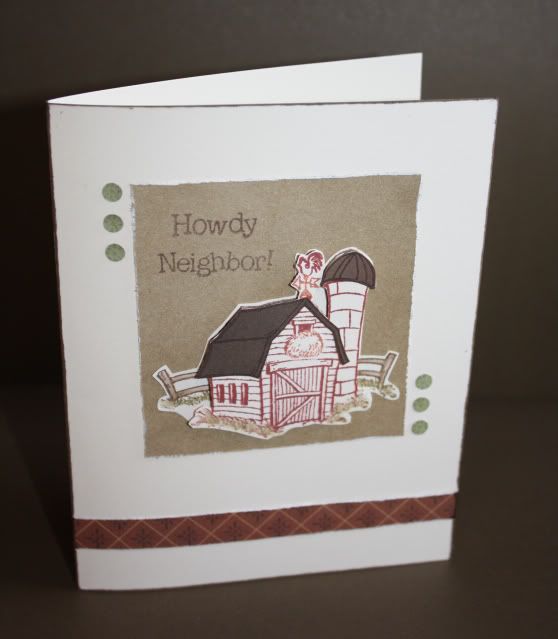
Using the Howdy stamp set and a bit of paper piecing, inking up my stamp with markers to achieve the different colors, and some more Foam Tape, and of course faux brads!
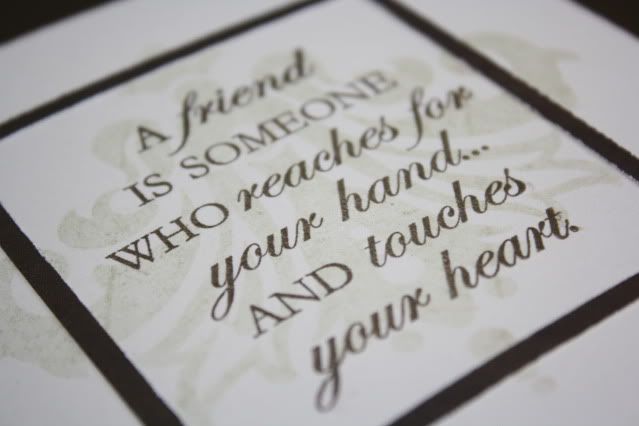
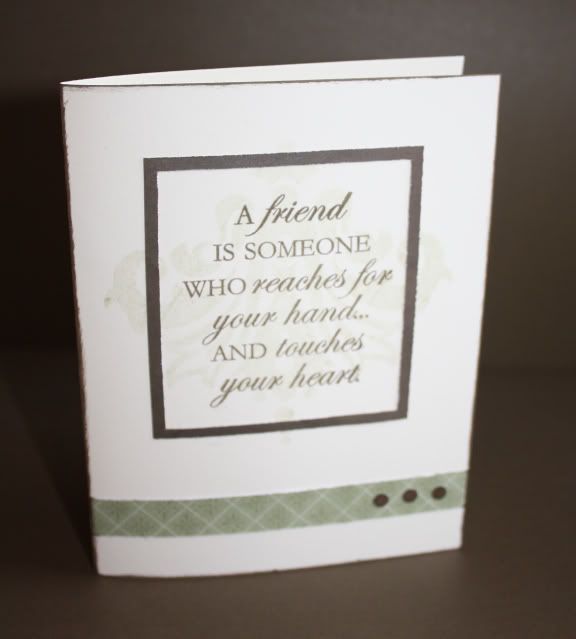
This card uses the Friendship stamp set, which was February's Stamp of the Month, and this time I ended up cutting my focal piece into a frame.  Using second generation stamping and Garden Green ink, I stamped the image directly onto the card base, then adhered the frame over it and then stamped the sentiment in Cocoa ink - I really like how this one turned out.  Once again, faux brads.
Card 7
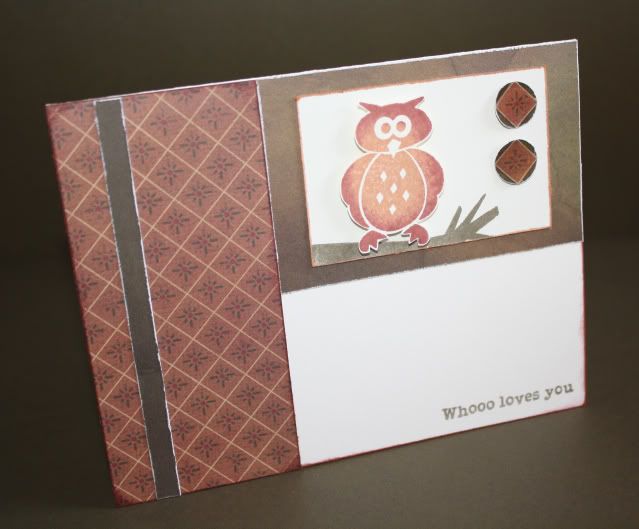
Using the retired Whooo Loves You stamp set, and the stamp rolling technique, along with some bigger faux brads.
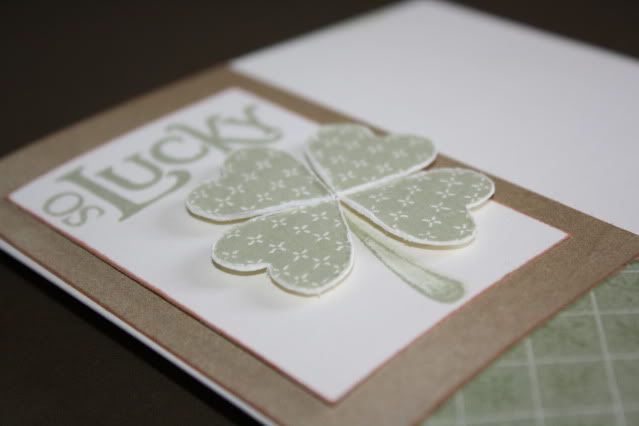
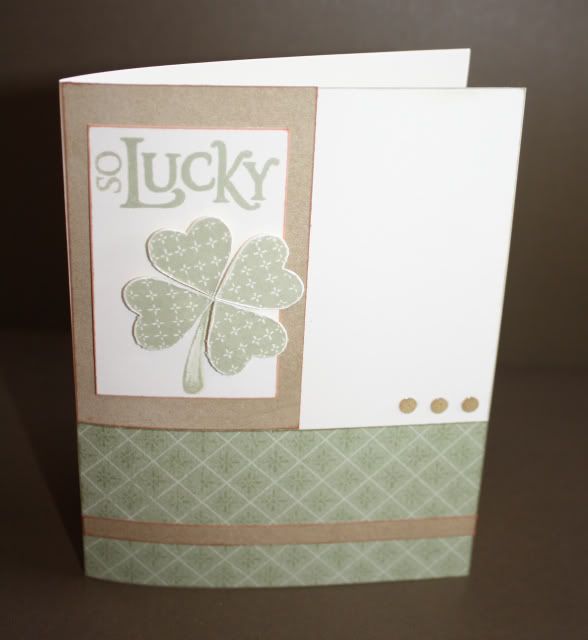
Using the So Lucky stamp set and some Foam Tape and more faux brads.
Card 8
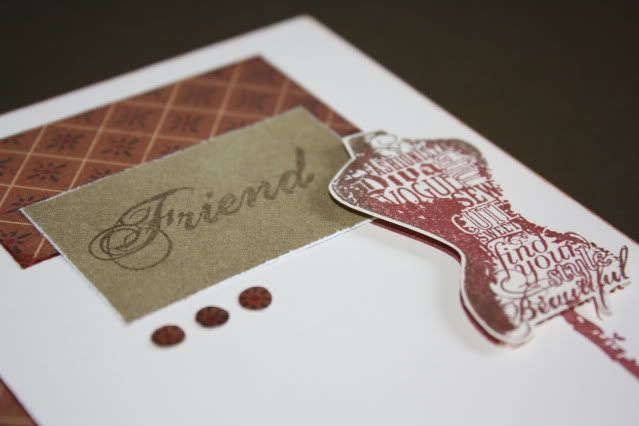
Using the Find Your Style stamp set, which was January's Stamp of the Month - more Foam Tape, faux brads, and stamp rolling going on here!
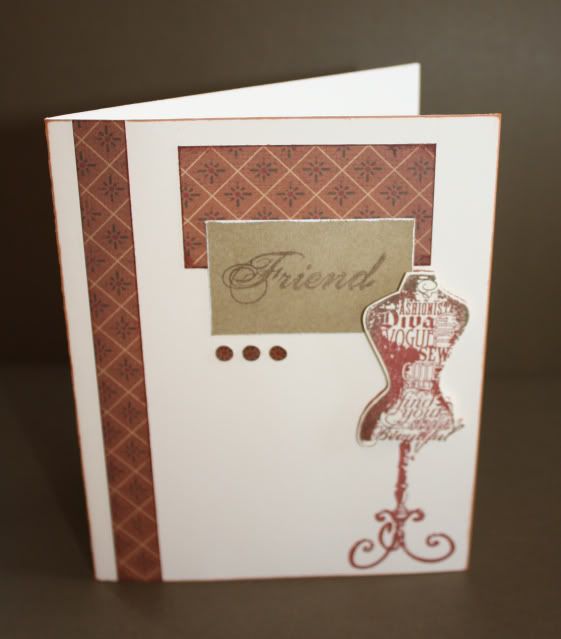
This was the only card that I stamped on the inside as well.

This was the very last card that I created in the set - usually the last one I make is my least favorite, but not this time!  I used the retired Butterflies stamp set and did a bit of paper piecing with the butterfly and added real brads to the wings, popped up with some Foam Tape.
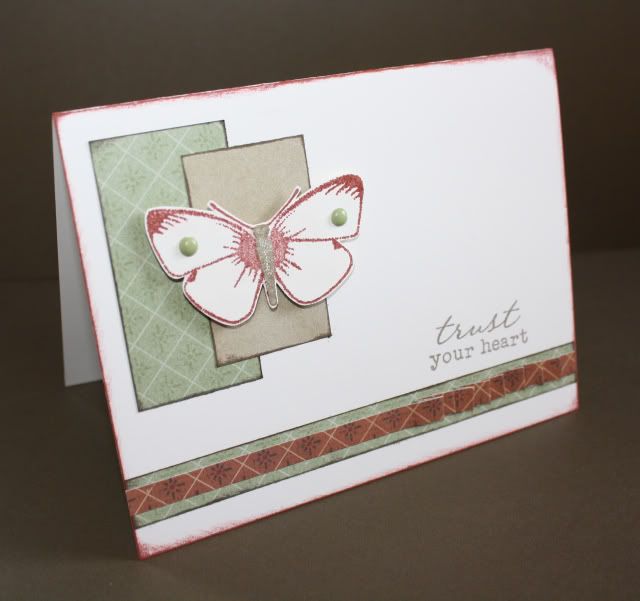
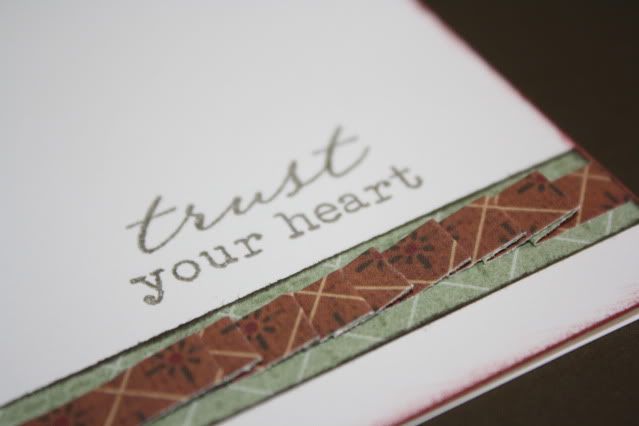
The sentiment came from the retired Treasures of the Heart stamp set.  I pleated a strip of paper for a fun look.
Whew, quite a long post - if you've stuck with me this long, thanks for looking!

Saturday, October 3, 2009

World Card Making Day - Blog Hop!

Welcome to yet another blog hop - this one is to celebrate World Card Making Day, which is today! Join me and 16 other CTMH Consultants as we share some fun card creations with you today.
***
If you've come from Haley's blog, then you're on the right track. Just click on the link at the end of this post to continue along on our Blog Hop.
***
I have two fun cards to share with you today. The first is a Z-Fold card that I created for a club gathering that I had earlier this week. We used the Grace papers and September Stamp of the Month, Treasures.
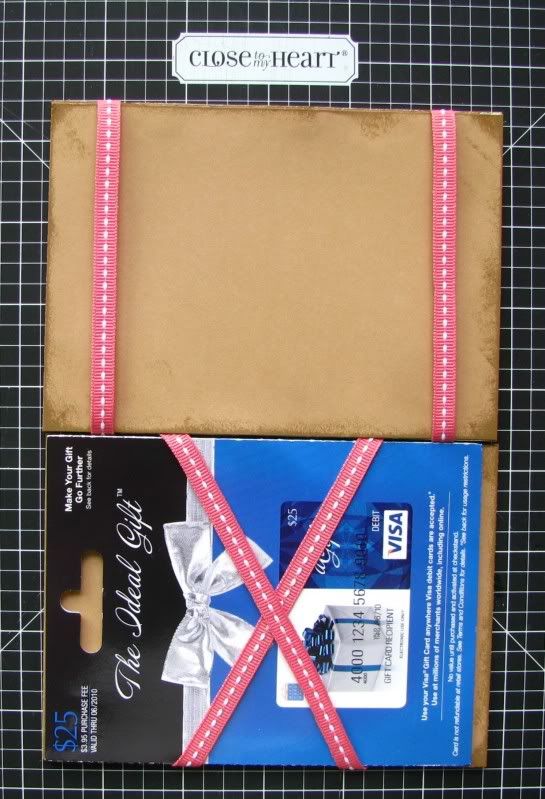
The second card is a 'Jacob's Ladder' card that I made up as I went. This is a fun way to include a gift card. I took pictures as I created this card, so I can put together another tutorial if you're interested - just let me know! Here is the front of the card - using the Left Eclipse pattern from Wishes and Bella paper pack.
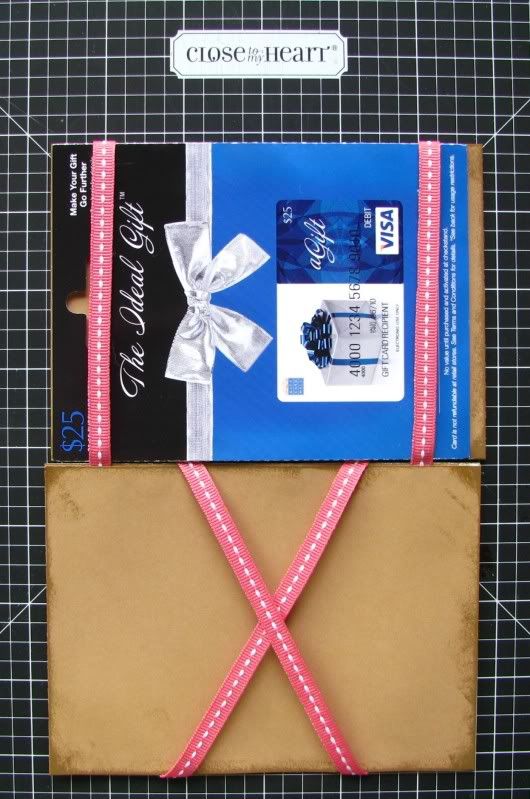
And here is the inside of the card. If you've ever played with a Jacob's Ladder, then you'll understand how the card works. The card can 'open' from the top or the bottom. It just wraps the ribbon differently around the gift card depending on which way it opens. Here it is opening from the top...

Here it is opening from the bottom...
Now it's time to hop along to Antoinette's blog to see what fun creations she has to share today!
If you get lost or find links not working along the way, here is a complete list of today's hoppers:

Thursday, September 17, 2009

Cousins

Here is a quick layout I did earlier this week using Sketch #37 from 52 Sketches. This is an older picture, from more than 5 years ago - but it's always been a favorite of mine. I just love the look on Hunter's face as Kaylee is trying to give him a kiss ;-) When I first got my Treasures stamp set I went looking for this picture and any others that I took that day because I remember lots of dandelions/wishes from that day. Unfortunately, this is the only picture I still have, but it still worked with this stamp set!
***
Click on the picture to view it larger.


CTMH Products Used: Tinkerin' paper pack, Twilight Textured CS, Green staples, Treasures stamp set, Save the Date stamp set, Holiday Red buttons, White Hemp, White Daisy pigment ink, Holiday Red ink, Twilight ink, Clover Meadow ink
Other Products Used: Zig Marker, White Thickers
***
Thanks for looking!

Sunday, September 13, 2009

October Word Puzzle

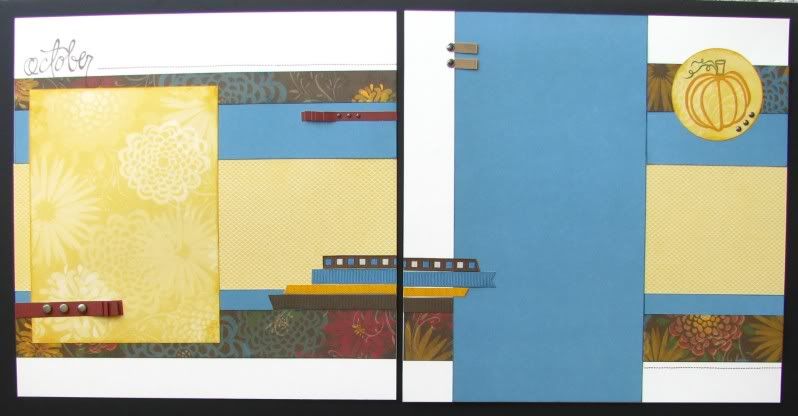
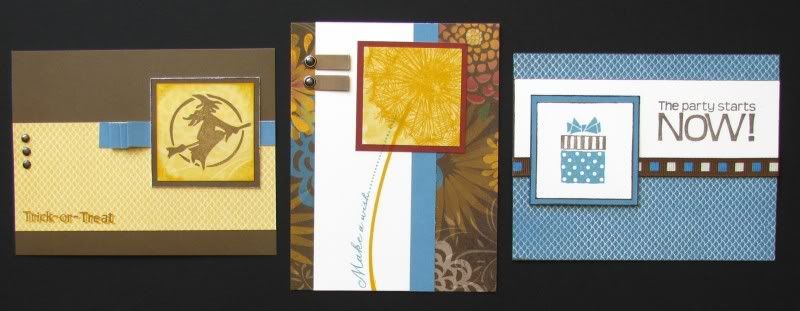
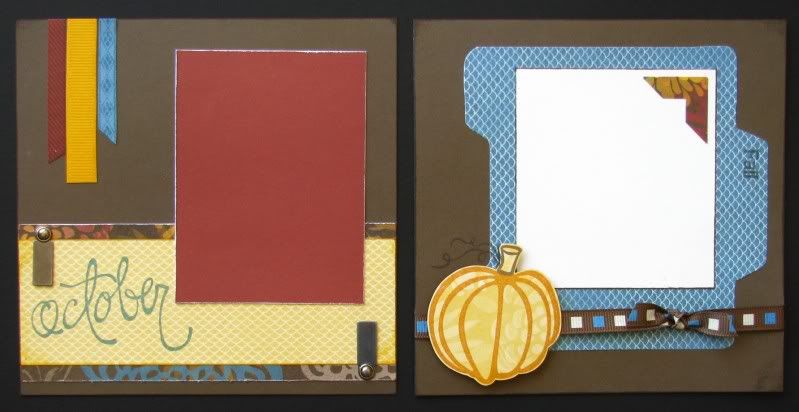
Here is this month's workshop - I used the *NEW* Grace paper pack along with the October Word Puzzle, September SOTM Treasures, Fabric Finishes stamp set, and the Everyday Celebration stamp set - available only in the National Stamping Month card kit. Click here to see more on this kit. My workshop is going to be on Friday, September 25th, but if you're not able to come, don't worry - you can still complete the projects! If you purchase the Grace Workshop Kit that I am featuring this month, it includes the products needed plus the cutting guides and instructions for both the layouts AND the cards so you can create them on your own - how cool is that!
***
Click HERE for complete workshop details. The Grace Exclusive Workshop Kit that I am featuring this month is only $29.95 (retail value $33.85) and includes the Grace Level 2 paper pack, Beautiful Flourish stamp set, Rustic Edge Anchors, and a Workshop Guide. What a great deal! But there are also other pricing options for the workshop - ranging from $5 to $40.

Anyway, here are my creations - you can click on the pictures to view them larger.

12x12 Option - Those who select the Basic Option will only create one page - choose from the right or left page. Anyone who selects the Deluxe, Super Deluxe, Exclusive, or Exclusive Plus will also get the option to create both pages with paper left over!


Card Option - Those who select the Exclusive Workshop Options will get to make at least 6 cards - with lots of paper left over!


6x6 Option


Here are the layouts and cards exactly as they are created in the Workshop Guide - you can see that I changed mine a bit. I didn't get the Exclusive Workshop Kit this month, so I didn't use the Beautiful Flourish stamp set that comes in the kit on my samples. You can click HERE to request more information on this month's featured kit.
Thanks for looking!

Saturday, September 12, 2009

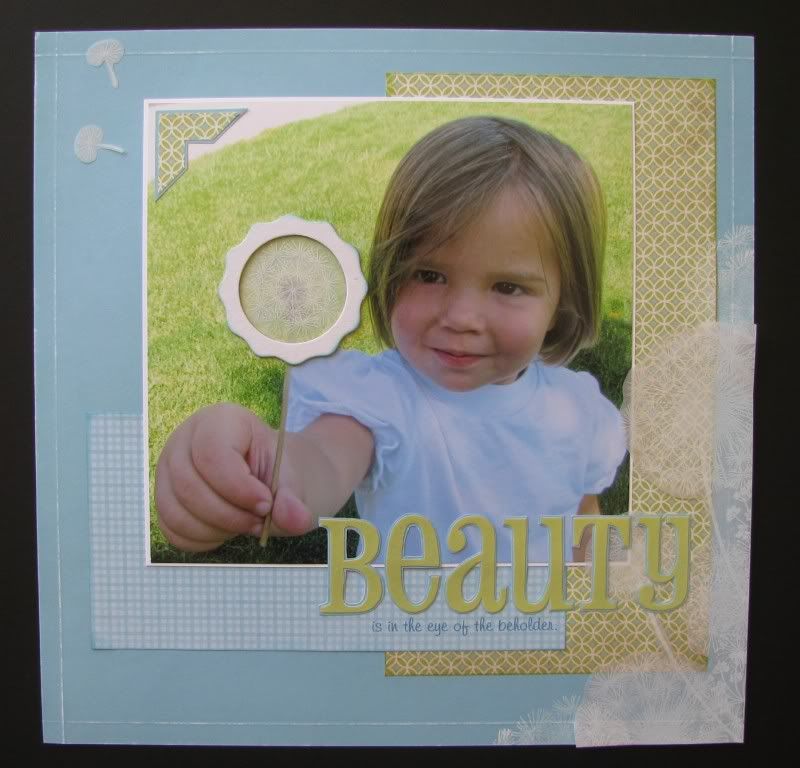
Beauty...

...is in the eye of the beholder. I thought that title went perfect with this picture - I just love how excited Brailee gets every time she finds a 'wish' - and I let her spread her wishes all around my yard because I love to see her so full of joy ;-P
***
I used the following PageMaps sketch for their Studio Calico sketch contest.


I love this picture, even though it's not the best - Brailee looks fine but the flower was hard to see because of the shadow and its soft/light look so I tried to enhance it with a Dimensional Element circle and a little vellum - I stamped the vellum to create another flower overlay - I don't think you can see it in this picture or not. So then I decided, to go with the sketch, and continue the vellum look, I stamped more flowers on vellum and adhered them up the side. That's where this layout loses it for me - now I look back and wonder if vellum is the way to go or if I should have used a transparency again like I did with THIS layout. What do you think? After I added the vellum I just kinda stopped with this layout as I'm just not thrilled with it - I'd love to hear your thoughts and suggestions!
***
Click on the picture to view it larger.

CTMH Products Used: Twitterpated paper pack, Friendship Alphabet (embossed with Clear EP), Embossing Stylus, Sanding Block, Treasures stamp set, White Daisy stamp pad, Dimensional Elements On Target, Vellum, Crystal Blue and Sweet Leaf stamp pads
Other Products Used: Photo Corner punch (SU!), computer font (Missy)

Tuesday, September 1, 2009

September SOTM Blog Hop!

Welcome to our Stamp of the Month Blog Hop! We will be featuring September's SOTM, which is called Treasures, a fun set of 13 stamps.
***
This month we have almost 70 Close To My Heart Consultants sharing their creations using this month's SOTM and other great CTMH products on their blogs. This is simple to do - just click on the link at the end of the post on each blog to move to the next one! Don't forget the new CTMH Autumn/Winter Idea Book goes live today - you can view it online at this link. And don't forget to check out the Sneak Peek Hop to see the new products in action!


I have SO many pictures of my girls and Wishes (as they call them) so it just came down to picking which one to use! I have a few more pictures that I printed off to use with this stamp set, but this one of Brailee last May is the only one I have used so far - I have a feeling I will be playing with this stamp set a lot more in the future! For this layout I played around with some transparencies - first I embossed the "flower" with White Daisy EP, but it seemed to bold - KWIM? So then I stamped it in White Daisy pigment ink and it gave me more of the soft look that I was going for on the transparency. Then I cut it out and layered it over the corner of the picture. I also embossed the title on a transparency with White Daisy EP using the Boutique Alphabet. The stem was embossed using Olive EP. The loose "wishes" were stamped directly on the Garden Green CS using the pigment ink.
***
CTMH Products Used: Promise of Spring paper (no longer available ), Garden Green CS, White Daisy grosgrain ribbon, *new* Wonder Heartfelt Die-Cuts (Olive bracket and circles), Amethyst Waxy Flax, White Daisy Pigment Ink, Smoky Plum stamp pad, Olive Marker, Piercing Tool.
Other Products Used: Stampin Up! Scalloped Border punch, transparencies, plastic canvas circle. I used the following PageMaps sketch for my inspiration.


Now "Hop" on over to Nona's Blog to see her work! Be sure to visit all the Consultants at their Blogs to get some great crafting ideas and other fun ideas! Remember, the September SOTM is only available until September 30th! Contact your CTMH Consultant (or click here) to see how you can get this stamp set at a discount or even free!
***
If you get lost on the hop or find links that aren't working, click here for a complete list of participating blogs.
***
Here is one more small/quick project that I created using this stamp set. This is a fun scalloped box made from envelopes - I got the idea from here. I used my Coluzzle envelope template and I can't wait to make more using all of the different sizes. I used Twitterpated paper and I also stamped the tissue paper - I will fill this with goodies for a friend.

Thanks for looking - enjoy the hop!