Showing posts with label cards. Show all posts

Thursday, June 4, 2015

Deconstructed Sketch Guest Designer

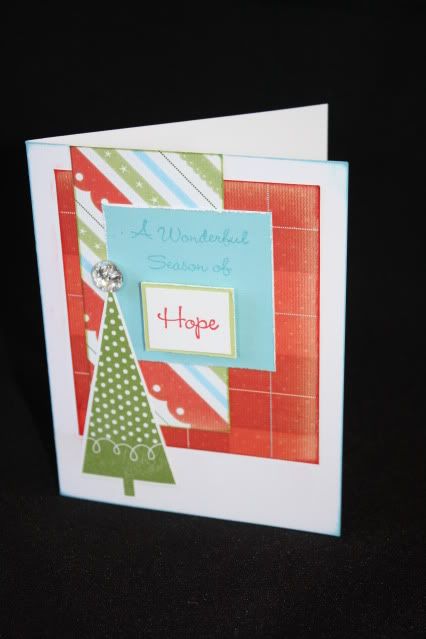
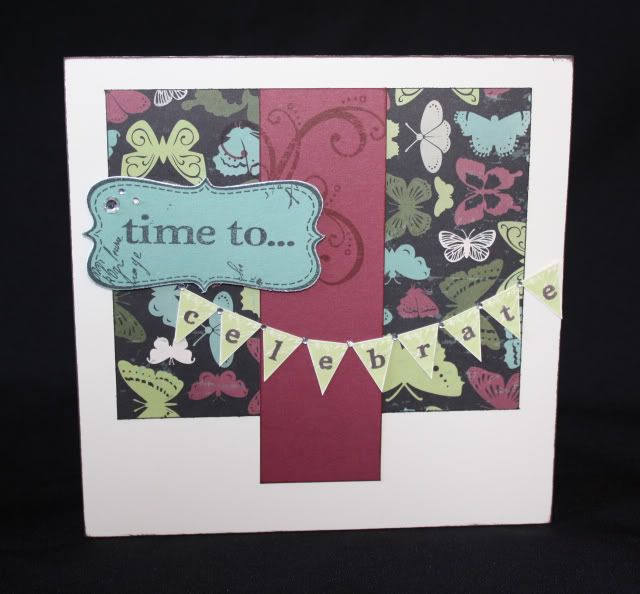
I was selected as a guest designer this week for Deconstructed Sketches. I always love the sketches that are provided weekly. They are fun and versatile and easy to customize to your style and theme. Here is the sketch for this week and the card I created based on the sketch. I used a retired CTMH paper pack - the name escapes my mind at the moment but if anyone remembers please help! The stamp is from the school themed set, Good Work, also retired. I have many years of accumulated supplies, I'm trying to use some up!
Notice how I changed the circles in the sketch to squares with rounded corners. The sentiment was stamped using my Colonial White pigment ink pad.
I created some fun custom brads for this card. First I punched some small circles out of coordinating cardstock. Then I attached some mini sparkles. Last I covered the circles and sparkles with Liquid Glass - one of my all-time favorite products, I always keep a bottle handy! Super easy, customizable accent!
Click the following link to visit Deconstructed Sketch - http://deconstructingjen.com/
I hope you'll play along and create something fun with this week's sketch. I'd love to see what you create!

Wednesday, January 25, 2012

Little Reminder

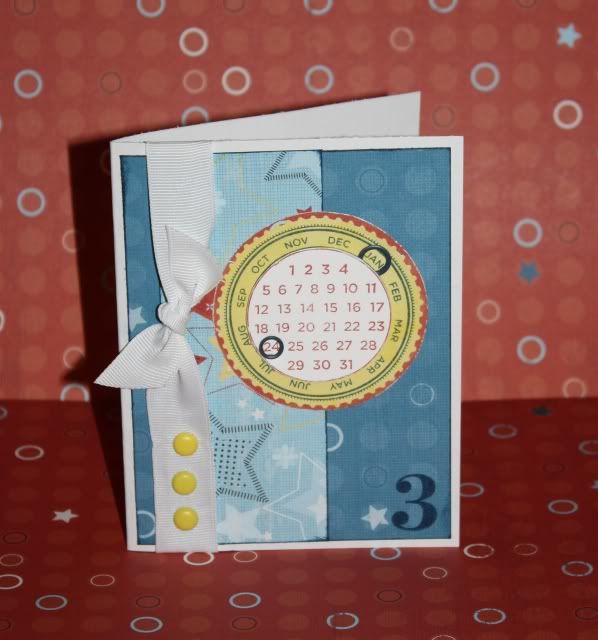
Yesterday for my crafty day I got to make some cards - one of them was this card that I made for my little guy who turned 3 yesterday!  I used Sketchy Thursday sketch #157, ESS157.  I also used this month's Stamp of the Month, Little Reminder, along with the Fanfare papers, some retired Outdoor Denim accessories, Sunny Yellow Bigger Brads, and White Daisy Ribbon.  Oh, I almost forgot to mention, I even got out some of my old shaped scissors that I haven't used in forever - my kids sure like them, though so I just can't get rid of them and I'm glad!  I used those to cut around my yellow month circle.

Thanks for looking!

Monday, January 23, 2012

Terrific Tuesday - Cards or Pages

This week I have a selection of pre-cut cards and scrapbook pages that you can choose from to create.  You will just need to bring scissors and adhesive.  Cost is $1 per card or $1.50 per page.
***
If that project is not your style, feel free to bring something else to work on or you can even come just to visit and let the kids play!
***
As usual, we will have a potluck lunch so if you will be here during lunch, bring a dish to share.  I am going to be fixing Creamy White Chili - my favorite!
***
Date: Tuesday, January 24th
Time: 10 a.m. - 3 p.m.
Place: my house (contact me if you need directions)
***
I hope you can join us and feel free to bring a friend.  Let me know if you have any questions.

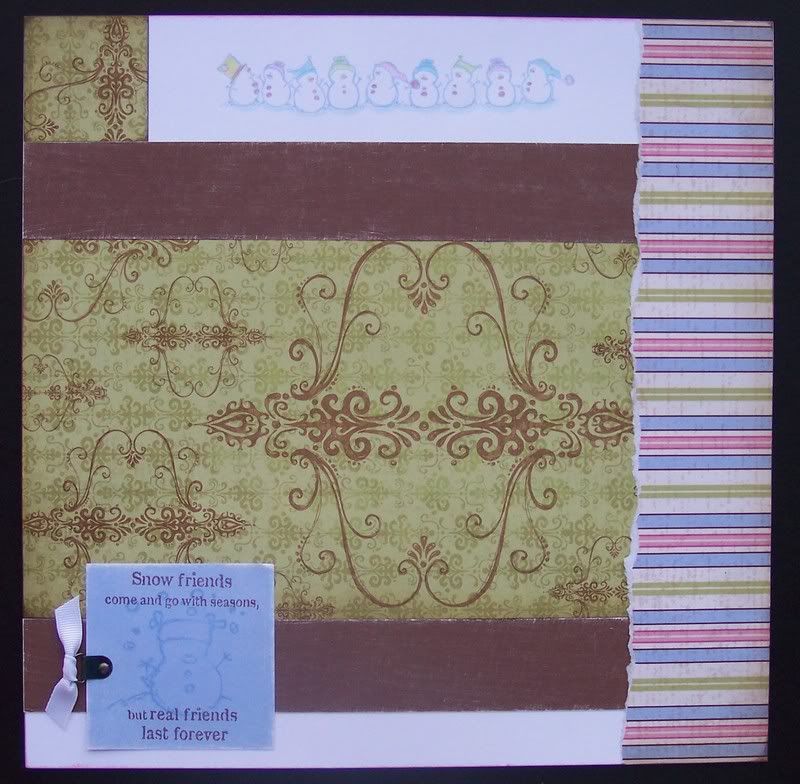
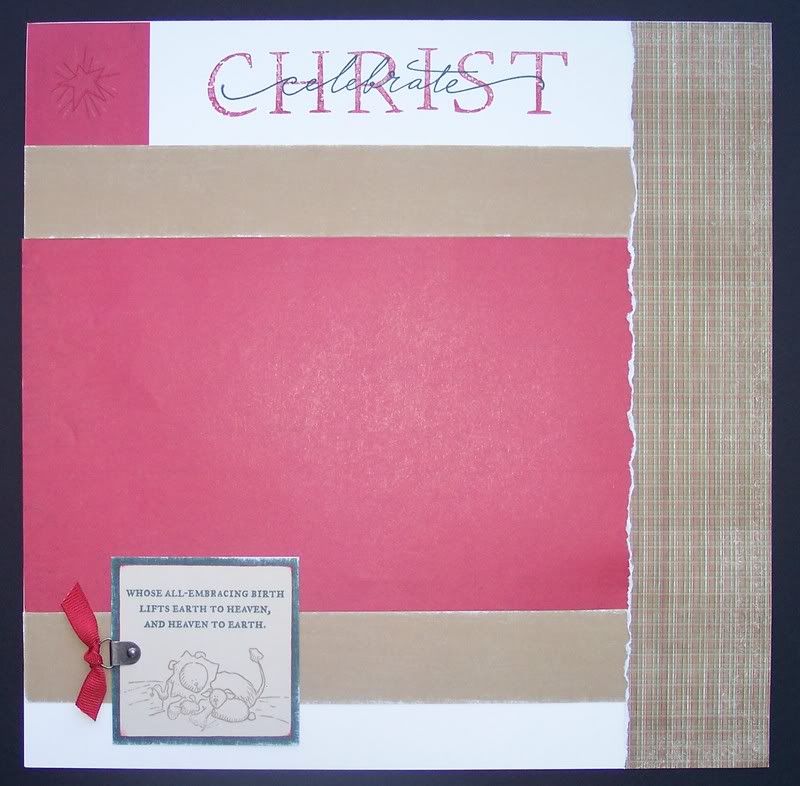
Here is a small sample of some of the projects I have pre-cut and available to create. 
CARDS
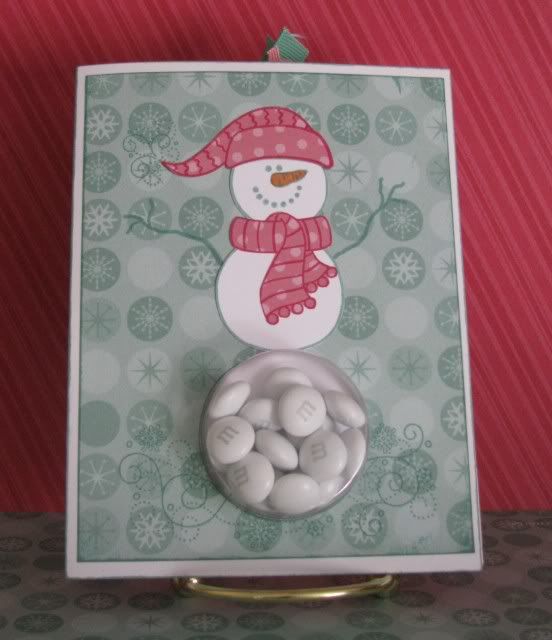
The first is a personal favorite - M&M's are not included.

PAGES

Wednesday, January 18, 2012

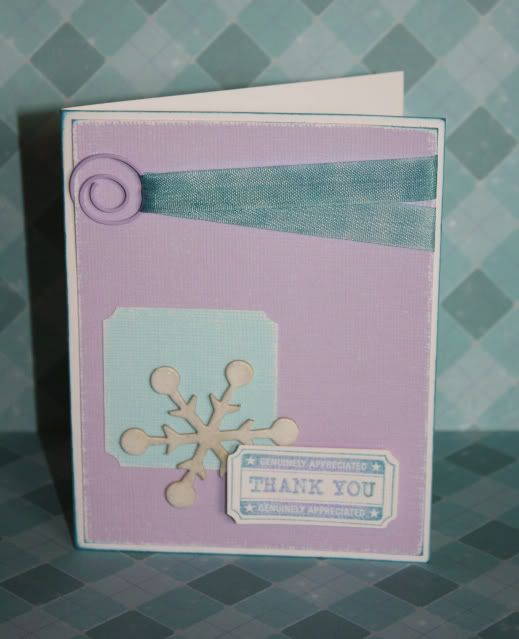
Genuinely Appreciated

I got to participate in some more challenges this week.  This time I piggy-backed a few different challenges for the following card that will be a thank you card for a new crafty friend.
I started with this week's Color Challenge PLUS over at H2H to use Amethyst and Crystal Blue and glitter.  It's hard to tell in the pics, but I mixed Prisma Glitter with Clear Embossing Powder and heat embossed the Dimensional Element Snowflake.  Then I took my Embossing Pen and traced the words Thank You and embossed them with the powder/glitter mixture as well.  The stamped image was inked in Amethyst and rolled in Crystal Blue.  
I liked last week's challenge (to use a never been used stamp set) so much that I decided to use it again, and I would like to continue using it throughout the year!  I have used some of the other stamps in this set but not this particular one until now.  It's one of the stamp sets that comes in the CTMH Art Philosophy Cricut Collection so I cut the coordinating tag from my Cricut. 
Then I was looking for inspiration for my card pattern so I turned to Unscripted Sketches and chose their most recent Sketch Challenge #141.

I didn't use any patterned papers on this card, just some of CTMH's retired Textured Cardstock that I sanded, along with an Amethyst spiral clip.  This card features a sneak peek at a new product featured in the upcoming Spring/Summer 2012 Close To My Heart Idea Book.  It's the new Color-Ready Ribbon featured on page 30 - I love that I can make it any color I need!  I used a Sponge Dauber and my Crystal Blue ink pad to color it.  It was still pretty fresh when I took the picture of my card so I'm not sure if it will lighten or not, but I'm excited to play with this ribbon some more!
***
I hope you like it - thanks for stopping by and enjoy your day!

Friday, January 13, 2012

Nature's Gift

One of my goals this year is to participate in more online challenges.  I have set aside Tuesdays as our crafty day so the kids and I can create together at home and I can get some creative time to myself as well.  This week I participated in the Heart 2 Heart Challenges Blog - the challenge was to use a stamp that hasn't seen ink yet - click here to see the challenge and what the design team created.  I sadly have a few stamp sets that haven't been used yet, but I picked Nature's Gift to play with. 

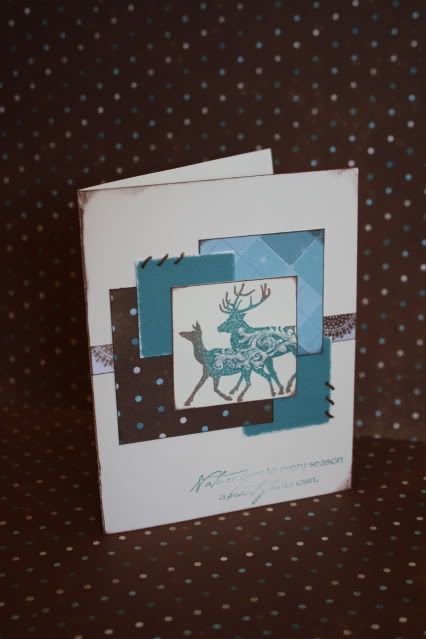
I used an old favorite, Collage pattern from the Wishes Book. I also used the Wonderland papers, my super cool Ruler, Piercing Tool, and Chocolate Waxy Flax to add the stitches. I used the stamp rolling technique on the focal image and the sentiment as well.  I finished off the image by adding Stardust Glitz Glitter Gel to the flourishes.
Thanks for looking and if you get a chance, go check out Heart 2 Heart, they have fun weekly challenges and are full of inspiration!

Monday, November 28, 2011

Join me for Creative Tuesday!

This week I will have my stash of pre-cut cards for you to chose from for Creative Tuesday.

Date: Tuesday, November 29th
Cost: $1 per card (with an envelope) or $0.50 per card (without an envelope)
Place: My house - contact me for directions
Time:  I will open up shop at 10 a.m. and close at 3:30 p.m. If you are interested in an evening session, contact me for possible times
Please Bring: Scissors and your choice of adhesive

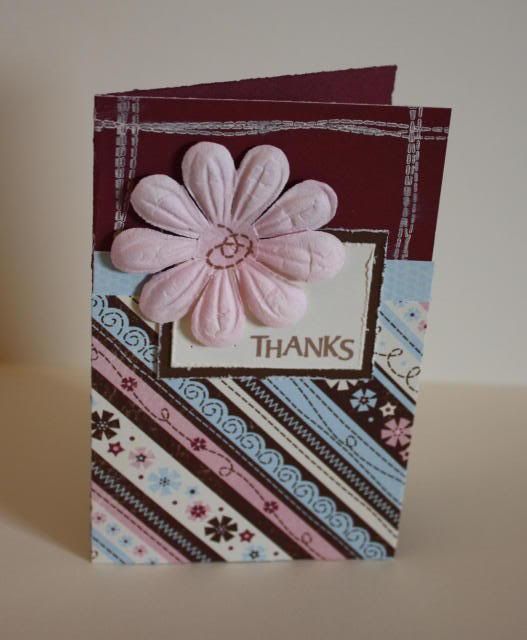
Come when you can, stay as long as you can, and make as many cards as you want - it can be 1 or 100!  If you will be here for lunch, bring something to share and we will have a potluck lunch.  I hope you can join me - contact me with any questions.  Here is a small sample of some of the cards I have pre-cut and ready to put together!

Tuesday, October 18, 2011

Bundled Buddies

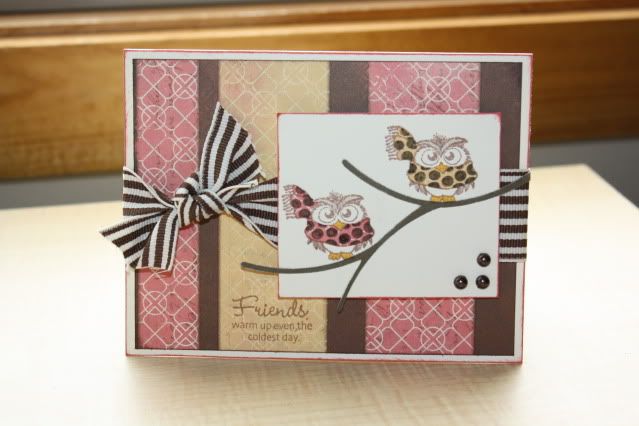
I have really been MIA on the blog - we have been busy, busy and I just can't seem to get ahead lately.  Hopefully I will get a chance to catch up and possibly update soon, but for now I wanted to post this card that I recently made.  I am a sponsor this month over at the Heart 2 Heart Challenges blog.  I really wanted to play along with each week's challenges but it hasn't happened yet, so far I've only done the first week's challenge, which was a sketch. 
***
For my card, I finally cut into my You & Me papers that I have been hoarding for a couple of months now ;-) the striped pattern in the paper reminded me of the bands on the sketch.  The Dark Chocolate Striped Grosgrain Ribbon also came from the same You & Me kit, but is also available to order.  I also received a new, adorable stamp set this month, called Bundled Buddies.  Brailee loves owls and Kaylee loves racoons, so along with the other cute critters, this set was a must-have for me!  I stamped and cut the owls' scarves from the same patterned paper I used on the cards and colored in the polka dots using a Cocoa marker.  The branch was cut using the Cricut Art Philosophy Collection, and I added Mocha Gems to finish it off.

I had fun playing along and hope to do more in the future.  I hope you'll play along over at Heart 2 Heart, or at least go see what everyone else has created!

Monday, August 15, 2011

CTMH Spotlight Hop - Circle Cards

Welcome to this month's Close To My Heart Spotlight Blog Hop! If you came here from Nikka's blog, you are on the right track. If you are starting here, then just keep hopping along to see all of the other creations.
***
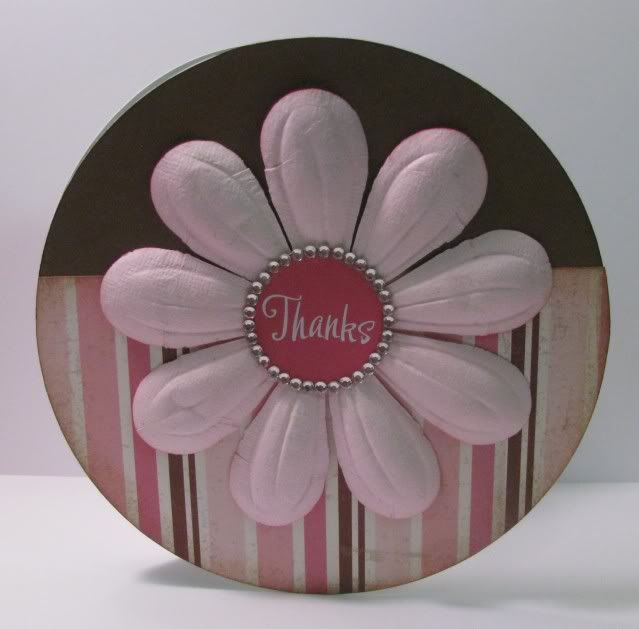
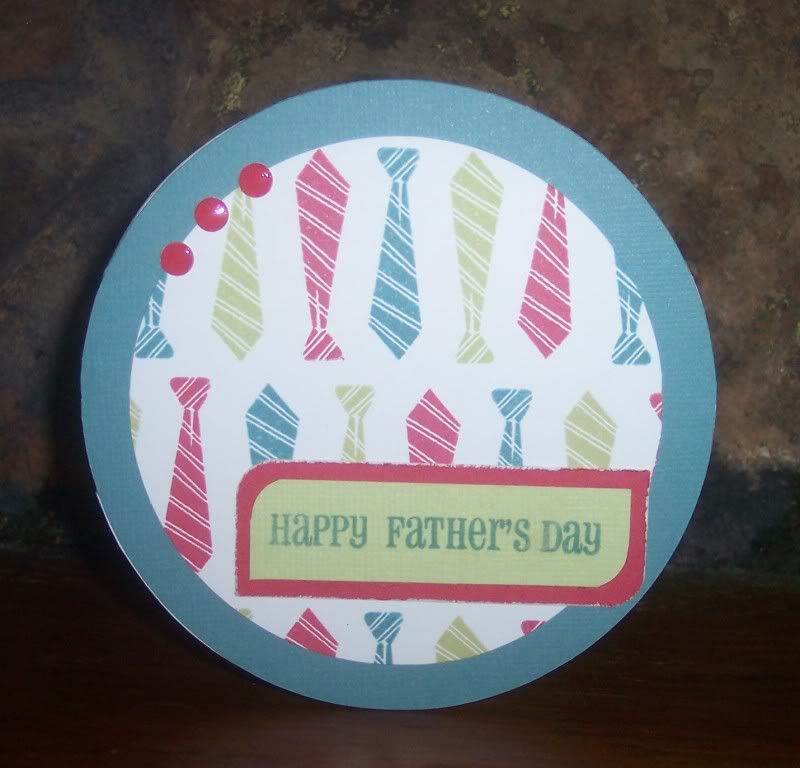
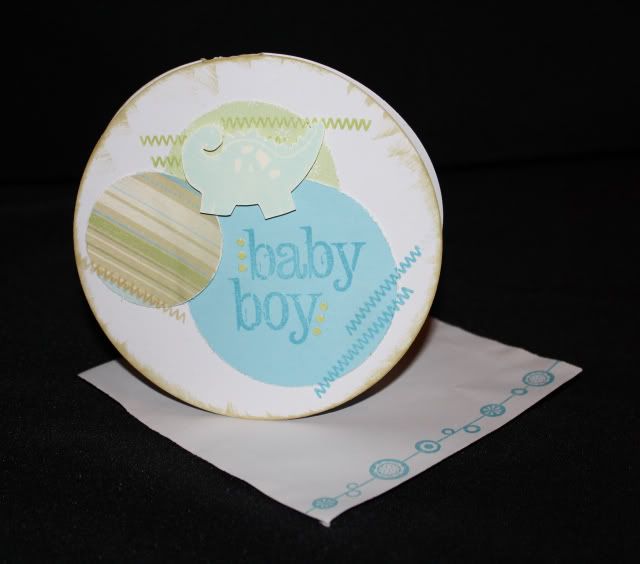
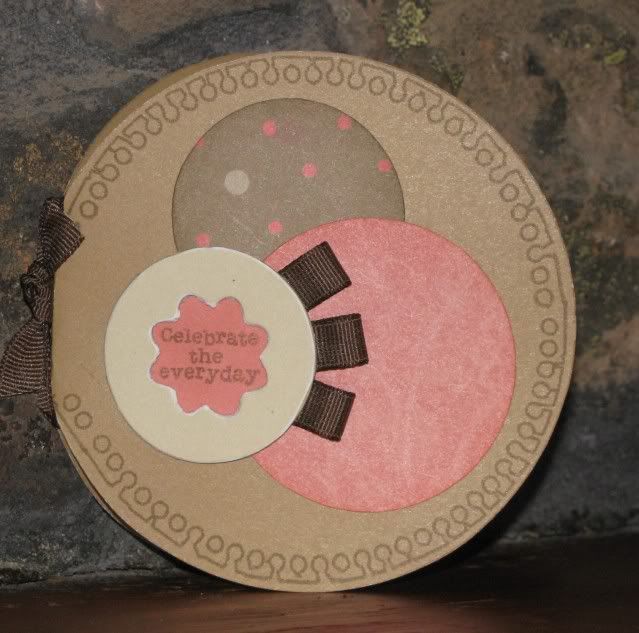
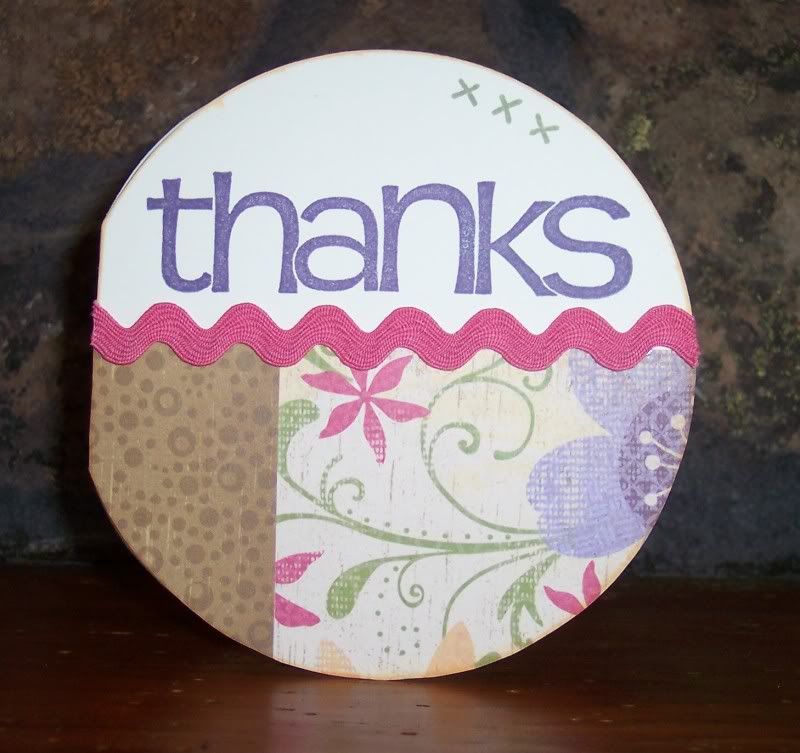
This month we are featuring Circle Cards - I forgot how much I love circle cards, I really should make them more often!  I like using the Colonial White and White Daisy circle cards and envelopes - I love that they come with their own envelope, I always struggled finding the right size before.  I also love the Clear Cards, I need to play around with those some more!
First up I have a card that I made for a niece's first birthday.  This one was really simple, I just cut a Hollyhock ring, a Blush piece for the sentiment, stamped and cut the candle using the Candlelight stamp set and Sophia papers, and added a few pink buttons.  I will admit, I always like to thread my buttons before I put them on a project, they just seem naked without something.  This time I made myself leave them plain - not so bad, right?
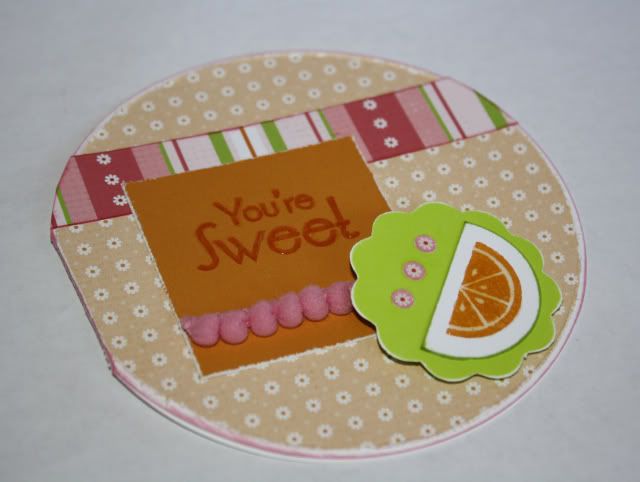
Here is another circle card that I made a while ago but haven't posted yet.  I also used the Sophia papers but this time with the You're Sweet stamp set.  I used Liquid Glass on the orange.
I have more circle cards posted below, but if you are ready to continue along the Blog Hop, the next stop is Amie!
***
These cards have been posted before, but if you missed them and want more details, just click on the card title to go to the previous post and find out more!

Thanks for looking - don't forget to hop along to Amie's Blog!

Thursday, August 4, 2011

A little something new!

The newest Idea Book from Close To My Heart went live on August 1st - you can click HERE to view it online, or contact me to see how you can get your own free copy!  There are some fabulous new products, and I've had a chance to play with a few.  I am linking up to Tresa (from Fabulously Artsy) and her New Product Blog Hop - you must check out what everyone else has been creating with their new goodies!
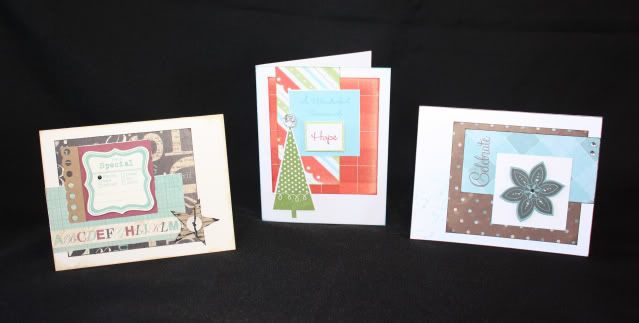
As for me, I created a few cards for my upcoming Open House - everyone who comes will get to make one of the following cards for my free Make & Take.  All three of these cards use the Gallery pattern from Wishes, but by changing up the papers and stamps used and rotating the pattern, I get three completely different looks!
I used the new Art Philosophy Collection - CTMH has teamed up with Provo Craft and we now have our own exclusive Cricut cartridge!  This collection comes with a cartridge, 3 D-sized stamp sets (valued at $17.95 each), and 3 sets of Dimensional Elements.  I technically didn't use the cartridge yet as my machine (that I'm getting for my birthday this month) won't get here until Friday, but I hand cut what the machine would actually cut, just to get the idea.
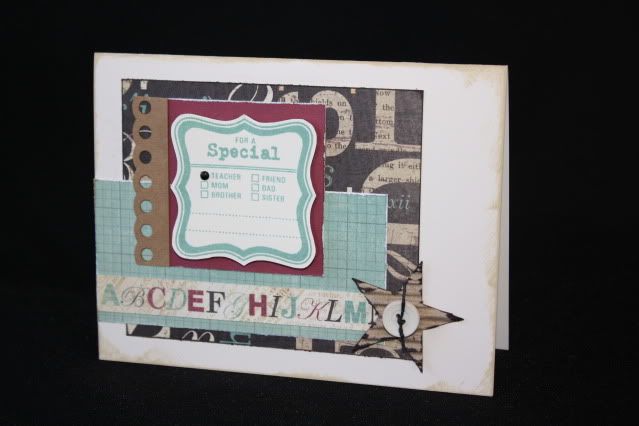
This was the first card that I made - and it's my favorite.  I used the new Typeset papers (LOVE the new labeling strip at the top of each paper - I used the back for the alphabet border strip on this card), new Milepost Shapes, along with some older favorites, a Black Bitty Brad, Colonial White button tied with a bit of Black Waxy Flax, and Kraft Border.  I also used one of the images from the Art Philosophy stamp set called Tags.
This was the next card I created - I used the new Believe papers, a fun new Bling Button, and images from the Art Philosophy stamp set called Seasons.

The last card I created uses the new Wonderland papers.  I tried to use an image from the Art Philosophy Celebration stamp set, but I don't think the images got cut deep enough and I was having ink issues so I contacted CTMH and I am in the process of sending it in for a replacement.  I was carefully able to stamp the sentiment from that stamp set, but the flower came from the Seasons stamp set that I used on the last card.  I also used some Clear Sparkles and Spray Pen on this card.
I had fun playing with a few new goodies - I can't wait to get my Cricut and really play with the new cartridge - it looks like fun!
Thanks for visiting!
Friday, July 15, 2011

CTMH Spotlight Blog Hop - Color-Ready Kraft Borders

Welcome to this month's Close To My Heart Spotlight Blog Hop - I'm thrilled to get to play along again this month!  If you came here from Luisa's blog, you are on the right track.  If you are starting here, then just keep hopping along to see what all of the talented Consultants came up with.
***
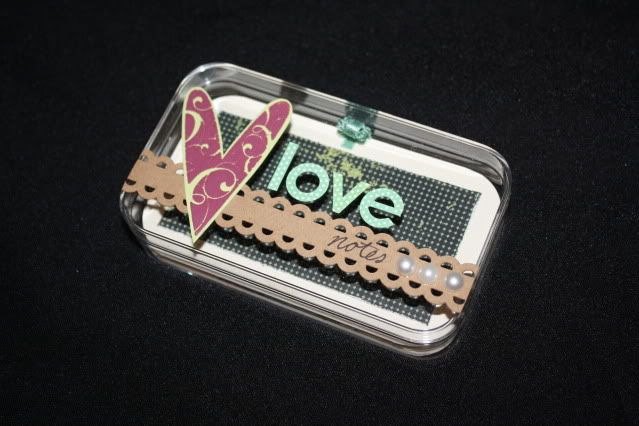
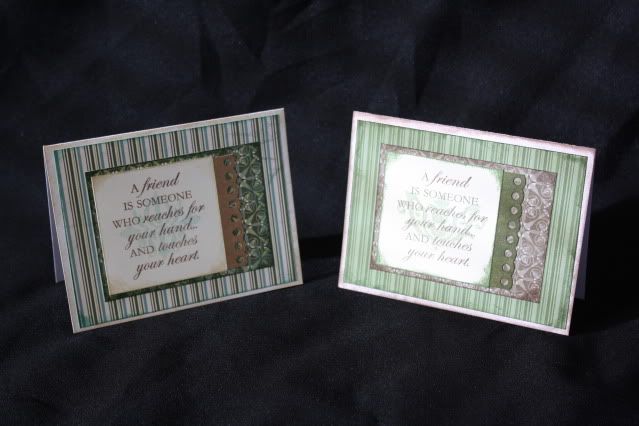
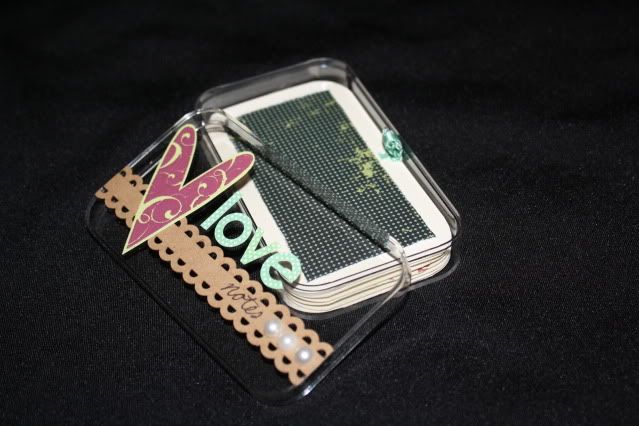
This month we are featuring the fun Color-Ready Kraft Borders - let me tell you, great things come in small packages!  I was amazed when I first received my order of these, there are a ton of borders and the possibilities are endless!  Let me show you some of the things I have created recently using these borders - my favorite feature of these is that they come adhesive-backed, so they are perfect for adding to CLEAR projects, like I have done here...can anyone guess where I saved this case from?
It's the case from our iPod Touch - I knew I saved it for the perfect project!  I kept the front super simple, starting with the colors from the Wings Papers.  I just cut a border strip to the right size and applied it to the cover.  Then I embossed a heart from the retired February Word Puzzle stamp set using Vineyard Berry embossing powder.  I then colored some Irresistibles Lots of Dots letters using Juniper Ink and attached them to the front, handwrote the word 'notes' and attached some Opaques Pearls.
I will not share the inside pages yet, as it's a gift and needs to stay a surprise, but I used a lot more of the borders on those, too.  I love how this turned out!
I have more border projects posted below, but if you are ready to continue along the Blog Hop, the next stop is Haley!
Here is another project - this time using a Clear Card.
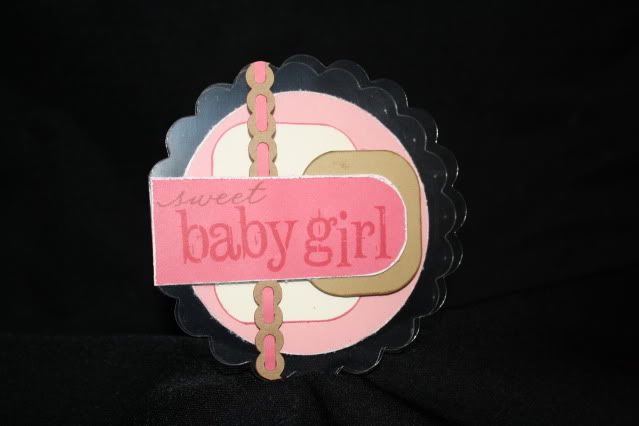
I weaved a 1/8" piece of Hollyhock CS through this border.  This card uses the Ricochet pattern from Wishes along with Hollyhock, Blush, Colonial White, and Desert Sand CS and the Sweet Baby stamp set.  Here is a look at the card and the layers as it opens.
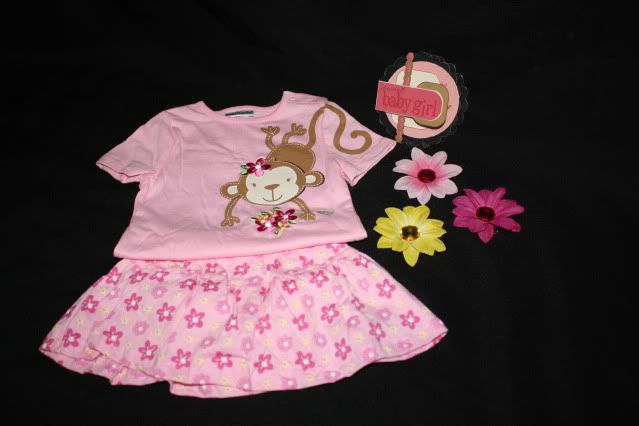
This card is for a dear friend who just had a baby girl (after 2 boys) - after I saw her darling girl monkey room I found this darling outfit and made some cute matching flower clips (she can never have enough!) and just HAD to make a monkey card using the retired Life's A Jungle stamp set ;-)  Now I just need to get it in the mail so she can enjoy it!
Now for some previously posted projects using the Kraft Borders.
I love that you can leave them as-is...
...or color them using inks...
Thanks for looking - don't forget to hop along to Haley's Blog!

Thursday, June 30, 2011

Baptism Invites

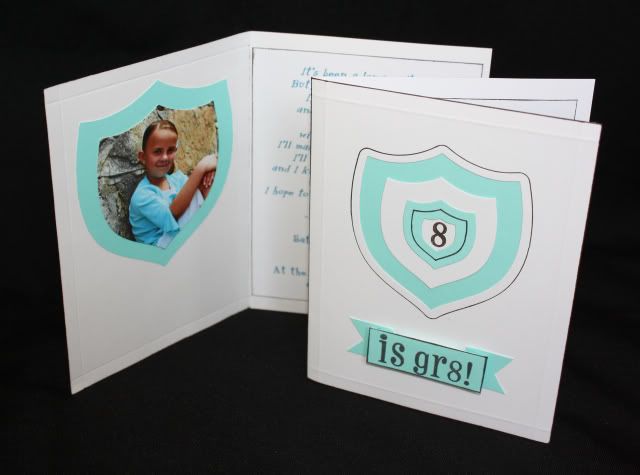
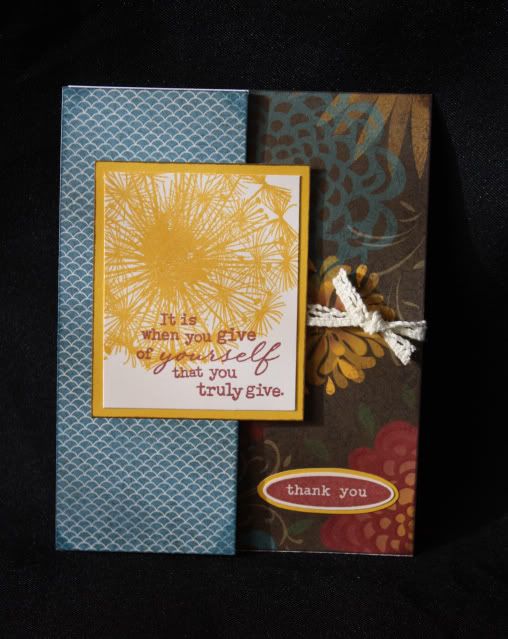
Here are the Baptism invitations that Brianna and I made - she gets Baptized in just 2 weeks!  I used these fun badge die cuts from Xyron which reminded me of the CTR (Choose The Right) shield - I already have got a lot of use out of them.  I didn't stray far from the idea that I used on Kaylee's Baptism invitations.  I even used the same Breeze color - I didn't realize that both girls chose the same color until I went back to look at Kaylee's.
***
Here is what we did:  we dry embossed a border around the front of the card.  Then we used the die to cut the front of the card and then layered the nested pieces on the Breeze badge that we glued to the inside of the card which also served as a photo frame.  We also used the dies to trace around with a black marker to finish off the look.  We created a fun banner at the bottom using the Friendship Small Alphabet, and even popped it up with some 3-D foam tape and inked around the edge with a handy black distressing ink.
***
It was fun to work on these with her - Brianna kept telling me how much fun it was to create together.
Now I just need to get her book done in time - should be easy as I already have the files on my computer and the supplies I need to do it, I just need to sit down and get'r'done!  I will post it when I finally do.
***
Thanks for visiting!
Monday, June 20, 2011

B-I-N-G-O!
I was chosen as the June Guest Designer over at the Heart 2 Heart Challenges Blog - this week was one of my two chosen weeks to play along.  I had so much fun with this challenge - don't forget to check out the complete challenge details and what the entire Design Team created HERE!
***
This week's challenge is a BINGO theme - we were given the following BINGO card and told to chose 3 items in a row to use on our project.
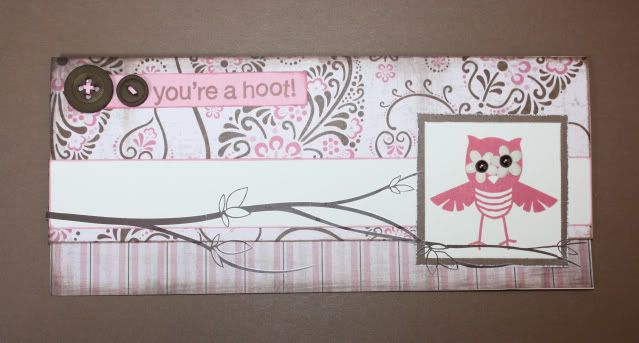
I used the entire bottom row and came up with this card using the Classic Closure Pattern from Wishes.

GEMS = Mocha Opaques Gems that I used for the owl's eyes.
BUTTONS = two Chocolate buttons threaded with strips of paper.
RUB-ONS = the branch is a rub-on.

Other products used:  retired More to Adore paper (still an all-time favorite!), You're a Hoot stamp set, the bitty flowers under the gems on the eyes came from the Chocolate Mini Medley set - these are currently on sale for over 60% off, don't forget to check out the other awesome deals for the Clearance Sale
***
Thanks for looking - I hope you'll play along over at H2H!

Tuesday, May 24, 2011

Wings and Wishes

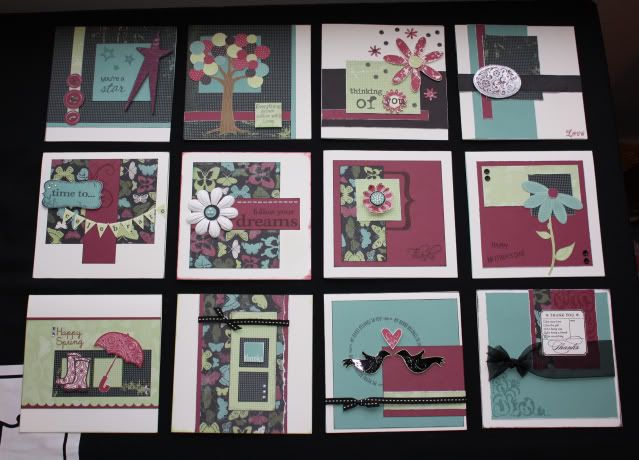
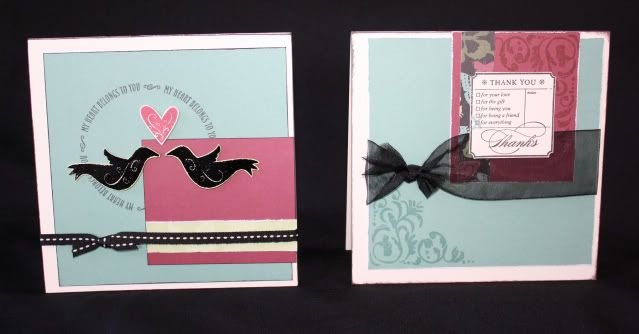
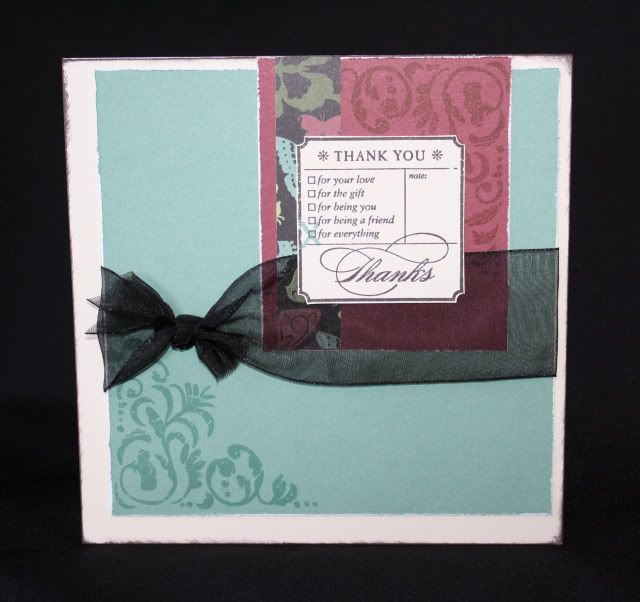
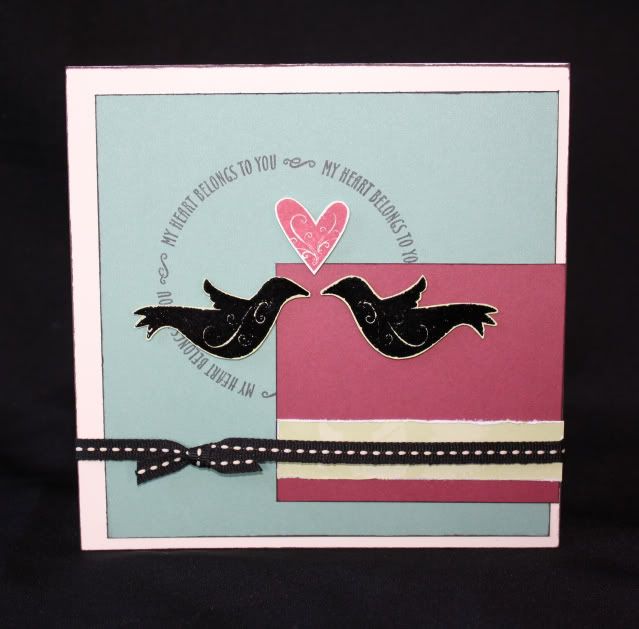
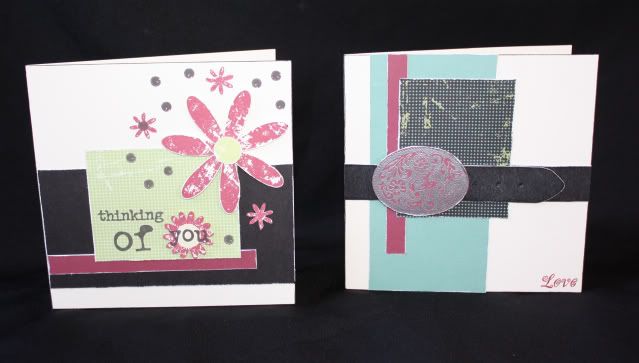
I LOVE the card workshops in the Wishes How-To Book.  I've also really enjoyed playing with the Wings paper - watch for more posts with this paper coming up!  I finished putting this set together a couple of weeks ago, I'm finally getting around to sharing it.  Using the Celebration Card Workshop cutting guide and just 2 patterned papers, 2 cardstock papers, plus 6 more cardstocks for the card bases, I was able to create 12 cards (2 each of 6 different patterns)!  I love how they turned out - now I just need to find some 6x6 envelopes!  Here is the entire set:
Here are the cards - notice how I either used the opposite side of the paper or rotated the card and used different stamps to get a completely different look from each card pattern.
Card 1
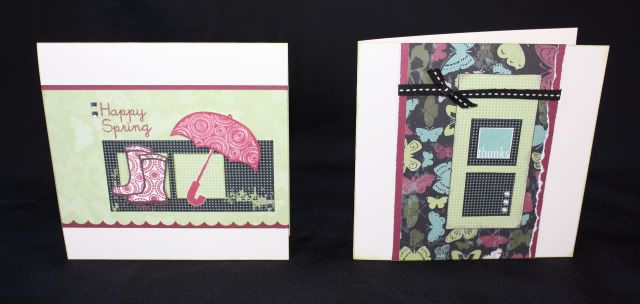
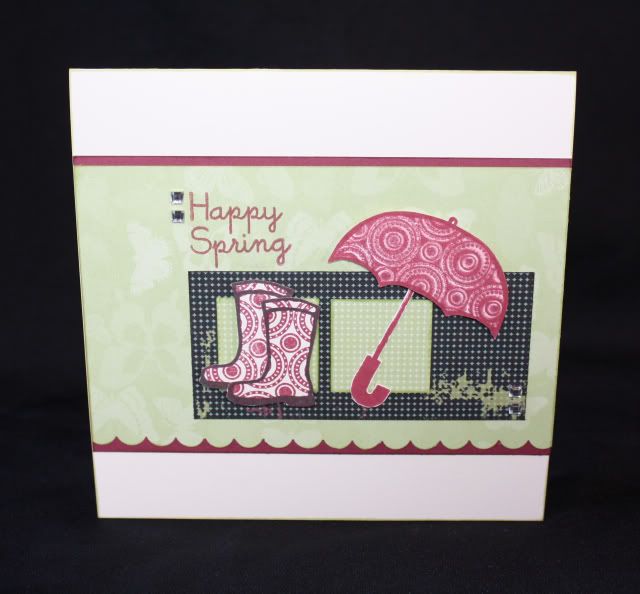
Supplies used on the following card: Springtime stamp set, retired Spot On Backgrounds stamp set, Sparkles, and a scallop border punch.  I used the stamp kissing technique on the umbrella using the Spot On Background stamp, and I used the same stamp to directly stamp the pattern on the boots - I love the different look it gave.

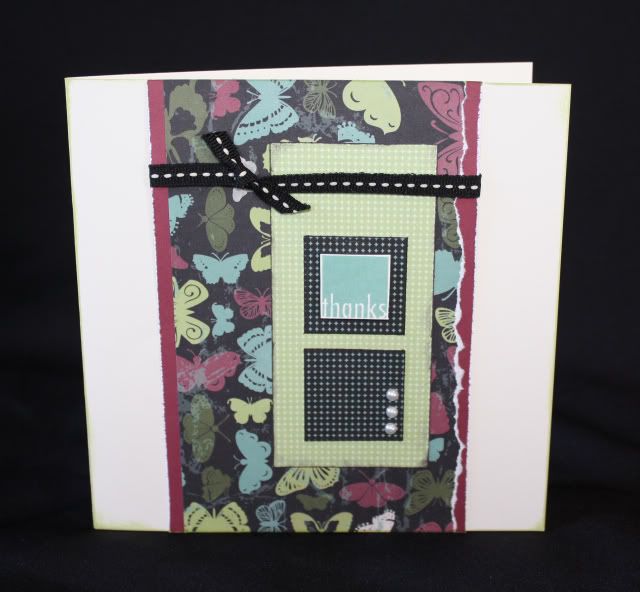
Supplies used on the following card: Thank You stamp set, Black stitched ribbon, Opaque Pearls.
Card 2
Supplies used on the following card: retired Legendary Moments stamp set, retired Cherish the Moment stamp set, and wide organdy ribbon that I had in my scrap stash
Supplies used on the following card: retired Free Spirit stamp set, Black embossing powder, retired Vineyard Berry embossing powder, Black stitched ribbon

Card 3
Supplies used on the following card: retired Rustic Flowers stamp set.
I'm not too fond of this card - I think I went a little overboard stamping the dots ;-P
Supplies used on the following card: retired Lovely Buckles stamp set, silver embossing powder to emboss the buckle on Vineyard Berry paper

Card 4
I think these two are my favorite from the entire set - I just love this stamp set that comes with the You & Me kit that's the special for this month - I love the stitches, flourish, and pennant stamps the most!
Supplies used on the following card: You & Me stamp set, Colonial White ink for the stitches, paper flower, Opaques pearls
Supplies used on the following card: You & Me stamp set and Sparkles

Card 5
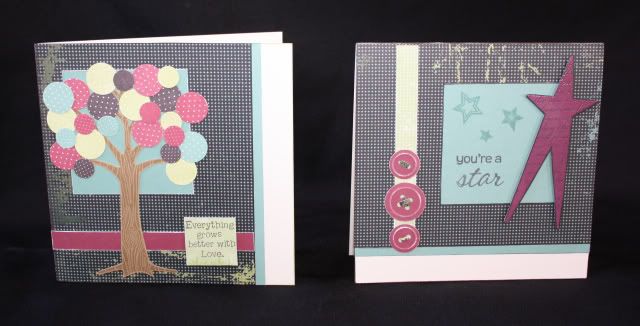
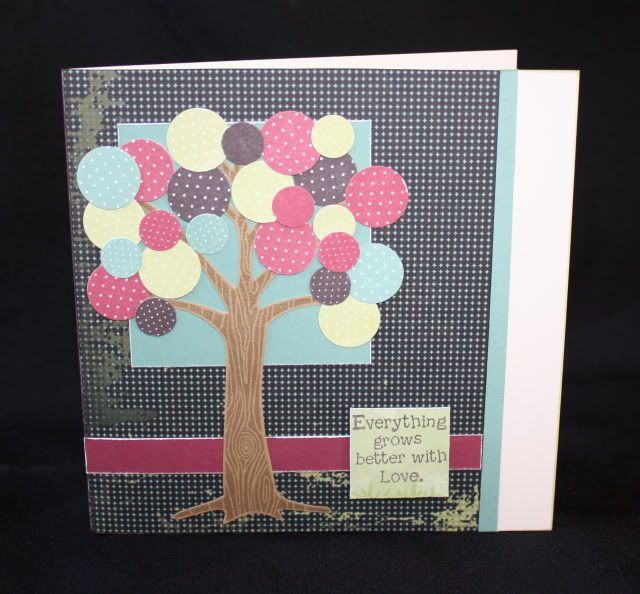
Supplies used on the following card: Grown With Love stamp set, circle punches -I  added some Desert Sand ink to the color combo for the tree.

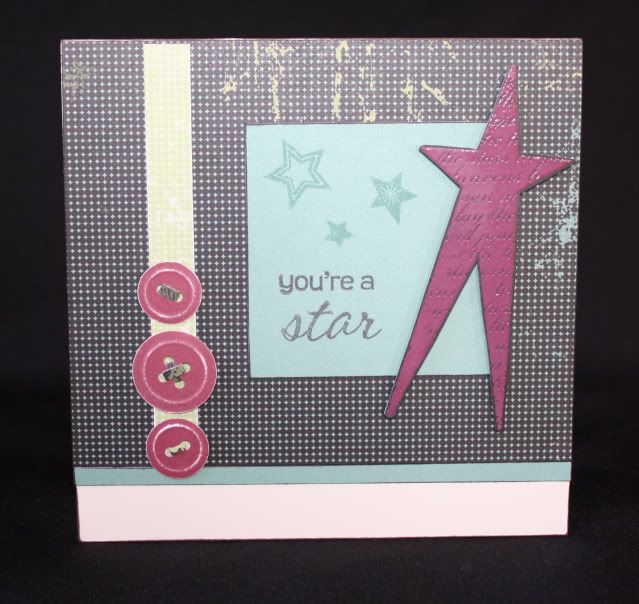
Supplies used on the following card: Shining Star stamp set, button punch with paper strips in the button holes, and retired Vineyard Berry embossing powder to emboss the star on black paper.

Card 6

Supplies used on the following card: Love This stamp set (it was good to finally ink this set up, this stamp was part of a special last year and around the time we moved and I never got a chance to play with it until now) - I also used the For Every Occasion stamp set 

Supplies used on the following card: retired Playful Petals stamp set, Friendship Blessings stamp set for the stem and leaves, Say It In Style stamp set for the sentiment, and black button brads.
Which one is your favorite?
***
Whew, that was a lot - if you're still with me, thanks for visiting!