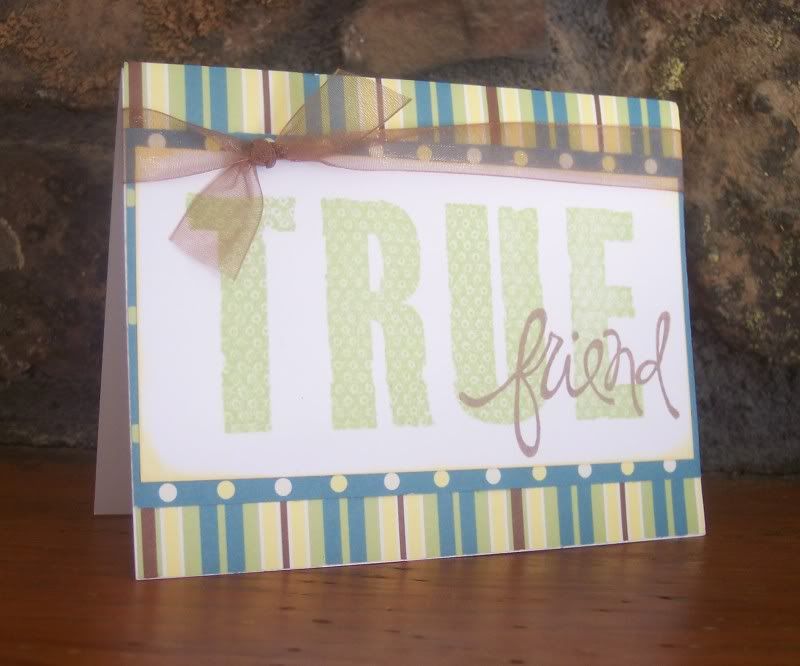
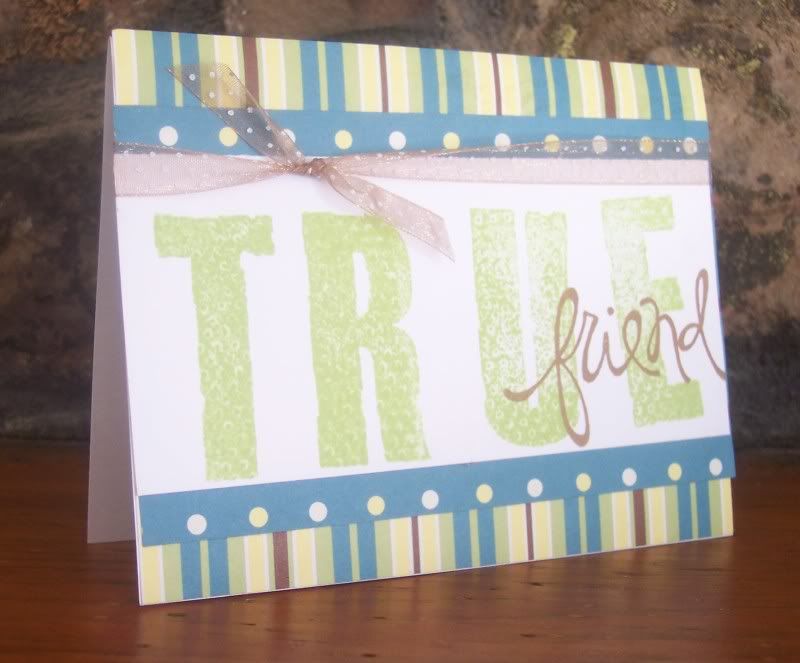
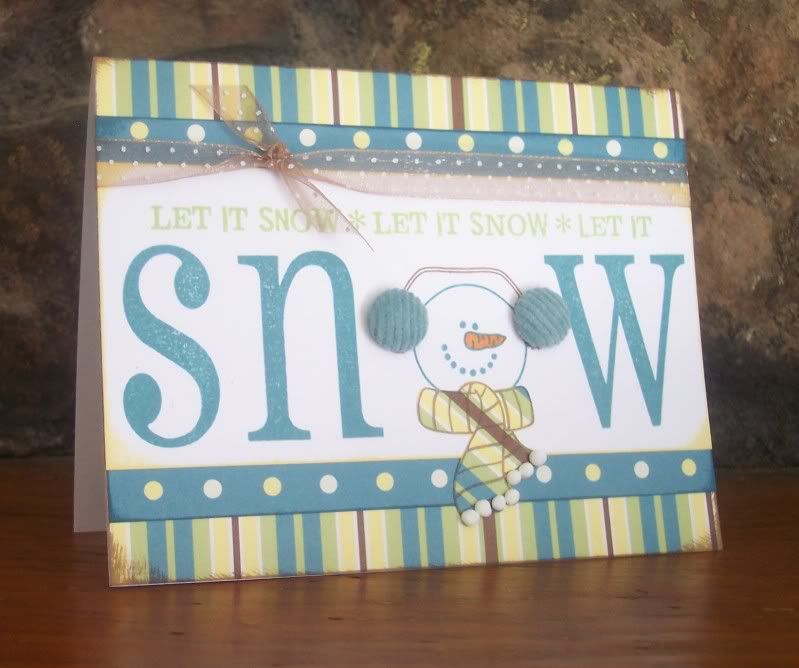
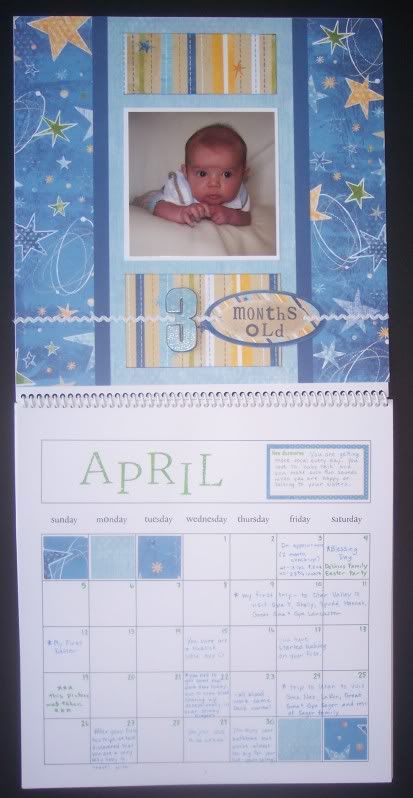
Showing posts with label Friendship Alpha. Show all posts

Wednesday, July 27, 2011

Baptism Book

Here is the book that I made for Brianna's Baptism.  I used the same idea from Kaylee's Baptism Book, just changed the colors and some minor details.
All products used are from CTMH: 9x9 album, retired Perfect Day Simply Snapshots, Friendship Alphabet Large and Small, Noteworthy Alphabet, Mocha Gems, Cocoa Ribbon, and a Top Coat overlay.
Here we have the Articles of Faith, a spot for the guests to sign, a place for her to fill in info about her big day, and a page about church leaders.
This side has the Gospel Standards, an About Me page, a blank page for something special, and the cover - a picture of her in her white dress went under the Top Coat.
Thanks for looking!

Thursday, June 30, 2011

Baptism Invites

Here are the Baptism invitations that Brianna and I made - she gets Baptized in just 2 weeks!  I used these fun badge die cuts from Xyron which reminded me of the CTR (Choose The Right) shield - I already have got a lot of use out of them.  I didn't stray far from the idea that I used on Kaylee's Baptism invitations.  I even used the same Breeze color - I didn't realize that both girls chose the same color until I went back to look at Kaylee's.
***
Here is what we did:  we dry embossed a border around the front of the card.  Then we used the die to cut the front of the card and then layered the nested pieces on the Breeze badge that we glued to the inside of the card which also served as a photo frame.  We also used the dies to trace around with a black marker to finish off the look.  We created a fun banner at the bottom using the Friendship Small Alphabet, and even popped it up with some 3-D foam tape and inked around the edge with a handy black distressing ink.
***
It was fun to work on these with her - Brianna kept telling me how much fun it was to create together.
Now I just need to get her book done in time - should be easy as I already have the files on my computer and the supplies I need to do it, I just need to sit down and get'r'done!  I will post it when I finally do.
***
Thanks for visiting!

Tuesday, March 2, 2010

Flyin' High

This week's challenge over at Sketches! {by tamara} is a layout sketch.
And here is the page I created using this sketch - I rotated the sketch to fit my pictures and took a sketch from the September 2009 PageMaps to create a companion page. I used some of the fun papers from Studio Calico that I won last year - I thought the butterflies were perfect.

For the butterflies I used my circle punch to punch the butterflies from the patterned paper - then I cut out another butterfly and pieced it on top using 3-D foam dots to add some fun dimension.


CTMH Products Used: Hodge Podge Color Ready Alphabet stickers, Summer Celebration Mini Medleys, Hodge Podge Alphabet stamp set, Friendship alphabet stamp set (small), White Daisy textured cardstock, Sweet Leaf cardstock and ink, Outdoor Denim Conchos
Other Products Used: Nestabilities Labels, Studio Calico papers, mini pop dots, circle punch, SU! photo corner punch
***
Thanks for stopping by - don't forget to check out what the rest of the Design Team has created using this sketch, and I hope you'll get a chance to play as well!

Tuesday, February 16, 2010

9 Months Old

This week's challenge over at Sketches! {by tamara} is a Recipe Challenge from Marcia - use the following on your cards or layouts.
*Staples
*Stitching (faux or real)
*Stamping
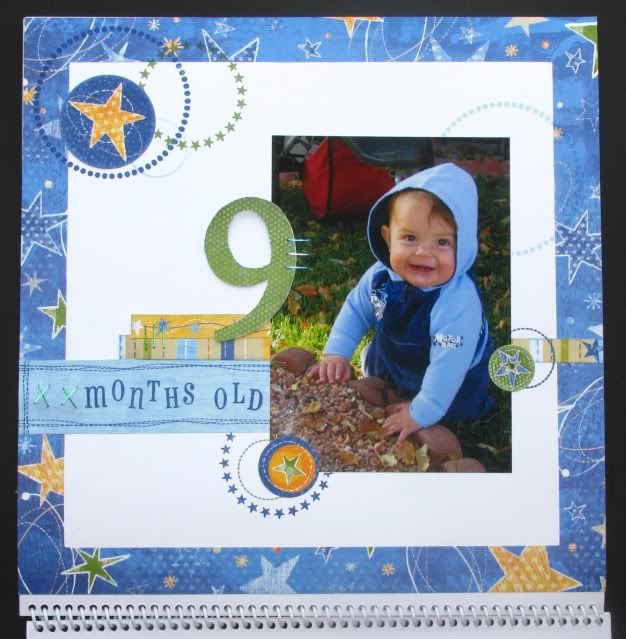
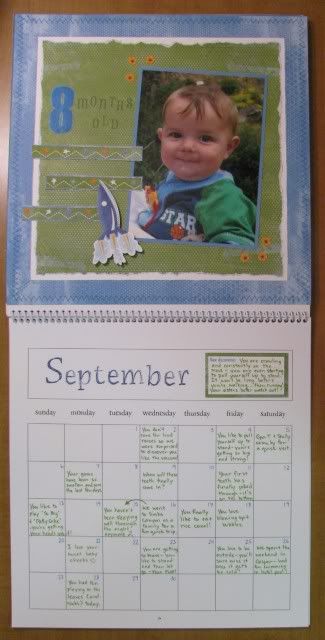
I decided to use these items on another one of Trysten's calendar pages - I'm hoping to get caught up on that soon! I used a sketch from the December 2009 PageMaps, I just rotated the sketch once to fit my vertical picture.
I had so much fun with this layout, but don't I always! I did lots of faux stitching using stamps, so I killed two birds with one stone! Plus there are stitches on the patterned paper as well so it all worked nicely together.
***
Products Used (all CTMH): Stardust paper pack and Stickease, Solo 9 stamp set, Circle Around stamp set, Togetherness stamp set, Friendship Alphabet stamp set, blue and green staples (retired), Topiary, Moonstruck, and Heavenly Blue stamp pads.
***
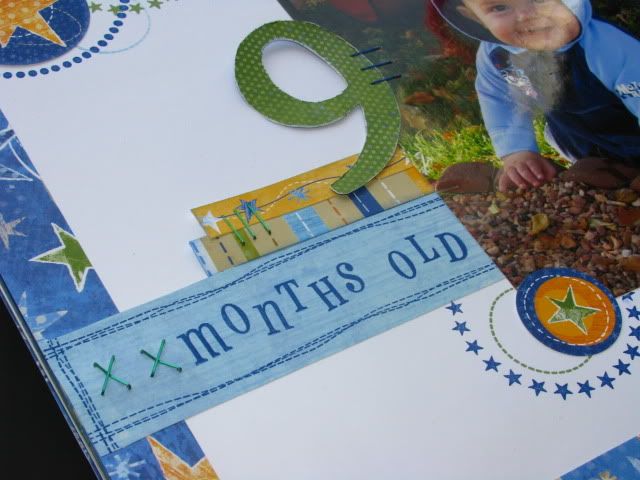
Here is a close-up of some of the stamping, stitches, and staples.
Don't forget to check out what the rest of the Design Team created for this week's challenge! Thanks for looking!

Tuesday, January 26, 2010

Challenge #104

This week's challenge over at Sketches! {by tamara} is a journaling challenge from Bethany. Here is the challenge:

"journal about something in your life that you have overcome -- it can be something very personal & of great importance, something that was a big moment or change in your life *or* it can be something that is more light-hearted, maybe not a huge ordeal in your life but still a situtation or something that you had to overcome & make it thru to get to where you wanted to be or to accomplish what you wanted to accomplish."

I obviously went with the more light-hearted approach. This topic was a huge challenge for me to journal about but I really like my take on it - totally not what you'd expect but I'm glad to have this memory scrapped, as silly as it is!

***

For this layout I used a sketch from PageMaps, from their December 2009 sketches - I've used a lot from that month's sketches!

***

CTMH Products Used: Colonial White, Tulip, and Blush cardstocks, Whimsy Heartfelt DieCuts (Tulip scallop and buttons), Winter Cozy Sassy Strands (Blush), Friendship Alphabet (small), Bold Color Ready Alphabet stickers (stamped with one of the Spot On Background stamps using Tulip ink, Comments stamp set, and Tulip and Blush inks

Other Products Used: Embossing Stylus, EK Success Large Corner Rounder

***

To see what the rest of the Design Team has created, just click here!

Tuesday, January 5, 2010

Challenge #101

This is the first week of my Design Team run on the Sketches! {by tamara} blog! I had so much fun with this month's challenges, so be sure to check back every Tuesday for that week's challenge - I hope you'll play along!
***
This week's challenge is a layout sketch:

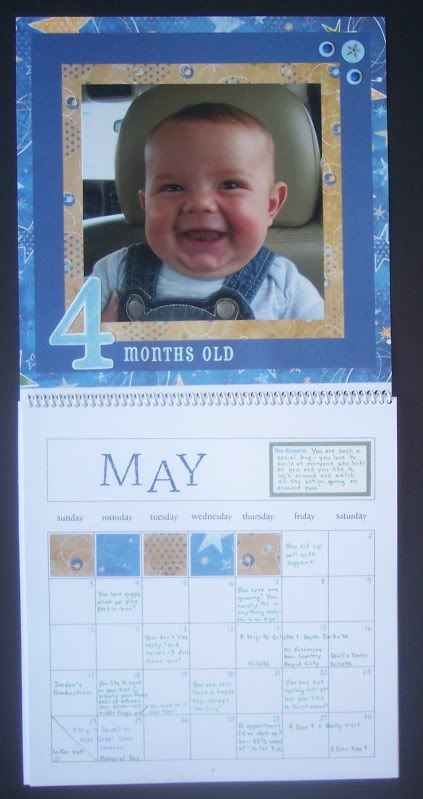
I used this sketch to work on Trysten's calendar - I am so far behind, he's going to be one this month! At least I've been pretty good about keeping the journaling side updated!
Instead of journaling strips I took a border stickease and cut it up. Don't you just love the touch of drool on Trysten's chin in this picture ;-) He is such a slobbery little boy and he only has two teeth to show for it! He does finally have his top two starting to poke through now, but all my other kids had a lot more teeth than this by the time they were one!
To see what the rest of the Design Team has done with this week's sketch, just click here.
Thanks for visiting!

Thursday, November 5, 2009

Eight is GR8!

Kaylee is turning 8 and getting baptized on Saturday! We love this sweet, caring girl of ours and we're proud of her decision. We're looking forward to a memorable weekend with family and friends.
***
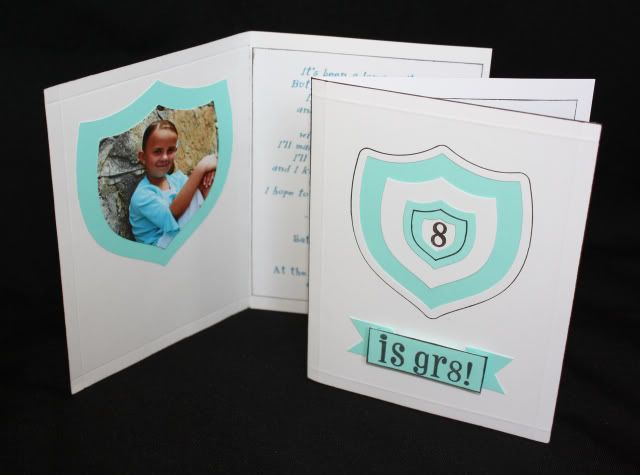
Here are the announcements/invitations that I created. I created standard sized cards for family and bookmark sized cards for her friends.


I FINALLY used my Cuttlebug which made these really fast and easy. I embossed and sanded the front out of Breeze CS. I used Amethyst CS and stamped 'Eight is gr8!' using black ink. Ever since I made the card (posted here) when my nephew turned eight last year, I knew I wanted to use the same idea for Kaylee and I think it worked perfectly for these!


Here is the inside - with a poem I found on Sugar Doodle.


And here are the bookmarks - I stamped them with the corner flourish from the Key To My Heart stamp set in Breeze ink.


And then here is the Baptism Book that I created for her. This was another super easy project but I am so thrilled with how it turned out - I can't wait for her to fill it in! I used Silhouette Simply Snapshot 9x9 pages along with a 9x9 Accordian album. Thanks to a file I found on Sugar Doodle, I just copied and pasted the information I wanted to include in her book. I did have to tweak it to fit and change some things to my liking but it went together really quickly!


Here are some close-ups of each page...
...this is the cover - a picture of her in her white dress will go under the Top Coat.
...here is the back cover
...here is where friends and family will sign
...Baptism Day details that she will fill in afterwards
...Church Leaders page
...the left page here will be filled in by Kaylee - I saved the right page for something special - I hope it works out like I want it.
Thanks for looking!

Friday, September 18, 2009

Flashback Friday

1995 - Leslie, Kevin, David, and Jeff - 4 Brothers, 4 Eagle Scouts!

I think these are the first pages I have ever done of David from when he was younger. I completed these pages on Sunday - it was a fun project to do, and perfect timing as this year is the Boy Scout's Centennial year. This was in 1995 when he and 3 of his brothers all got their Eagle Scout award at the same time - an extremely rare feat, as it says in the newspaper article. I still need to see if I can get a new copy of the article as this is all my MIL gave me and it's missing the second page. The right page is a pocket page with a letter from our U.S. Senator congratulating them on their accomplishment. I used some fun 3-D Scout stickers that I purchased years ago from Hobby Lobby and they matched this Rowdy paper just perfectly.

***

You can click on the picture to view it larger.

CTMH Products Used: Rowdy paper pack (retired), Building Blocks alphabet stamp set, Friendship Alpha - small (retired), Solo 4, Outdoor Denim ribbon, Natural Hemp, 3-D Foam Squares
Other Products Used: 3-D Eagle Scout stickers from Hobby Lobby
***
Thanks for looking!

Saturday, September 12, 2009

Beauty...

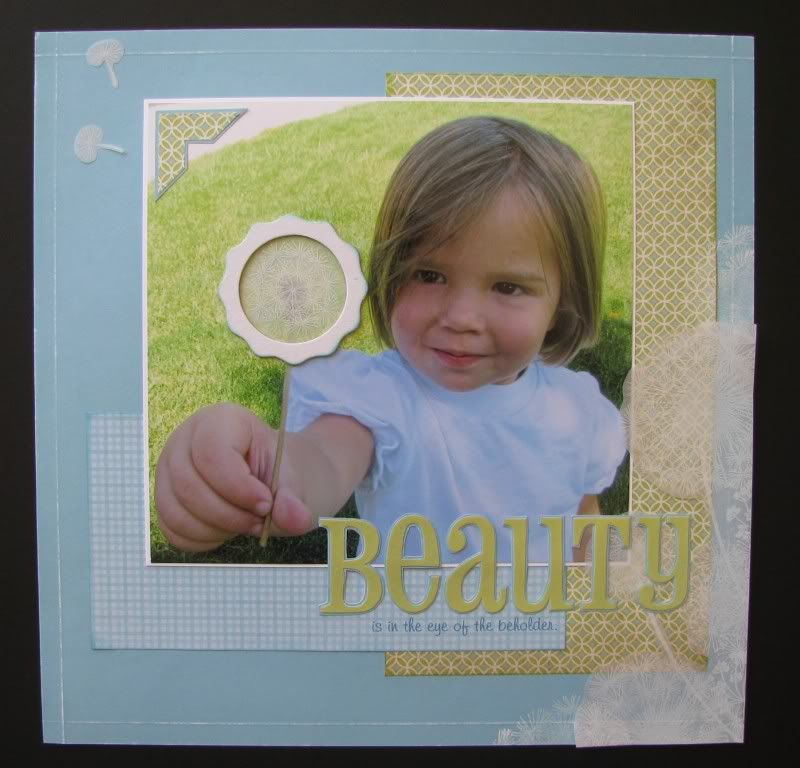
...is in the eye of the beholder. I thought that title went perfect with this picture - I just love how excited Brailee gets every time she finds a 'wish' - and I let her spread her wishes all around my yard because I love to see her so full of joy ;-P
***
I used the following PageMaps sketch for their Studio Calico sketch contest.


I love this picture, even though it's not the best - Brailee looks fine but the flower was hard to see because of the shadow and its soft/light look so I tried to enhance it with a Dimensional Element circle and a little vellum - I stamped the vellum to create another flower overlay - I don't think you can see it in this picture or not. So then I decided, to go with the sketch, and continue the vellum look, I stamped more flowers on vellum and adhered them up the side. That's where this layout loses it for me - now I look back and wonder if vellum is the way to go or if I should have used a transparency again like I did with THIS layout. What do you think? After I added the vellum I just kinda stopped with this layout as I'm just not thrilled with it - I'd love to hear your thoughts and suggestions!
***
Click on the picture to view it larger.

CTMH Products Used: Twitterpated paper pack, Friendship Alphabet (embossed with Clear EP), Embossing Stylus, Sanding Block, Treasures stamp set, White Daisy stamp pad, Dimensional Elements On Target, Vellum, Crystal Blue and Sweet Leaf stamp pads
Other Products Used: Photo Corner punch (SU!), computer font (Missy)

Monday, August 10, 2009

Full Heart

Some say that scrapping is better than therapy - if I'm having a rough time and I get a chance to sit down and scrapbook for myself, it sure makes me feel good to reflect on past memories and take a chance to count my blessings! I started this page shortly after Ghostbuster died - I had it all done, just needed to glue it all together and print up my journaling, but I just never got around to it. This summer has been so busy and what little creative time I could find has been spent making Birthday cards and other non-scrapbooking items. Anyway, at the end of last week I was feeling really drained and then due to David's migraine and then an allergic reaction, we ended up just relaxing and staying home for the weekend. That down time gave me a good chance to finish up my 'therapy' piece.
***
I've been wanting to use this title since I saw it way back in the spring of 2008, but then I got pregnant again, so I wanted to wait until I could include the new baby. As soon as I took this picture back in March I knew it would be perfect and I've been wanting to do this page since then, I'm glad I finally got a chance!
***
You can click on the picture to view it larger.


My journaling is hidden behind the picture - pull it out by the attached Cocoa Edge Anchor. It just talks about how many times someone tells me that I sure have my hands full, but I love every one of my kids and wouldn't change it for the world!


Products Used: Perfect Day paper, Fancy Cuts Botanicals, Field Trip Alphabet, Hodge Podge Alphabet, Cocoa and Juniper brads, Colonial White ribbon, Moon Doggie WOTG guide (left page).
***
I got a couple more pages done this weekend so be watching for more to be shared this week - it's good to be doing pages again!

Thursday, July 30, 2009

Mother/Daughter Play Time!

The girls invited some friends over to play last week, but Kaylee's friend wasn't able to come over, so her and I got to play instead. She wanted to stamp so I pulled out some of my pre-cut card kits from past workshops and she picked her favorite card to recreate. I taught her how to "stamp kiss" - she had fun! Here are the cards we created...


Here is the original card from the pre-cut kit - inspired by Lisa Stenz from a few years ago.


Here is Kaylee's card - besidespre-cut paper, she did it all herself!


And I still had some of my stuff out from my Monthly Word Puzzle Make-Up Workshop, so I took my page title idea from THIS workshop and turned it into this card.


Just click on the pictures to view them larger - thanks for looking!

Tuesday, June 9, 2009

Finally!

I haven't posted any layouts in almost two months - besides my Word Puzzle Workshop layouts, I haven't been doing many pages lately, I've had lots of other projects I've been doing instead. Trysten's Calendar is the only thing I've had a chance to work on for myself. I've been trying to get back on track, though - last year by this time I had already met my yearly goal - this year I only have 23 completed pages, so I'd better get busy!

***
Here are the pages (the only ones with pictures and journaling, that is) that I did back in May. I was originally going to do the Front & Center - Mosaic pattern from Reflections, but then I found this Level 1 page, so I combined the two ideas. I used the Rustic Numbers for the '3' and Hodge Podge Alphabet for the 'months old'. I used a Stickease for the tag and tied it all together with a bit of White Daisy RicRac ribbon. This one came together really fast - I am starting to like the Level 1 pages, as long as I have pictures that work with them! I love this Stardust paper - it's what I will be using through his entire calendar.

Then I got these ones done yesterday. I used another Level 1 page, so another quickie. I just added some Stickease to the corner, along with some Bigger Brads, and used the Solo 4 (clear embossed on the patterned paper) and Small Friendship Alphabet (embossed with Heavenly Blue EP) for the title.

Thanks for looking! If you missed them before and would like to see the other calendar pages I've done for Trysten, you can see them at the following links:

Birth Month

1 Month Old

2 Months Old

Wednesday, February 4, 2009

Fun with Floss!

Here are a couple of pages that I have done this week - both using embroidery floss.
***
For this first one, I used the Playful Flourishes stamp set to stamp the flourishes, then I used the piercing tool and then needle and Chocolate floss to make them pop.


For this second one, I just free-handed the dashes with my piercing tool and then stitched with Black floss. This is also this month's Reflection's Challenge - I just flipped the layout once, so it's not really a Sidebar, but that's where I got my original inspiration!


Tuesday, January 13, 2009

Mini Calendar

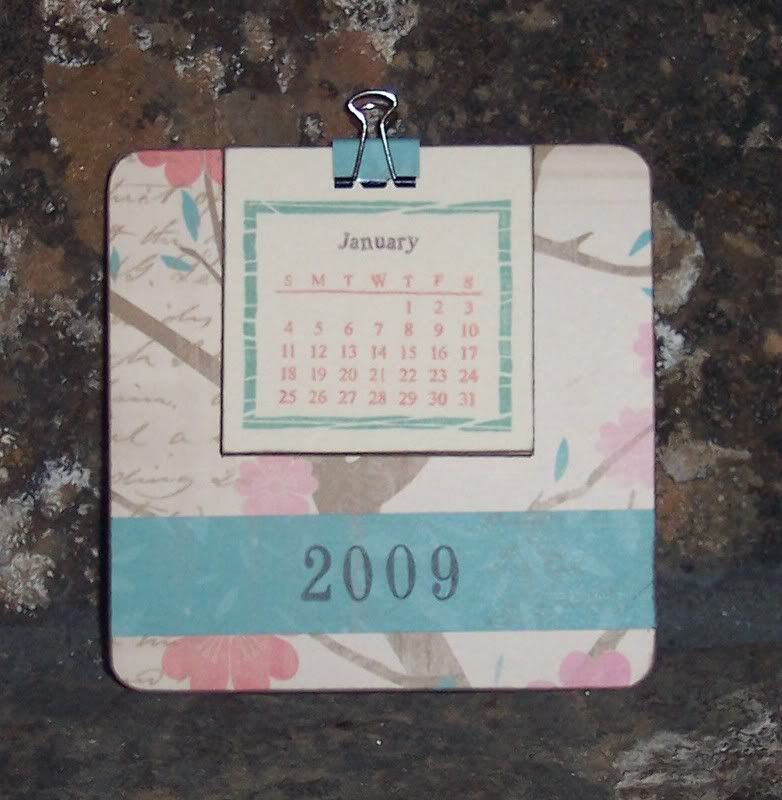
Here is the project that I made for my club that is meeting today - it's a mini calendar on a 4x4 coaster, using this month's Stamp of the Month, Moments in Time, and the NEW paper pack Unforgettable. I also used the numbers in the small Friendship Alphabet set for the year. There are six 2 1/4 x 2 1/4 squares for all of the months (one month on each side) and they can just pull it out when that month is over. These were inspired by those mini calendars that you get from various businesses each year. The clip that holds the months on also serves as a hanger.
Thanks for looking!

Saturday, December 27, 2008

Baby Calendar

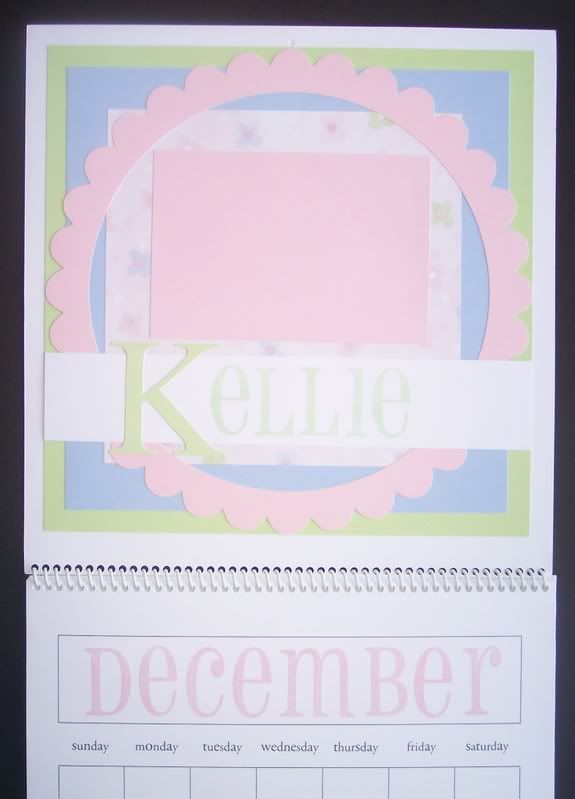
My dear friend (pictured here with our baby bumps) had her baby a couple weeks ago - here is the gift that I made for her. It's a calendar to capture baby's first year. I've bought one for each of my girls when they were babies, but never thought of making one until now. The only thing I didn't think about before I started is that is has to be a 13 month calendar in order to get the full year, so I had to un-bind it and add an extra calendar page and then re-bind it. I worked each page around the Dazzling Die-Cuts (Spring Harmony collection) and used just three different sets of papers from CTMH, Heaven Sent (retired), Sweet Harmony, and Sweet Pea. When she is done with the calendar, she can either leave it as is, or cut each page out and it will fit in a 12x12 album.
***
Level 1 Page from Heaven Sent
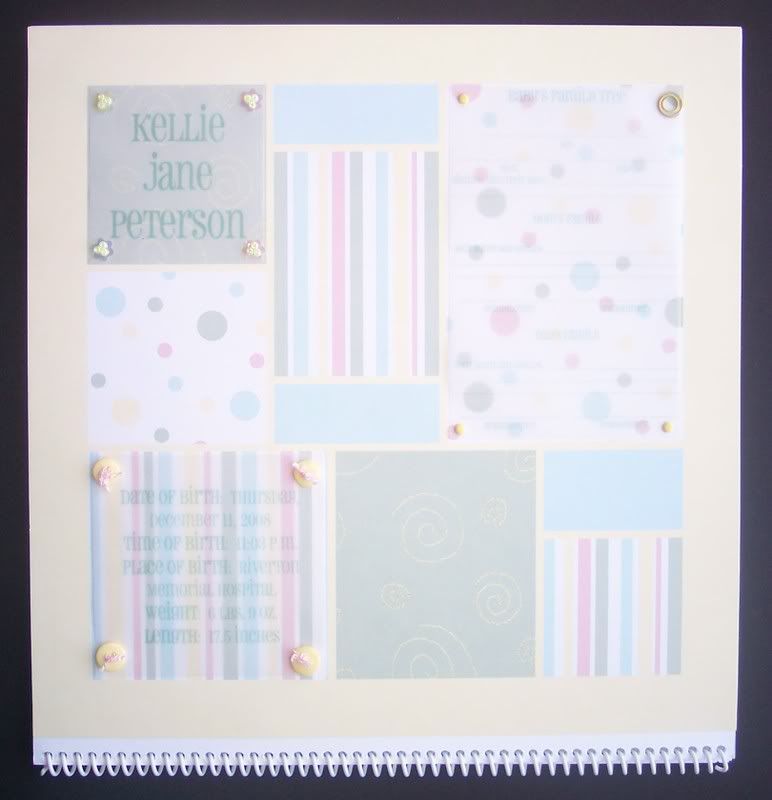
The front of the calendar has her name, birth info, and space for a small family tree.
Cherish - A New Perspective - left

Cherish - Color Celebration - right
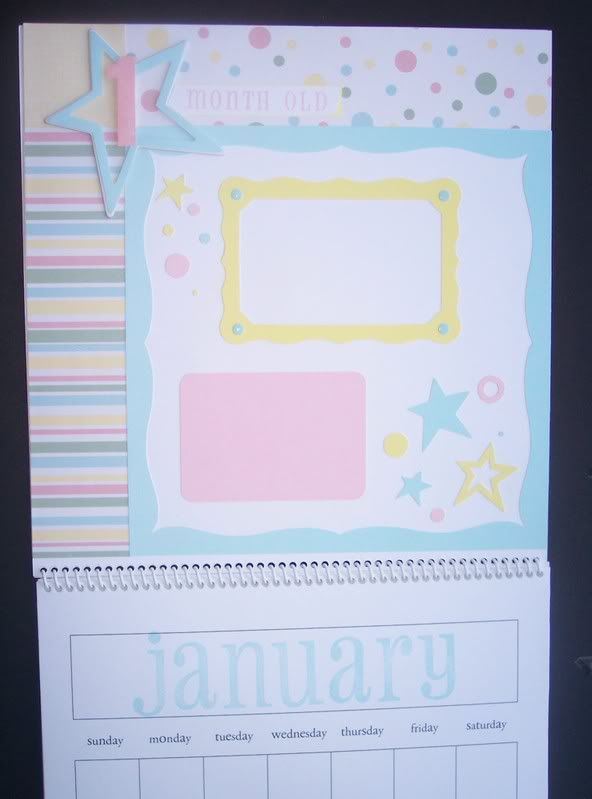
Imagine - Safe & Secure - right
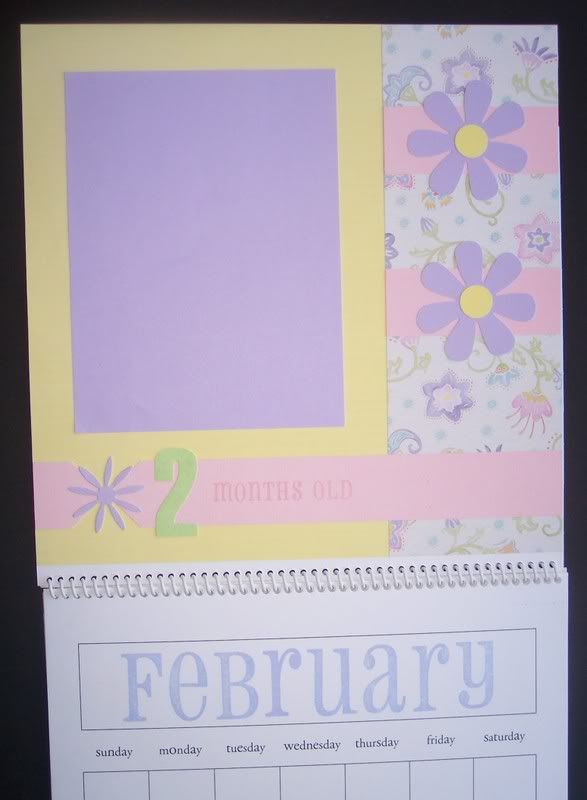
Imagine - Classical Look - left
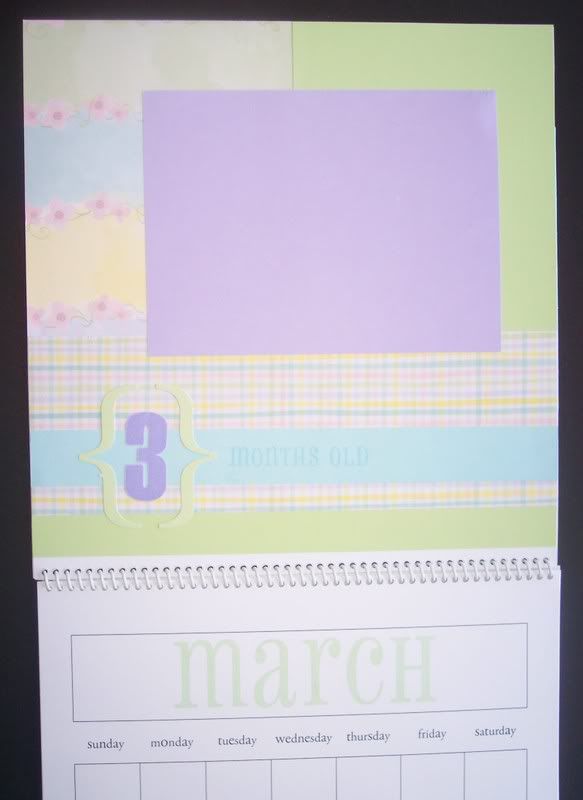
Reflections - Main Frame - Four Square
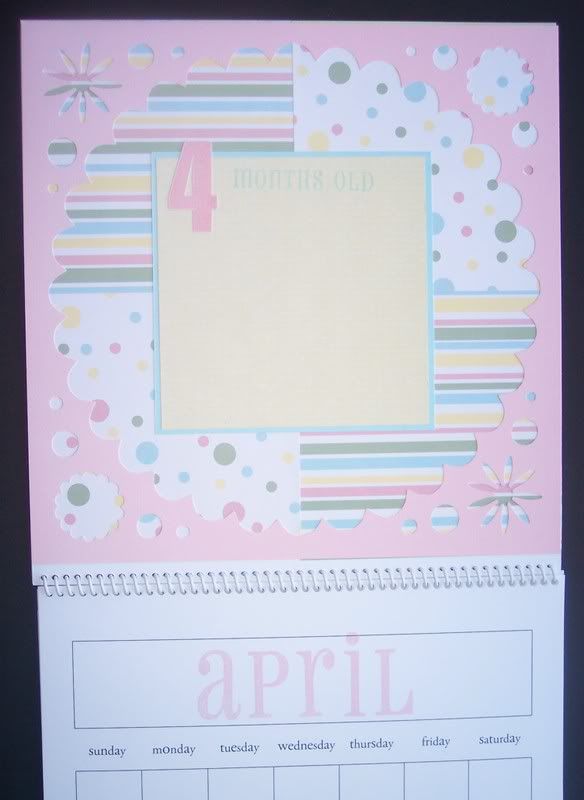
Reflections - Main Frame - Tied Up
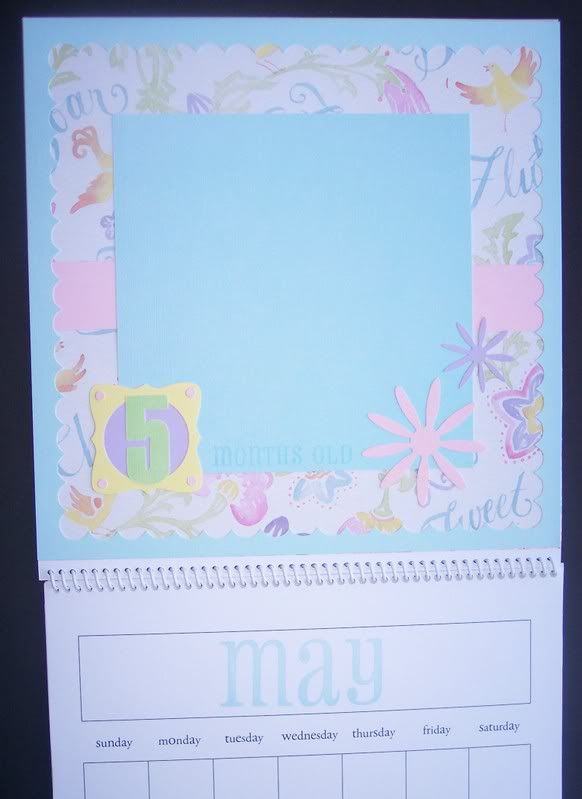
Cherish - Give Me Ten - left
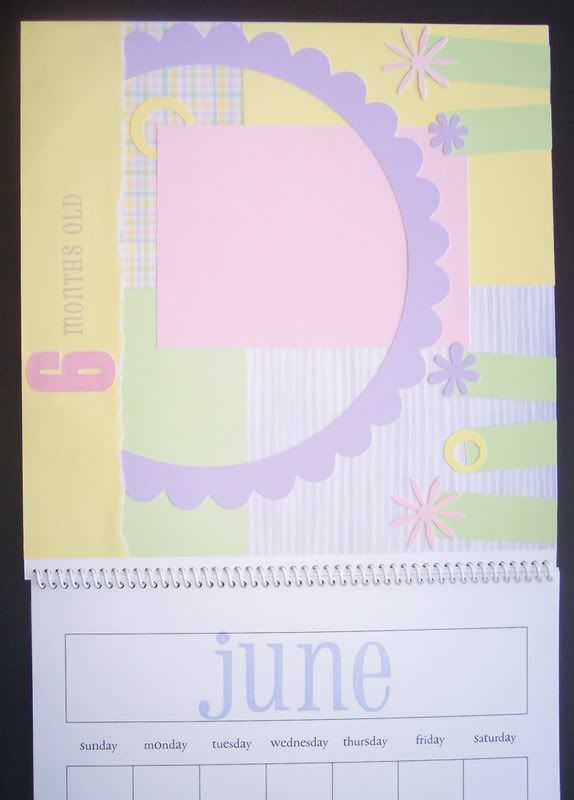
PageMaps - April 2008 MiniMap - I copied this layout here
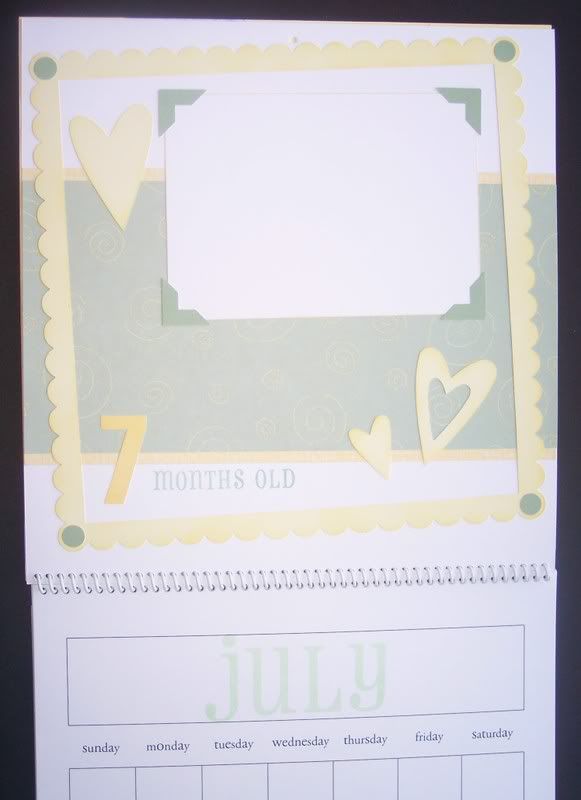
Imagine - In the Groove - left
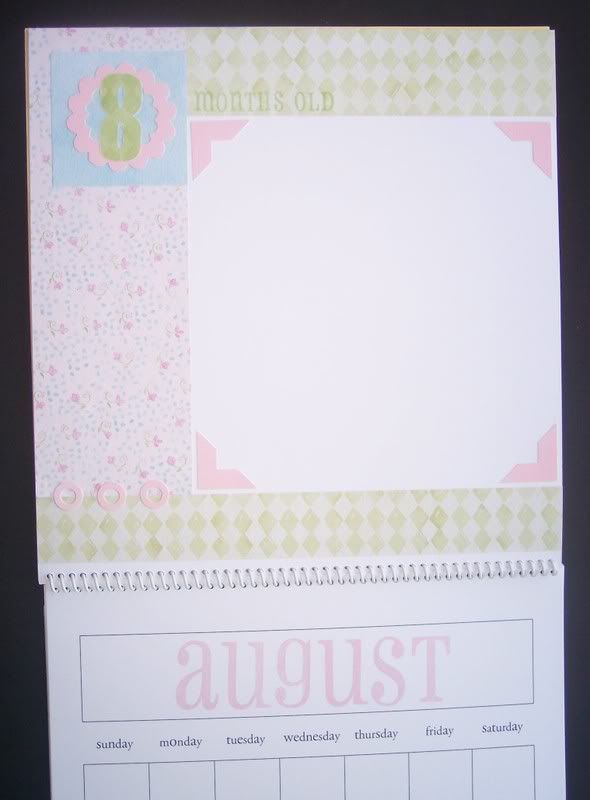
Reflections - Front & Center - Main Idea
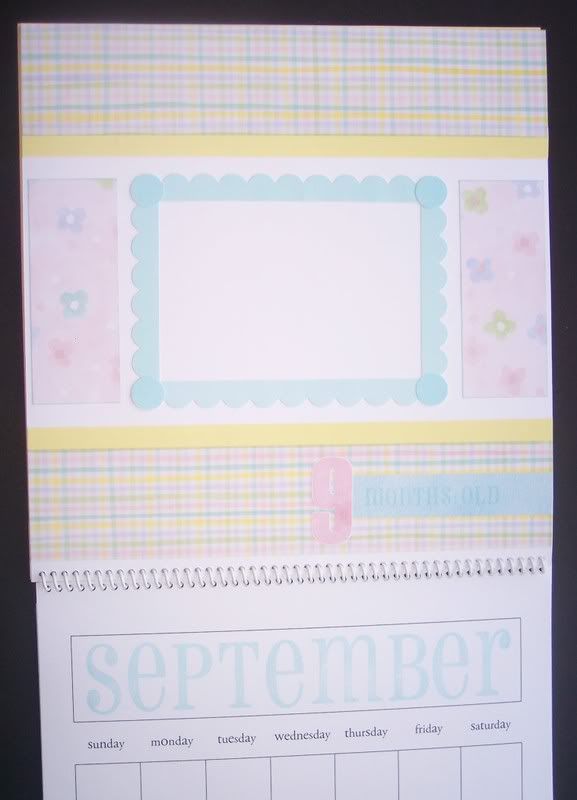
Imagine - Proof Preview - left
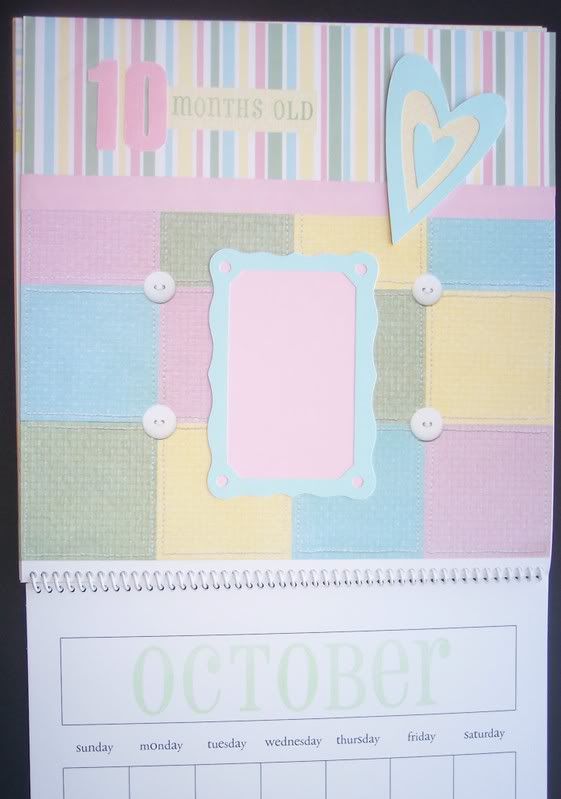
Cherish - Unified Whole - left
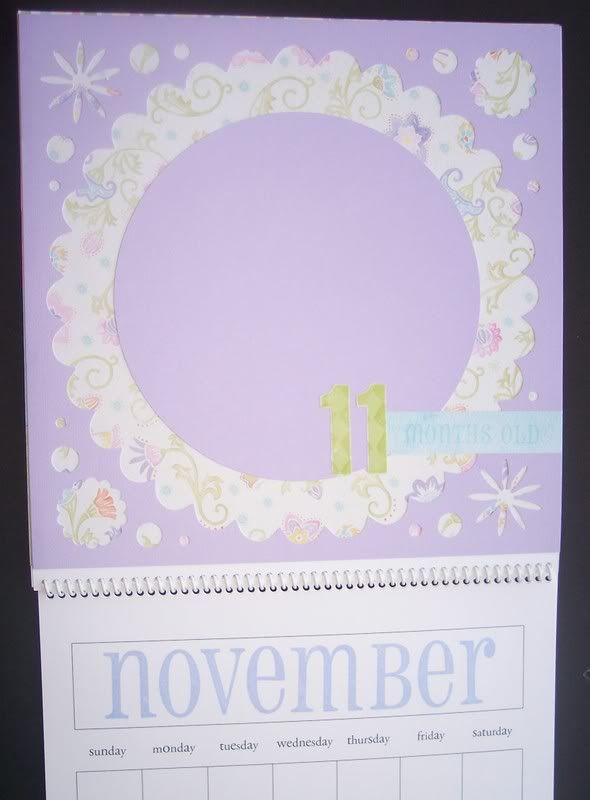
Cherish - Graphic Texture - right
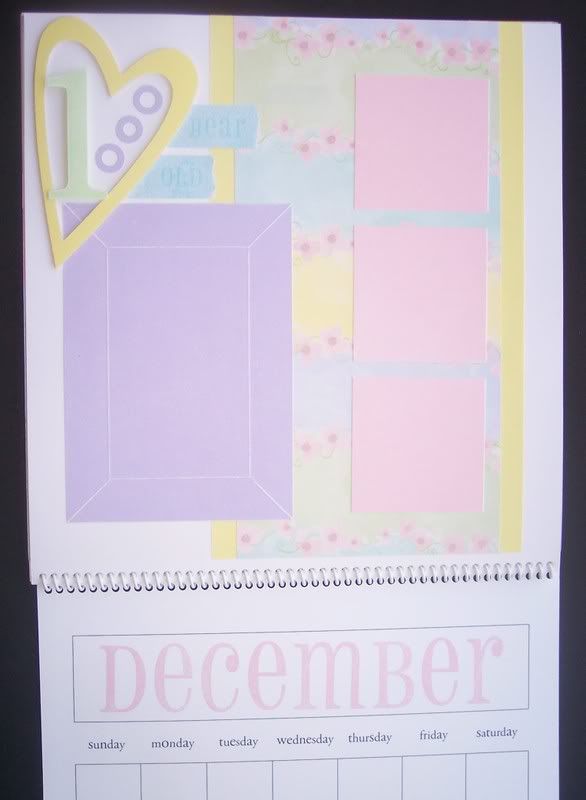
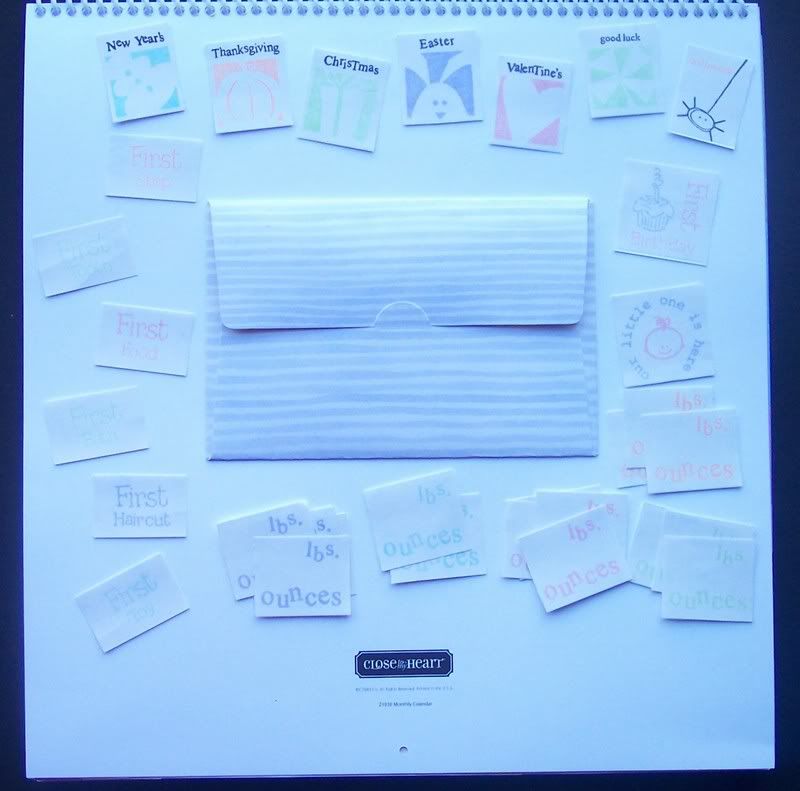
On the back of the calendar there is an envelope with the different stickers to mark milestones, growth, and other important dates.