Tuesday, May 24, 2011

Wings and Wishes

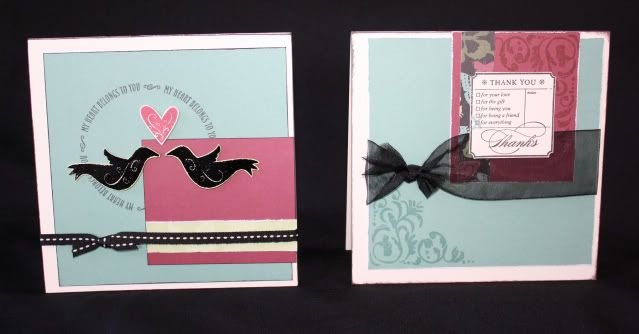
I LOVE the card workshops in the Wishes How-To Book.  I've also really enjoyed playing with the Wings paper - watch for more posts with this paper coming up!  I finished putting this set together a couple of weeks ago, I'm finally getting around to sharing it.  Using the Celebration Card Workshop cutting guide and just 2 patterned papers, 2 cardstock papers, plus 6 more cardstocks for the card bases, I was able to create 12 cards (2 each of 6 different patterns)!  I love how they turned out - now I just need to find some 6x6 envelopes!  Here is the entire set:
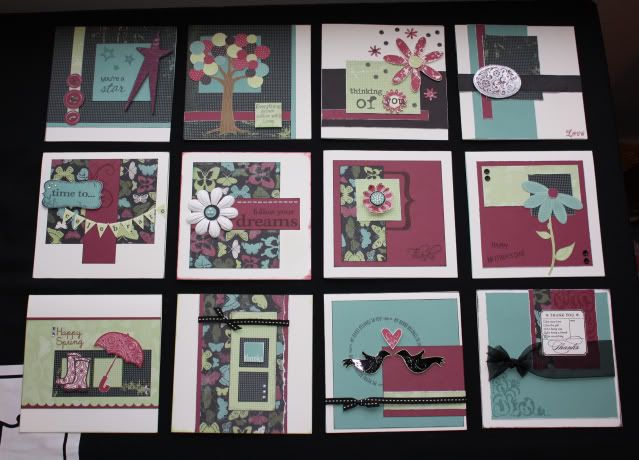
Here are the cards - notice how I either used the opposite side of the paper or rotated the card and used different stamps to get a completely different look from each card pattern.
Card 1
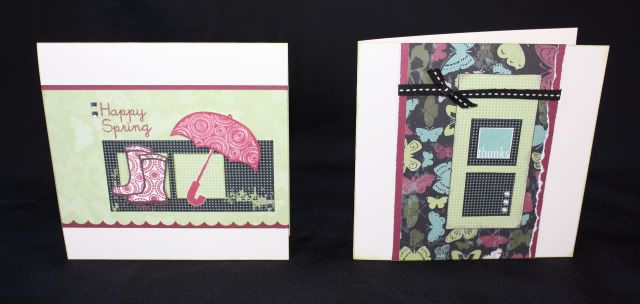
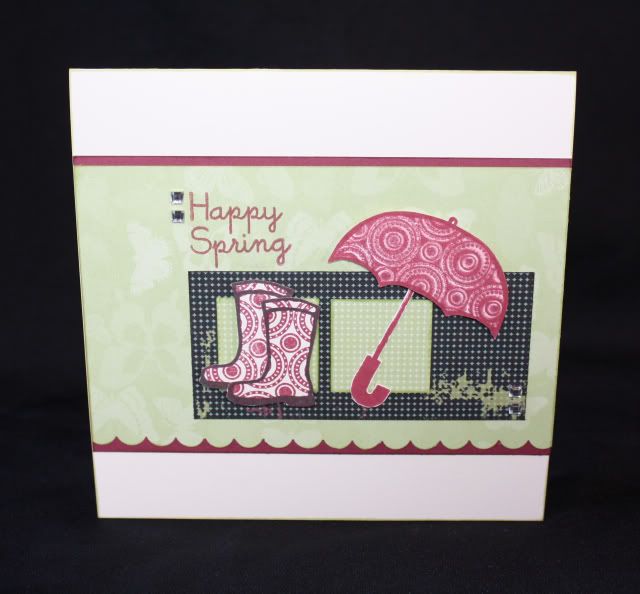
Supplies used on the following card: Springtime stamp set, retired Spot On Backgrounds stamp set, Sparkles, and a scallop border punch.  I used the stamp kissing technique on the umbrella using the Spot On Background stamp, and I used the same stamp to directly stamp the pattern on the boots - I love the different look it gave.
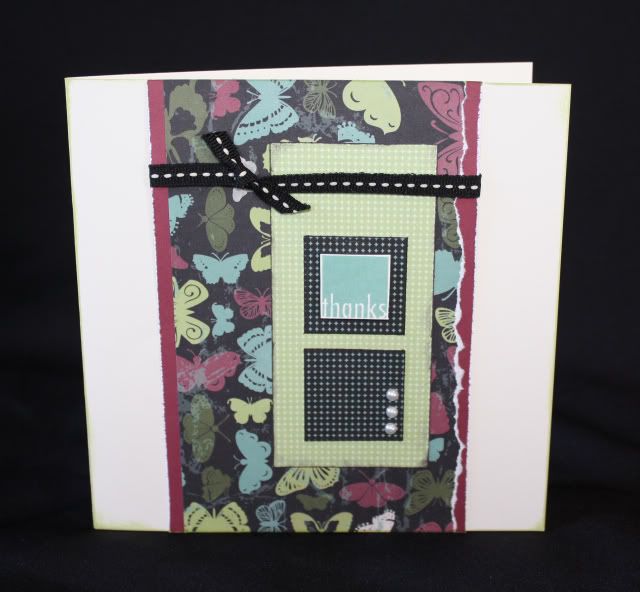
Supplies used on the following card: Thank You stamp set, Black stitched ribbon, Opaque Pearls.
Card 2
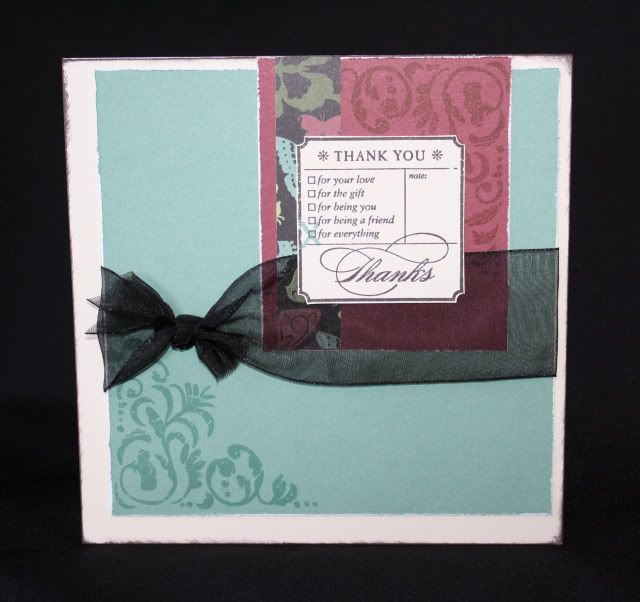
Supplies used on the following card: retired Legendary Moments stamp set, retired Cherish the Moment stamp set, and wide organdy ribbon that I had in my scrap stash
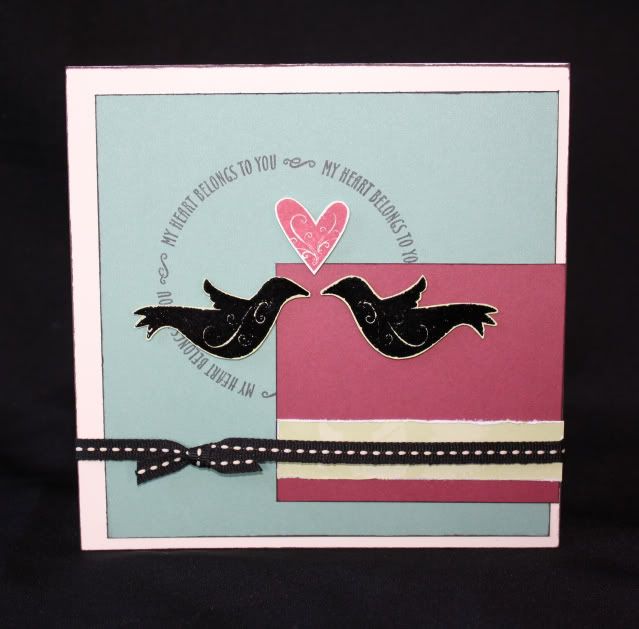
Supplies used on the following card: retired Free Spirit stamp set, Black embossing powder, retired Vineyard Berry embossing powder, Black stitched ribbon
Card 3
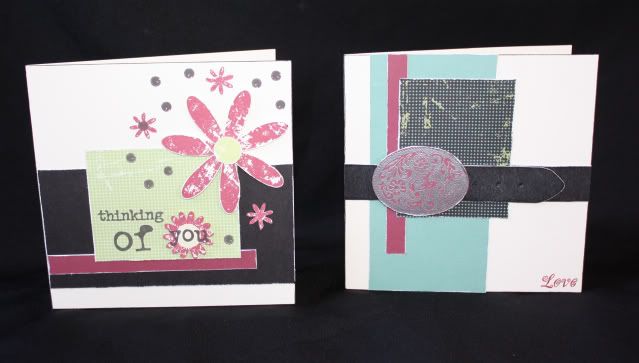
Supplies used on the following card: retired Rustic Flowers stamp set.
I'm not too fond of this card - I think I went a little overboard stamping the dots ;-P
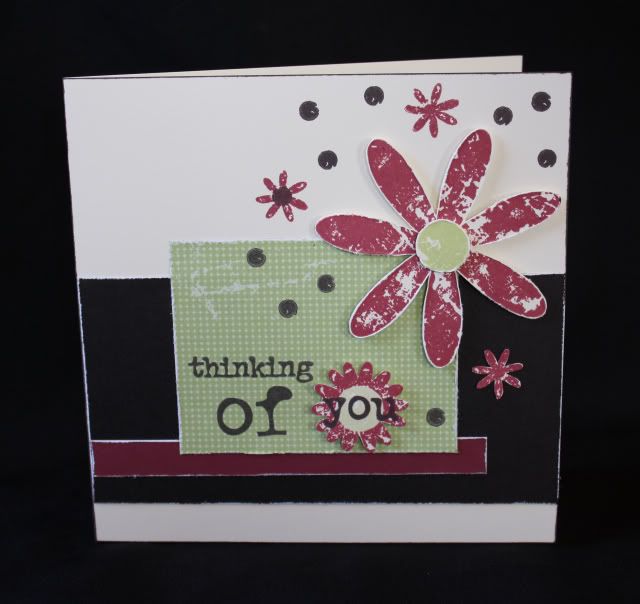
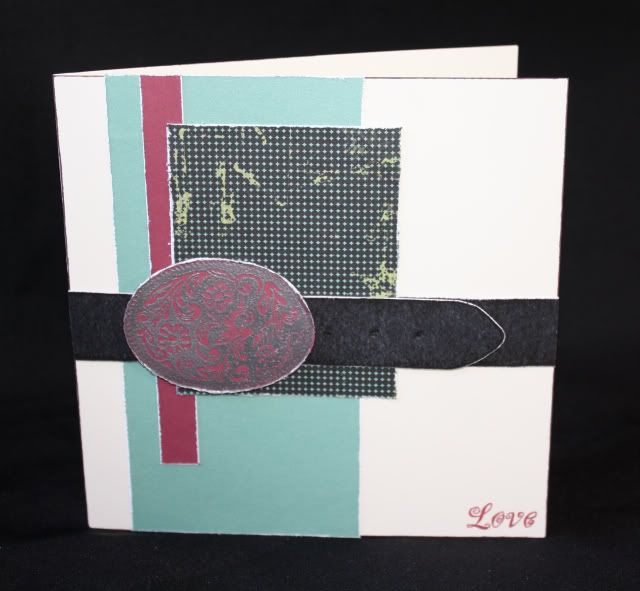
Supplies used on the following card: retired Lovely Buckles stamp set, silver embossing powder to emboss the buckle on Vineyard Berry paper
Card 4
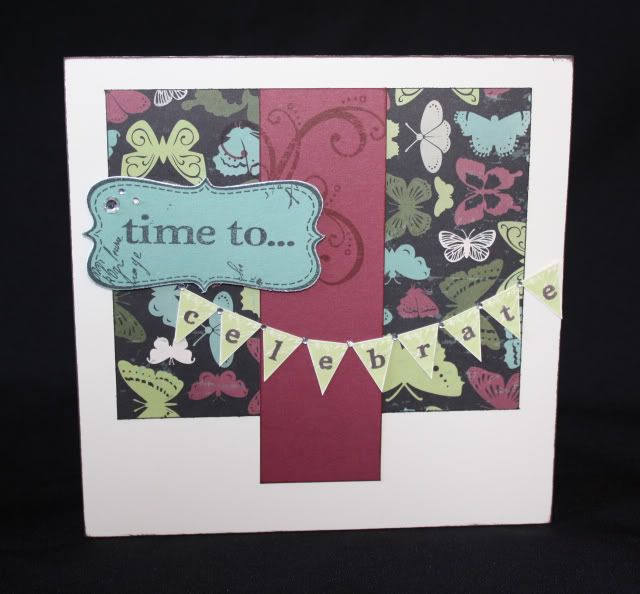
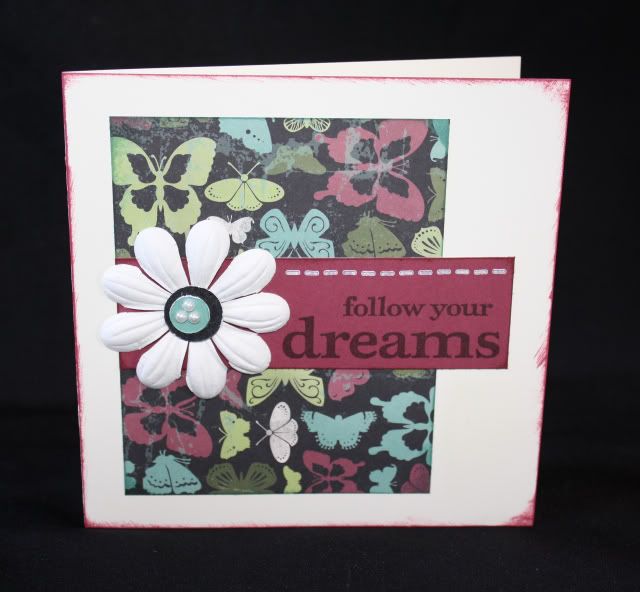
I think these two are my favorite from the entire set - I just love this stamp set that comes with the You & Me kit that's the special for this month - I love the stitches, flourish, and pennant stamps the most!
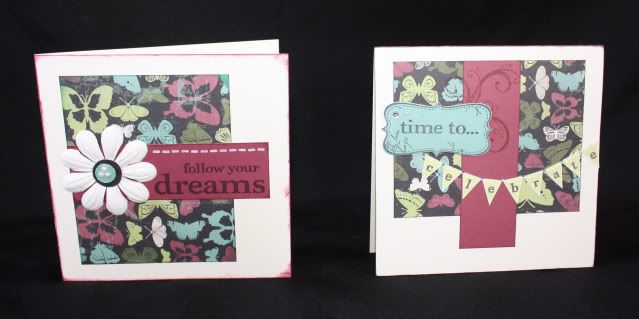
Supplies used on the following card: You & Me stamp set, Colonial White ink for the stitches, paper flower, Opaques pearls
Supplies used on the following card: You & Me stamp set and Sparkles

Card 5
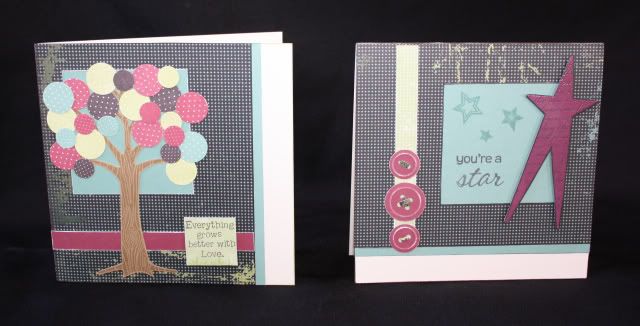
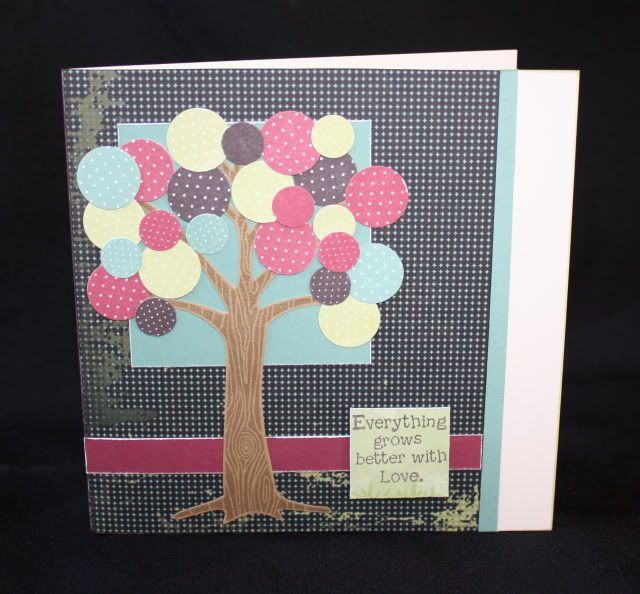
Supplies used on the following card: Grown With Love stamp set, circle punches -I  added some Desert Sand ink to the color combo for the tree.
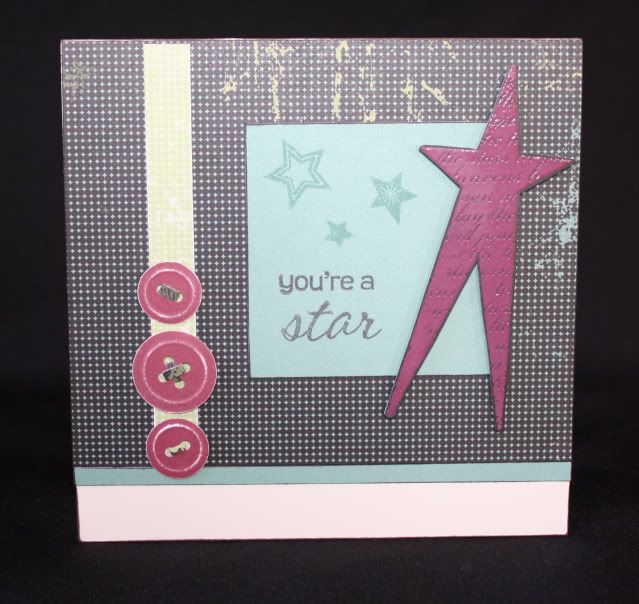
Supplies used on the following card: Shining Star stamp set, button punch with paper strips in the button holes, and retired Vineyard Berry embossing powder to emboss the star on black paper.
Card 6
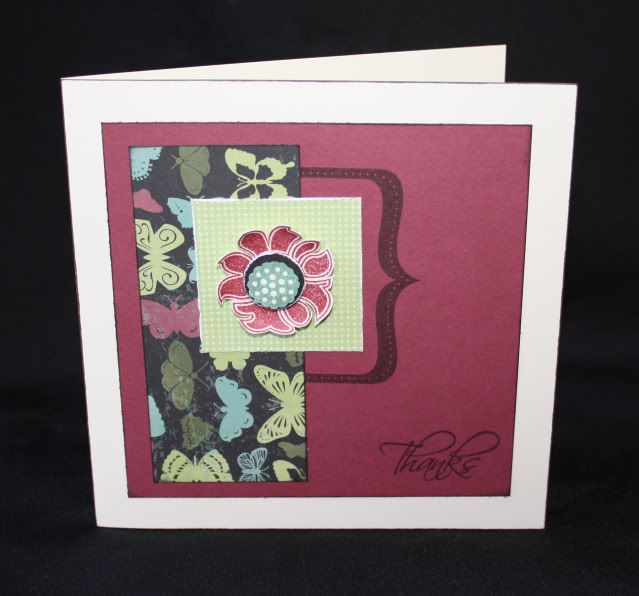
Supplies used on the following card: Love This stamp set (it was good to finally ink this set up, this stamp was part of a special last year and around the time we moved and I never got a chance to play with it until now) - I also used the For Every Occasion stamp set 
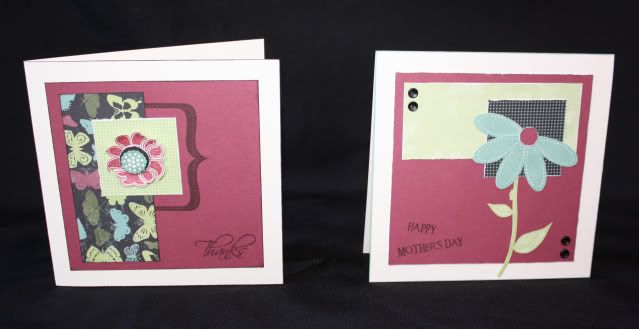
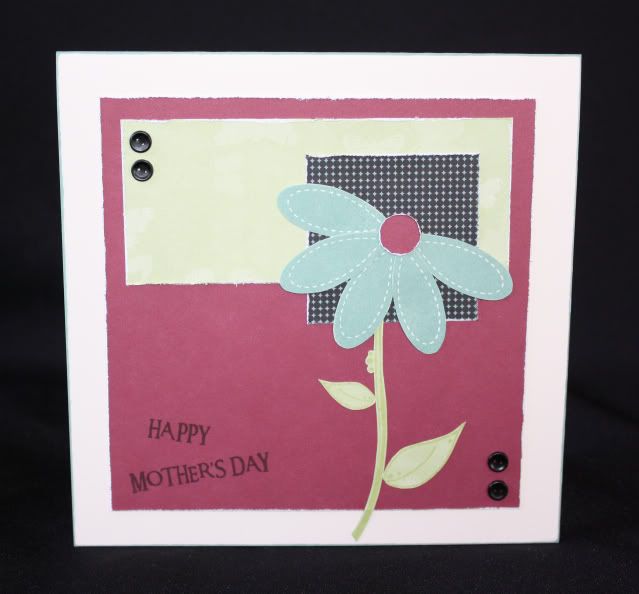
Supplies used on the following card: retired Playful Petals stamp set, Friendship Blessings stamp set for the stem and leaves, Say It In Style stamp set for the sentiment, and black button brads.
Which one is your favorite?
***
Whew, that was a lot - if you're still with me, thanks for visiting!

Friday, May 20, 2011

Soccer Stars

The girls had their last soccer game this week - we (meaning David) were their coaches this year.  We had an end of season pizza party last night and I gave the kids a little gift.  I found these frames on clearance and thought it would be fun to give them with a team and individual picture.  It ended up a bigger project than I anticipated mostly because I didn't like the original mat that came in the frame, and of course since I can't leave anything as is ;-)  I like how they turned out and the kids and the parents seemed to enjoy them, too, so that made it worth it!
This is what the original mat looked like - the white mat would have been okay, but I didn't like the gold border, it just didn't go with the pictures.  Plus, the oval opening on the original mats ended up being too big for the wallet pictures I had printed for their individual shot.  I cut the new mats out of black cardstock.

Here is a close-up of the ones for my girls.  For the individual shot, I cut the oval opening using my Coluzzle, then I cut an oval mat and punched stars out of Sunflower cardstock.  For the team pic, you can't see it in this picture, but I dry embossed an 1/8" border.  I used my Star Nestabilities to cut Black and Sunflower stars, and I used the retired Play Ball stamp set for the soccer ball.  I used Black Waxy Flax and Yellow Embroidery floss for the fibers behind the soccer ball and stars.
Here are some pics from their soccer season - I'm glad they were on the same team again this year, it sure made it easy - next year they will be in different levels again.
Kaylee always had her tongue out when she was concentrating ;-P
I'm not exactly sure what she's laughing at here but I just love it!

I love this one of Brianna heading towards the ball
They ran a LOT - and we actually had the biggest team which left us with one kid who could sit on the sidelines, and sometimes we had to give up one of our kids to the other team so they could have enough.  The kids were good sports about it all though.  Here is Brianna taking a rare break...
...and Kaylee...
Brailee and Trysten enjoyed soccer, too.  Trysten tried running out on the field a couple of times when David and I were so caught up in the action - he'd see his sisters and suddenly want to join them or give them a hug.
Brailee had fun running around and exploring with new friends.
Next is baseball/softball season!  Fun, fun!

Wednesday, May 18, 2011

Teacher Appreciation

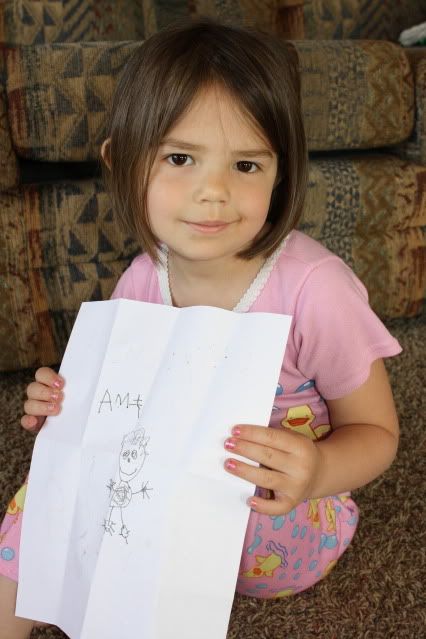
Here is what the girls made for their teachers during Teacher Appreciation week.  Brailee drew a picture - here she is still in her jammies and hair not brushed ;-)
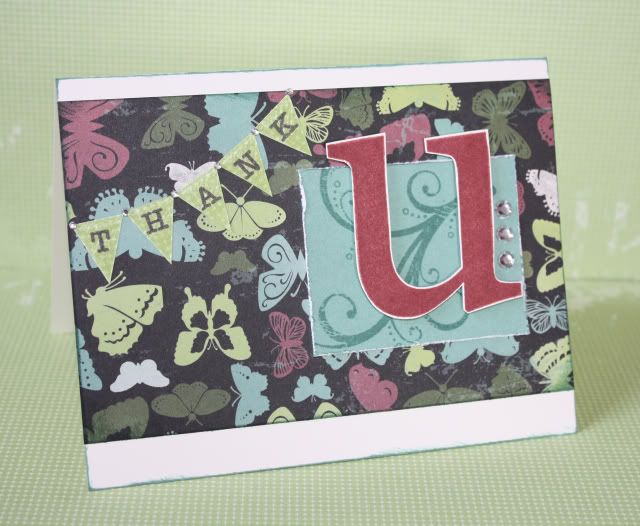
This is the card I made for Amy, who is Brailee and Trysten's preschool teacher - we love her!  I used the Wings paper pack, You & Me stamp set for the flourish and pennants, Solo U and Tiny Typewriter stamp sets for the letters on the banner.  I finished it off with some Sparkles.
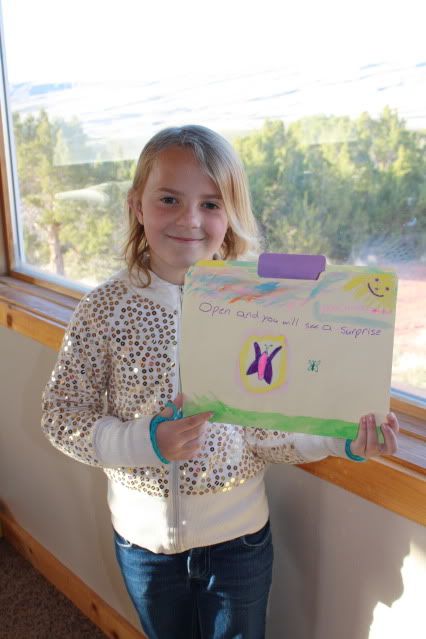
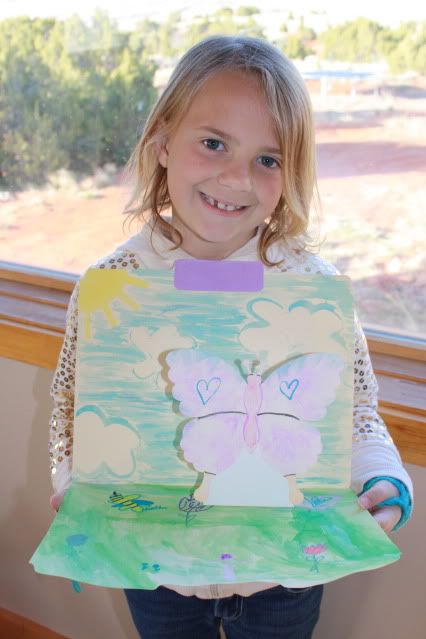
Brianna's teacher loves purple and butterflies so Brianna is always coming up with something along those lines.  She loves to do 3D projects with the butterflies - for Valentines she found a fun pop up/easel card idea that we incorporated (wish I'd taken a picture!), and here we did a different pop up project.  Her teacher had cleaned out her closet that week and given various leftover supplies to her students - Brianna got this folio and a butterfly cut-out.  So Brianna decorated both and put them together to create this:

Her teacher liked it so much she wants to put it in the fair.

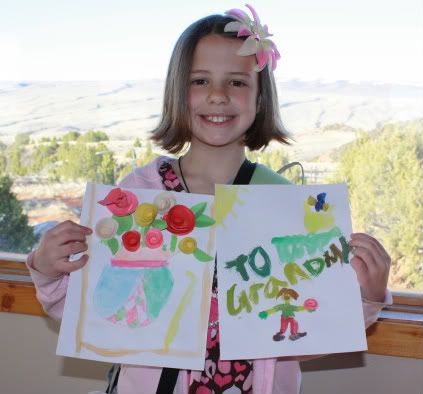
Kaylee made some paper flowers for her teacher and their 'Grandma' helper.  They loved her flowers so much that she got to teach her class how to make them!
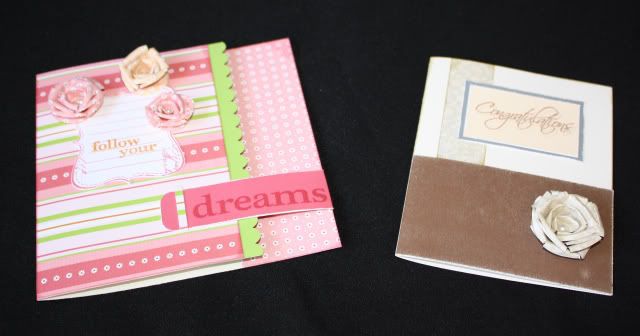
Kaylee was inspired by these cards that I was making that week - we love making these paper flowers!  The card on the left uses the Sophia papers, You & Me stamp set, Opaque Pearls, and Designer Tab card pattern from Wishes.  The card on the right uses the Bliss papers, For Every Occassion stamp set, and I have since changed out the Opaque Pearl gem in the center of the flower for a brown one from the Mocha assortment for more contrast (I just couldn't find my Mocha ones when I first created my cards).  I used the Upper Level Focus card pattern from Originals.
Thanks for looking!

Monday, May 16, 2011

Busy little jBee!

Okay, so it's been a couple of weeks since my last post - I've been super busy and hopefully I'll get a chance to share all the fun things we've been up to.  I do have a couple of Top Secret Projects that I've completed and am in the process of working on, but I will be able to share those within the next couple of months!
***
For starters, I'm going to share a layout that I started back in February - I would have completed it if I'd just had the pictures but I didn't get those printed and picked up until the weekend of Mother's Day (I took them in March), but it's finally done!  Thanks to my mom for editing my photos for me and getting them just right - which included completely blacking out the background that my black tablecloth didn't cover, and swapping faces to get all of them smiling in one picture - I really need to get Photoshop and learn how to use it! 
***
This was my first layout from the newest Magic How-To Book from Close To My Heart - this one, called On With The Show, has been a favorite of mine every time I looked through the book.  I used the Spray Pen and masking technique in place of some of the paper pieces - I really love the look it gave, plus I saved on paper!  Here is a picture of the base page after spraying with the Spray Pen - filled with Tulip re-inker, water, and a drop of Pearl Paint.  I haven't played with my Spray Pen since I did this back in February, I really should get it out and play around some more with it, it's so much fun!
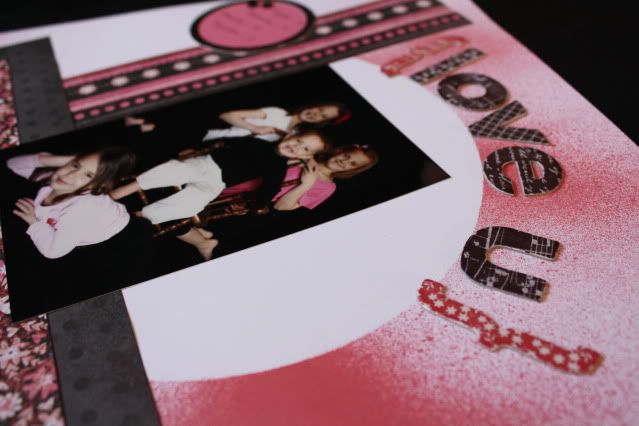
Here is the final layout with paper, accessories, and pictures added.  I choose the Sweetheart papers because I wanted to do something around the Valentine/love theme and these colors were perfect.  I also used the Sweetheart Level 2 Assortment, Black Button Brads from the Mini-Medley Accents Black Collection, and Irresistibles™ Eclectic Chipboard Die-Cuts inked with Black and Cotton Candy ink.


BTW - this is the first Traditional scrapbook page that I've done since we moved and it feels so good!  I've done TONS of cards and lots of Studio J lately, but I will never give up this kind of scrappin' and I loved getting back into it again!
Thanks for visiting!