Showing posts with label Rustic Numbers. Show all posts

Tuesday, April 13, 2010

10 Months Old - Challenge #115

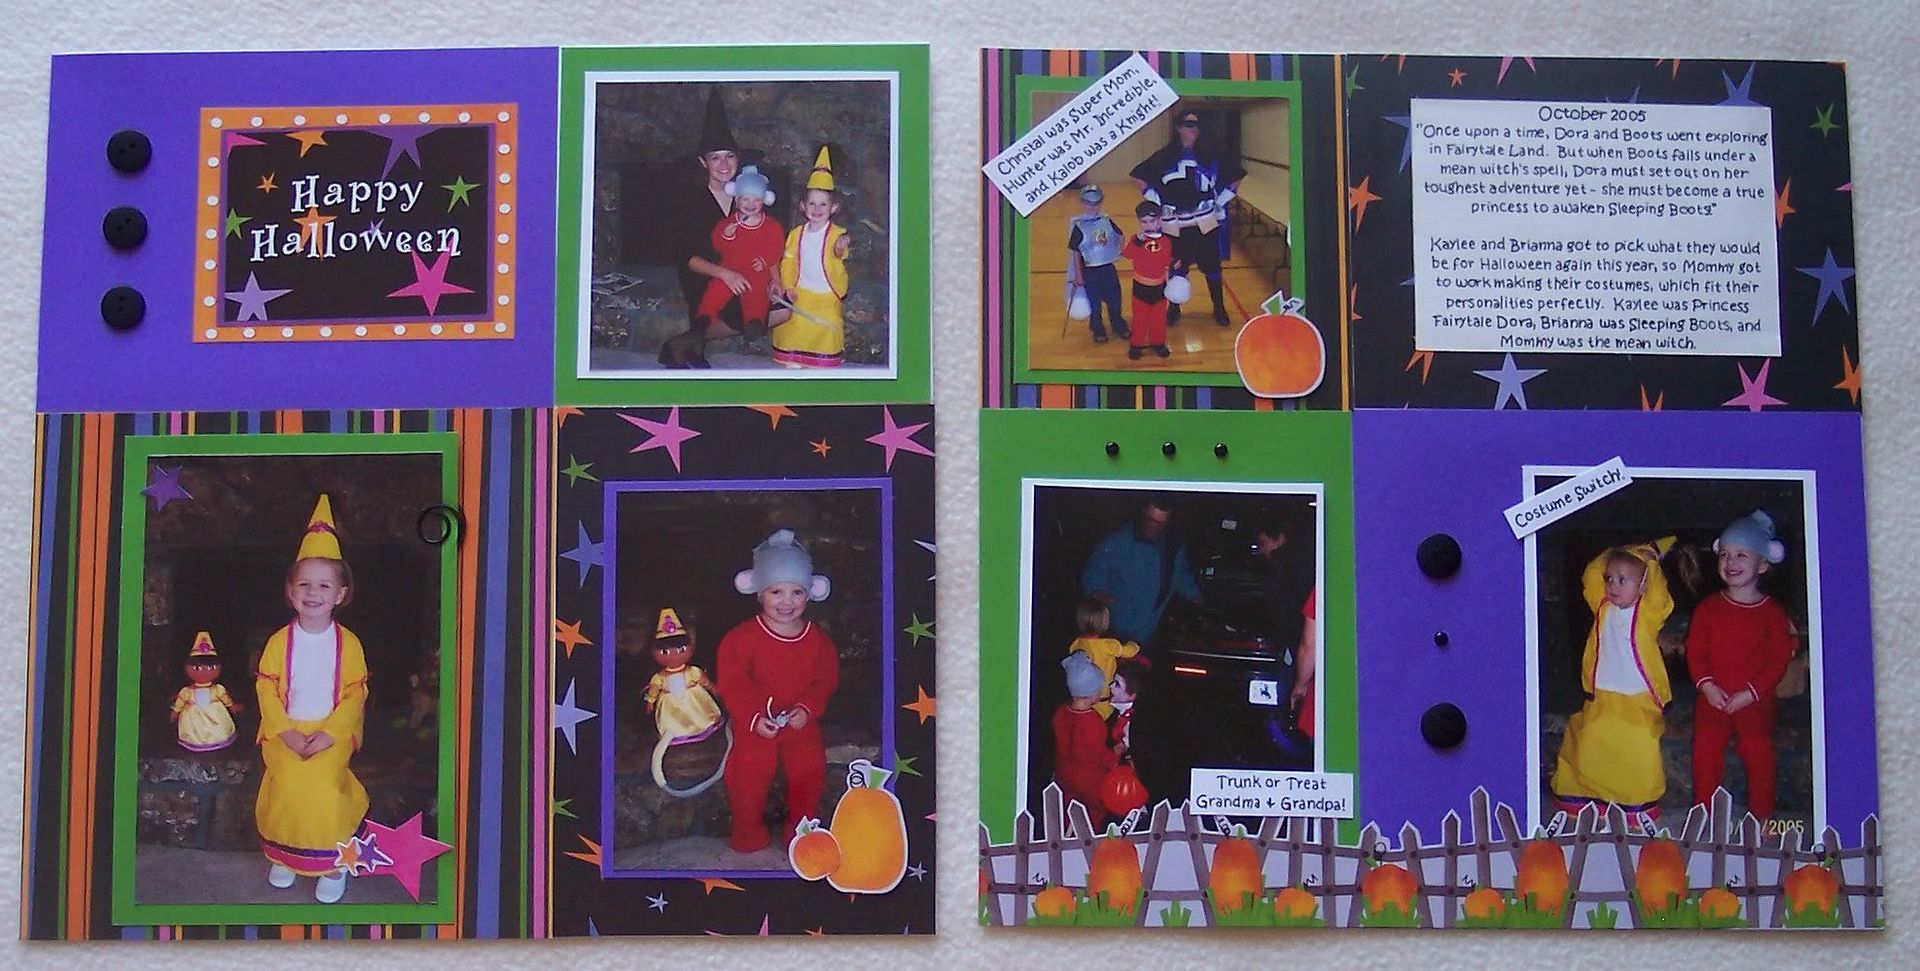
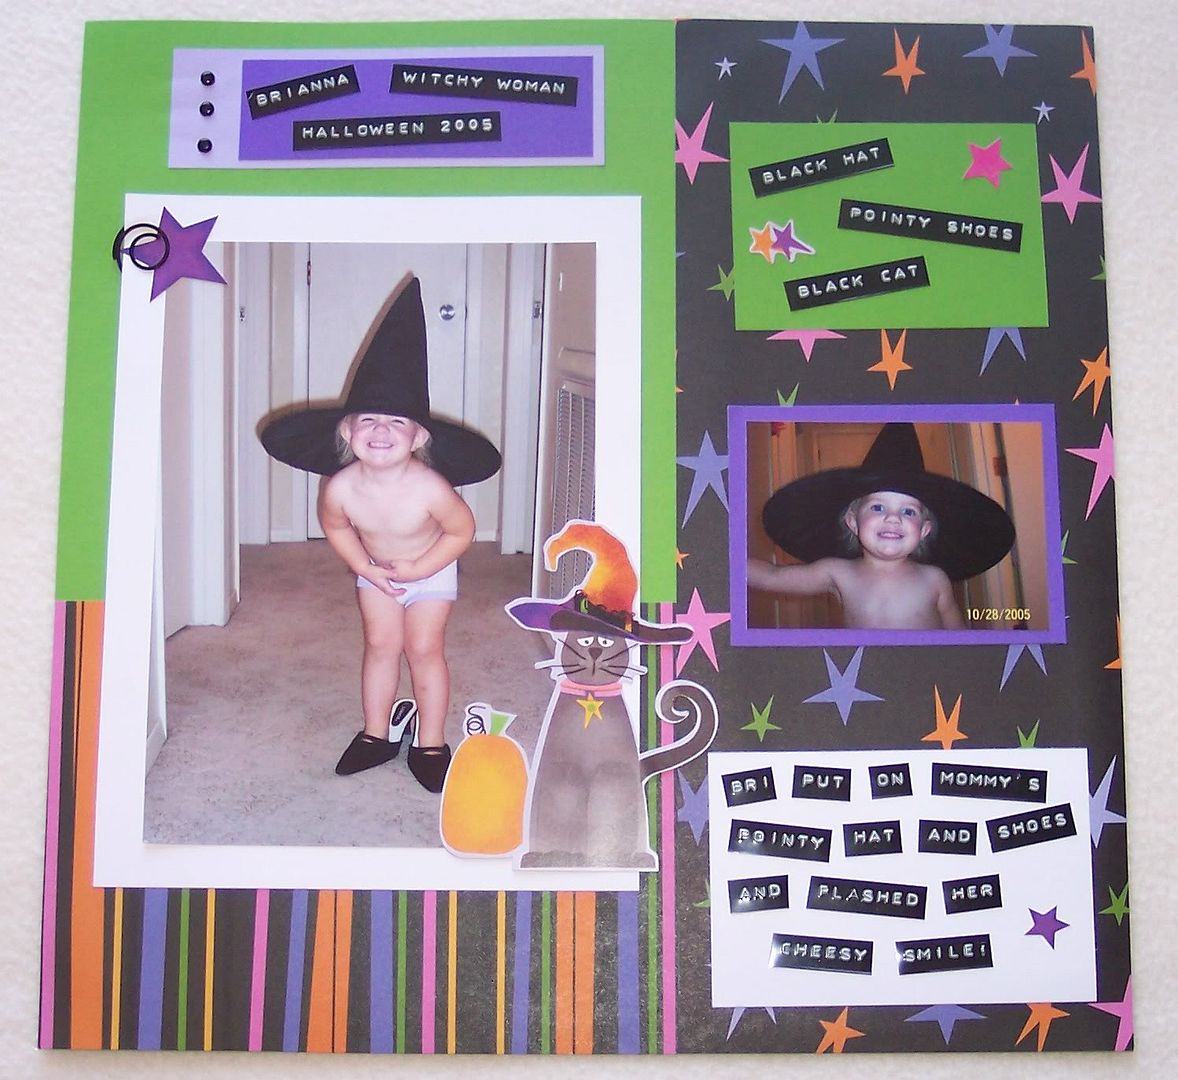
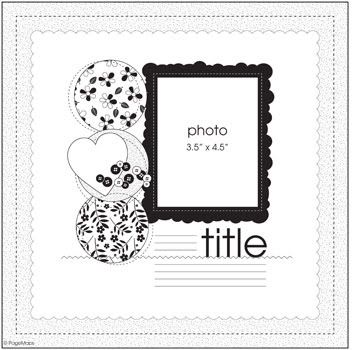
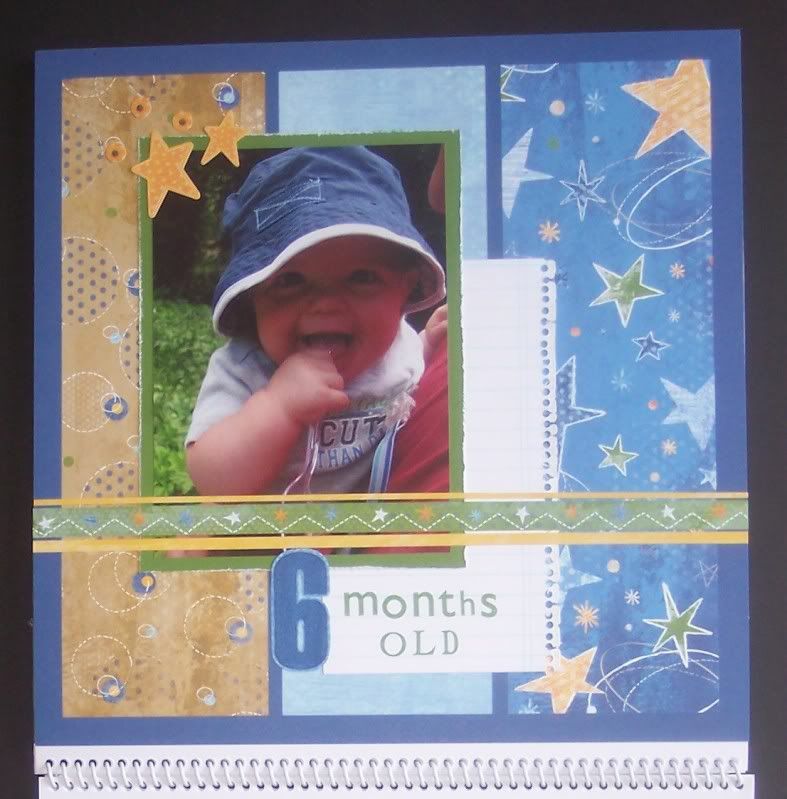
This week's challenge over at Sketches! {by tamara} is a recipe challenge from Janine. Use the following items on your project:

*Brads
*Buttons
*Color Blue
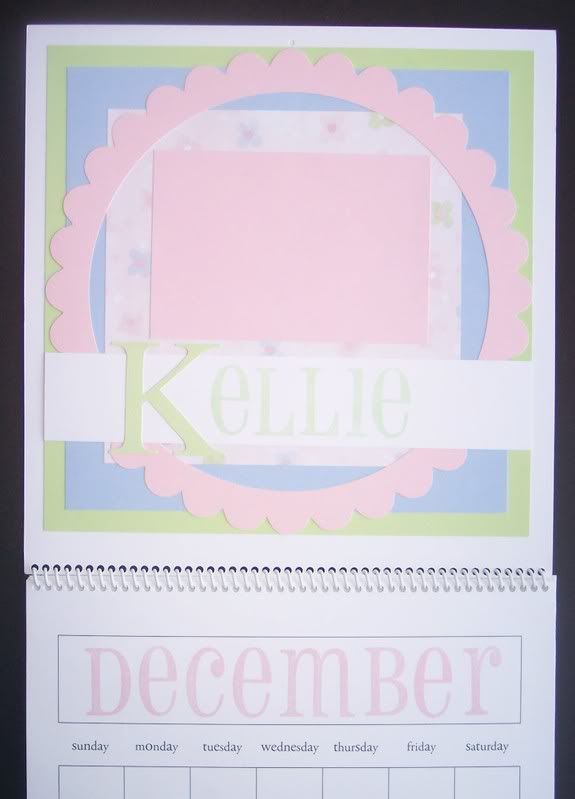
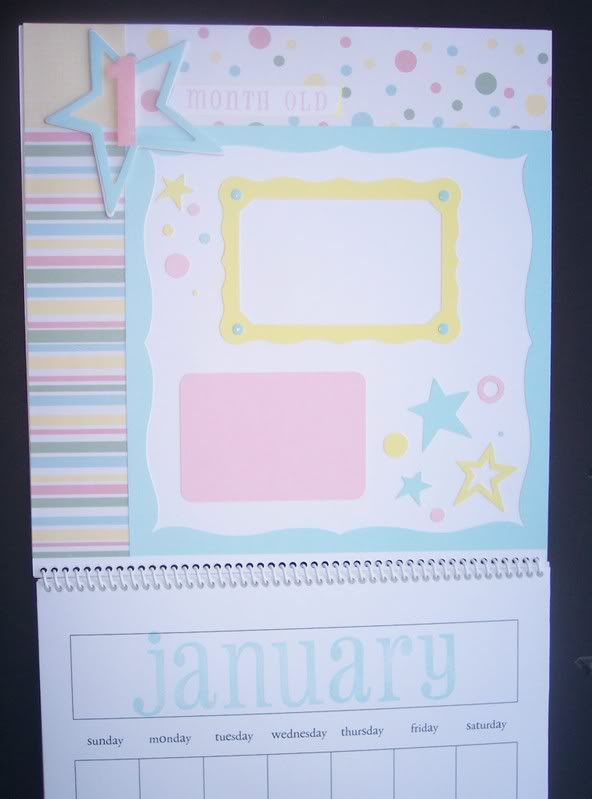
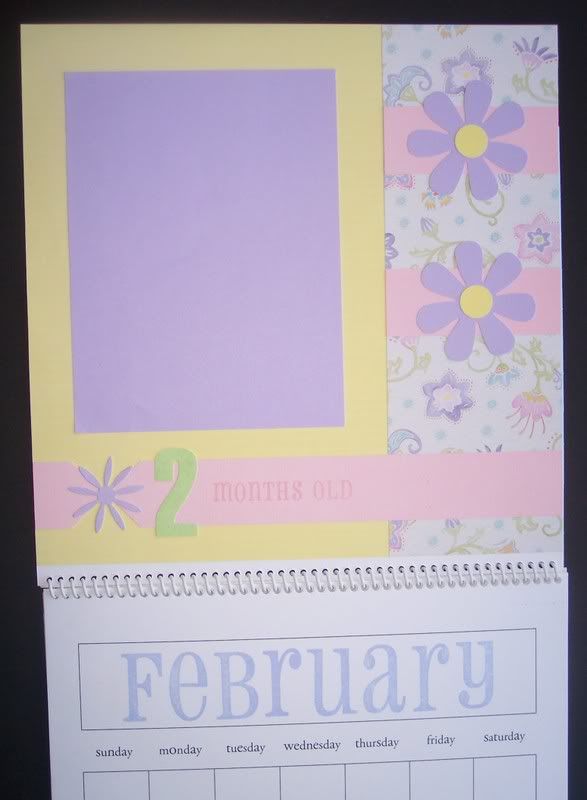
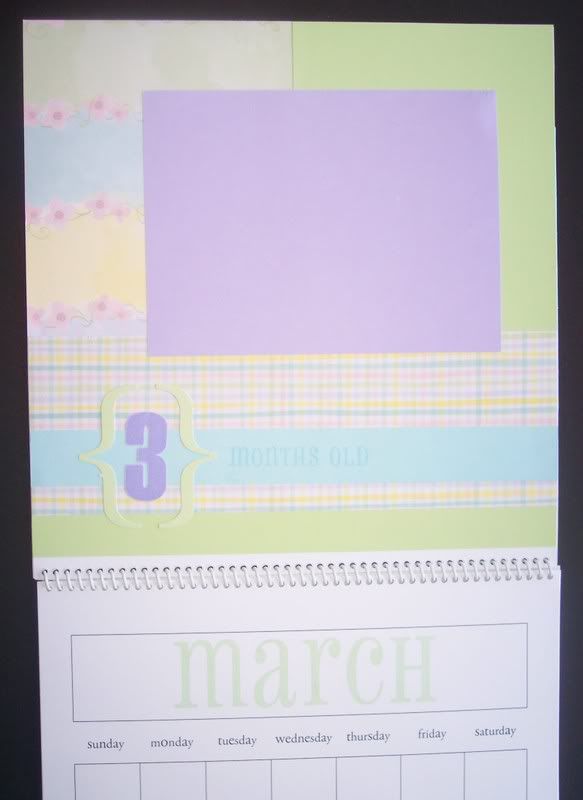
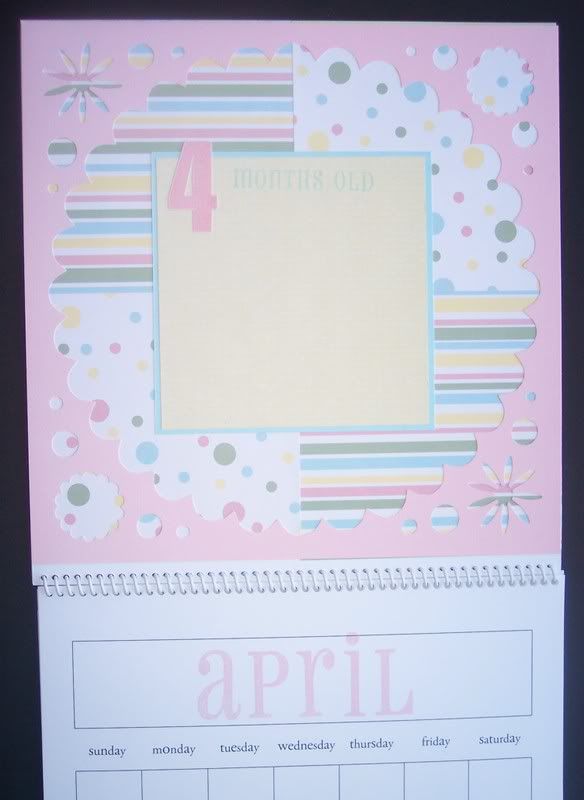
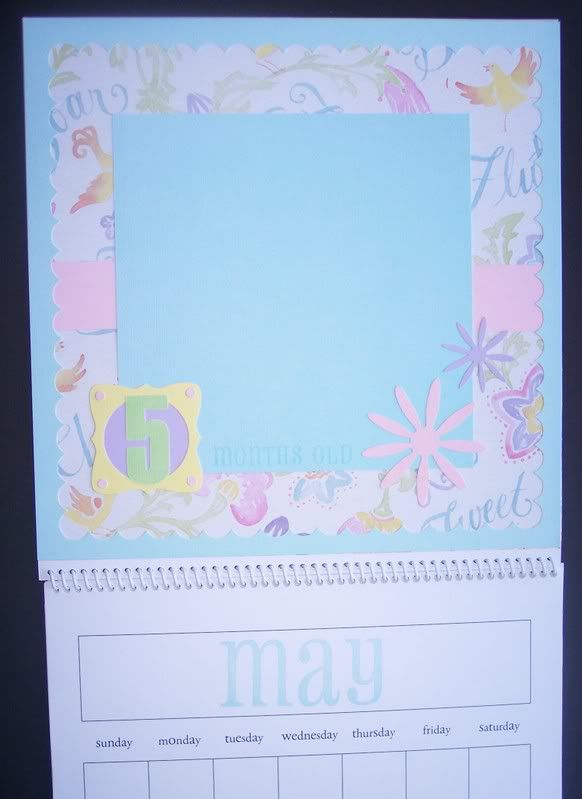
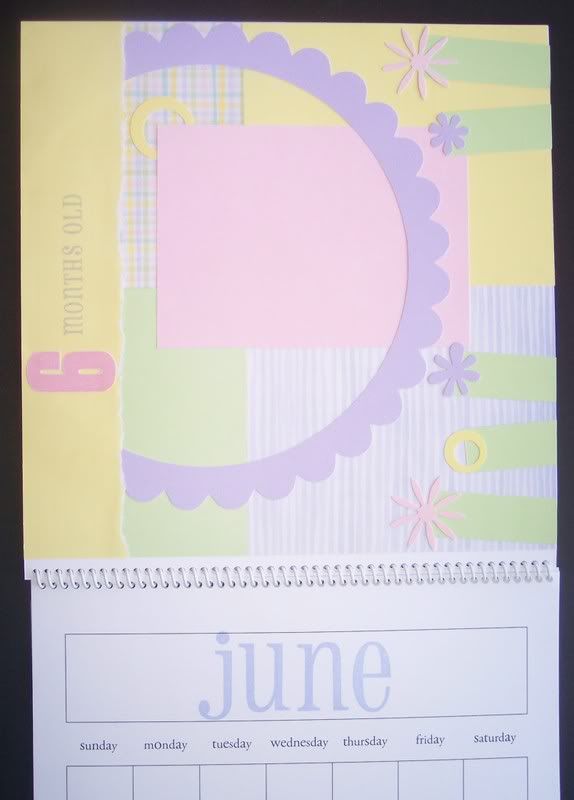
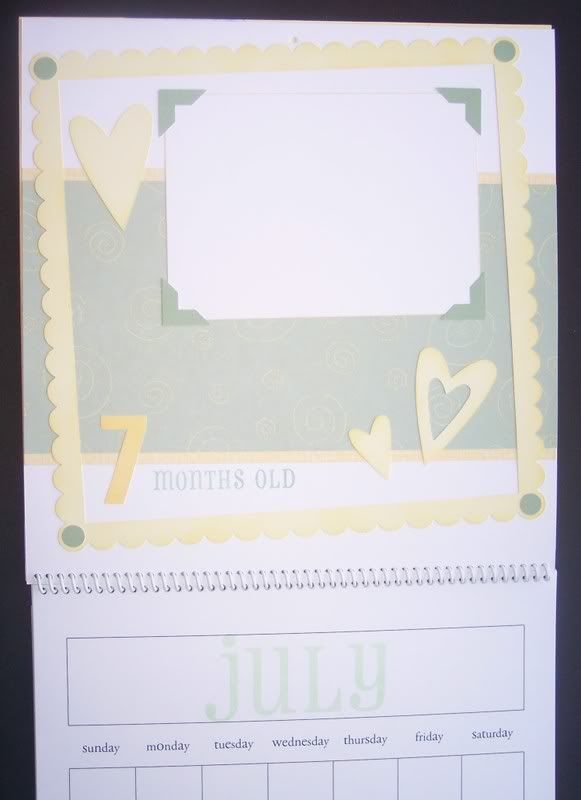
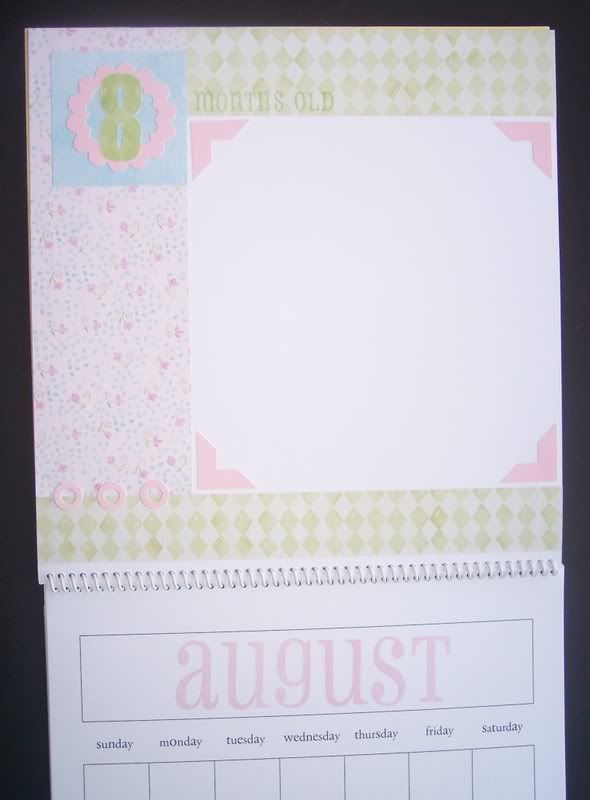
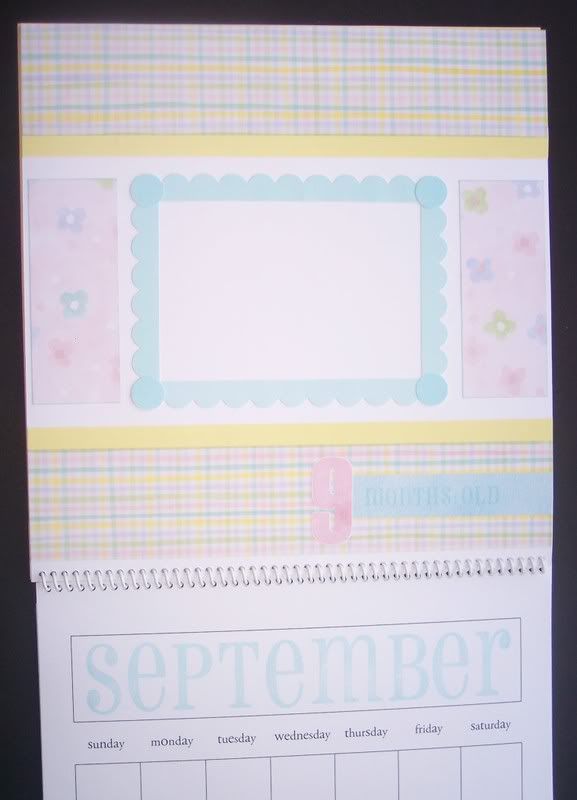
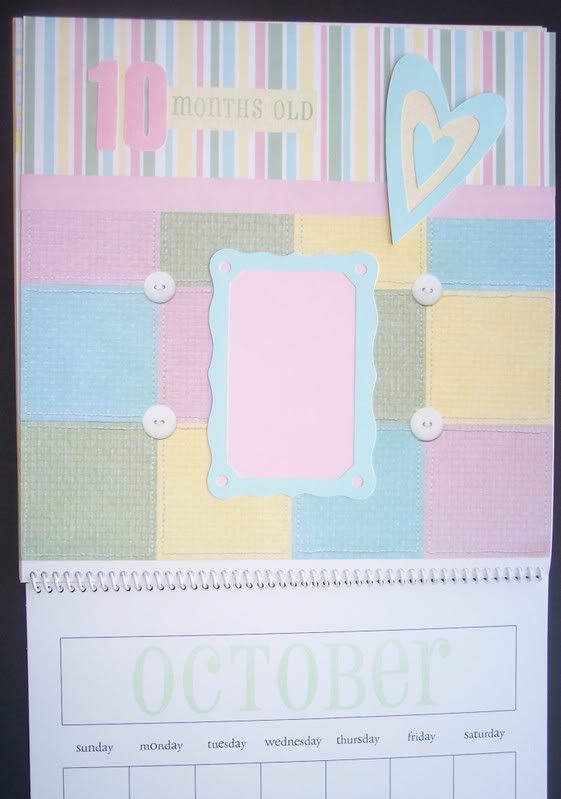
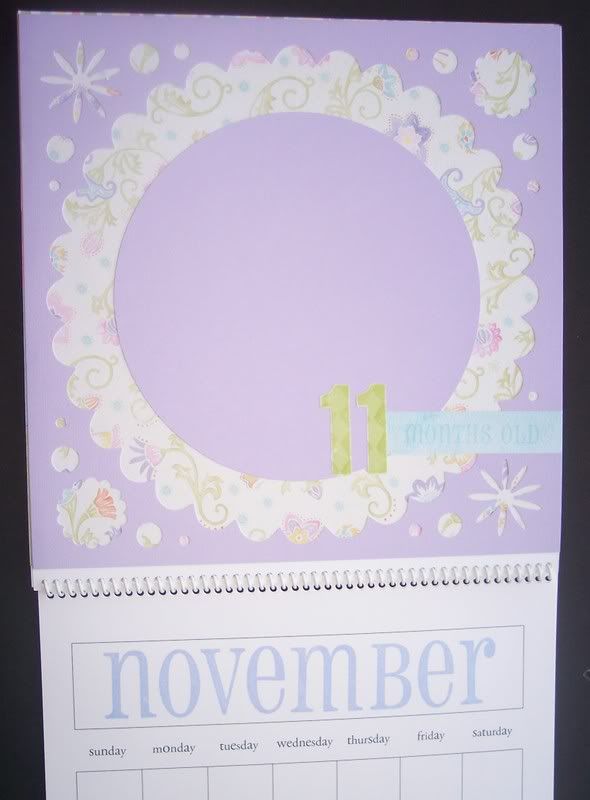
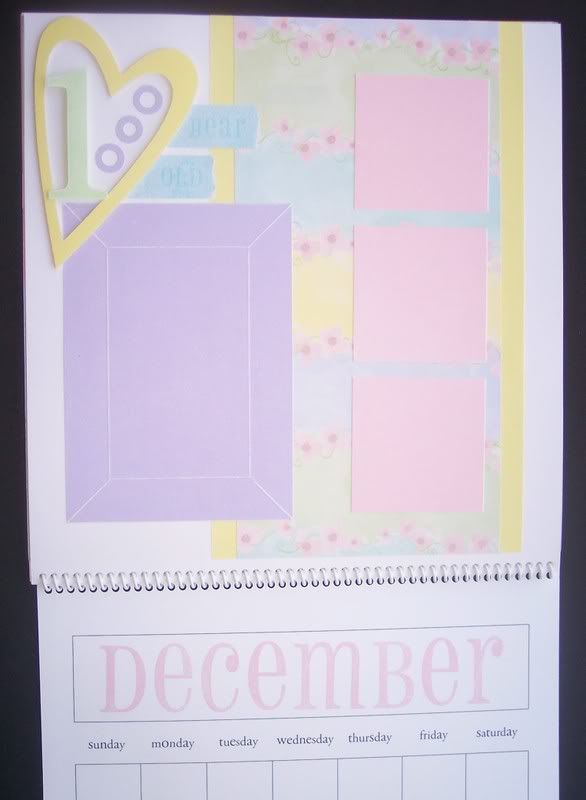
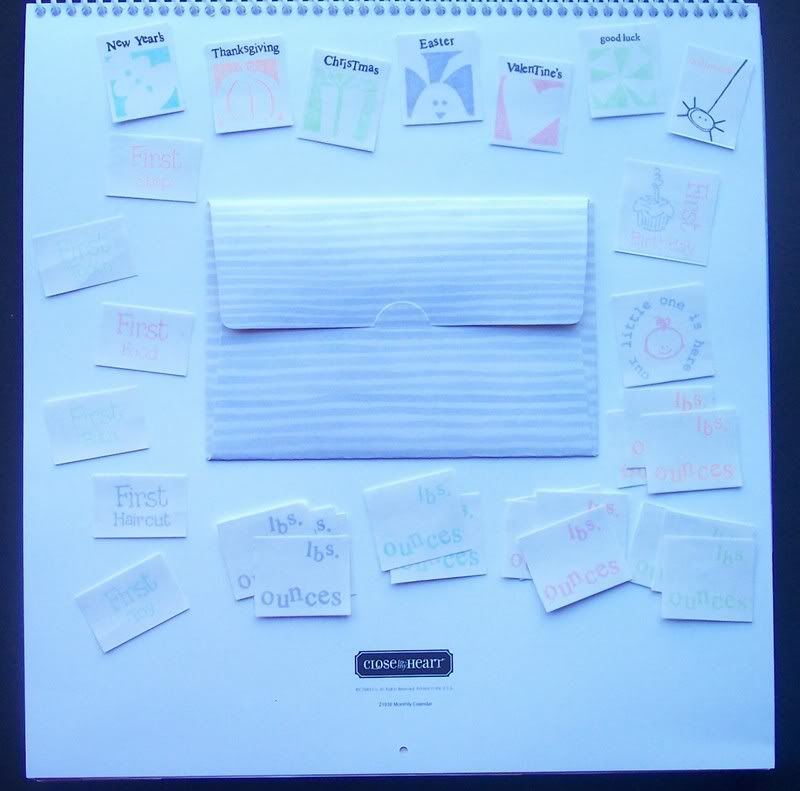
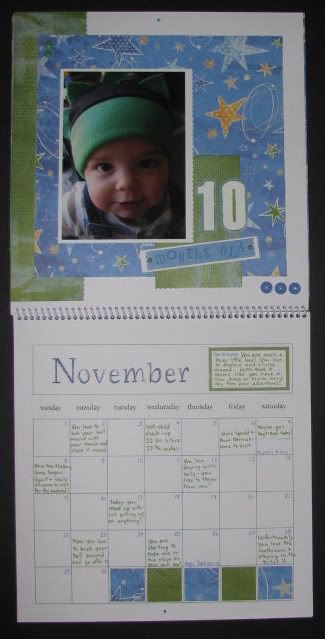
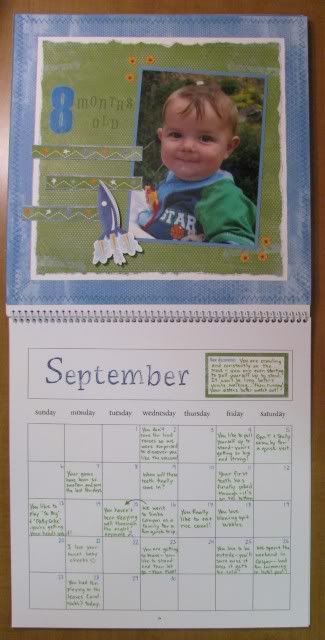
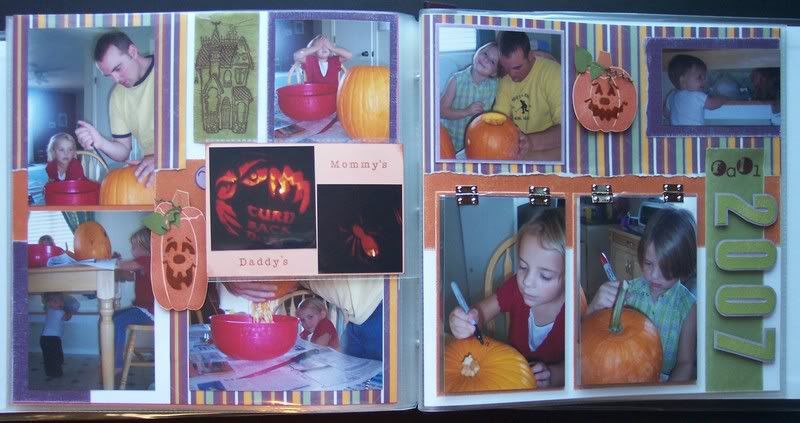
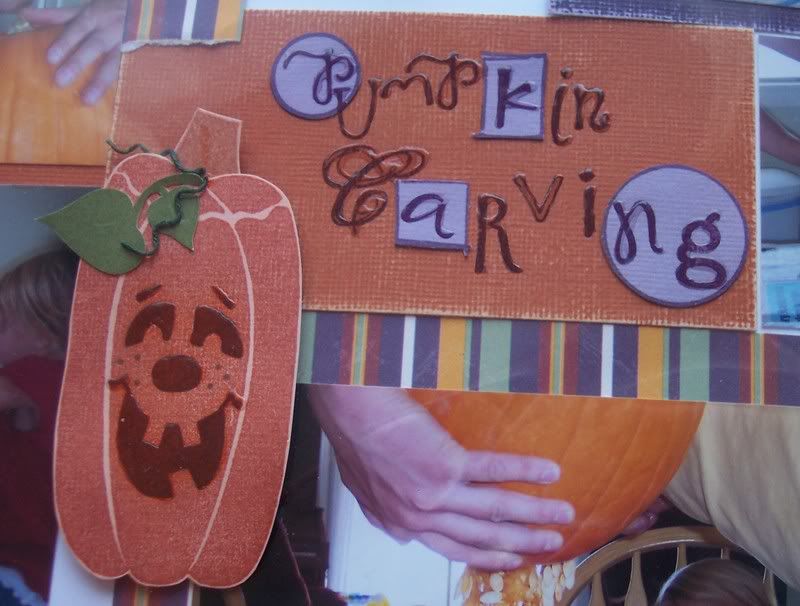
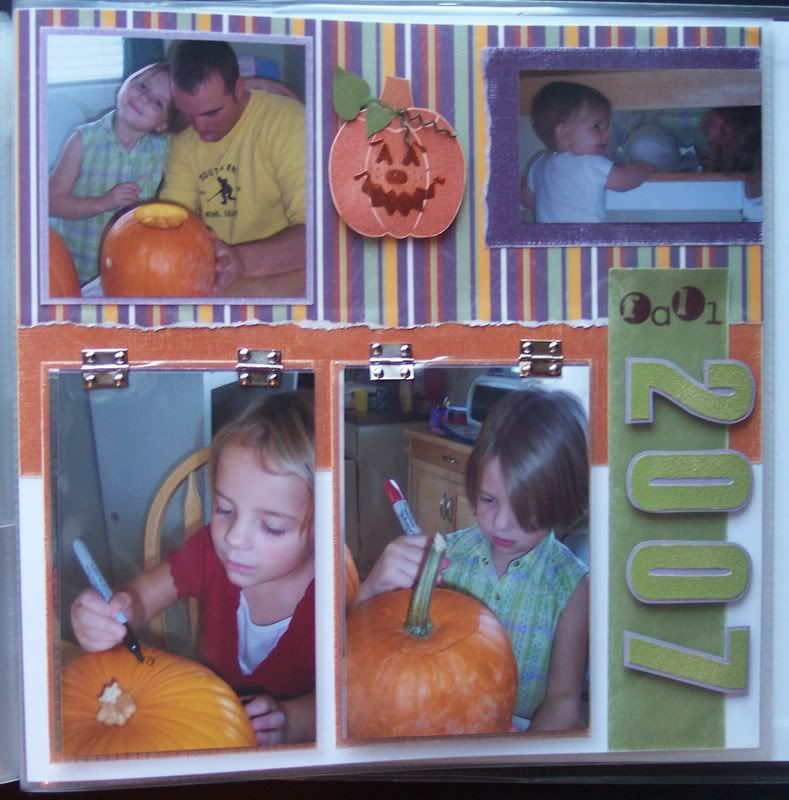
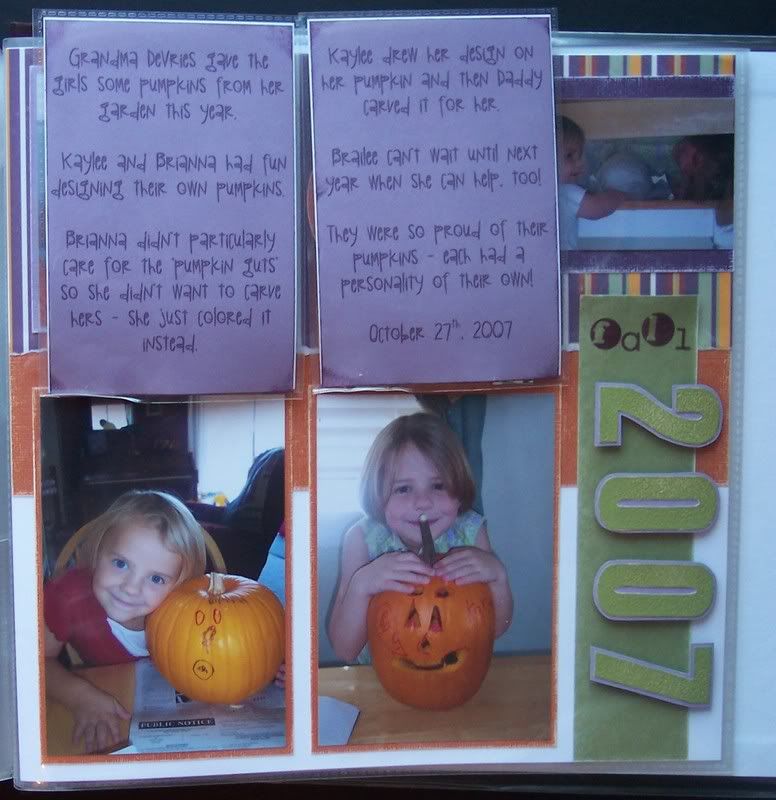
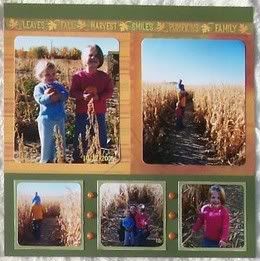
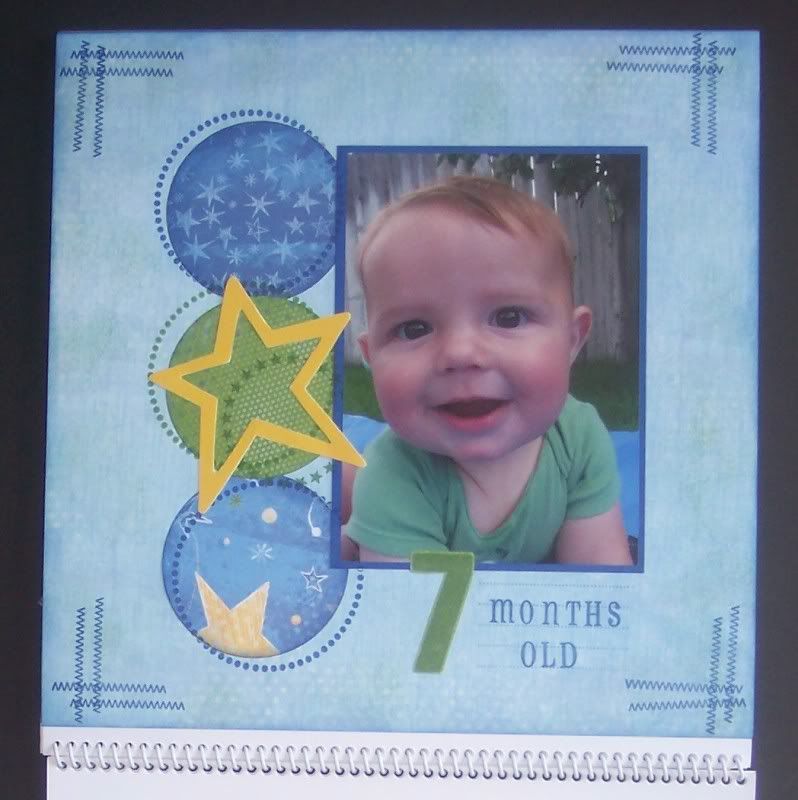
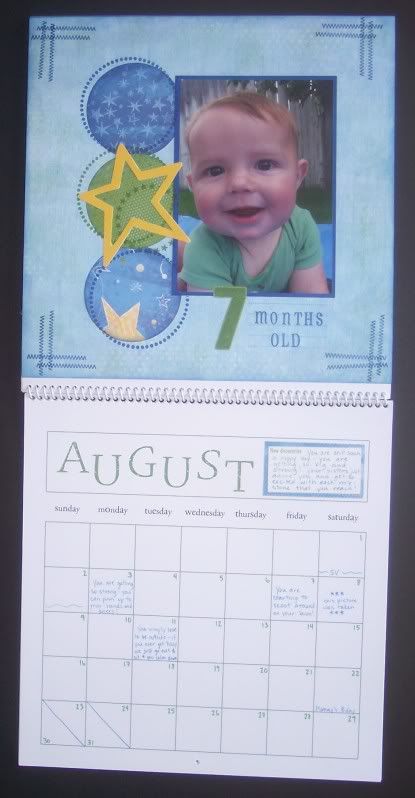
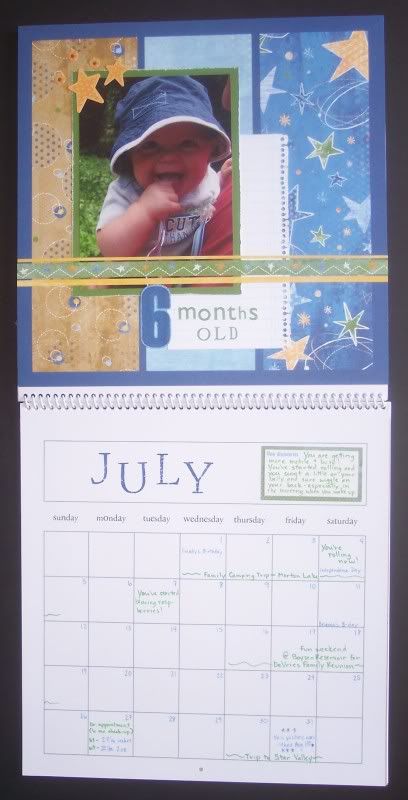
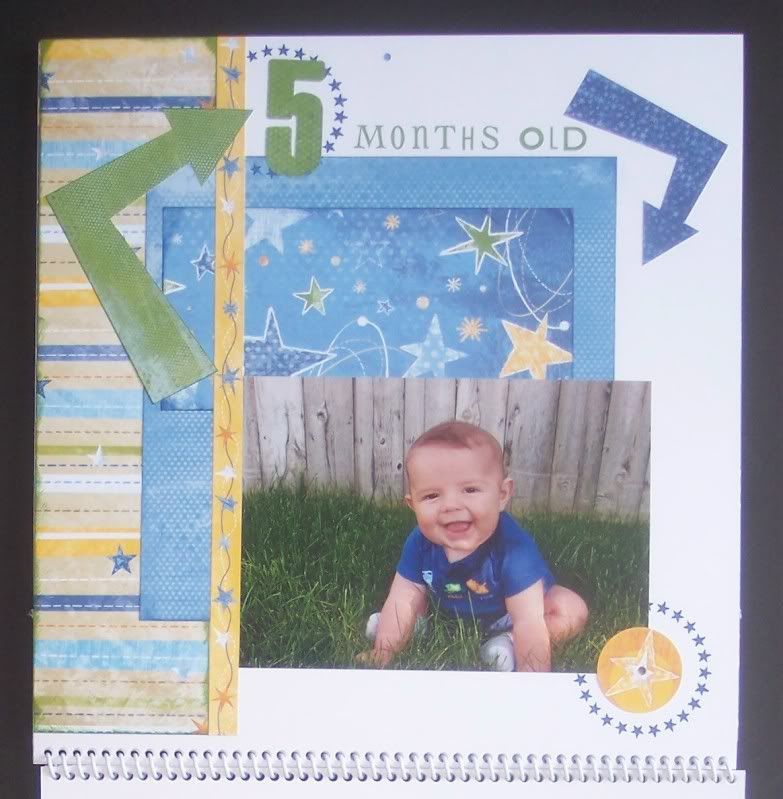
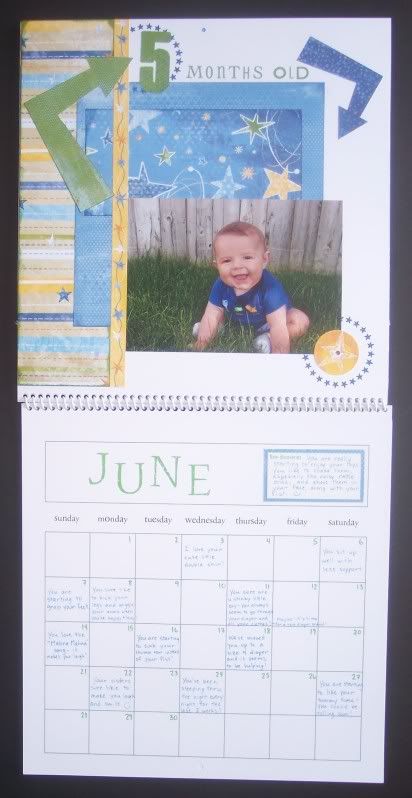
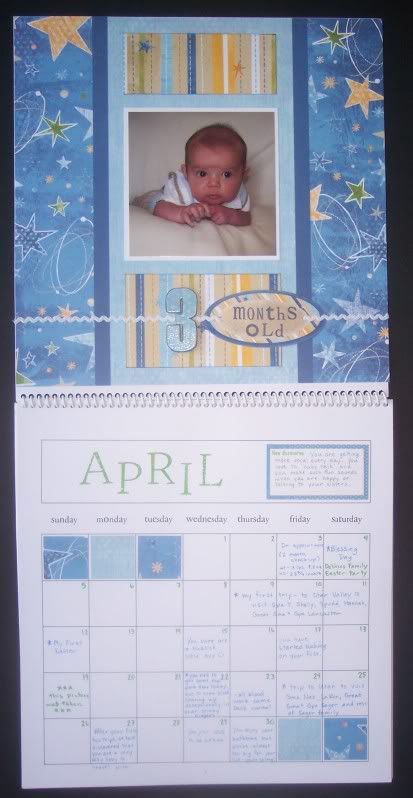
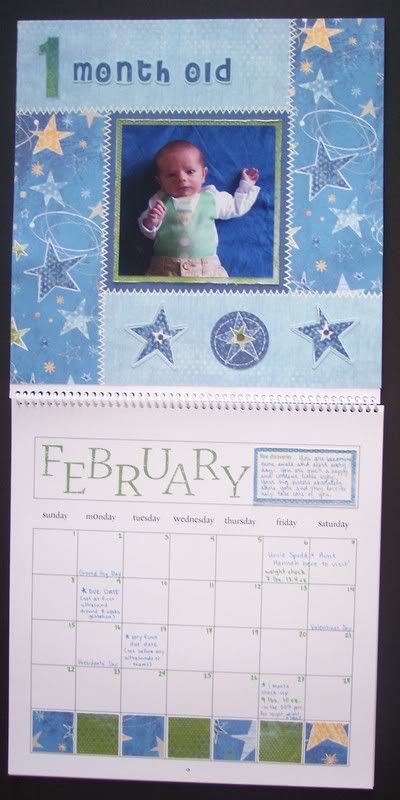
And here is the layout that I created - it's yet another page for Trysten's calendar - this has been such a fun project, now I wish I had done my girls' calendars the same way!
Remember, you can click on the picture to view it larger.
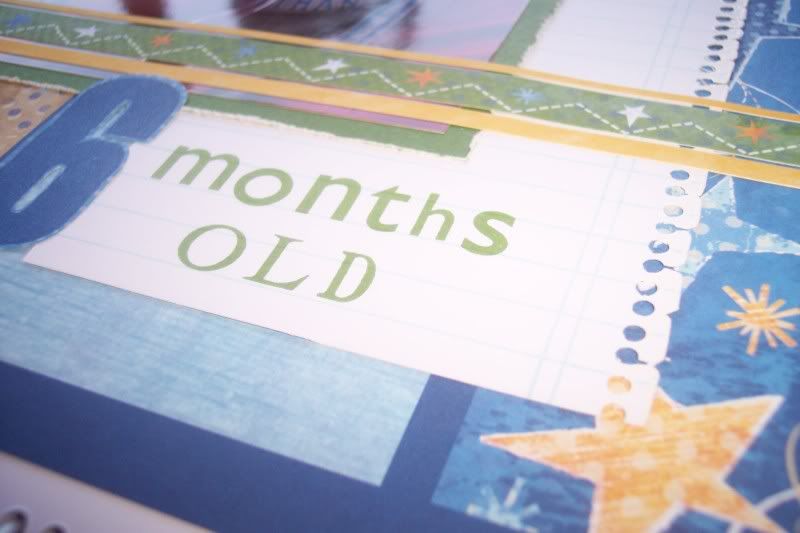
Products Used (all CTMH): Stardust paper pack, Rustic Numbers embossed with White Daisy Embossing Powder, Hodge Podge Alphabet, Summer Craft Buttons, Summer Brads
Other Products Used: Pinking decorative scissors
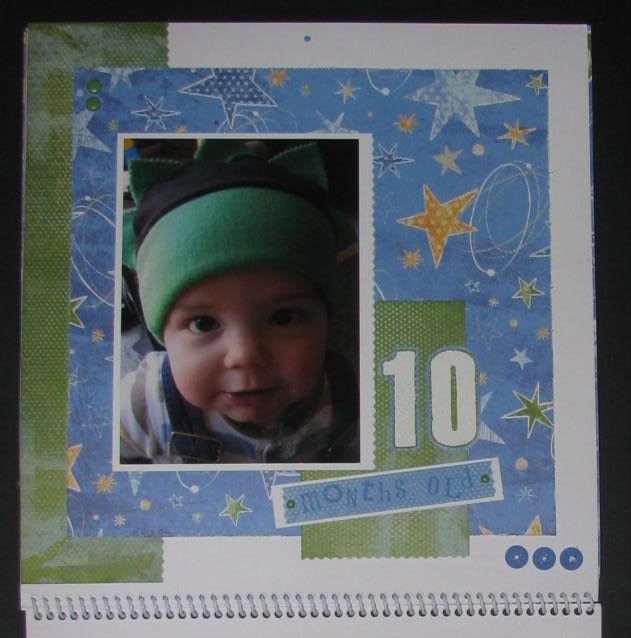
Don't forget to check out what the rest of the Design Team has created using this Recipe Challenge - just click here!
Thanks for visiting!

Tuesday, January 5, 2010

Challenge #101

This is the first week of my Design Team run on the Sketches! {by tamara} blog! I had so much fun with this month's challenges, so be sure to check back every Tuesday for that week's challenge - I hope you'll play along!
***
This week's challenge is a layout sketch:

I used this sketch to work on Trysten's calendar - I am so far behind, he's going to be one this month! At least I've been pretty good about keeping the journaling side updated!
Instead of journaling strips I took a border stickease and cut it up. Don't you just love the touch of drool on Trysten's chin in this picture ;-) He is such a slobbery little boy and he only has two teeth to show for it! He does finally have his top two starting to poke through now, but all my other kids had a lot more teeth than this by the time they were one!
To see what the rest of the Design Team has done with this week's sketch, just click here.
Thanks for visiting!

Friday, October 23, 2009

Flashback Friday

So for this week's Flashback Friday I've decided to do something a little different. I am going to share some past creations AND past pictures at the same time - this week's theme is Fall, of course! These pages were done about 2-4 years ago...I like to see how my work has changed over the years - or I think it has anyway!
***
I'll start with some of my favorite Fall pages - these were done just two years ago and I am still really pleased with how they turned out, maybe just because of everything I fit in there!
Here are the pages together - you can see the flap I inserted in the middle - it has pictures of all of our finished pumpkins - this insert was just created using an extra pocket from the photo storage page that I cut up and used on the right page - this was before we had Flip Flaps!

Here is a close-up of both sides of the flap:
Here is the left page:
I used the Cracked Glass Technique on the Haunted House (from the Happy Haunting stamp set).
The title came from the Fall stamp set but I altered it a little. The stamp actually says 'Pumpkin Patch' (and you can see the stamp used below on one of my older pages), but I only used the word 'Pumpkin' and then I created the word 'Carving' from the Delightful Alphabet stamp set - doesn't it work perfectly! I stamped both directly on the page and then on purple as well to cut out and piece to get the different colors for my title. I also traced the title with Liquid Glass.
Here is the right page - see the hinges? Those are attached to the pockets I cut from the photo storage page - they lift up to reveal the journaling and pictures of the girls with their finished pumpkins.
Here are the flaps lifted.
And aren't these pumpkins too cute? They are stamped on Textured CS, and I used Liquid Glass on their faces, and green Waxy Flax for the vines. Both pumkins came from the Frightenin' Fun stamp set.

And here are some of my older pages - some are almost 4 years old!


Thanks for looking!

Thursday, August 13, 2009

PageMaps - Apron Strings sketch contest


I used the following sketch from the PageMaps Blog's latest contest and created this page for Trysten's 7 Month Calendar page. This contest was supposed to have a summer theme - I think the only way it qualifies is the fact that the picture was taken in the summer ;-) as it has more of a baby theme to me! But it's been a while since I've entered their contests so it was fun to try again!

This is where I got a little ahead of myself - usually for his calendar pages I like to use a picture that was taken close to the 24th so I can get a good month in between pictures, but I just loved this picture way too much and had to use it, even though this picture was only taken one week after his 6 month page picture. Isn't he just the cutest! This was another super quick page - all I had to cut was the circles and photo mat and the stamping was fast and easy - you can tell I did it quickly as I got some of my 'stitches' crooked, but I like how it turned out. Oops - I just noticed on all the calendar pages that I posted this week that I forgot to add my filler squares - I'm off to do that now!
Products Used (All CTMH): Stardust Paper Pack, Circle Around stamp set, Rustic Numbers, Hodge Podge Alphabet, Comments stamp set.
***
I have one more page from Trysten's calendar to post tomorrow so I hope you're not sick of it and will come back to see more! Thanks for looking!
***
Oh, and if you'd like to check out all the calendar pages, you can view them at the following links:
Birth Month

Wednesday, August 12, 2009

6 Month Calendar Page

Here is another calendar page that I got done - this one was inspired by another layout from the August 2009 PageMaps, but I had this last Level 1 page left from my Stardust pack and I put the two ideas together.


***


Click on the picture to view it larger.


And a close-up of the 'notebook paper' that I created with the Comments stamp and a sneak peek at the upcoming December SOTM, Notice the Details - I embossed the edge onto the paper, then used my Crop-a-dile to punch the holes and cut along the edge.


Products Used (All CTMH): Stardust Paper Pack and Stickease, Rustic Numbers, Hodge Podge Alphabet, Comments stamp set, Notice The Details stamp set.


Check back tomorrow for another calendar page - it's one of my favorites! Thanks for looking!


Oh, and if you'd like to check out all the calendar pages, you can view them at the following links:


Tuesday, August 11, 2009

On A Roll...

...and it feels so good to be scrapbooking again! This last weekend I got caught up on Trysten's calendar and even a little ahead of myself - you'll see why in a couple of days. For now here is his 5 month page! I used a layout from the August 2009 PageMaps - I just rotated it once clockwise. This was a super quick layout - the Stickease added just the right touches without taking a lot of time. Looking at it now, I wish I would have placed the picture higher on the page, but I'm still pleased with how it came out.
***
You can click on the picture to view it larger.

Products Used (All CTMH): Stardust Paper Pack and Stickease, Rustic Numbers, Hodge Podge Alphabet, Circle Around stamp set.


Check back tomorrow for his 6 month page - thanks for looking!
***
Oh, and if you'd like to check out all the calendar pages, you can view them at the following links:
Birth Month


Tuesday, June 9, 2009

Finally!

I haven't posted any layouts in almost two months - besides my Word Puzzle Workshop layouts, I haven't been doing many pages lately, I've had lots of other projects I've been doing instead. Trysten's Calendar is the only thing I've had a chance to work on for myself. I've been trying to get back on track, though - last year by this time I had already met my yearly goal - this year I only have 23 completed pages, so I'd better get busy!

***
Here are the pages (the only ones with pictures and journaling, that is) that I did back in May. I was originally going to do the Front & Center - Mosaic pattern from Reflections, but then I found this Level 1 page, so I combined the two ideas. I used the Rustic Numbers for the '3' and Hodge Podge Alphabet for the 'months old'. I used a Stickease for the tag and tied it all together with a bit of White Daisy RicRac ribbon. This one came together really fast - I am starting to like the Level 1 pages, as long as I have pictures that work with them! I love this Stardust paper - it's what I will be using through his entire calendar.

Then I got these ones done yesterday. I used another Level 1 page, so another quickie. I just added some Stickease to the corner, along with some Bigger Brads, and used the Solo 4 (clear embossed on the patterned paper) and Small Friendship Alphabet (embossed with Heavenly Blue EP) for the title.

Thanks for looking! If you missed them before and would like to see the other calendar pages I've done for Trysten, you can see them at the following links:

Birth Month

1 Month Old

2 Months Old

Wednesday, March 4, 2009

Another Calendar Page for Trysten

Here are the super quick pages that I did for the second month of Trysten's Baby Calendar. Click here to view the first pages. I used a Stardust Level 1 page (I hardly ever use the Level 1 pages, but I really loved this one), Stickease, and Rustic Numbers and Simple Stitches stamp set. I heat embossed the Simple Stitches with White Daisy EP, which is the only thing that took more than a couple of minutes - the rest of it went together really fast. So I'm glad to say that Trysten has two more pages - since I count the calendar side as a journaling page ;-P
{ETA: This is also my sample for this month's Reflection's Challenge - I am working on getting the challenges posted, I promise!}

Friday, January 16, 2009

Emporium Clock

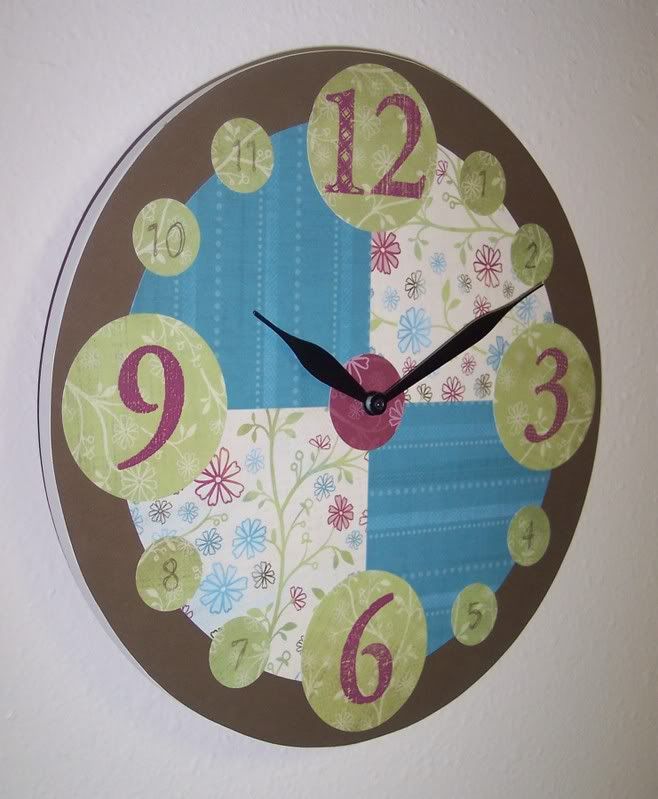
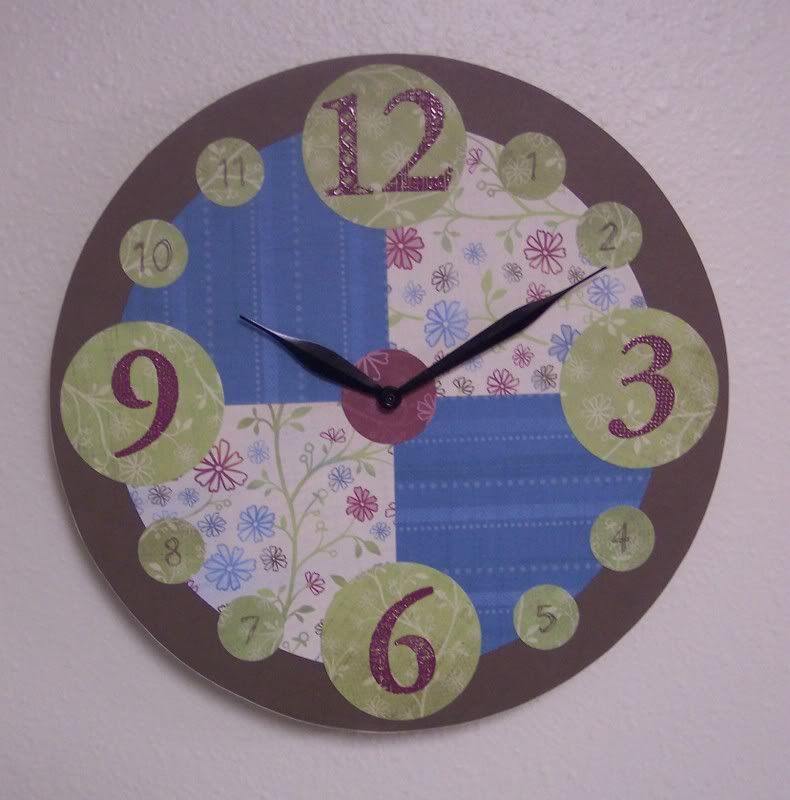
Here is a clock I made for my SIL Sandy - using the NEW Emporium Creative Basics Paper, my absolute favorite from the new Idea Book!


I ordered the clock through Oriental Trading - they also have square ones. Here are a couple more clocks I have done before...


Thanks for looking!

Saturday, December 27, 2008

Baby Calendar

My dear friend (pictured here with our baby bumps) had her baby a couple weeks ago - here is the gift that I made for her. It's a calendar to capture baby's first year. I've bought one for each of my girls when they were babies, but never thought of making one until now. The only thing I didn't think about before I started is that is has to be a 13 month calendar in order to get the full year, so I had to un-bind it and add an extra calendar page and then re-bind it. I worked each page around the Dazzling Die-Cuts (Spring Harmony collection) and used just three different sets of papers from CTMH, Heaven Sent (retired), Sweet Harmony, and Sweet Pea. When she is done with the calendar, she can either leave it as is, or cut each page out and it will fit in a 12x12 album.
***
Level 1 Page from Heaven Sent
The front of the calendar has her name, birth info, and space for a small family tree.
Cherish - A New Perspective - left

Cherish - Color Celebration - right

Imagine - Safe & Secure - right

Imagine - Classical Look - left

Reflections - Main Frame - Four Square

Reflections - Main Frame - Tied Up

Cherish - Give Me Ten - left

PageMaps - April 2008 MiniMap - I copied this layout here

Imagine - In the Groove - left

Reflections - Front & Center - Main Idea

Imagine - Proof Preview - left

Cherish - Unified Whole - left

Cherish - Graphic Texture - right

On the back of the calendar there is an envelope with the different stickers to mark milestones, growth, and other important dates.

Thursday, May 1, 2008

Bed Head

Okay, so this is the layout that was inspired by my Scentsy Warmer - I really liked the dots on it and it reminded me of the paper piercing that I've tried once before. My original plan was to pierce the small dots and punch out the big dots on the Vineyard Berry strips, so you could see the Hollyhock through the holes, but luckily I tried it on a scrap first and it looked better with just the stamped background - no holes - which is a good thing because that would have taken FOREVER! But I still kept with the original inspiration of the dots using the stamp set and the fun brads. I used Marjorie's Color Challenge #14 for this layout.


All products used are from CTMH. I used Hollyhock and Vineyard Berry CS, and Topiary and Breeze Textured CS - I used the back of the textured CS for the lighter shades - I just love that feature! I also used the Spot On Background stamp set (my favorite stamp set from the new Summer Idea Book) - I used it to create the pattern on the Vineyard Berry CS, and to 'stamp kiss' the letters for the title. Other products used: White Bigger Brads, White Regular Brads, White Bitty Brads, Rustic Alphabet, and Extreme Caps.