Showing posts with label Rustic Alpha. Show all posts

Friday, April 15, 2011

Reuse. Recycle. Reinvent.

Today's post covers two challenges - I had a lot of fun with this project and hope you enjoy it as much as I do.  First of all, I used this week's challenge over at the Heart 2 Heart Challenges Blog - to use something recycled on our project.  As I started my project, I was looking for the perfect sketch to inspire me and found this week's Sketchy Thursday ESS126 over at Eat Sleep Stamp, and knew it would be perfect!  So, now on to my project!
***
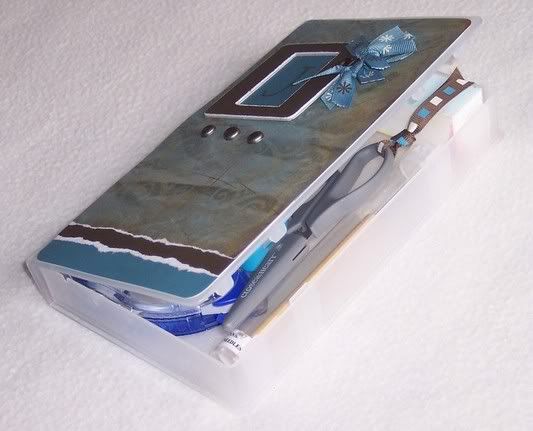
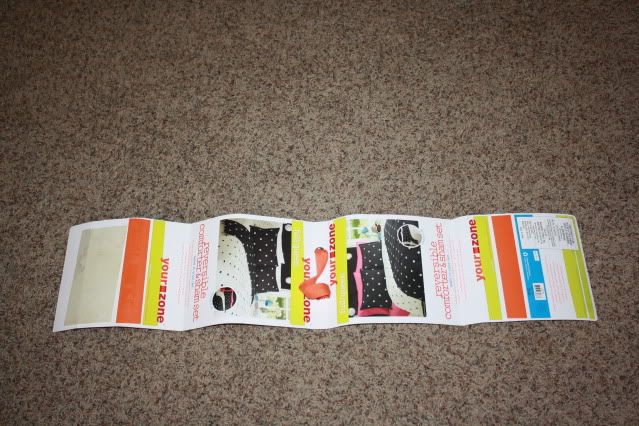
At the end of last month Brianna received the new comforter that she picked out for her new room - this is the packaging that it came rolled up in...
It's going to be so cute with her teal rug and teal sheets that I got for her! 
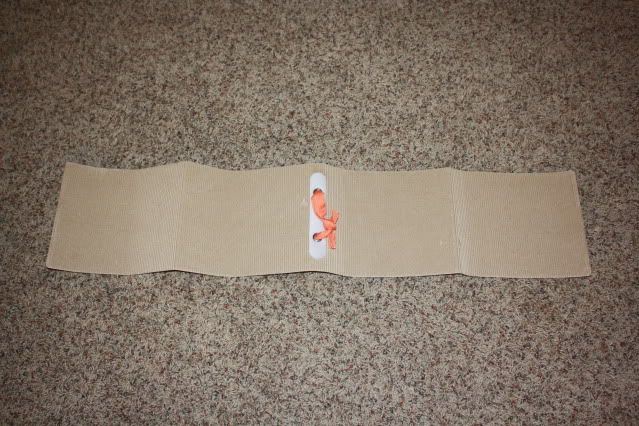
Anyway, I'm glad I opened it up carefully because as soon as I saw it, I KNEW I wanted to turn it into a mini album.  So, I folded it like this...and then stuck in my crafty 'TO-DO' pile ;-) and didn't touch it again until today.

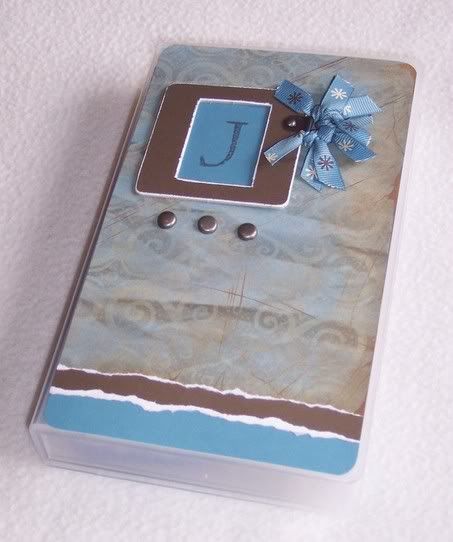
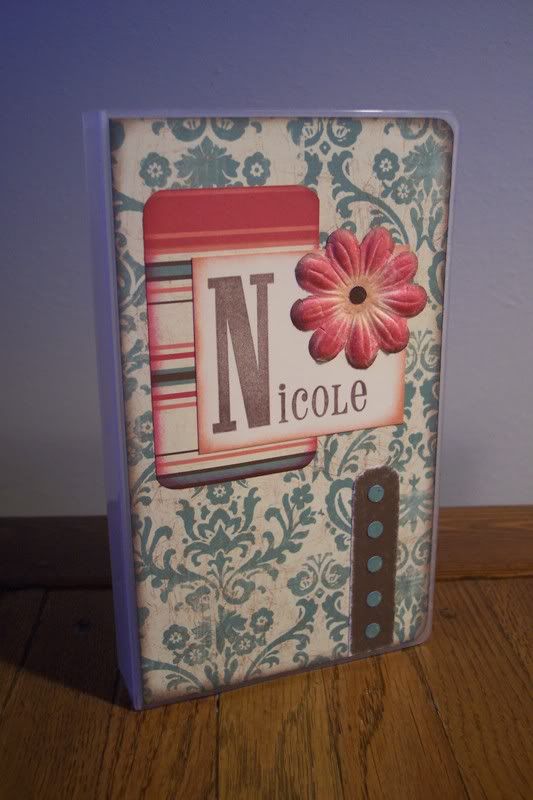
I was thrilled when I saw this week's H2H Challenge - it was just the motivation I needed to get it done!  So this morning I got it out and got to work.  My biggest challenge was coming up with an album theme.  I was going to do a Sisters album, but none of the girly color combos and papers that I picked out were just right with the corrugated cardboard.  Then I remembered that I haven't had a chance to play with the new Lucky papers and they had the perfect colors in it since I also wanted to reuse the ribbon that came with the packaging as well.  This is what I came up with...

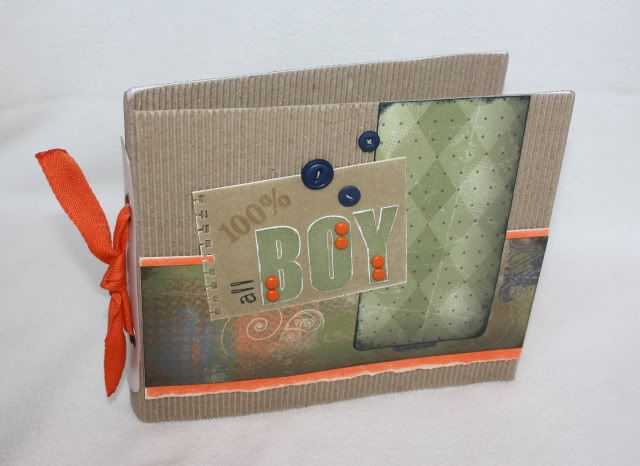
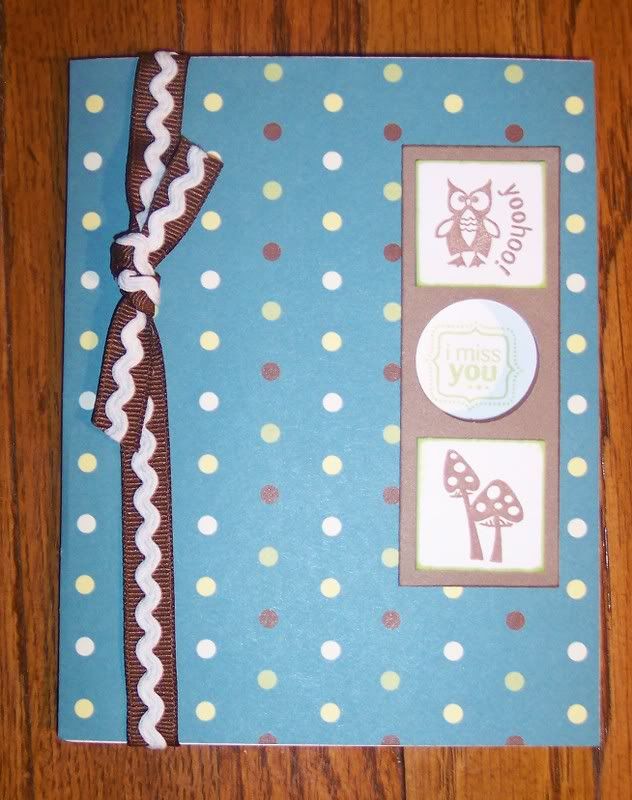
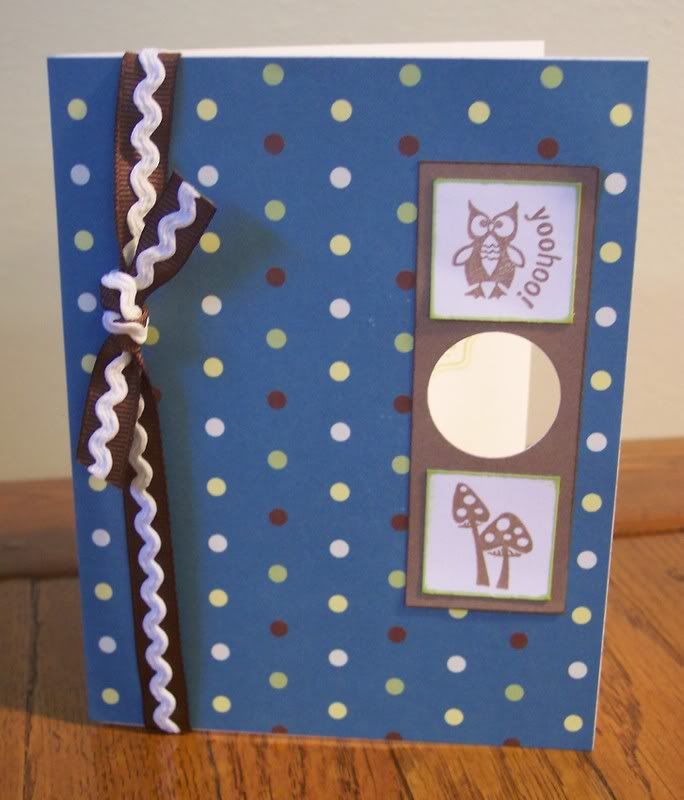
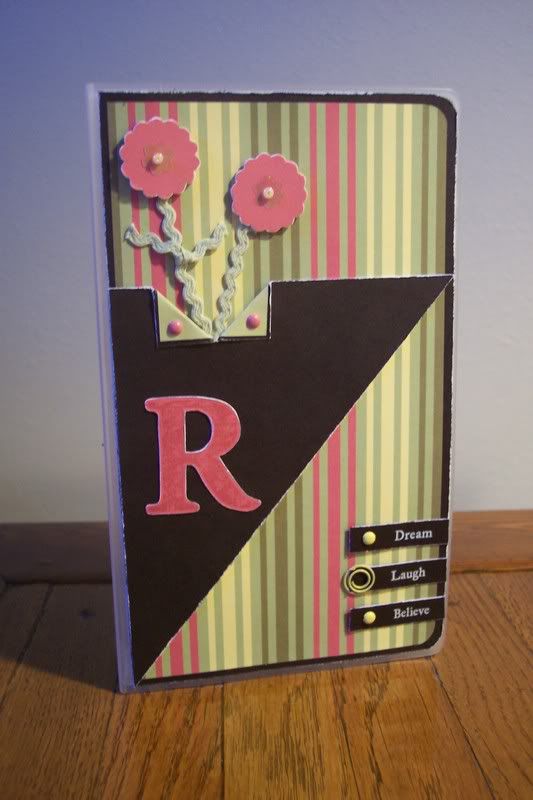
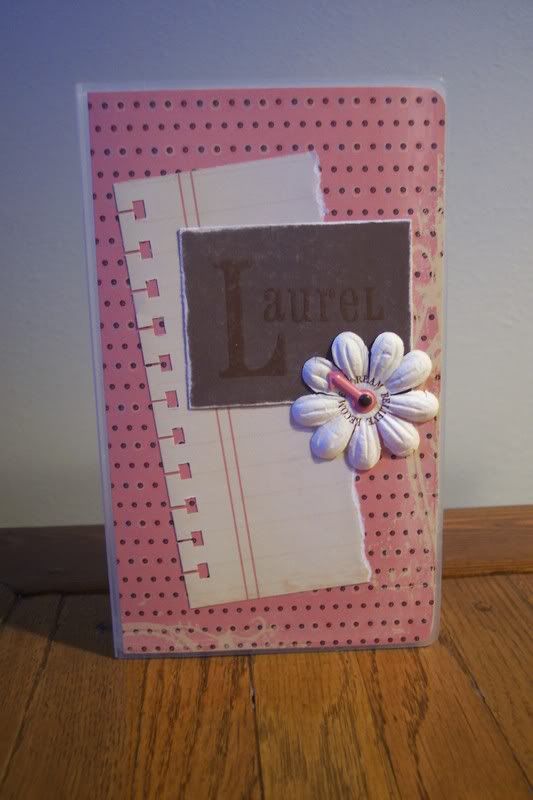
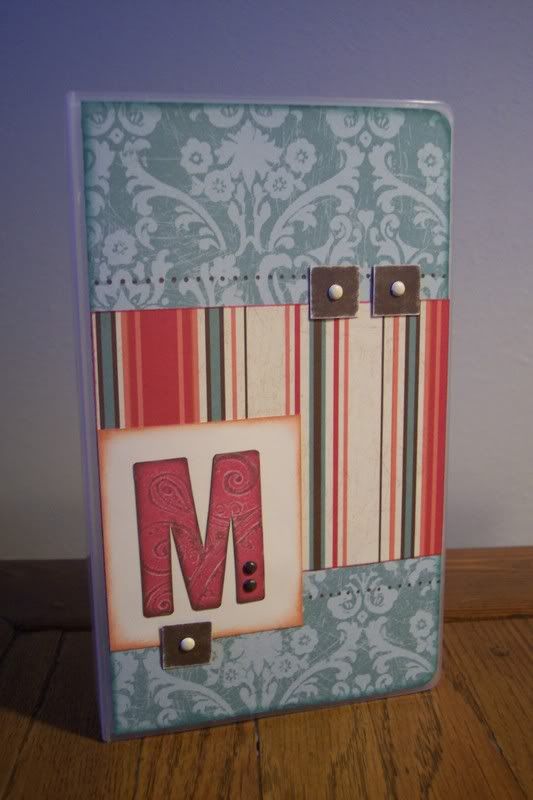
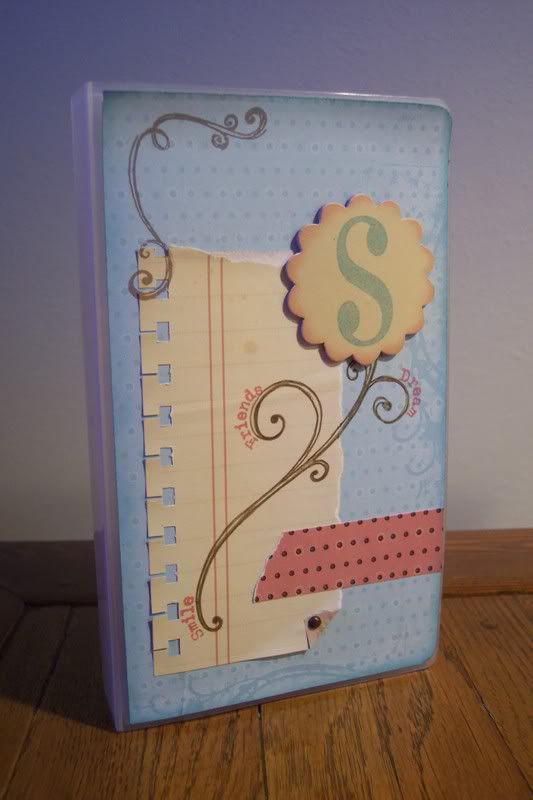
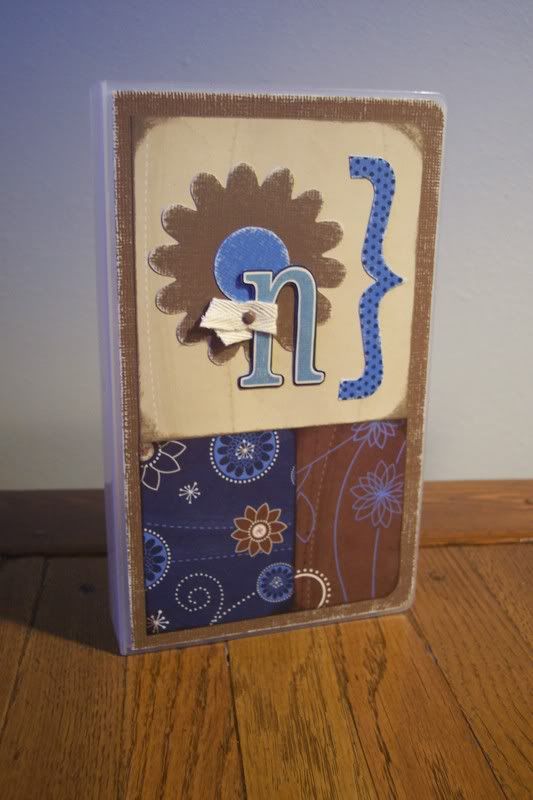
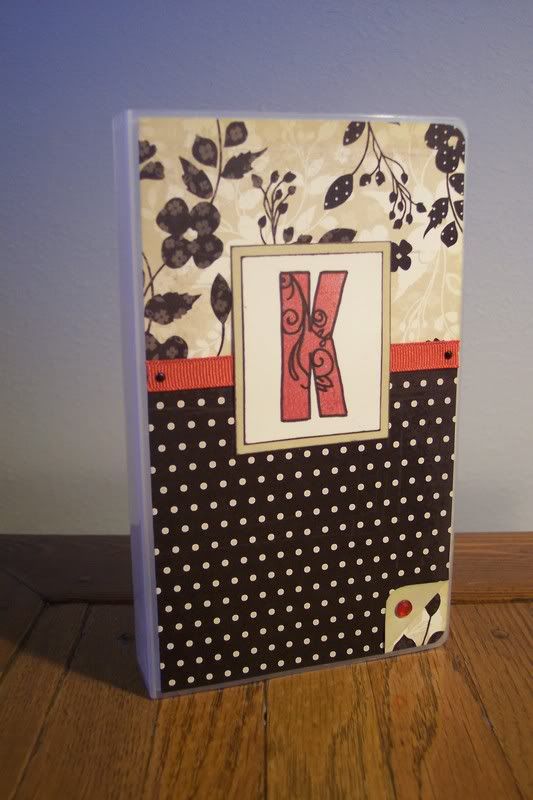
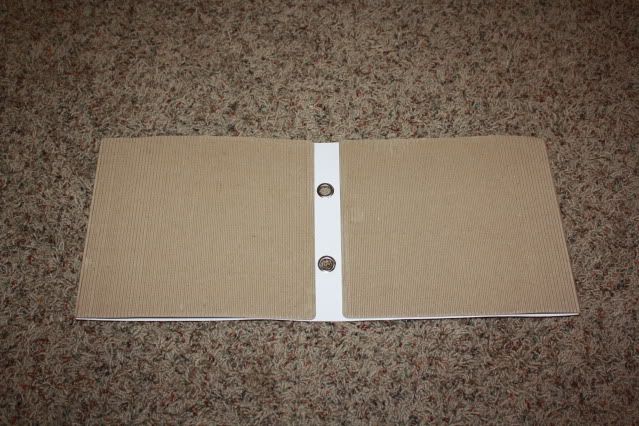
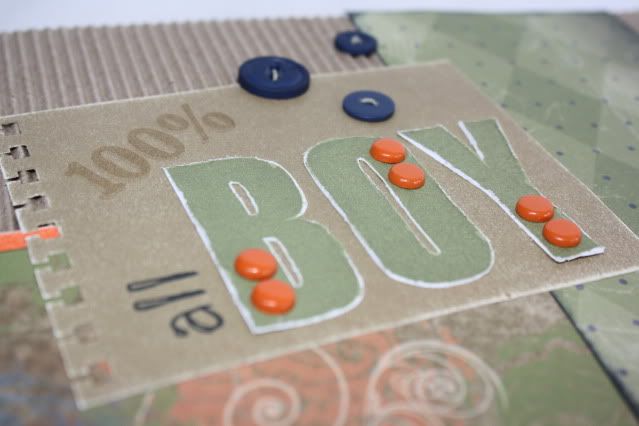
I used Liquid Glass to secure the fold on the cover and also to glue on all of my pieces - it's a pretty nice size, and very sturdy!  I wanted the orange color to match my ribbon so instead of using the Sunset color that is in the papers, I used the retired Orange - I tore the edge and sanded the paper to tone it down a bit.  I also used the following stamp sets - Rustic Alphabet, and the retired sets Legendary Moments and Doodle Alphabet.  I dressed it up with some Outdoor Denim Buttons tied with Olive Waxy Flax, and Orange Brads.  I also used a notebook edge punch and corner rounder on this project.

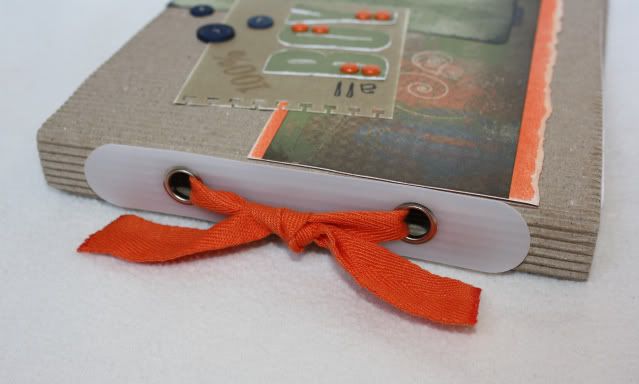
I haven't figured out what I'm going to do for pages for the inside yet but I will be sure to post them when I get them done!  I am hoping to give this to my brother and his wife when their little boy turns one in just a couple months.  For now this is what the inside looks like - I tied the ribbon loosely so I can untie it and use it if I need to in order to add my pages.

This is the spine of the book - I also added Liquid Glass to the end of the ribbons to stop them from fraying.  I love Liquid Glass, it has so many purposes!

As I was glueing my cover together this morning, I noticed this - I like the word reinvent, which is exactly what I did here!
Thanks for looking!

Friday, April 9, 2010

Bruiser

Oops - I almost forgot to post this this week! This is my layout for this week's challenge over at Sketches! {by tamara}. We were to use the following sketch:


And here is my layout - I turned it into a two-page layout by flipping the sketch for the right page and just playing around with some different sizes and shapes for the photos. I also added my journaling on the right page. These pages were really simple - the most time consuming part was probably threading the buttons, the rest of it went together really fast. I used the Stamp Rolling technique on the Rustic Alphabet stamp set for the title - I wanted it to look like a bruise. I thought the colors in these You Rock papers went really well with the Bruiser theme!

Remember, you can click on the picture to view it larger.


Products Used (all from CTMH): You Rock papers, Autumn Craft Buttons, Indian Corn Blue Waxy Flax, Rustic Alphabet, Indian Corn Blue ink, Outdoor Denim ink, Sunflower ink.
***
Thanks for looking!

Friday, February 19, 2010

One of a Kind

Here is a page I did of Trysten a while ago using the Felicity papers. Sorry for the crooked/flash/fingerprint covered pics, but you get the idea.
ETA: I forgot to mention that I got this layout from the October 2009 PageMaps.
I used the new Noted Background stamp set to Stamp Kiss the ONE in the title. There is hidden journaling behind the picture on this page.
Thanks for looking!

Friday, August 14, 2009

Calendar Cover

Here is the page I created for the cover of Trysten's calendar. It's not completely done until I add the picture, but I'll wait until he turns 1 for that pic. I totally scraplifted this layout from the SOTM artwork from the Summer 2008 Idea Book - it was for the August SOTM, which was Todays Date. I just changed the paper and colors used to keep with my Stardust theme through Trysten's calendar.


Products Used (all CTMH): Stardust paper pack and Stickease, Todays Date stamp set, Rustic Alphabet, Spot On Background (for the stamp kissed title), Tiny Typewriter, Circle Coluzzle, White Daisy Conchos
***
Thanks for looking - that's it for Trysten's calendar, for now anyway!

Thursday, July 30, 2009

Mother/Daughter Play Time!

The girls invited some friends over to play last week, but Kaylee's friend wasn't able to come over, so her and I got to play instead. She wanted to stamp so I pulled out some of my pre-cut card kits from past workshops and she picked her favorite card to recreate. I taught her how to "stamp kiss" - she had fun! Here are the cards we created...


Here is the original card from the pre-cut kit - inspired by Lisa Stenz from a few years ago.


Here is Kaylee's card - besidespre-cut paper, she did it all herself!


And I still had some of my stuff out from my Monthly Word Puzzle Make-Up Workshop, so I took my page title idea from THIS workshop and turned it into this card.


Just click on the pictures to view them larger - thanks for looking!

Tuesday, December 30, 2008

Imagine & Reflections Challenges

Yes! I finally completed this month's challenges! I haven't scrapped for myself in over a month, I've been too busy doing gifts, so it felt good to get some pages for our personal books done, plus get a couple more done for this year's Scrap Counter. Here are the pages that I did for this month's Imagine and Reflections Challenges...
***
Imagine - using Magic Moments paper, Rustic Alphabet, Color Ready Alphabet (stamped with a background stamp from Adorable Background), and fun Hollyhock Arrows and Cocoa Brads.


Reflections - using the NEW Daydream paper pack, plus NEW Framed Fun Dimensional Elements (stamped with stamps from the Circle Around set). I had planned on leaving a pocket for a journaling tag, but got a little adhesive happy and glued the entire layout together before I remembered, so I added my journaling along the edge. And suprise, I used my own handwriting! I really don't like my writing, but I'm glad I was able to include it, I really should do it more often! I'm thinking of adding something to the top left corner of the picture - I feel like this page is missing something since I don't have a large title - any thoughts or ideas?


Thanks for looking!

Monday, October 27, 2008

Super Saturday

Here are the projects that I taught on Saturday...card organizers made from the Acrylix Organizer OR fun little lunch box tins...


We also made some cards...
Inspired by Pat Pobst (sp?)
The next three were inspired by Lisa Stenz
Idea from last year's (?) Autumn/Winter Idea Book or maybe 2006?
Inspired by Diane Bowman (?)


Tuesday, October 21, 2008

Altered VHS Cases

Here are some projects that I have been working on for the last few weeks - I didn't want to post any until I got them ALL done and in the mail. The project got delayed by our house rearrangement, but I finally got them all sent out early last week, so hopefully they have all received them so I'm not spoiling anything ;-) These are some altered VHS cases that I made for some of my blogging/stamping friends - these are gals who have sent me fun cards and stamped images or have just been a huge support to me since I started my blog. I made my first maybe a couple years ago and still had a stash of cases to use, and since I don't have any fun images to stamp and return the favor, I decided these would be fun. I use mine as a tool box for my scrapping supplies - just a fun way to hold scissors, tape runners, etc. These were inspired by Yvette West (? - correct me if I got the last name wrong) she is a fellow CTMH Consultant who shared her fun idea on the CTMH boards.

First here is mine that I made quite a while ago...
And here are the gifts for my friends - it was fun to make these - each one became my favorite as I finished them ;-) I hope they like them!
This one is for Nicole
This one is for Ramsey
This one is for Laurel
This one is for Marjorie
This one is for Stacy
This one is for Nona
This one is for Kari

Monday, August 18, 2008

Brilliant Backgrounds

So since I'm not buying any new stamp sets right now, I decided to break out some of my other ones that haven't seen any ink, yet. Brilliant Backgrounds is one of them. I always love the background stamps, but this one just hadn't been put to use, yet.
***
Here I used one of the background stamps to stamp kiss the letters in the title, and then I used it as fun corners behind some of the pictures. This is also my try at MCC #28 - I just changed the Bamboo to Outdoor Denim. On this 2-page layout I used Desert Sand textured CS, Crystal Blue textured CS, Buttercup CS, Outdoor Denim CS, Rustic Alphabet, Spot On Background stamp set, Brilliant Background stamp set, clear buttons, and sassy strands, and a PageMaps layout.


Here I used another background stamp from that set to stamp my dimensional element letters, and the bookplate. When I saw the layout on page 25 of the Summer Idea Book, it inspired me, as it added pink to this Game On paper pack, plus the title was Pink Ladies, which is exactly what Kaylee's softball team was named this year! On this page I used Game On paper pack, Calendar Stamp set, Brilliant Background stamp set, Hollyhock CS, Hollyhock ricrac ribbon, Blush dot ribbon, Monogram letters for the title (except I didn't have the letter 'I' so I had to cut my own out of scrap chipboard), black bigger and bitty brads, black photo hangers with hollyhock brads, and black spiral clip.
And this page doesn't use any stamping, but it's just another quick one that I got done yesterday. This baby has it's first scrapbook page done and it's not even born yet - hooray! I have never got around to scrapping ultrasound pics yet, but this page really got me in the mood to do the rest of the kid's 'first' pictures. For this page I used Heaven Sent Level 1 page and stickease, so it was really quick and easy.