Showing posts with label Happy Birthday stamp set. Show all posts

Wednesday, March 30, 2011

From Me To You

This set of cards were a Christmas present for my Dad and Shelly - we finally exchanged gifts when they came earlier this month, so I can finally share them here!
***
Some of you may remember the From Me To You card set that CTMH had as a special a few years ago - it came in this cute little box...
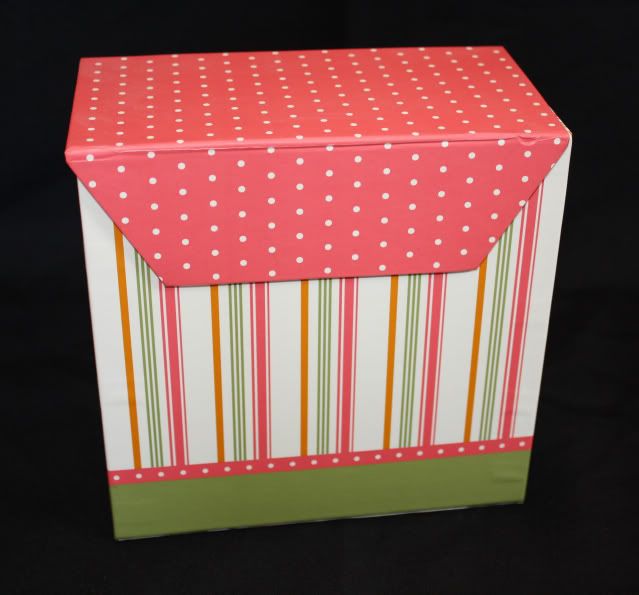
...and it came with a fun stamp set, supplies, and instructions to create a complete set of cards.  Well, it may come to no surprise that I never did anything with it - until now - finally!  However, I didn't stick with the original colors and changed things up a bit.  I did use the box to hold the gift set, along with the original 8 patterns that came with the kit.  Here is what I did.
Originals: Center Tie, using Bella paper pack
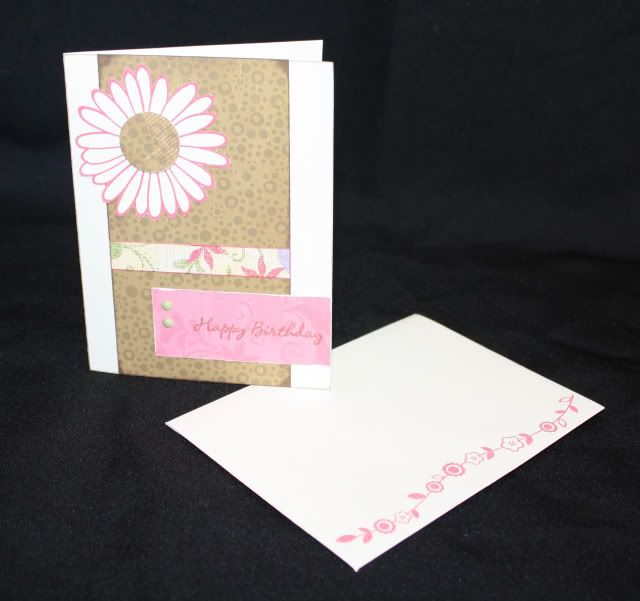
Originals: Floral Trio Tied, using Perfect Day paper - I had flowers stamped and punched out to use on this card but liked it just fine without them so I left them off!
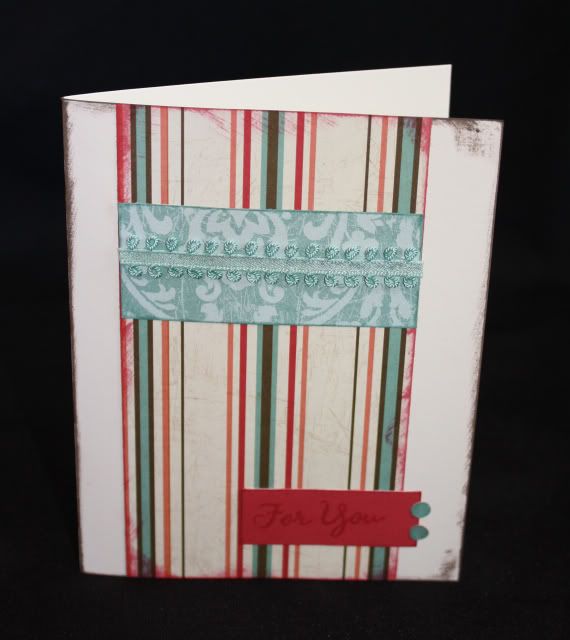
Originals: Offset Focus, using Emporium paper
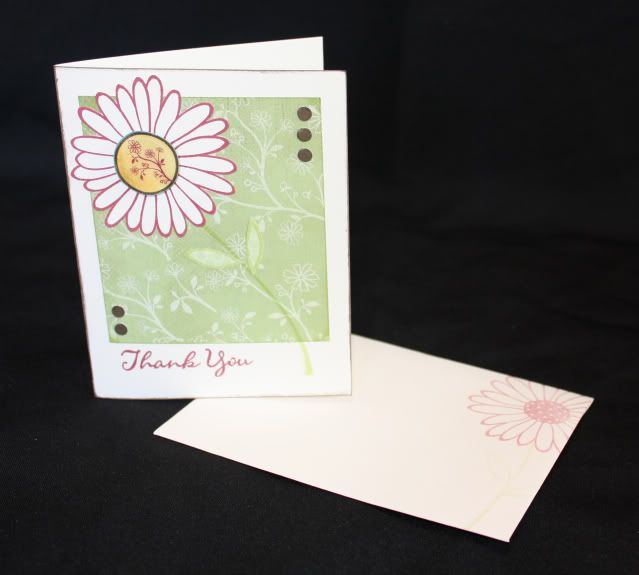
Originals: Center Stage, using Magic Moments paper
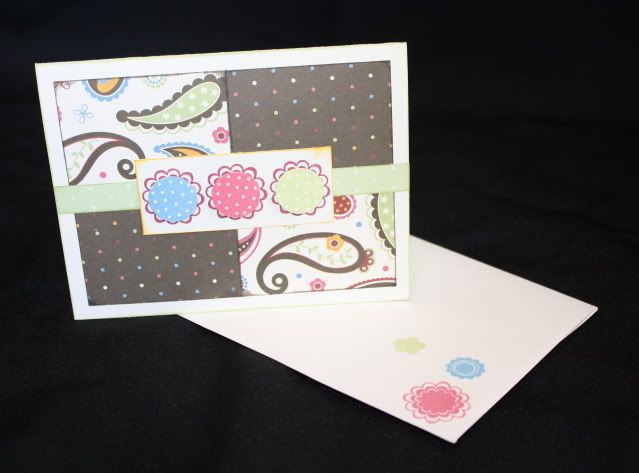
Originals: Accent Band using the Giggles & Grins paper.  This one surprisingly became one of my favorite cards!  This bulk paper was the only pattern I ever had of this paper pack, mostly because of its Disney theme and the fact that I've never been to Disney ;-) so I never really used it much before, but I really ended up liking it on this card.  I used my water color pencils to color the flower and some waxy flax to accent.
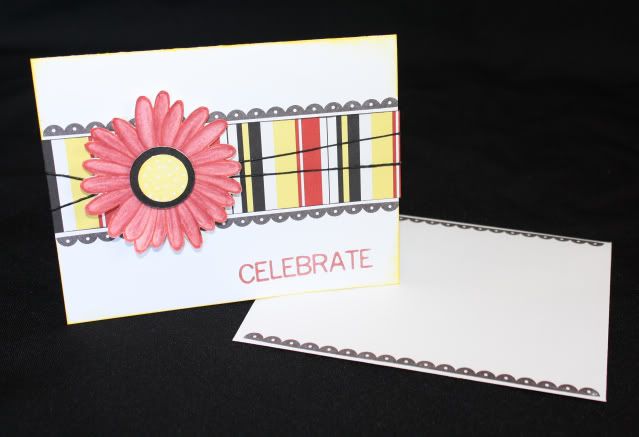
Originals: Express Left using Simple Pleasures paper
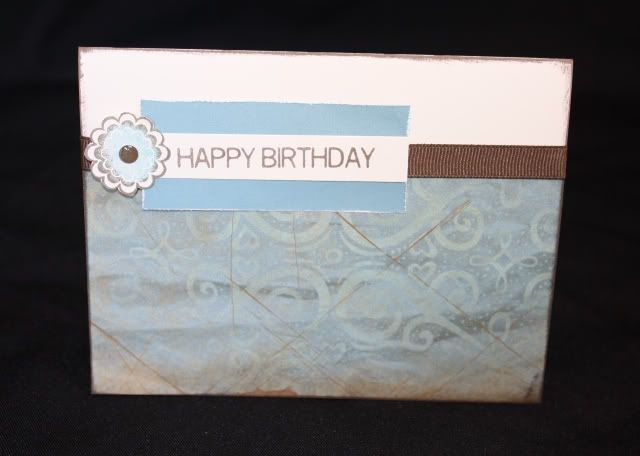
Originals: View From the Top, using Magnifique paper.  I forgot to center and mat the flower this time, I got a little carried away just doing my own thing ;-)  I added Liquid Glass to the paper center of the flower which gave it a really cool look.
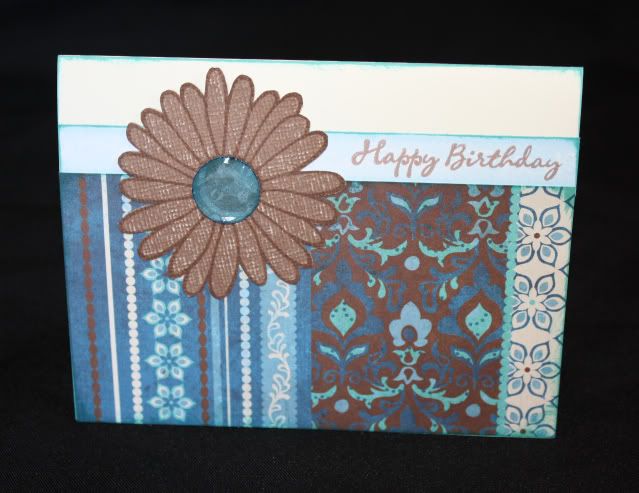
Originals: Equal Angles, using Olivia papers
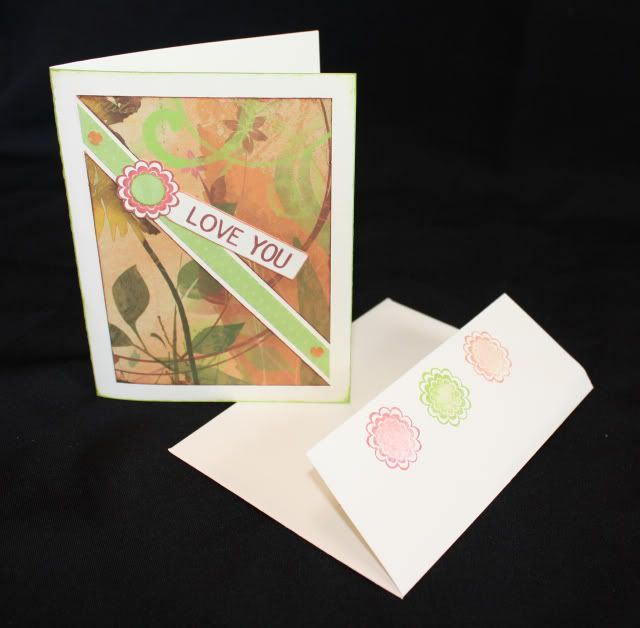
So those were the card patterns that came in the From Me To You card kit and I also included the following cards in the gift.
Wishes: Lucky Layers, using Twitterpated papers and Treasures of the Heart stamp set.
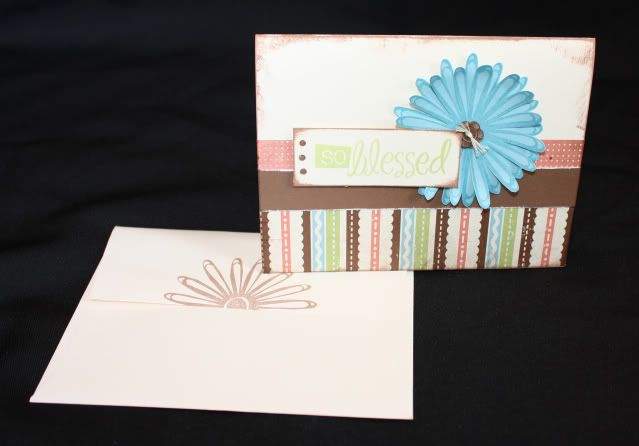
Wishes: Inner Court, using Hooligans paper and October Word Puzzle
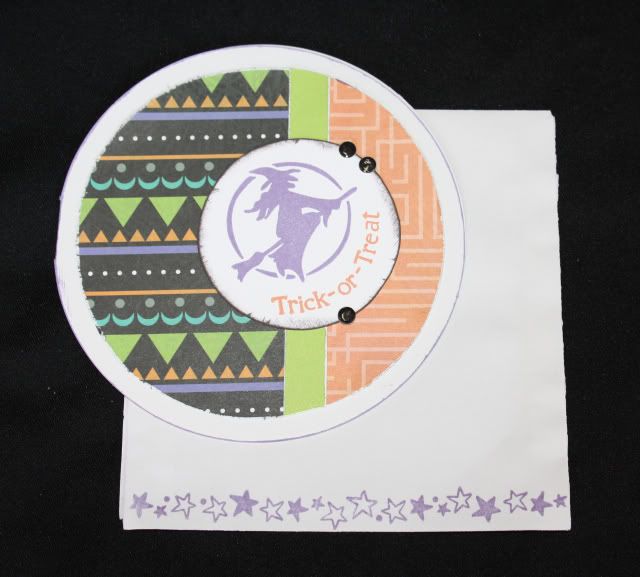
Wishes: Well Rounded using Stardust paper and Treasures of the Heart stamp set, with a bit of Glitz Glitter Gel on the star.
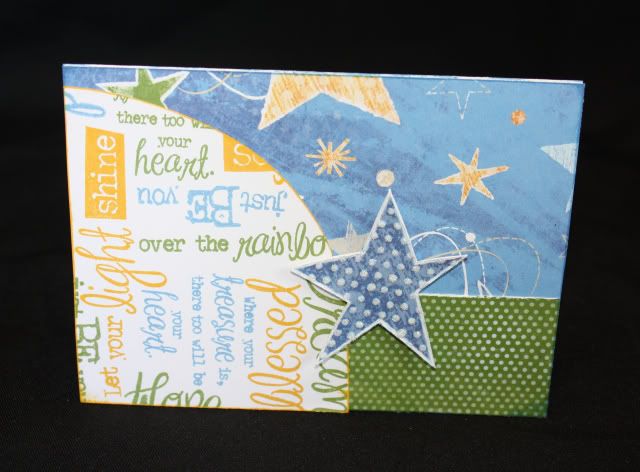
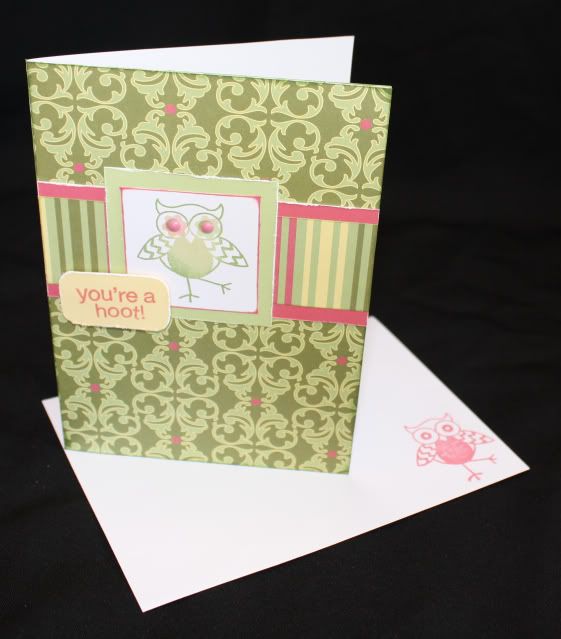
Wishes: Simplicity, using the ????? paper (it's totally slipped my mind - help me out if you can) and You're a Hoot stamp set.
Originals: Always Right, using Veranda paper and a Hero Arts stamp set called Dolls
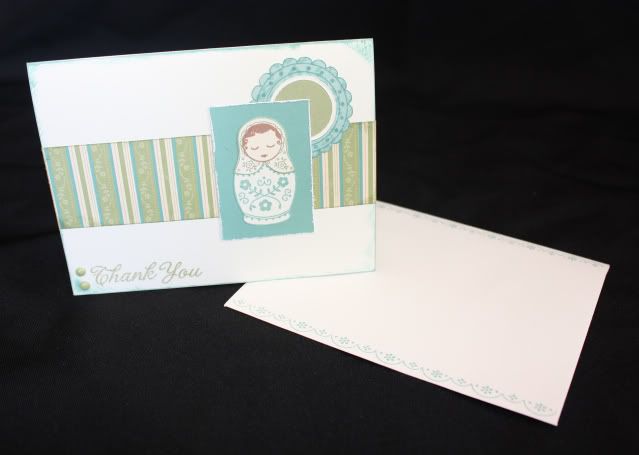
To make an even number of cards I grabbed this one out of my stash and added it to the gift set as well.  This was one I did for my You Rock Workshop last year.
Thanks for looking!

Thursday, March 24, 2011

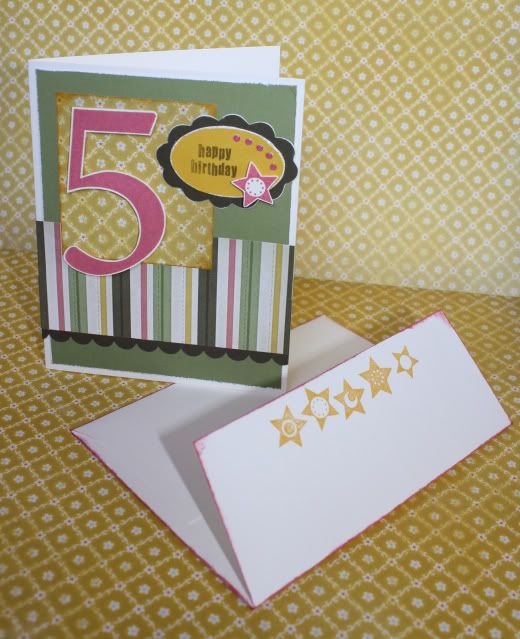
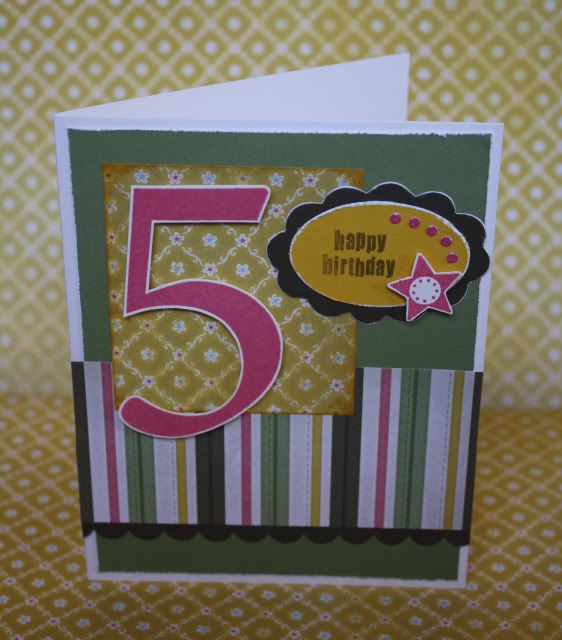
Mayberry Birthday Card

One of Brailee's friends had a birthday party this last weekend, so while David was away camping with the Scouts, and I had some playtime after the kids were in bed, I made this card for her.
It's so weird to think that her friends are turning 5, and then I remind myself that she's going to turn that old this year, too - luckily she still has 9 months of being 4 ;-P
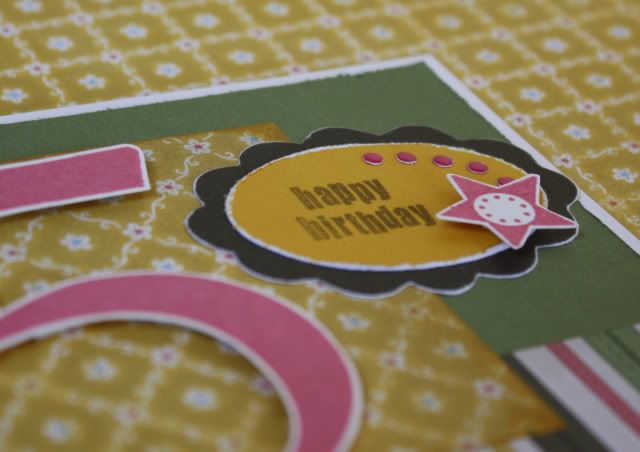
I used sketch #99 from the Sweet Stop, the new Mayberry Paper, and some retired stamp sets - the Solo 5 (for the 5 and the stars) and Happy Birthday stamp set.  Once again I used my coluzzle to cut my ovals and my corner rounder to create the scallops - it was a little harder to get the scallops even on an oval but I think it turned out okay.
Thanks for visiting!

Monday, February 15, 2010

You Rock - Blog Hop

Welcome to our CTMH Product Spotlight Blog Hop! This month we are featuring the stamp set D1346 You Rock. This was a fun stamp set to play with - I used it on my upcoming Workshop featuring the You Rock papers as well! I used the Workshop On The Go for the You Rock papers, but instead of using the Rockin' Top Coats and the Just Be You stamp set that comes in the Workshop Kit, I changed things up and used the You Rock stamp set instead.
***
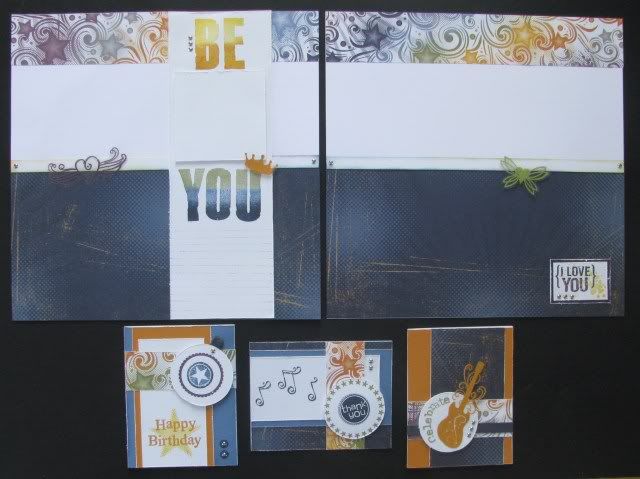
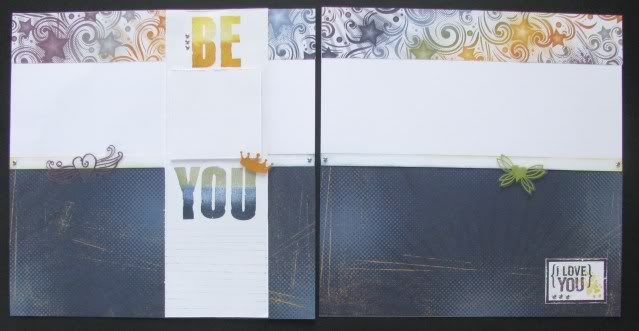
Here are the pages and cards that we will be creating at the workshop...remember you can click on any of the images to view them larger.

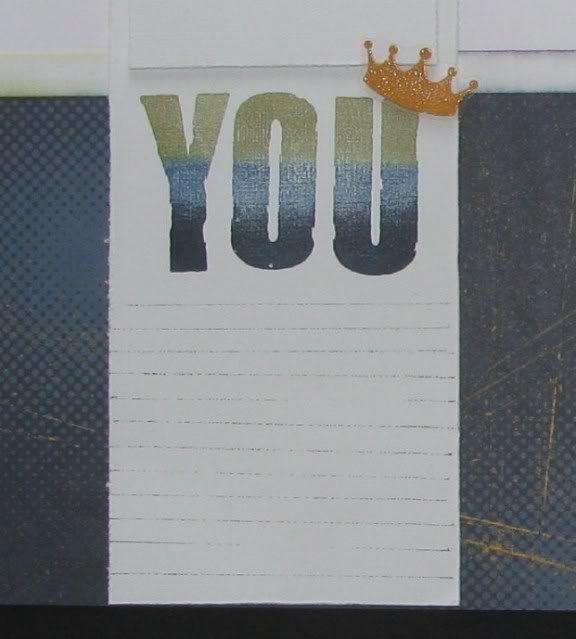
Here are some close-ups of the pages...


Since I didn't have the Rockin' Top Coats to use, I created my own by heat embossing on a transparency and then cutting out - I used Pansy Purple, Olive, and Goldrush (retired) Embossing Powder.


When I stamped the word 'YOU' I accidentally got an edge of the block in the ink and it transfered to the paper - so I made it look like I meant to do that by adding more and voila, I created journaling lines! I think the rough look goes along well with the paper. Here you can also see the crown from the You Rock stamp set that I embossed on a transparency and cut out to add to the page.

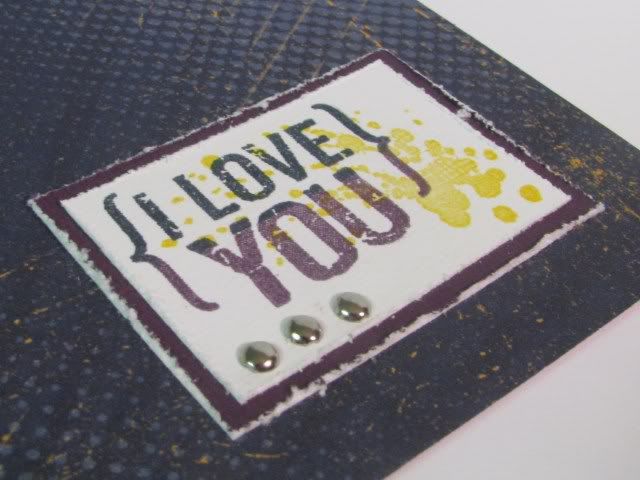
And here is my corner accent - I combined two different stamps 'I Love to Play' and 'You Rock' to make it say {I Love You} instead.

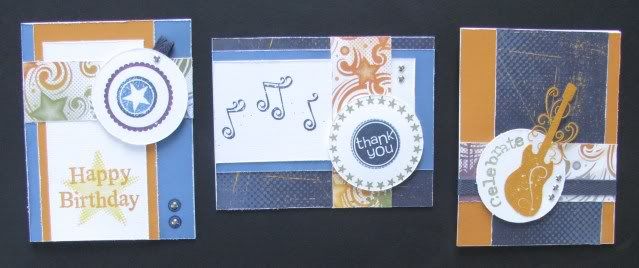
Here are the cards...


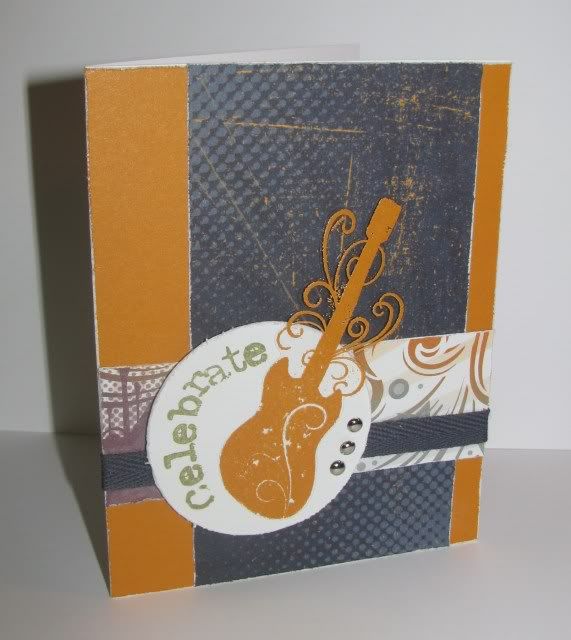
...for this one I heat embossed the guitar on a transparency and cut out...


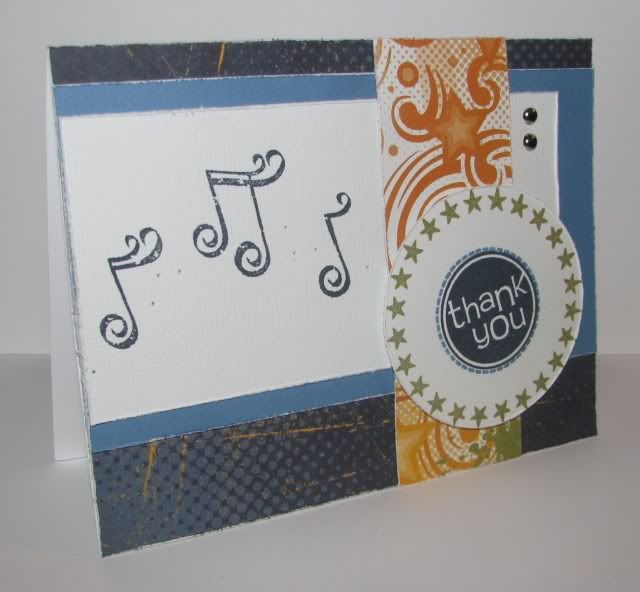
...for this one I also used the Circle Around stamp set and Thanks stamp set...


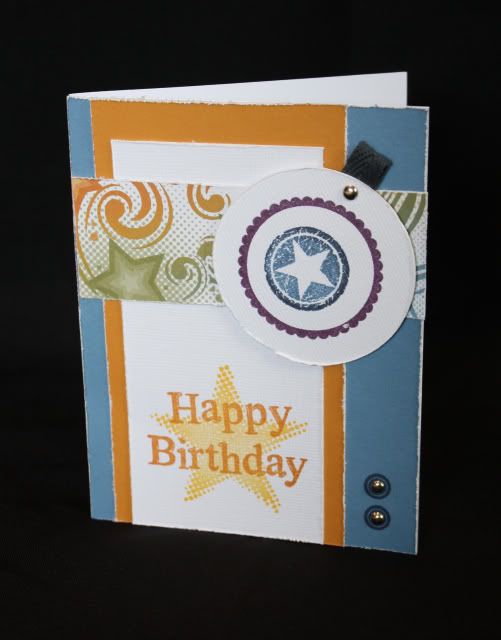
...for this one I didn't use the You Rock stamp set, instead I used the Star Struck stamp set along with the Happy Birthday stamp set...


***
The next stop on this blog hop is Tracy, so don't forget to keep on hopping and check out all the fun artwork using this stamp set.
***
If you get lost or find links not working along the way, here is a complete list of hoppers...

Wendy K http://www.myscrapbookingblog.com/
And for those who would like to see the original Workshop On The Go designs - here is what CTMH created - you can see how I changed mine up.

Thanks for looking - I hope you enjoy the Blog Hop!

Friday, December 18, 2009

Emporium Card Set

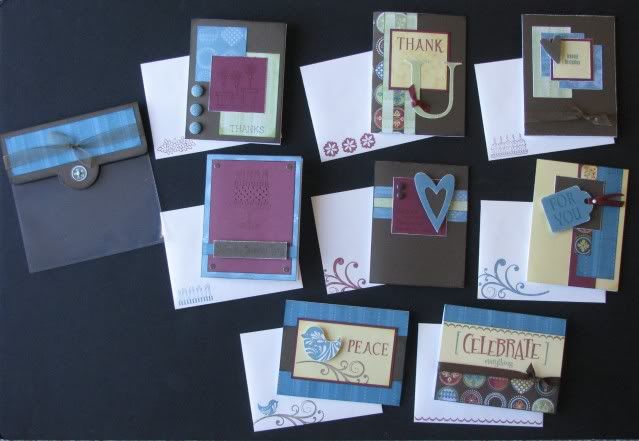
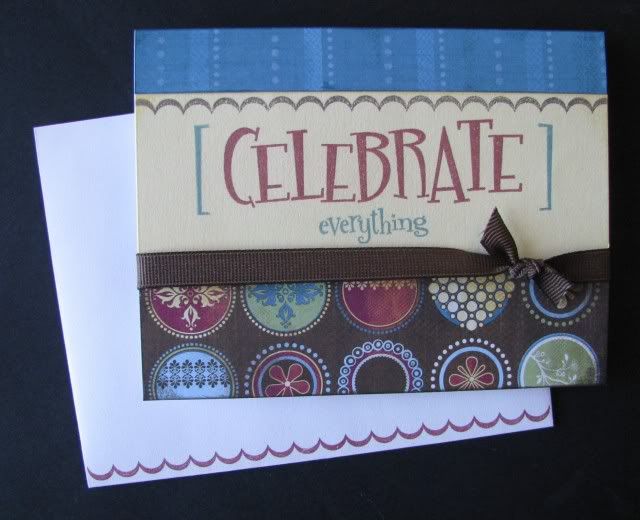
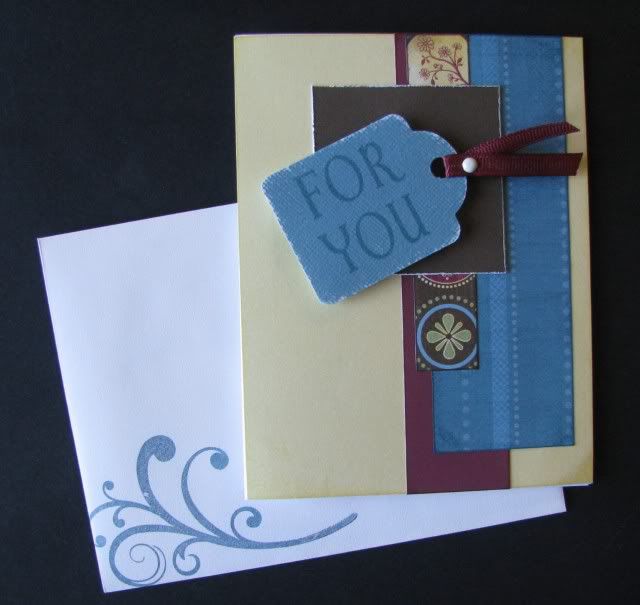
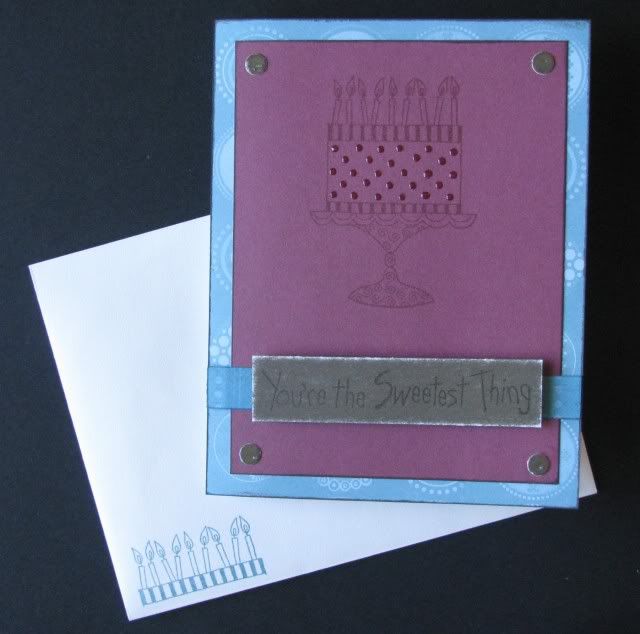
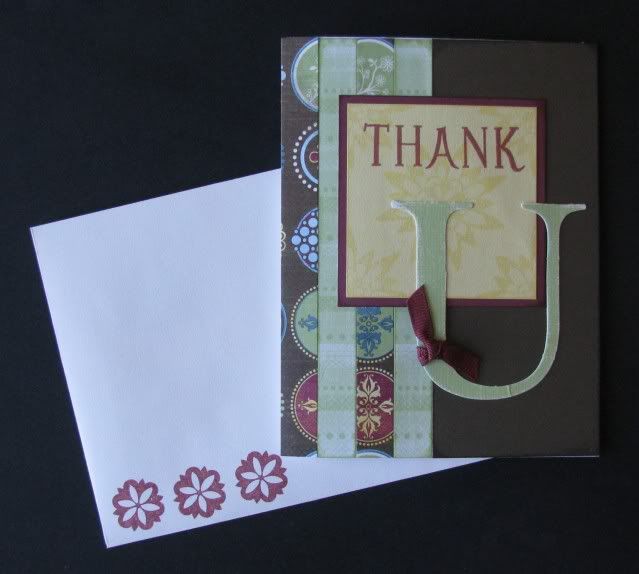
I was asked to donate something for a teacher auction that they are having at my girls' school this week, so I decided to do a fun card set. I have always wanted to try one of the card workshops that are in the Wishes book - this was the perfect chance! I used the Just Because workshop starting on page 68, which creates 20 cards, but since I didn't have enough time to do all of them {since I put this project off until the morning it was needed ;-P } I just did the first 8. I was trying to get 10 done but ran out of time, and it's a good thing because I could barely get 8 cards and envelopes in the pouch. Here is the complete set - using the Emporium paper, a favorite of mine!
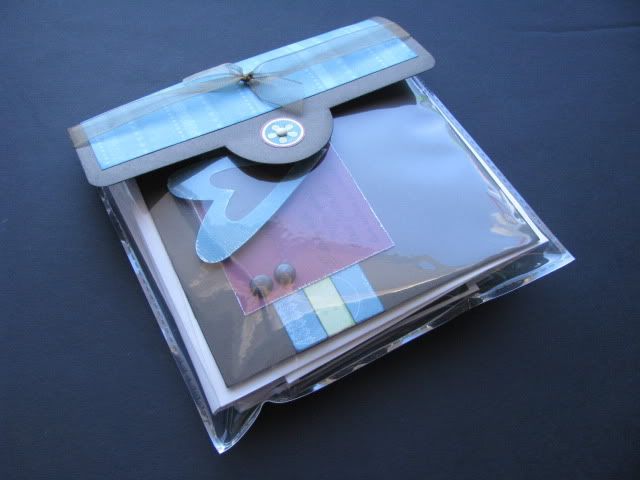
Speaking of the pouch, I created that from a 6x6 page protector, I just cut off the edge with the holes and added a fun flap that closes with velcro.
I used a mix of stamp sets, with some sneak peeks at some upcoming SOTM sets, so here are the individual cards and coordinating envelopes...
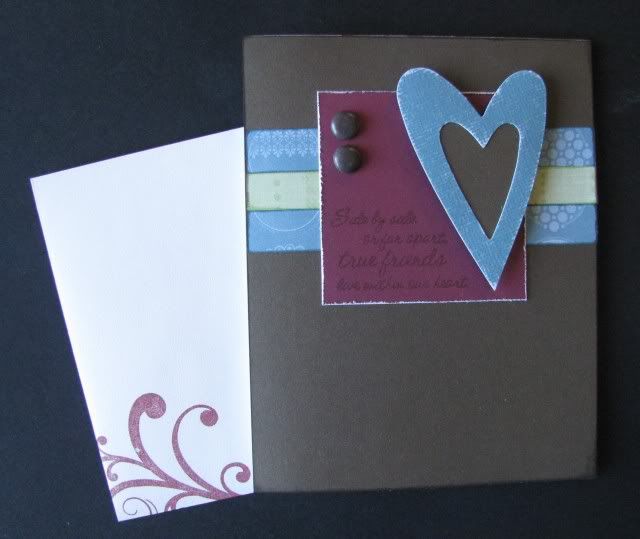
...I'll show you my favorite first - this one uses the upcoming January SOTM - True Friends, along with a heart from the Dazzling Die-Cuts, and I changed some gold brads by heating them and dipping them in Cocoa Embossing Powder
...this one uses the Felicity stamp set
...this one uses the upcoming March SOTM - A Little Everything
...this one uses the Felicity stamp set and a Dazzling Die-Cut tag
...this one uses the upcoming February SOTM - Piece of Cake
...this one uses the Felicity stamp set and another Dazzling Die Cut for the letter 'U'
...this one uses the Happy Birthday stamp set and another heart Dazzling Die-Cut for the card and February SOTM - Piece of Cake for the envelope
...this one uses the upcoming April SOTM - Flower Pot


Thanks for looking!
Thursday, September 24, 2009

Grow...With Love!

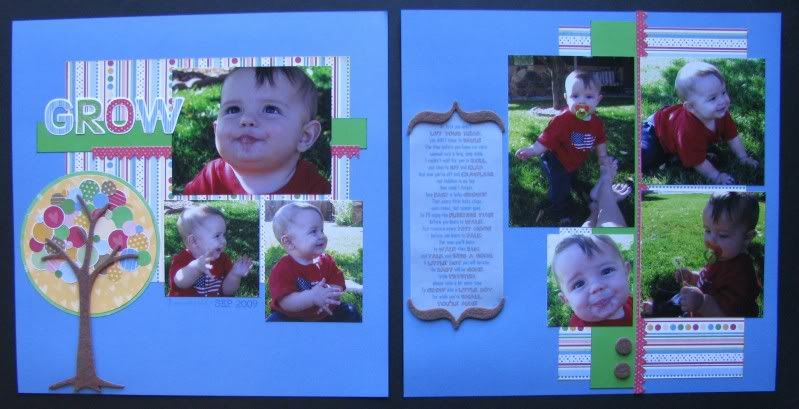
Trysten is 8 months old today! He is growing up too fast - he is crawling everywhere, climbing over obstacles, and pulling up on everything! He likes to play 'So Big' and he loves to clap his hands so he enjoys 'Patty Cake'. I took these pictures last week and couldn't wait to scrap them. When I saw the weekend sketch contest at Practical Scrappers on Saturday, I knew I wanted to do something fun with the tree where the circle element was on the page. Then once this week's sketch over at 52 Sketches posted, I knew they would be perfect together and it would give me a chance to use all (or most) of the pictures that I took. I was going to use my Grown With Love stamp set, but the felt was funner to play with ;-)
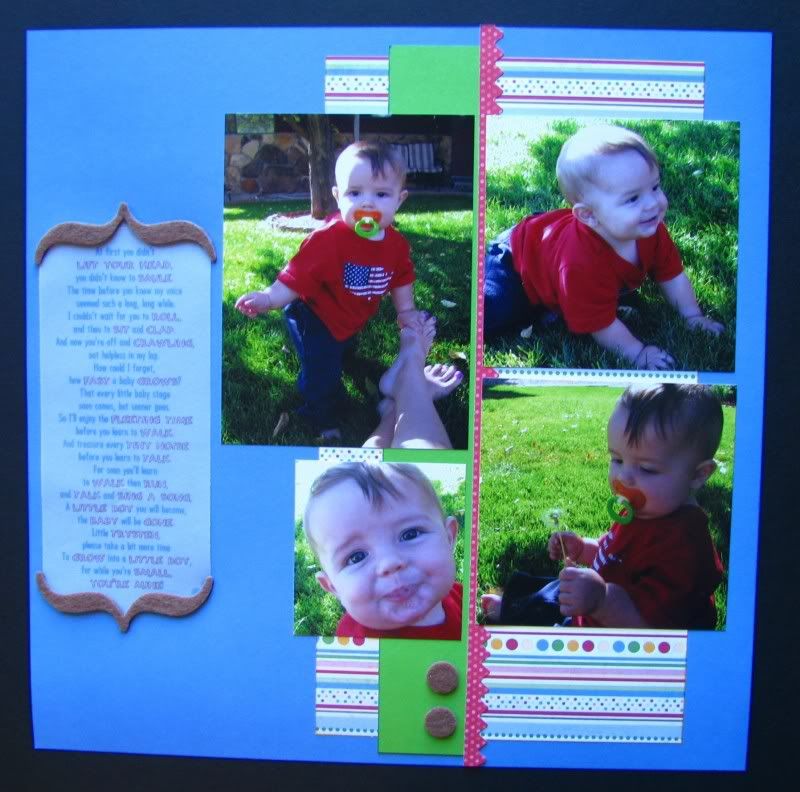
I had this poem that I had saved and knew it was a perfect fit. The original poem is by Diane Woolley, but I changed a few parts to make it work better. Here is what it says:

At first you didn't lift your head, you didn't know to smile. The time before you knew my voice seemed such a long, long while. I couldn't wait for you to roll, and then to sit and clap. And now you're off and crawling, not helpless in my lap. How could I forget, how fast a baby grows? That every little baby stage soon comes, but sooner goes.So I'll enjoy the fleeting time before you learn to walk. And treasure every tiny noise before you learn to talk. For soon you'll learn to walk then run, and talk and sing a song. A little boy you will become, the baby will be gone. Little Trysten, please take a bit more time to grow into a little boy, for while you're small, you're mine!
***
This is the sketch from Practical Scrappers - even though I didn't get mine done on time for their contest, I still had fun playing along!


Here is the sketch from 52 Sketches


CTMH Products Used: Animal Cookies paper pack and stickease, Heartfelt Wonder felt pieces (brackets, tree trunk, circles), Circle Coluzzle, 1/4" circle punch, Vellum, Font CD
Other Products Used: 1/2" circle punch, 3/4" circle punch
***
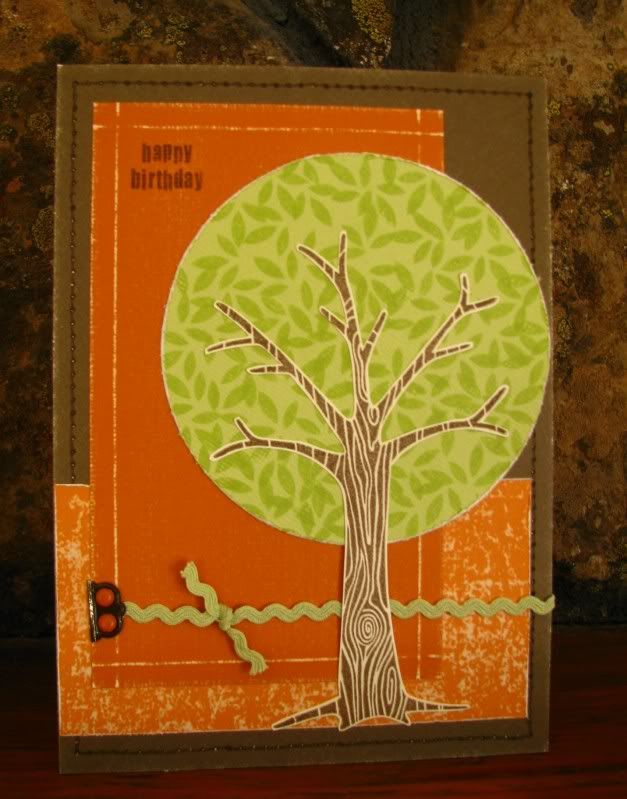
Are you ready for more trees? Here are a couple of cards I made last week. I LOVED this Grown With Love stamp set when it came out and got it right away, but this was the first time I've finally used it - now I have so many more ideas running through my head, I can't wait to play with it some more!
***
This was the card I made for my SIL Hannah - using the beautiful Grace papers I made this fun Tri-fold card. I started one of these fun folding cards back in June - it's super easy, I just never got around to 'decorating' it until now. I will definitely be doing more of these. You can find the instructions HERE.
Here is the card closed...

And open...

Then this one was the first card I made with this stamp set - I tried something different by turning the circle in the pattern of the card (from Wishes - Bullseye) into the tree top by stamping the leaves all over. I used Jeanette Lynton's color combo from last week's Color Me Monday. Maybe it's just the colors or the circle behind the tree like that, but it seems really 'Halloween-y' to me - if that were a word ;-)

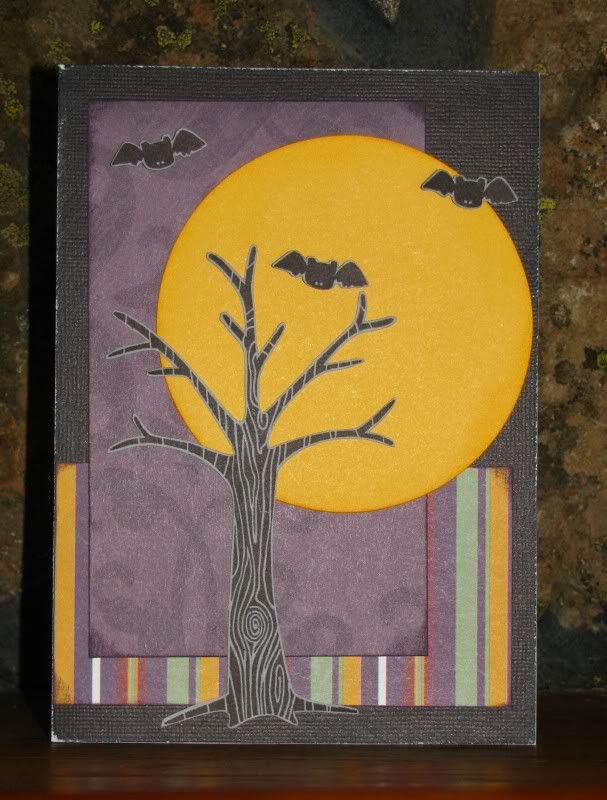
So after that card - I had to play with the Halloween idea, using the Enchanted paper back with some Black Textured CS. I think it turned out cute! The cute little bats came from the retired Fall stamp set and they are popped up with pop dots. I used the same Bullseye pattern from Wishes, but this time I turned the circle into a moon.
Wow, I didn't expect this to be such a long post, but there's no turning back now! If you've stuck with me this long, thanks for looking!

Monday, September 21, 2009

Princess Birthday Card!

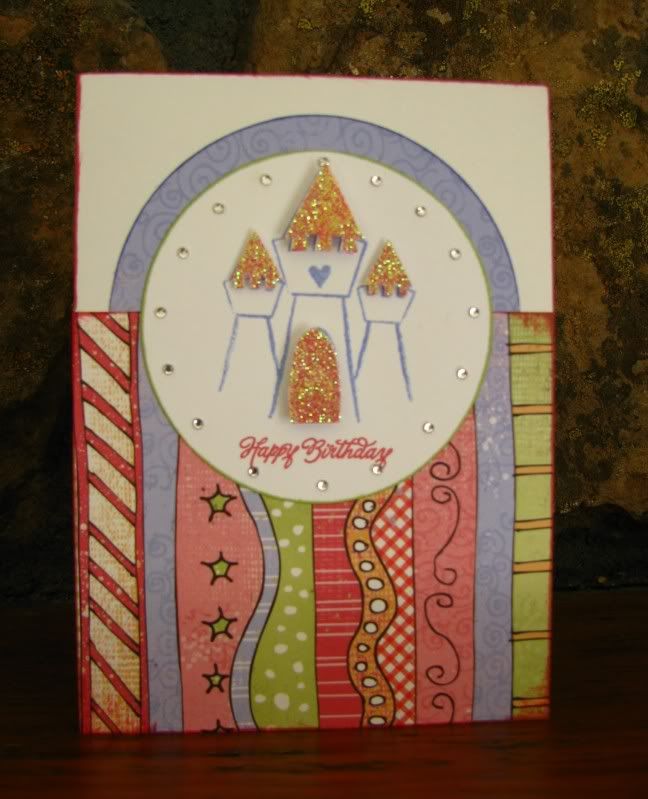
Here is a quick card I made for Izzy for her 3rd birthday - she loves princesses and bling and even had a castle birthday cake, so I thought this was just perfect for her.
Wishes card pattern - Keyhole
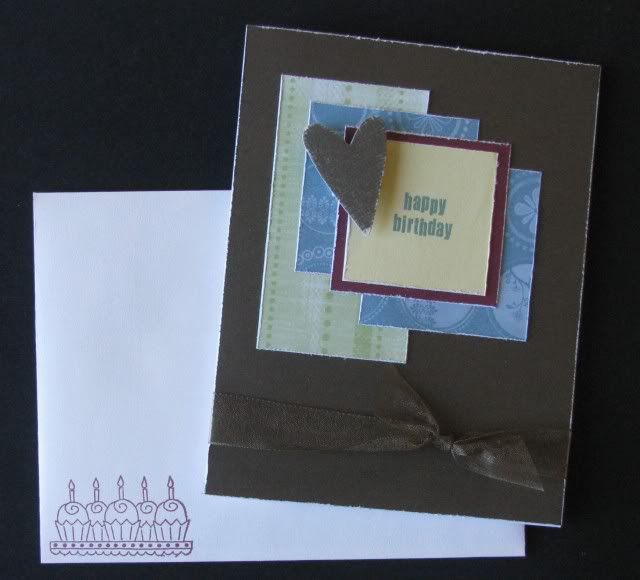
Products Used (all CTMH): Daydream paper pack, Princess stamp set (retired), Happy Birthday stamp set, Prisma Glitter, pop dots, Clear Sparkles, Hollyhock and Spring Iris ink pads
***
Thanks for looking!
Sunday, September 20, 2009

Childhood

Here are a couple of cards that I created a while ago using the fun Childhood stamp set - it's a favorite of mine!
***
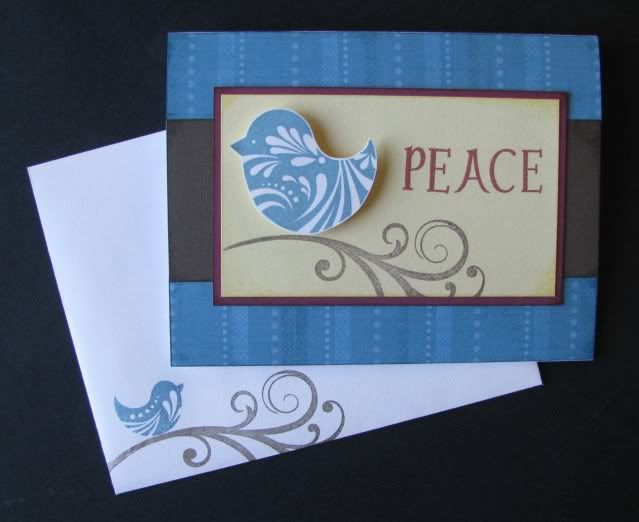
This was the card I created for David's brother and his wife who welcomed a new baby boy to their family back in July. I even stamped a fun border on the envelope.


I used the Twitterpated paper and the following sketch from Mojo Monday.

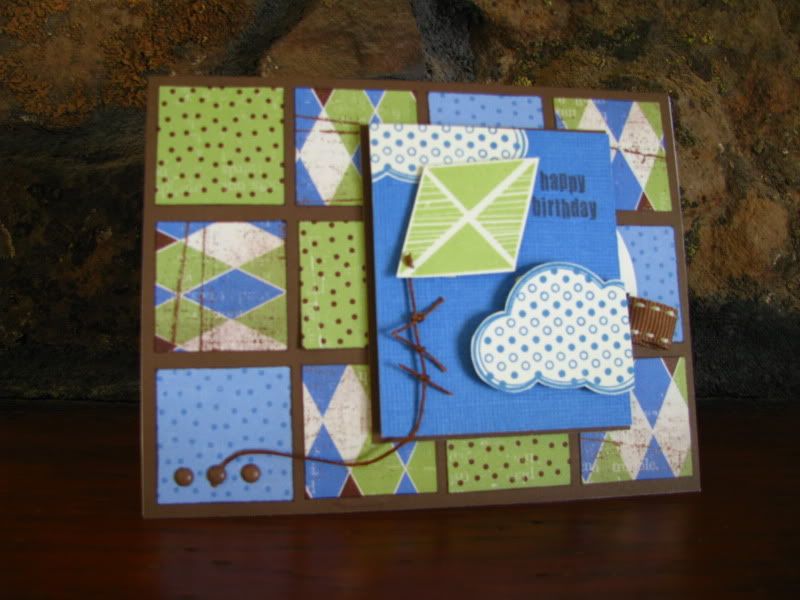
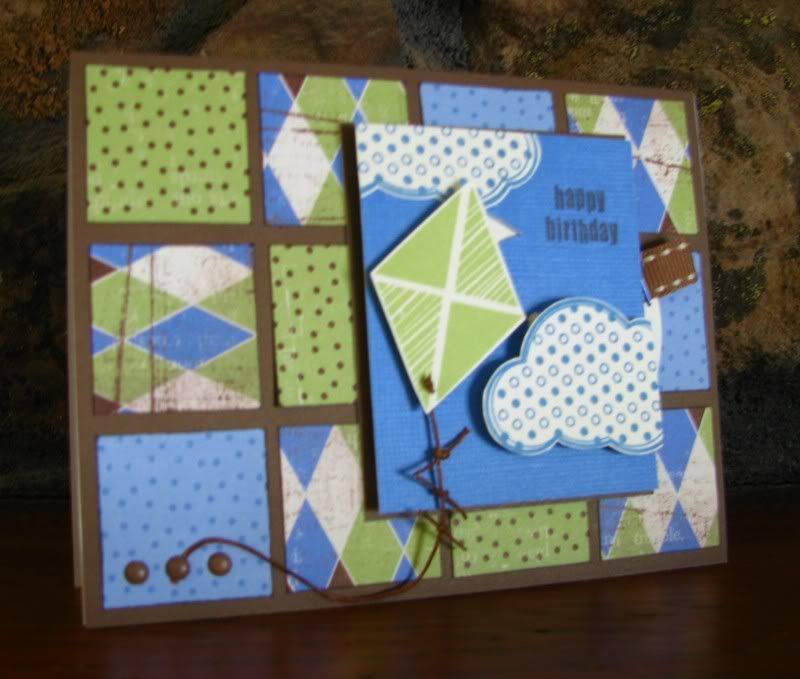
Here is a fun moving card that I created for one of my nephews who is turning two in November. His brother got this moving train card for his birthday earlier this year, so I wanted to create a fun one for him, too! The kite flies! I have step by step pictures that I took while creating this card so if anyone is interested and would like to know how I did it, I can put a tutorial together - just let me know!


I used another sketch from Mojo Monday for this card as well.
Thanks for looking!