Showing posts with label Dimensional Elements. Show all posts

Wednesday, January 18, 2012

Genuinely Appreciated

I got to participate in some more challenges this week.  This time I piggy-backed a few different challenges for the following card that will be a thank you card for a new crafty friend.
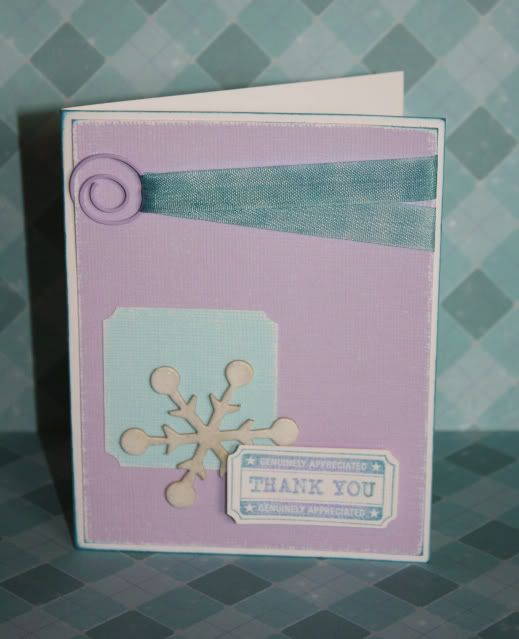
I started with this week's Color Challenge PLUS over at H2H to use Amethyst and Crystal Blue and glitter.  It's hard to tell in the pics, but I mixed Prisma Glitter with Clear Embossing Powder and heat embossed the Dimensional Element Snowflake.  Then I took my Embossing Pen and traced the words Thank You and embossed them with the powder/glitter mixture as well.  The stamped image was inked in Amethyst and rolled in Crystal Blue.  
I liked last week's challenge (to use a never been used stamp set) so much that I decided to use it again, and I would like to continue using it throughout the year!  I have used some of the other stamps in this set but not this particular one until now.  It's one of the stamp sets that comes in the CTMH Art Philosophy Cricut Collection so I cut the coordinating tag from my Cricut. 
Then I was looking for inspiration for my card pattern so I turned to Unscripted Sketches and chose their most recent Sketch Challenge #141.

I didn't use any patterned papers on this card, just some of CTMH's retired Textured Cardstock that I sanded, along with an Amethyst spiral clip.  This card features a sneak peek at a new product featured in the upcoming Spring/Summer 2012 Close To My Heart Idea Book.  It's the new Color-Ready Ribbon featured on page 30 - I love that I can make it any color I need!  I used a Sponge Dauber and my Crystal Blue ink pad to color it.  It was still pretty fresh when I took the picture of my card so I'm not sure if it will lighten or not, but I'm excited to play with this ribbon some more!
***
I hope you like it - thanks for stopping by and enjoy your day!

Tuesday, November 15, 2011

CTMH Spotlight Blog Hop - Embossing

Hello and welcome to this month's CTMH Spotlight Blog Hop!  This month we are featuring projects using an Embossing Technique.  If you came from Luisa's blog then you are on the right track!  If you are starting here, then just keep hopping along to check out what everyone else has created.
***
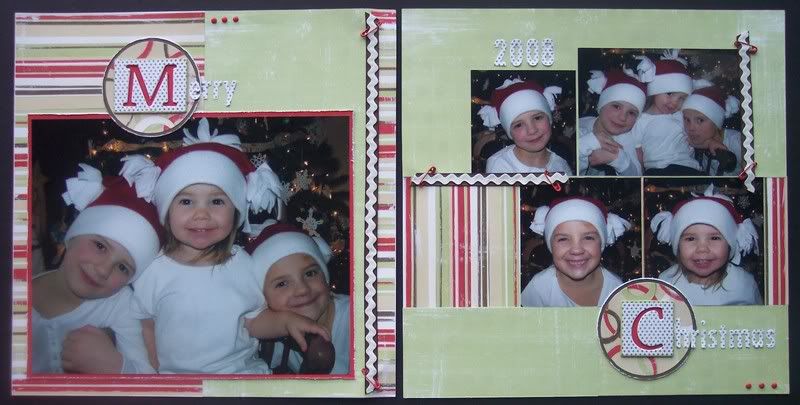
I love embossing, whether it's heat embossing or dry embossing, it's always a fun addition to any project.  Click HERE to view all items available from Close To My Heart to meet your embossing needs.  Today I am featuring some projects using heat embossing.
***
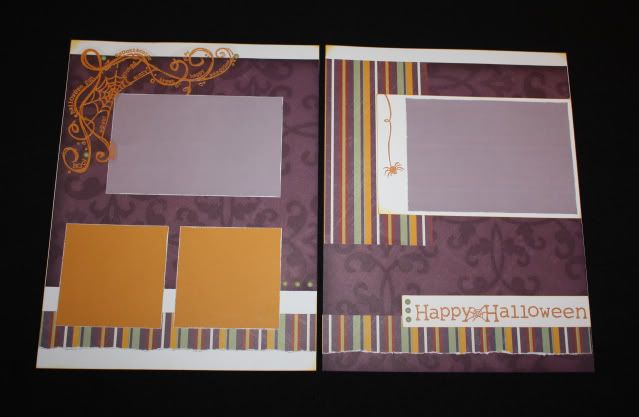
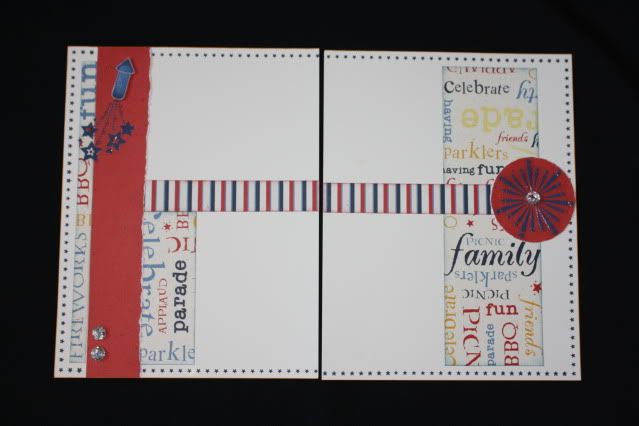
I gave a little sneak peek last week, here are a few of the full pages.  I created these pages for a friend's baby shower.  She only scraps in 8 1/2 x 11 so I had to challenge myself since I've never scrapped this size before.  On these following pages, I heat embossed on a clear transparency to create my own type of overlay.
For these Halloween pages I modified the Dialogue pattern from Imagine.  I also used some retired Enchanted papers and Creepy Cobwebs stamp set.  I heat embossed the title and the spider on the right page directly on the white paper.  I heat embossed the spider web on the transparency and trimmed around it.  I attached it with carefully placed dots of Liquid Glass (to hide under the image) and a few coordinating brads.
For the following 4th of July pages I modified the Levitate pattern from Magic.  I used some retired Blue Ribbon paper, along with a Stamp of the Month from this summer, American Celebration, and an old favorite stamp set, Circle Around.
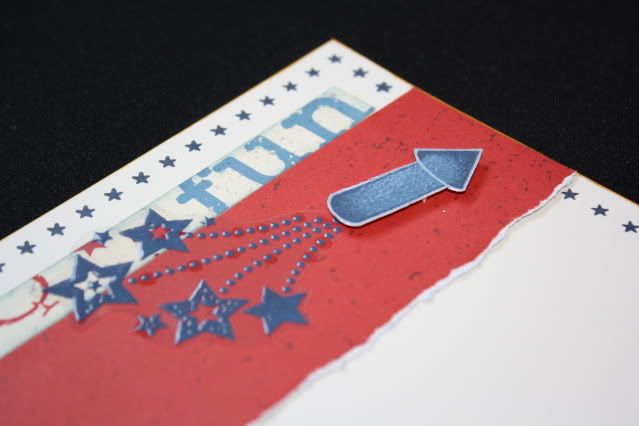
I embossed the firecrackers on the transparency and added a touch of Prisma Glitter to the image while the embossing powder was still hot.  It added just a touch of sparkle.  Like the spider web, I trimmed around the image and attached it to the page using Liquid Glass behind the stars and a few dots.
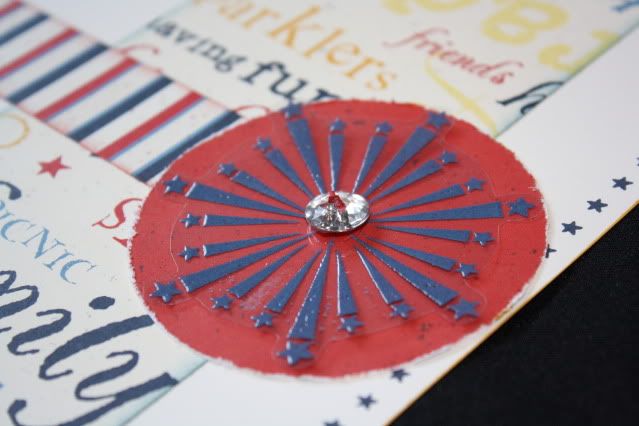
I added a few Bling Buttons as well - this one covers up the glue dot that I used to hold the transparency down.
Here are some pages for Baby's First Christmas with a few different embossing touches added.  I modified the Full House pattern from Imagine.  I used the retired Jingle papers on these pages.  My title was cut using the Cricut Art Philosophy Collection.
I used white embossing powder mixed with Prisma Glitter to color this Dimensional Element Ornament.  It adds just the perfect touch of sparkle and shine.

Another thing I like to do with Embossing Powder is color brads with it.  I took some plain white brads here - heated the brads with a heat gun then dipped them in Baby Pink powder and heated them again.

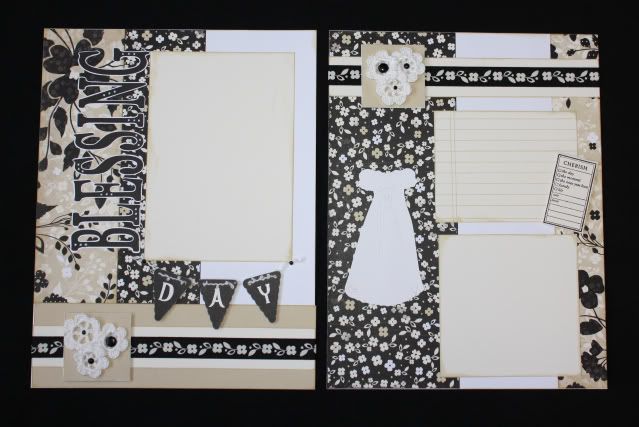
For some regular embossing, I did a little bit of that here on the Blessing Day pages.  To create these pages I modified the Simple Contrast pattern from Cherish.  I used the retired Silhouette papers.  The title was cut using my Cricut Art Philosophy Collection - with a little help from my Cricut Design Studio I was able to change the look of the alphabet by making it taller and skinnier.  I do NOT use my Cricut without the Design Studio anymore - I know exactly what I am cutting and get the exact size I want without guessing, plus I am able to use my paper better and really customize the look.
I embossed the word DAY on these black banner pieces (also cut using the Cricut) using white embossing powder and Felicity stamp set.
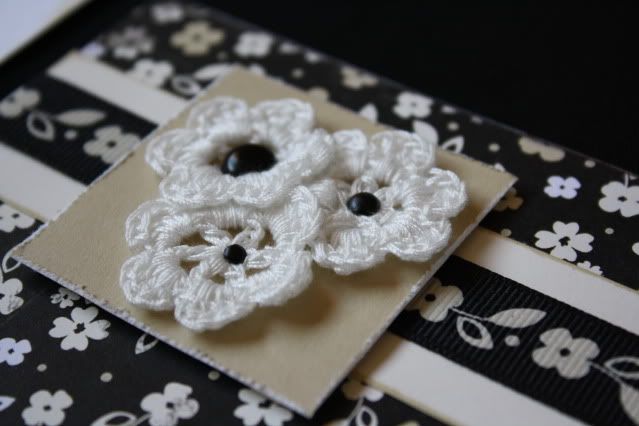
A few more close-ups from these pages just because I love them so much ;-)  Here's a cluster of crochet flowers attached with various sizes of black brads.
The journaling piece was stamped using lines from the Comments stamp set and accented using the Cherish the Moment stamp set.
Thanks for stopping by - to continue along the hop, your next stop is Nikka!

Friday, October 8, 2010

Creating in my new town!

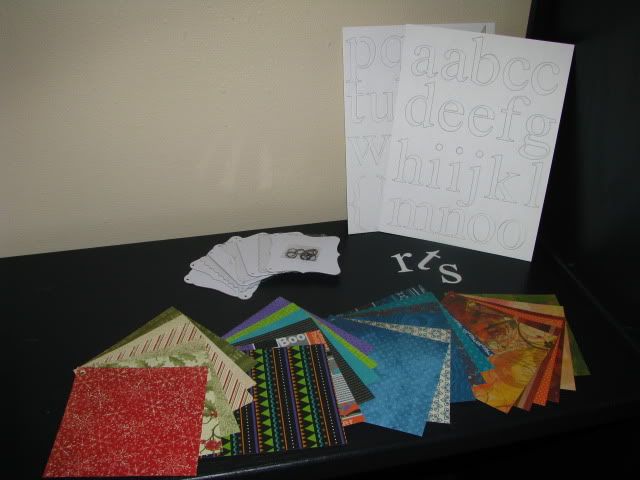
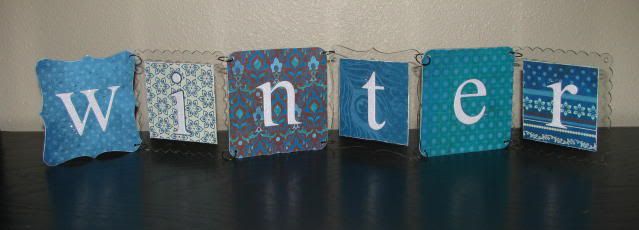
So I finally had a chance to create something with real paper this week, and I am so excited about it!  I am planning my first workshop/open crop here in my new town to get together with fellow scrappers and hopefully meet some new ones and this is the project I planned.  Now, keep in mind that I kept it really simple as all of my scrapbooking supplies are still boxed up (remember, no craft room...yet) so I had no stamps, no ink, no embossing powder, etc. to work with.  I placed a small order when the latest Autumn/Winter Idea Book was released and received some inspiration from page 38 for my first project in my new town!  Using the following items...


And on the other side...
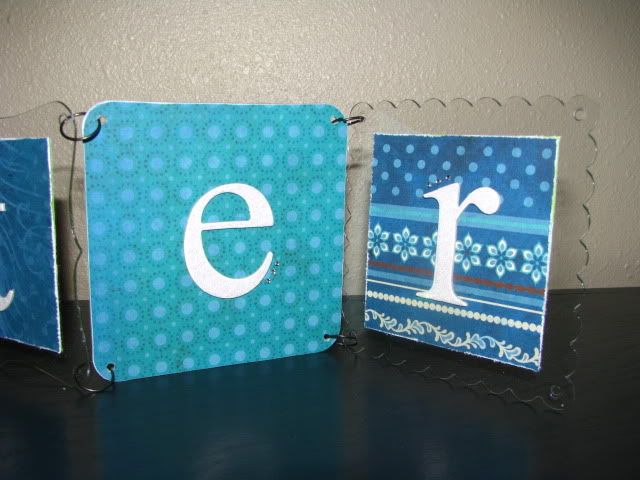
Here is a close-up of some of the letters...you can't see it very well in these pics, but for the WINTER side I used the Stardust Glitz Gel on the letters to make them sparkly and accented them with 3 Bitty Sparkles
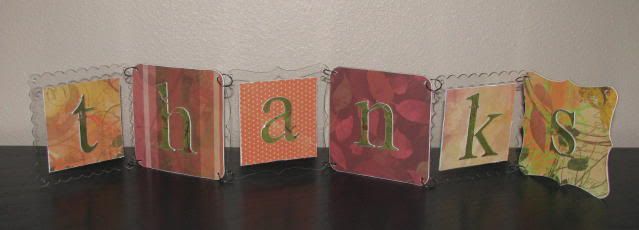
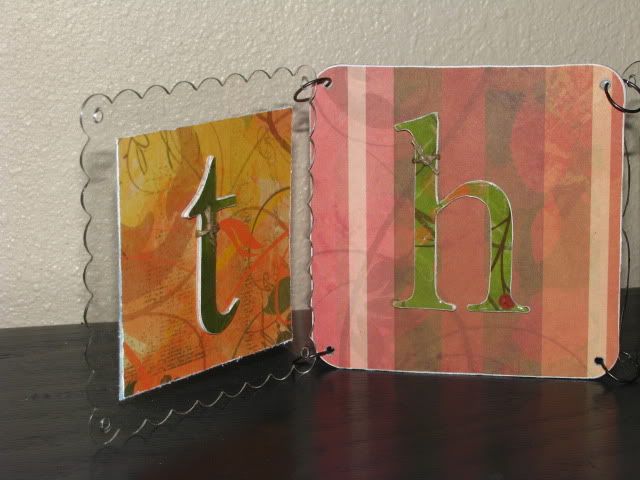
For the THANKS side I covered the letters with paper, finished them off with the Finishing Files, covered with Liquid Glass and tied with a bit of Hemp.
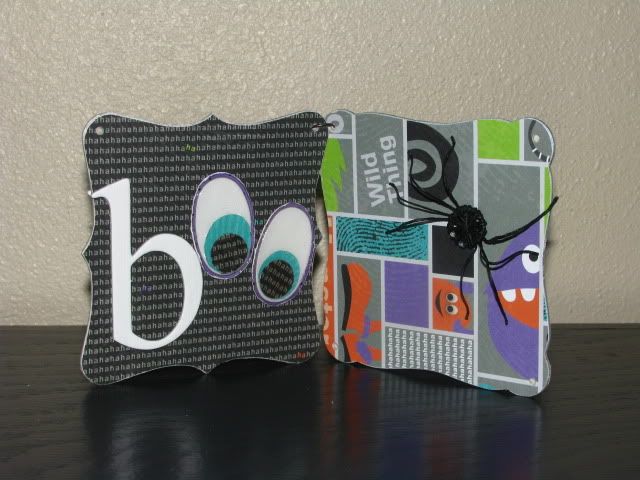
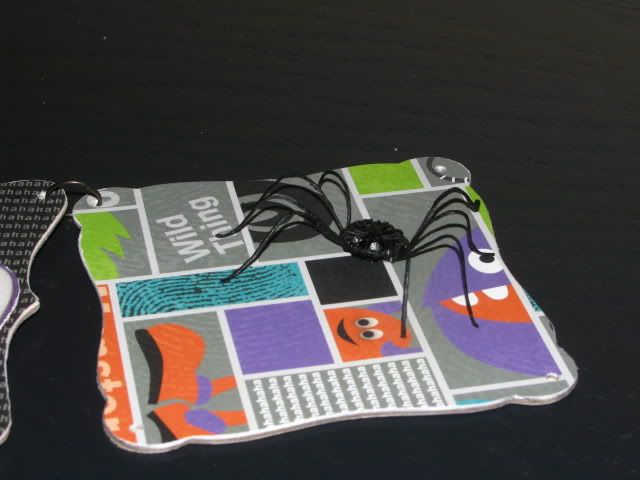
With the leftover paper, letters, and mix 'n mingle pages, I created this coaster frame.  I think I like the way this mini project turned out better than my original project!  One side is for Halloween - if I want I can add a small picure to the right side:

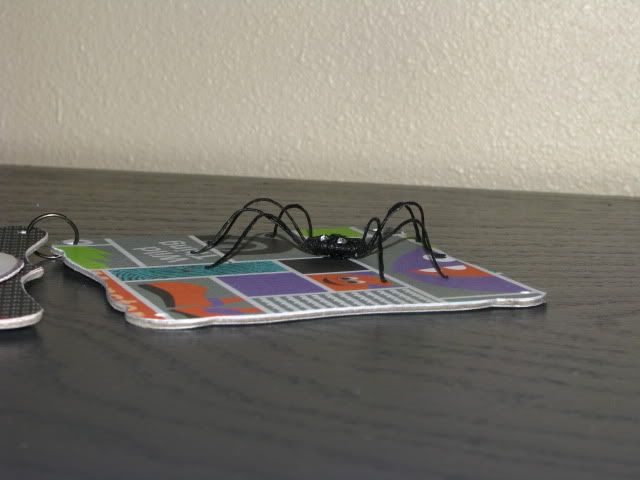
I was going to use the actual letter 'O' but thought the insides to the letters looked so much cuter when I turned them into eyes!  I also covered the eyes with Liquid Glass to really make them pop.  And as much as I hate spiders, I just love this little guy...can anyone guess how I made him?

I was wanting to make a spider out of a black brad and some black wire like I have done before, but all that stuff is packed who knows where, so I had to improvise.  I had a big pack of Black Waxy Flax in my available stash, so I took a leftover jump ring from the Mix 'n Mingle Album and wrapped the waxy flax around that to create my body - I also used the waxy flax to create the legs.  I finished him off with a couple of Bitty Brads for the eyes!  I love that you can really play with and shape the waxy flax to get the look you want - he'll probably get smashed when I pack him up and put away the Halloween decorations, but he'll shape right back up next year!
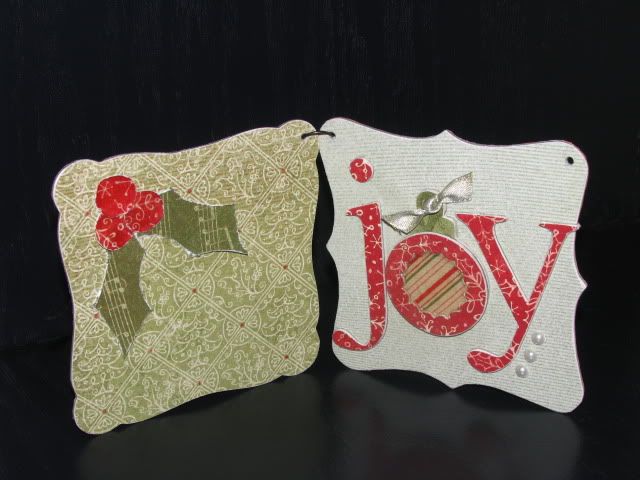
Then this is the other side of the same coaster frame - this one is for Christmas.  I left room to add a picture to the left side of this project as well.  I added a Dimensional Element Ornament for the 'O' in JOY - used Liquid Glass to fill the ornament and cover the holly berries, and added some Opaque Gems to finish it off.
I've also been brainstorming other words you can use to create these fun signs - here is what I have come up with so far, but I'd love to hear any other ideas!  There are 8 pages to the Mix 'n Mingle Album, so you can use any word with up to 8 letters...I still have lots of letters left over from my original project, plus by using different papers you can really customize this project to whatever theme you want!  Another fun idea would be to do a family's last name, or a kid's name.
THANKFUL
BROTHERS
FRIENDS
SISTERS
BLESSED
JOYFUL
FAMILY
THANKS
WINTER
SUMMER
SPRING
BEWARE
BLISS
HAPPY
SMILE
PEACE
FALL
LOVE
HOME
HOPE
BABY
GIRL
CUTE (thanks Mom!)
JOY
BOO
BOY
***
Thanks for looking!

Tuesday, February 2, 2010

Winter Joy

This week's challenge over at Sketches! {by tamara} is a layout sketch:

And here is the layout I created...I had so much fun with this one, and you can see I stayed pretty true to the sketch. This page went together pretty fast, and I'm really pleased with it. This is Kaylee 6 years ago!

CTMH Products Used: Life Delights paper pack, Pearl Paint, Flurry Dimensional Elements, Blush re-inker, Snow Flurries stamp set, Clear Sparkles, Pretty Pins, Winter Cozy Mini Medleys
Other: SU! scallop border punch
***
The pin in the sketch inspired me to finally use at least one Pretty Pin that I've had for almost a year now! Now I'm inspired to use them more.

I painted the chipboard snowflakes and edges of all the papers with the Pearl Paint for some fun distressing. For the flake in the bottom right corner I added some Blush re-inker to the paint for a pretty pink snowflake. In the following picture the coloring is off but you can see the paint distressing better...

To see what the rest of the Design Team has created, visit the Sketches! {by tamara} blog. Thanks for looking!

Saturday, September 12, 2009

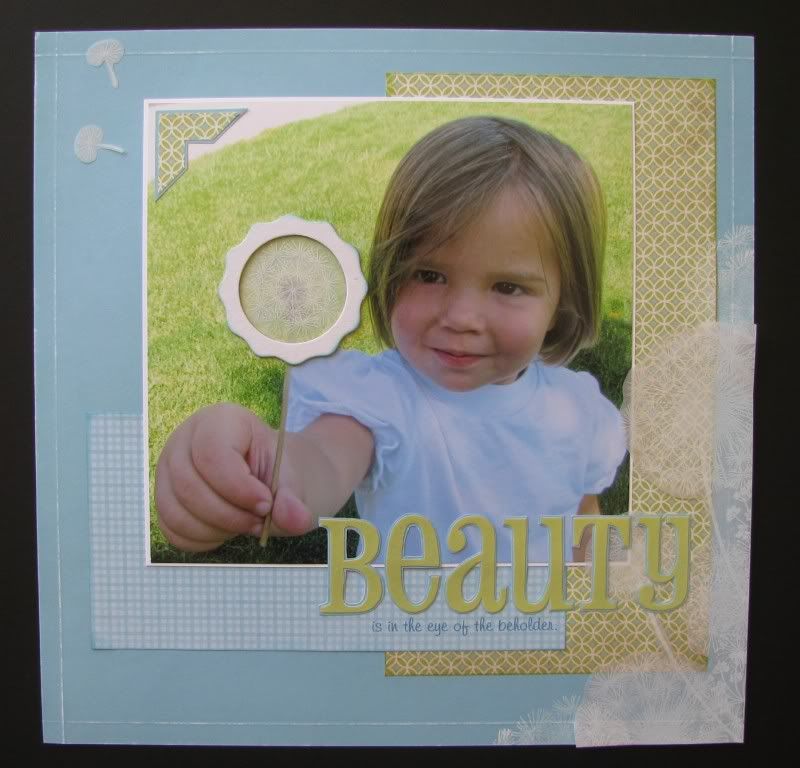
Beauty...

...is in the eye of the beholder. I thought that title went perfect with this picture - I just love how excited Brailee gets every time she finds a 'wish' - and I let her spread her wishes all around my yard because I love to see her so full of joy ;-P
***
I used the following PageMaps sketch for their Studio Calico sketch contest.


I love this picture, even though it's not the best - Brailee looks fine but the flower was hard to see because of the shadow and its soft/light look so I tried to enhance it with a Dimensional Element circle and a little vellum - I stamped the vellum to create another flower overlay - I don't think you can see it in this picture or not. So then I decided, to go with the sketch, and continue the vellum look, I stamped more flowers on vellum and adhered them up the side. That's where this layout loses it for me - now I look back and wonder if vellum is the way to go or if I should have used a transparency again like I did with THIS layout. What do you think? After I added the vellum I just kinda stopped with this layout as I'm just not thrilled with it - I'd love to hear your thoughts and suggestions!
***
Click on the picture to view it larger.

CTMH Products Used: Twitterpated paper pack, Friendship Alphabet (embossed with Clear EP), Embossing Stylus, Sanding Block, Treasures stamp set, White Daisy stamp pad, Dimensional Elements On Target, Vellum, Crystal Blue and Sweet Leaf stamp pads
Other Products Used: Photo Corner punch (SU!), computer font (Missy)

Tuesday, March 3, 2009

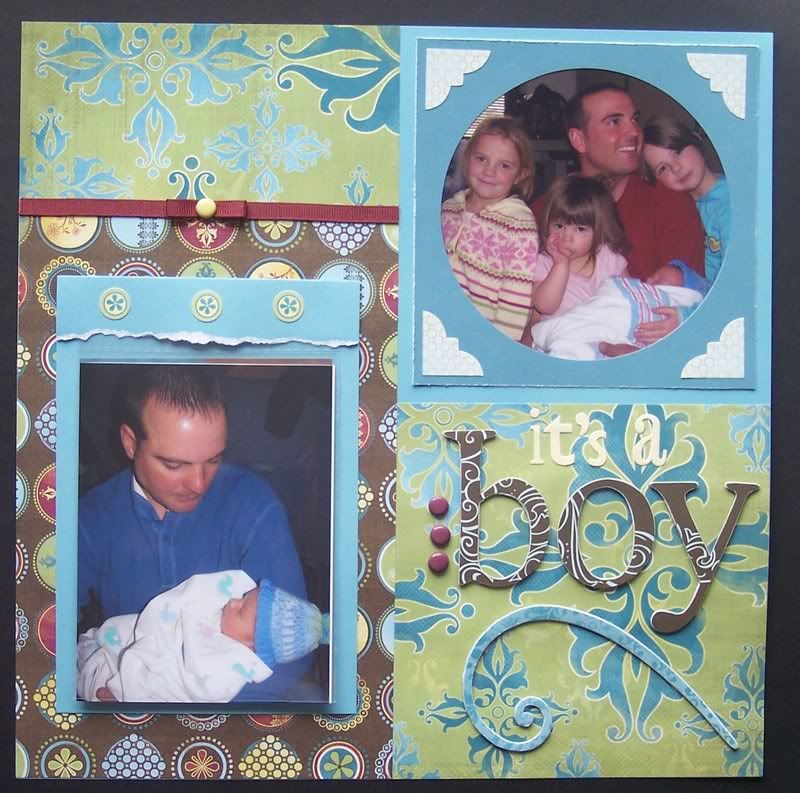
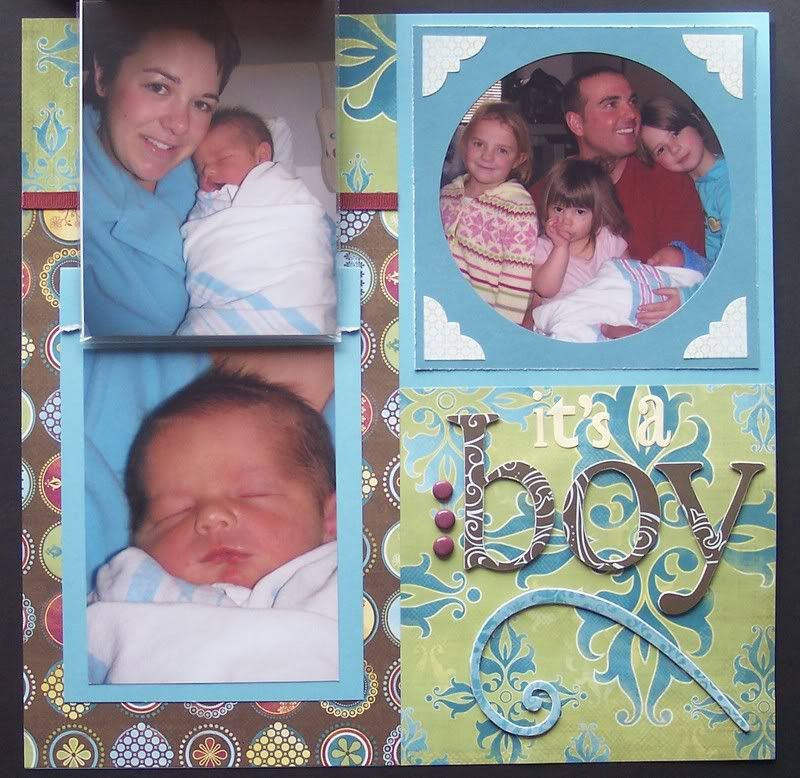
It's a Boy

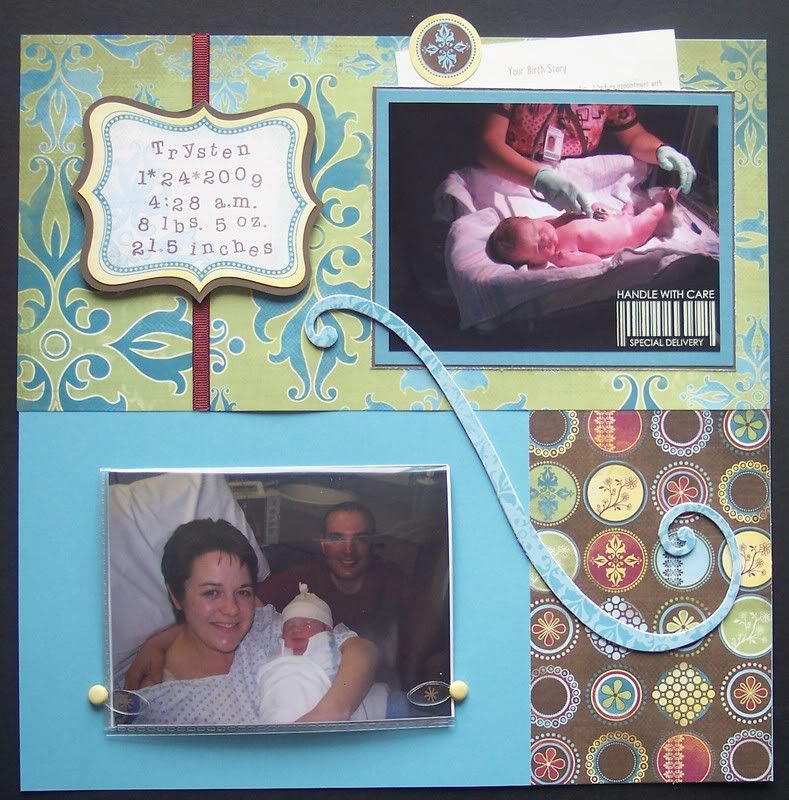
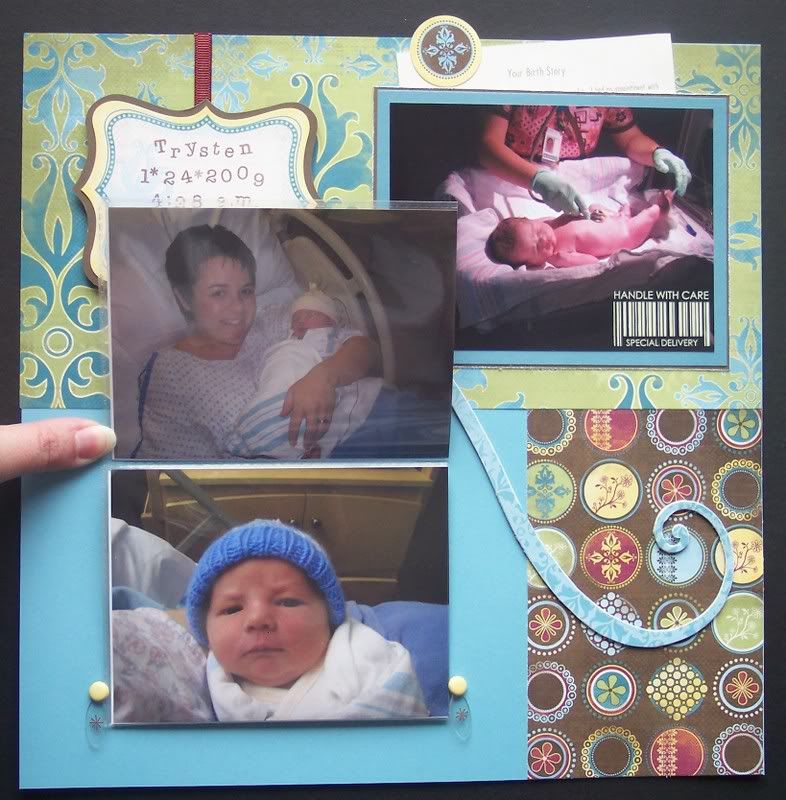
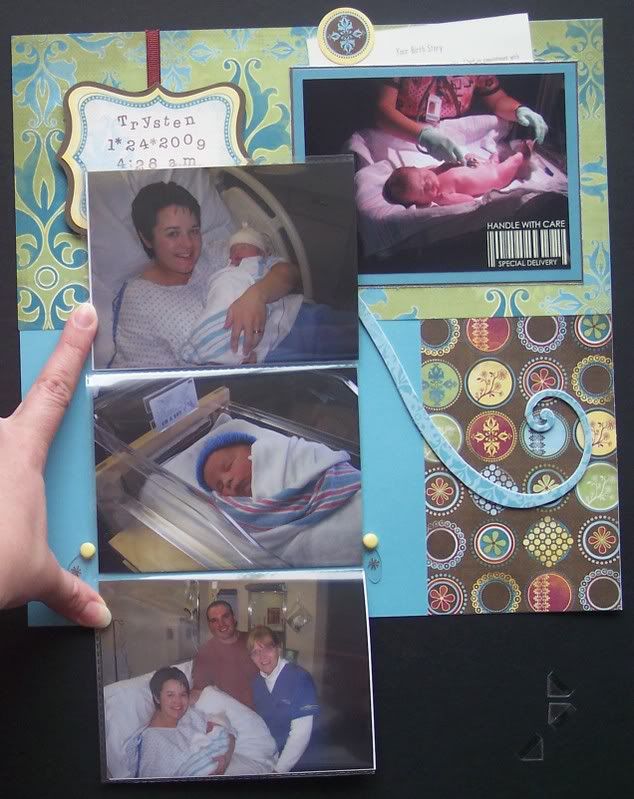
Here are the better pictures that I promised of my February Cherish Challenge pages - I have hidden journaling and with my photo flip "books" I added to the pages, I ended up with 10 pictures on this layout!
***
I used one 6 photo storage page - I cut it in half and used one half for the folding book on the left page. The other half is the side with the holes that goes into the posts in the scrapbook. I cut one of the pockets off the top and used that for the flip book on the right page. When I put these pages in the album, I will put the photo books on the outside of the page protector - that way the interactive elements are accessible, but the pictures are still protected.
***
The hidden journaling is behind the top picture on the left page - it tells Trysten's birth story.
***
Products Used (all CTMH): Emporium Paper Pack & Stickease, Vineyard Berry ribbon, rub-ons, Clear Shapes, Color-Ready Alphabet stickers, dimensional element letters and flourishes, Tiny Typewriter alphabet stamps, Buttercup Bigger Brads, and to create the coordinating Vineyard Berry Bigger Brads I just heat embossed some gold brads with Vineyard Berry Embossing Powder!


Wednesday, December 31, 2008

Last Minute Contest Entries

I really should be working on getting Kaylee's new room ready for her so we can move the girls to their new sleeping arrangements before the new baby comes, but I was still in a scrappin' mood and David was off to the YM/YW New Year's Activity, so I decided to do some last minute entries for the contests on the PageMaps Blog.
***
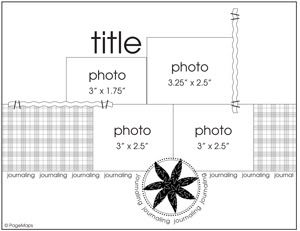
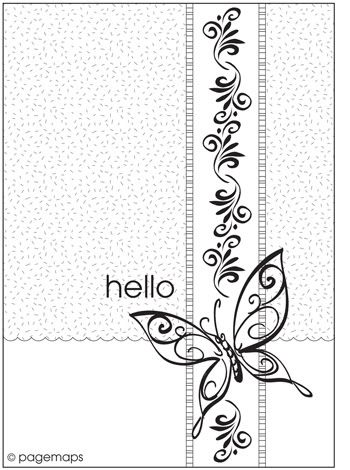
This page is for the sketch contest using the following sketch...


And I created a companion page to go with it - using January's Reflections Challenge (Bottom Border - Portrait on page 28)


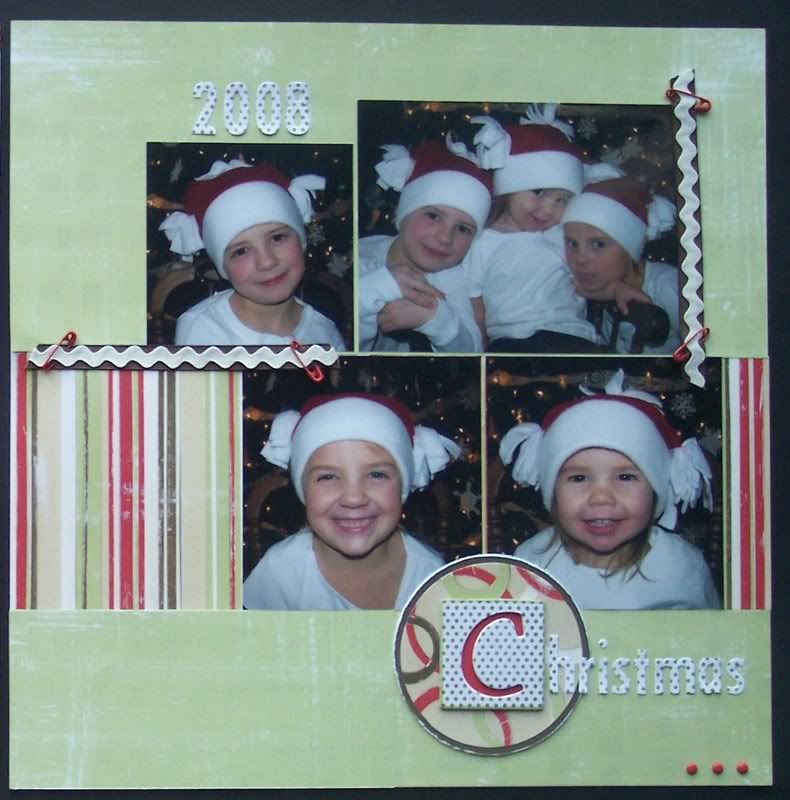
So here they are together - I used one of my favorites, the Cocoa Cafe paper, Cranberry Safety Pins and Brads, Cocoa Grosgrain and Colonial White RicRac ribbons, Classic Alphabet Dimensional Elements and Color Ready Alphabets (stamped with Spot On Background)


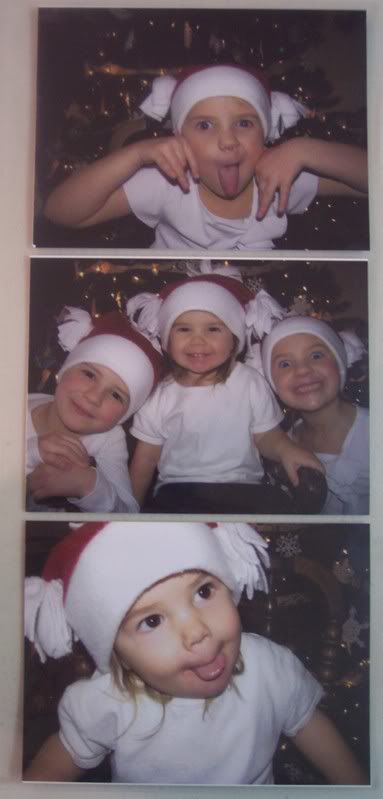
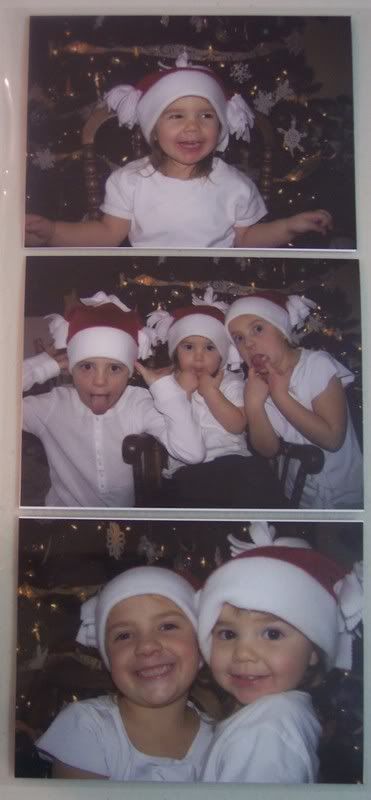
And since my girls are such goofballs and love to take silly pictures, I had some extra pictures that I wanted to include, so I put them in a 6 pocket Photo Page (cut in half) and they will go in between the above pages.


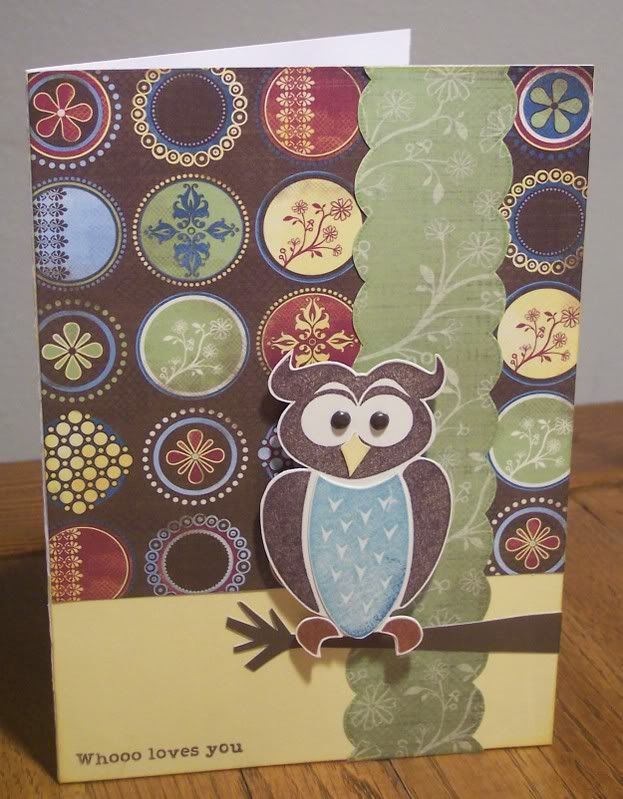
This card is for Brailee since she is just so drawn to owls for some reason right now. This is for the Hero Arts card sketch contest - we were to use the following sketch...

I used CTMH's NEW Emporium paper and the Whooo Loves You stamp set with Cocoa Brads for the eyes.

Thursday, November 6, 2008

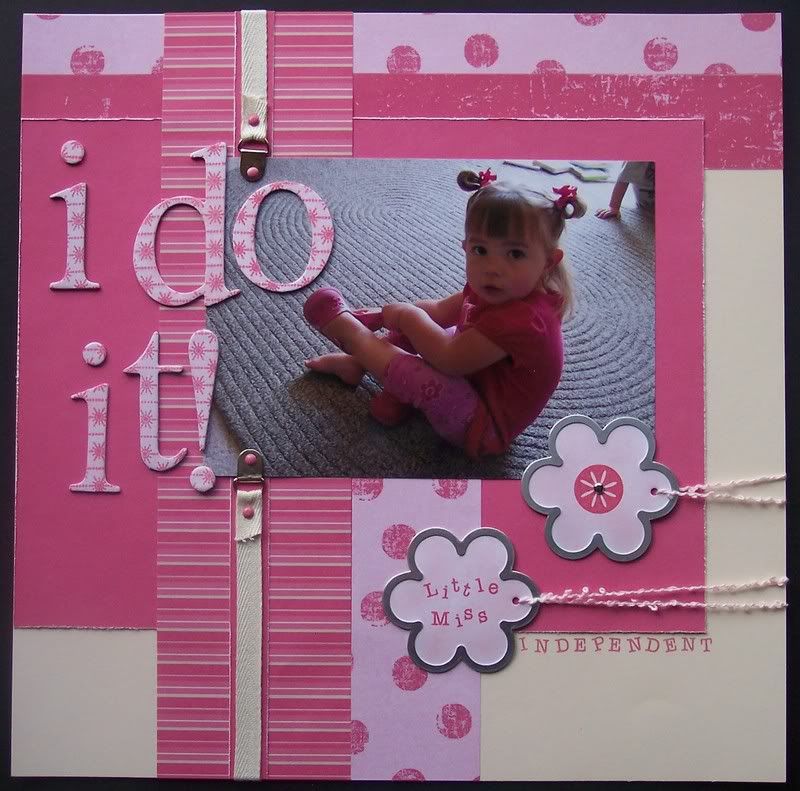
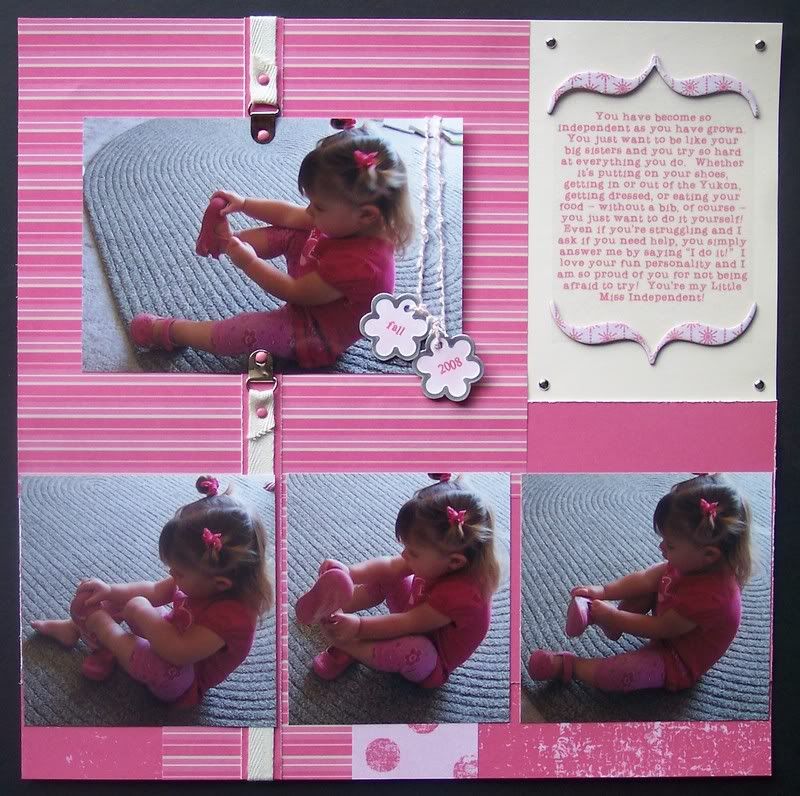
I Do It!

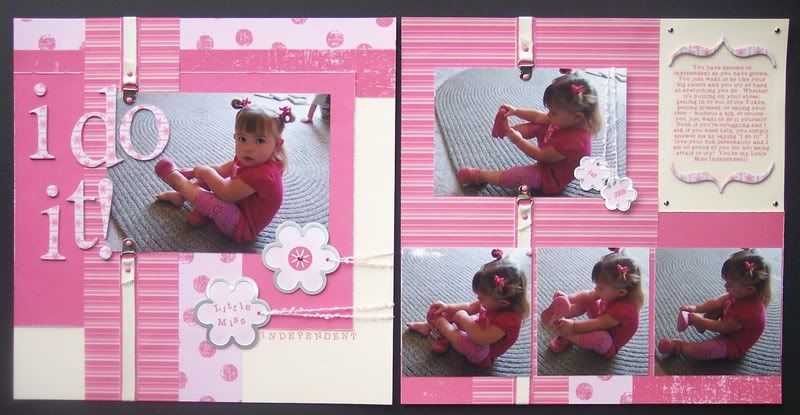
Here is the layout that I did for this month's Imagine Challenge - there's a lot of pink here, but I really like how it turned out. I ended up rotating both layouts to fit my pics - that's what I love about doing square layouts, it's so easy to make it work! This layout talks about Brailee's strong independence right now - she wants to do everything herself and is constantly telling me "I Do It!" and she's so proud of herself when she actually does! Putting on her shoes is her favorite thing to do herself - I'm not looking forward to winter when it's too cold for these shoes and I will have to help her against her will ;-)
***
Thanks for looking!
Products Used - All CTMH: Best Friends Forever paper pack (yes, again - this time I just used the pink striped paper), Autumn Garden B&T paper (for the Hollyhock dot paper and textured paper), Spot On Background stamp set on the Dimensional Elements, Sassy Strands, Flower Tags, Twill Ribbon, and Silver Photo Hangers with Hollyhock brads.


Wednesday, October 29, 2008

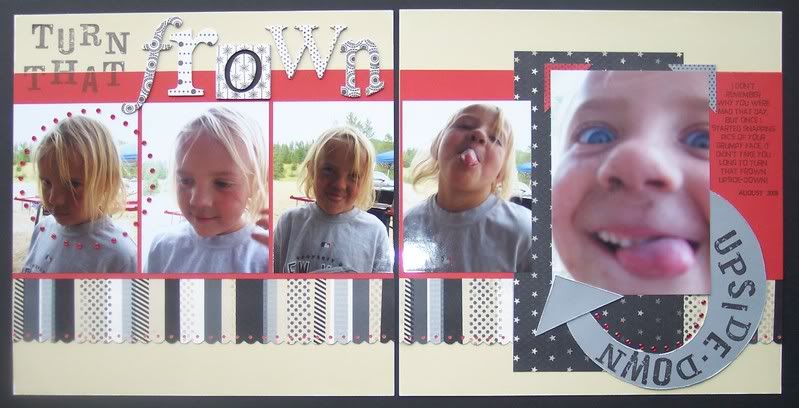
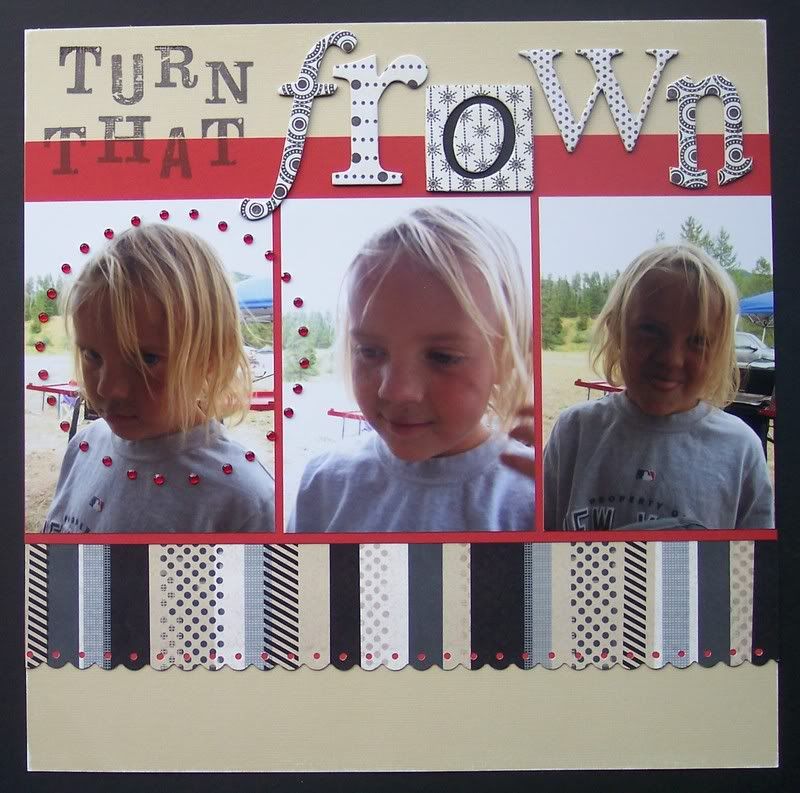
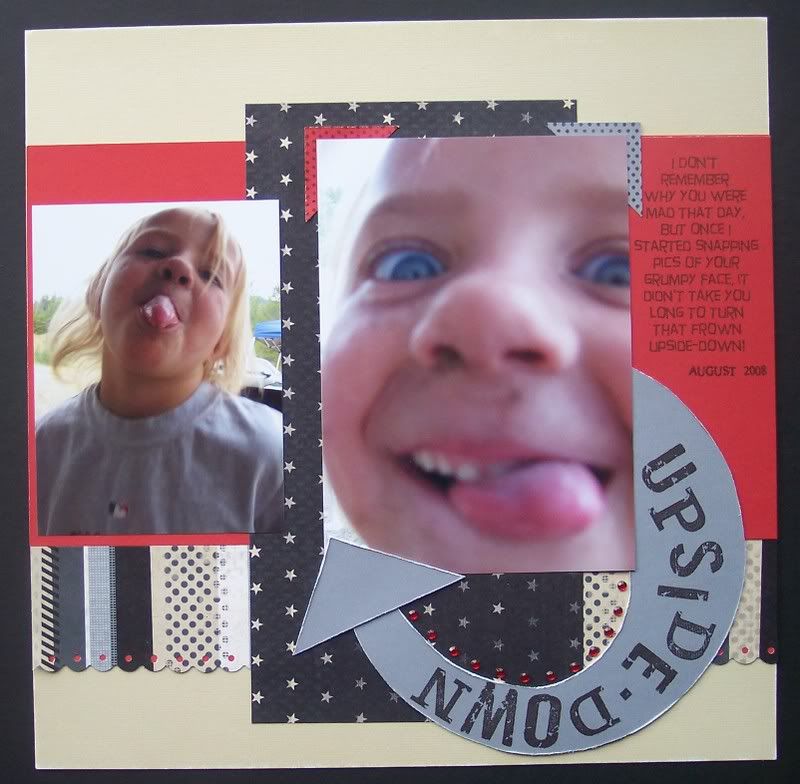
Turn that frown upside-down!

These pictures of Brianna just crack me up and I couldn't wait to scrap them. They were taken on our last camping trip this year, in Star Valley. These pics also worked great with one of Marjorie's old color challenges, so I used MCC #30.
***
Brianna was so mad, and I don't remember why, but as soon as I started taking pics of that grumpy face, she turned it around really quick and got right in the camera with a big ol' goofy face. The big pic on the right page is blurry and her face is so nice and dirty in these pics, but they totally show off her fun personality.
***
I used a PageMaps sketch from September 2007 and made a circle with Red Sparkles and a hand drawn arrow. I also used paper from the Game On pack, along with some Black Textured CS (I used the back for the gray arrow). I was going to emboss the words 'turn that' but I couldn't find my black embossing powder - I still plan on making those words darker, though, they seem really faded to me. Oh, and I used my Threading Water Fiskars punch for the scalloped edge, and Spot On Background stamp set on the Dimensional Elements.
Thanks for looking!

Tuesday, October 21, 2008

Altered VHS Cases

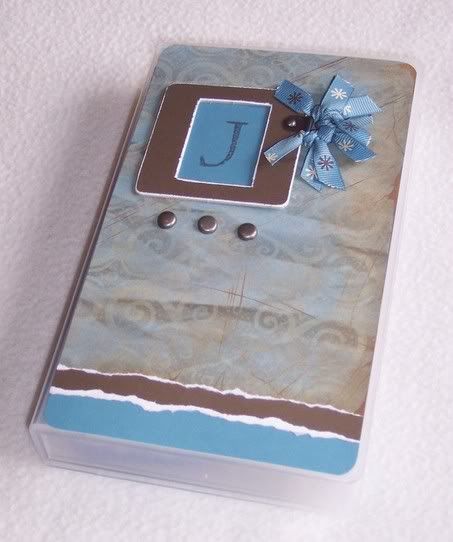
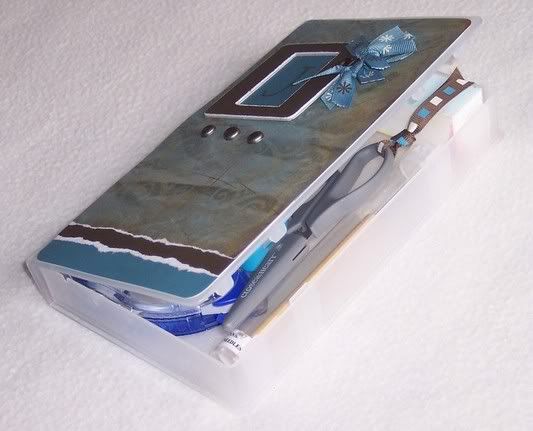
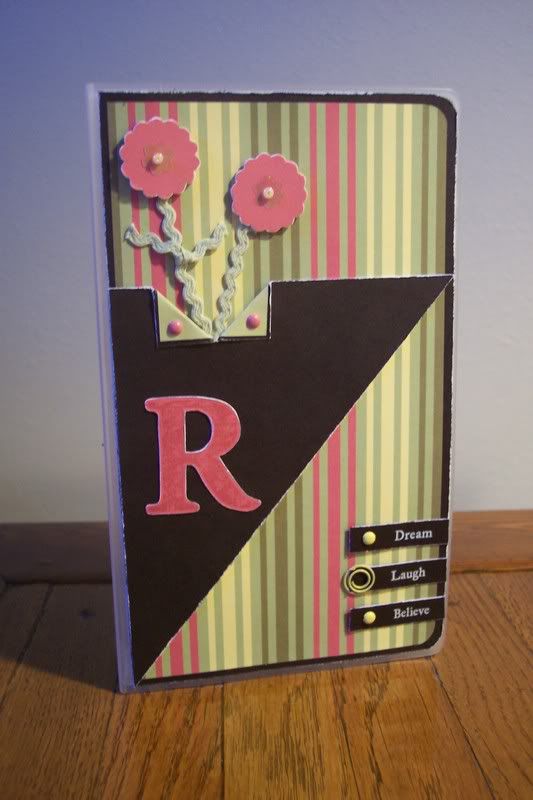
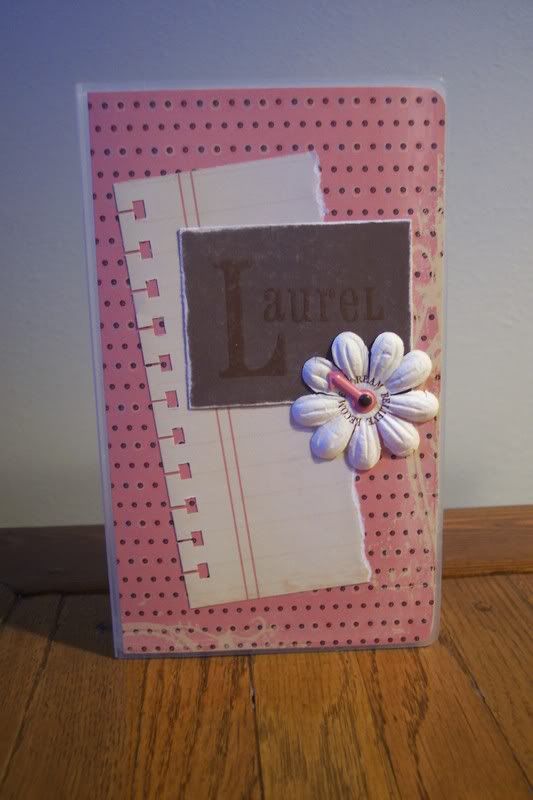
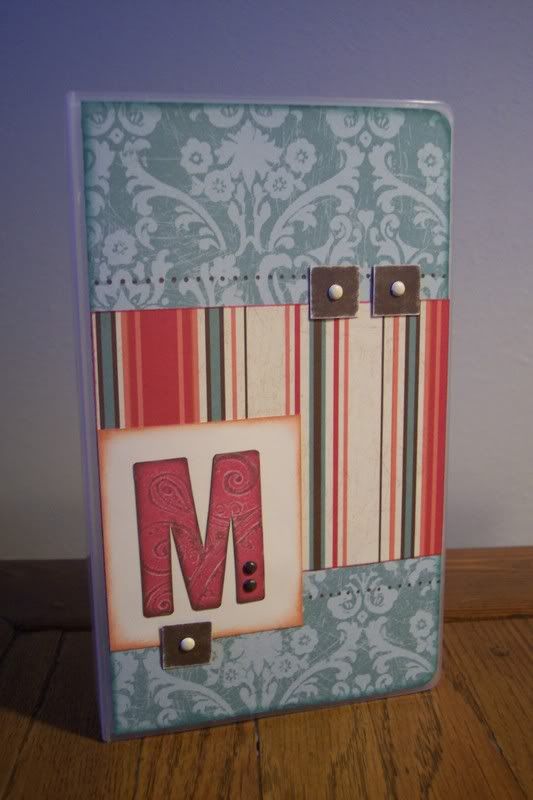
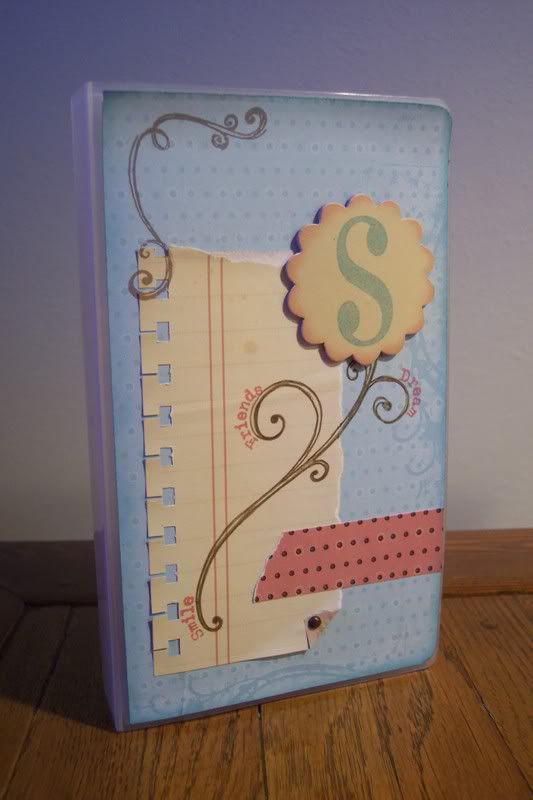
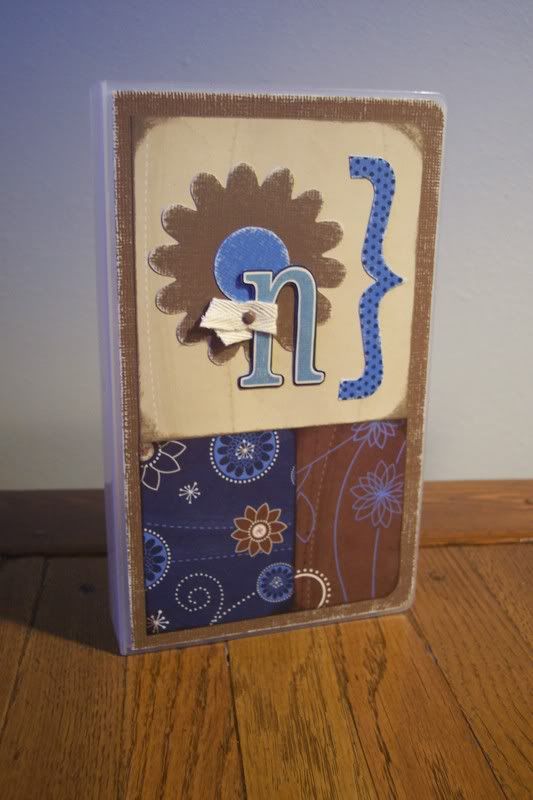
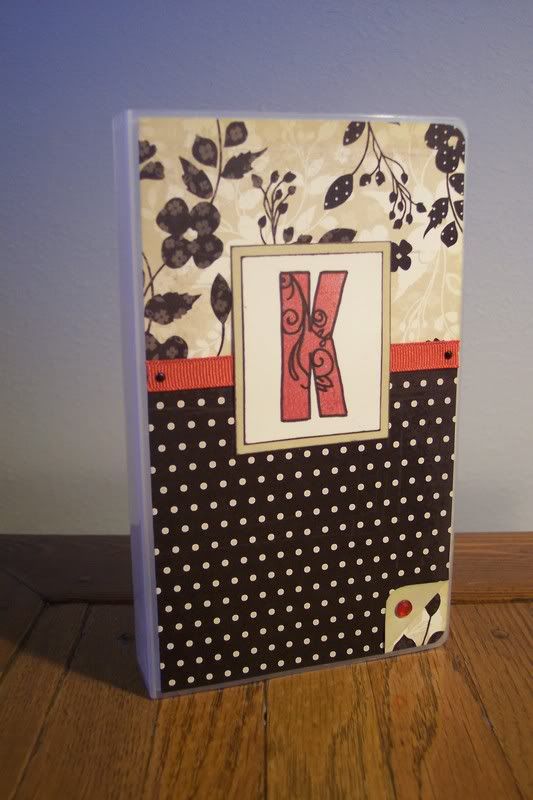
Here are some projects that I have been working on for the last few weeks - I didn't want to post any until I got them ALL done and in the mail. The project got delayed by our house rearrangement, but I finally got them all sent out early last week, so hopefully they have all received them so I'm not spoiling anything ;-) These are some altered VHS cases that I made for some of my blogging/stamping friends - these are gals who have sent me fun cards and stamped images or have just been a huge support to me since I started my blog. I made my first maybe a couple years ago and still had a stash of cases to use, and since I don't have any fun images to stamp and return the favor, I decided these would be fun. I use mine as a tool box for my scrapping supplies - just a fun way to hold scissors, tape runners, etc. These were inspired by Yvette West (? - correct me if I got the last name wrong) she is a fellow CTMH Consultant who shared her fun idea on the CTMH boards.

First here is mine that I made quite a while ago...
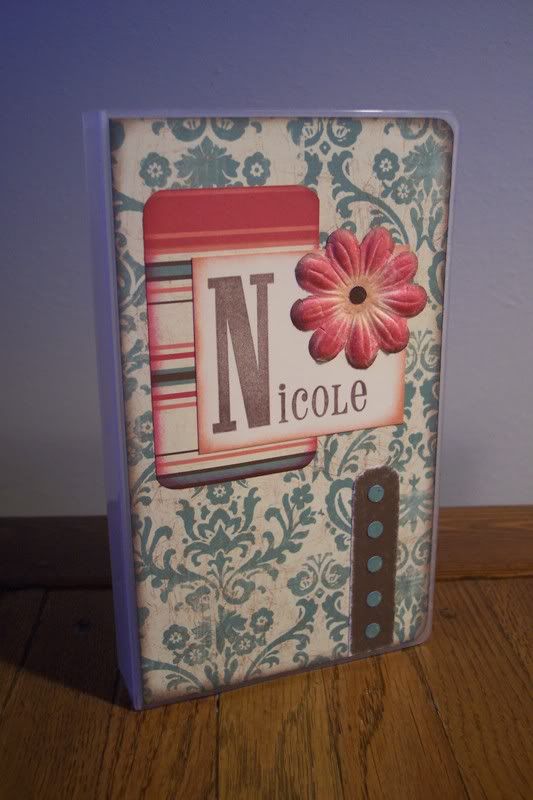
And here are the gifts for my friends - it was fun to make these - each one became my favorite as I finished them ;-) I hope they like them!
This one is for Nicole
This one is for Ramsey
This one is for Laurel
This one is for Marjorie
This one is for Stacy
This one is for Nona
This one is for Kari