Hello and welcome to this month's CTMH Spotlight Blog Hop! This month we are featuring projects using an
Embossing Technique. If you came from
Luisa's blog then you are on the right track! If you are starting here, then just keep hopping along to check out what everyone else has created.
***
I love embossing, whether it's heat embossing or dry embossing, it's always a fun addition to any project. Click
HERE to view all items available from Close To My Heart to meet your embossing needs. Today I am featuring some projects using heat embossing.
***
I gave a little sneak peek last week, here are a few of the full pages. I created these pages for a friend's baby shower. She only scraps in 8 1/2 x 11 so I had to challenge myself since I've never scrapped this size before. On these following pages, I heat embossed on a clear transparency to create my own type of overlay.
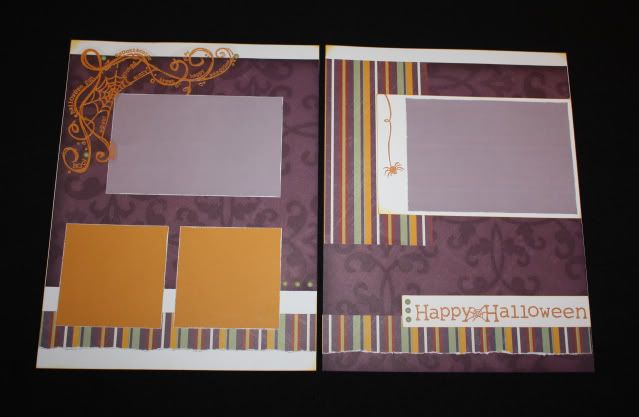
For these Halloween pages I modified the Dialogue pattern from
Imagine. I also used some retired Enchanted papers and Creepy Cobwebs stamp set. I heat embossed the title and the spider on the right page directly on the white paper. I heat embossed the spider web on the transparency and trimmed around it. I attached it with carefully placed dots of Liquid Glass (to hide under the image) and a few coordinating brads.
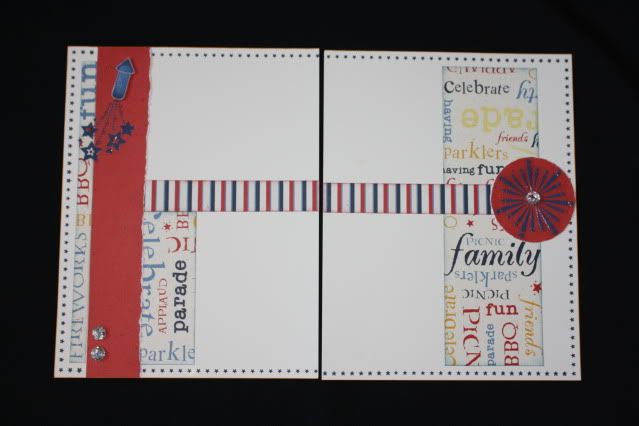
For the following 4th of July pages I modified the Levitate pattern from
Magic. I used some retired Blue Ribbon paper, along with a Stamp of the Month from this summer, American Celebration, and an old favorite stamp set,
Circle Around.
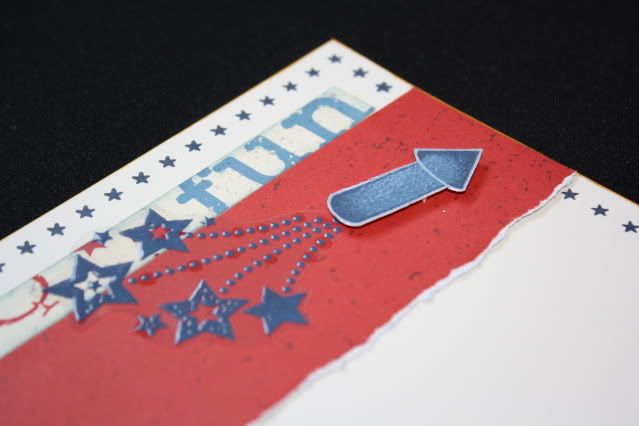
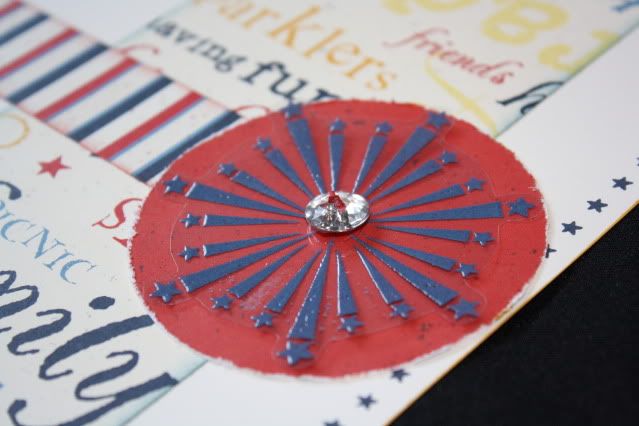
I embossed the firecrackers on the transparency and added a touch of
Prisma Glitter to the image while the embossing powder was still hot. It added just a touch of sparkle. Like the spider web, I trimmed around the image and attached it to the page using Liquid Glass behind the stars and a few dots.
I added a few
Bling Buttons as well - this one covers up the glue dot that I used to hold the transparency down.
Here are some pages for Baby's First Christmas with a few different embossing touches added. I modified the Full House pattern from
Imagine. I used the retired Jingle papers on these pages. My title was cut using the
Cricut Art Philosophy Collection.
Another thing I like to do with Embossing Powder is color brads with it. I took some plain white brads here - heated the brads with a heat gun then dipped them in Baby Pink powder and heated them again.
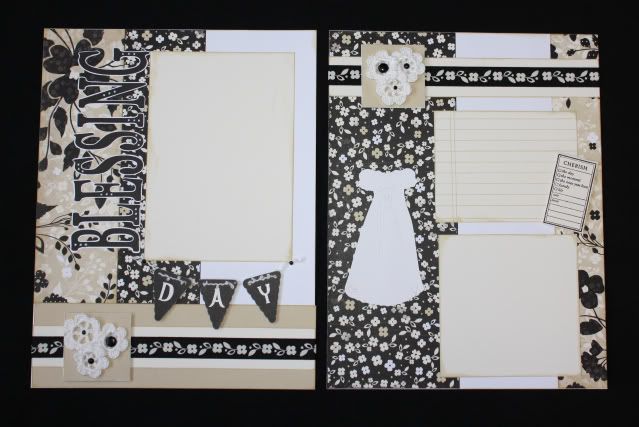
For some regular embossing, I did a little bit of that here on the Blessing Day pages. To create these pages I modified the Simple Contrast pattern from
Cherish. I used the retired Silhouette papers. The title was cut using my
Cricut Art Philosophy Collection - with a little help from my Cricut Design Studio I was able to change the look of the alphabet by making it taller and skinnier. I do NOT use my Cricut without the Design Studio anymore - I know exactly what I am cutting and get the exact size I want without guessing, plus I am able to use my paper better and really customize the look.
I embossed the word DAY on these black banner pieces (also cut using the Cricut) using white embossing powder and Felicity stamp set.
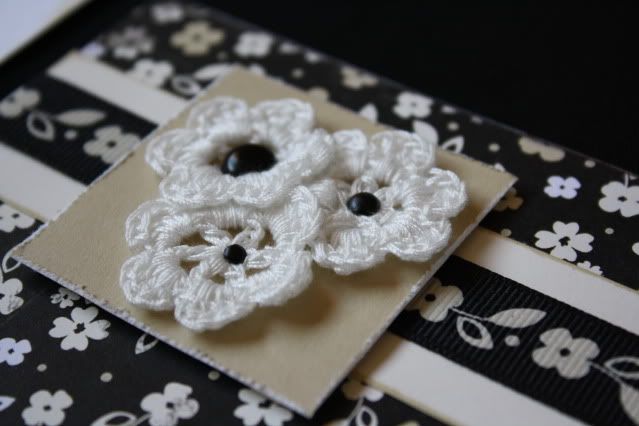
A few more close-ups from these pages just because I love them so much ;-) Here's a cluster of
crochet flowers attached with various sizes of
black brads.
The journaling piece was stamped using lines from the Comments stamp set and accented using the Cherish the Moment stamp set.
Thanks for stopping by - to continue along the hop, your next stop is Nikka!
