Showing posts with label You Rock. Show all posts

Friday, July 29, 2011

Gift for Piano Teacher

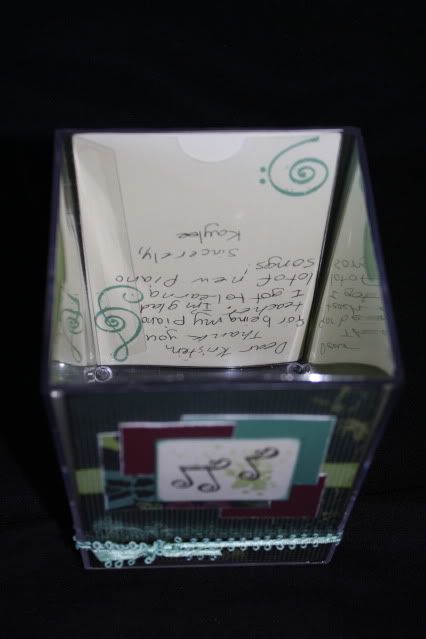
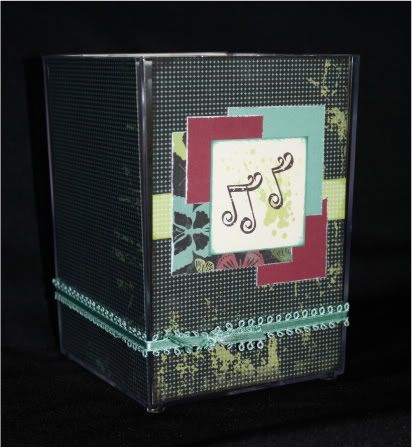
Now that we've FINALLY given this to her, I can share it here.  This is the gift that we made for Kaylee's piano teacher using the Wings paper and You Rock stamp set, along with my favorite pattern from Wishes, Collage.  I've had this clear caddy for a few years now, it was good to finally use it - now I might have to find more as it was super easy to decorate and makes a great gift.  I just slipped the paper in the photo pockets and tied a ribbon around the bottom - no adhesive or anything.  I figured it would come in handy for a piano teacher - she can use it to hold pencils, candy, or anything she wants!  She could even change out the papers for a seasonal change.
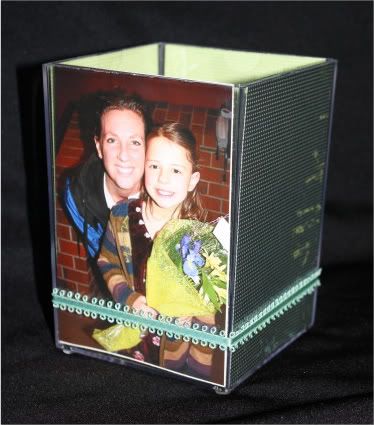
On the back I put a picture of the two of them from the Stars of Tomorrow concert.
I was a dork when I attached the picture to the Thank You note that Kaylee wrote - I glued it on upside down ;-P
Thanks for looking!

Monday, April 4, 2011

Passages Card Set

Using the Greetings Card Workshop template found in the Wishes Book, I created the following cards using just half a sheet of Colonial White Cardstock, along with two patterned papers from the retired Passages paper pack, plus my card bases.  By  changing the orientation of the card, using the opposite side of the paper, and changing the stamp sets, I really like the different looks I came up with for each set.
Card 1
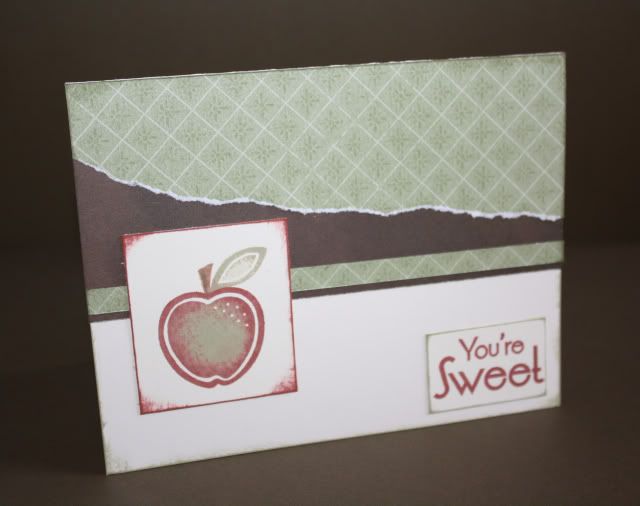
Using the You're Sweet stamp set and stamp rolling technique on the apple.
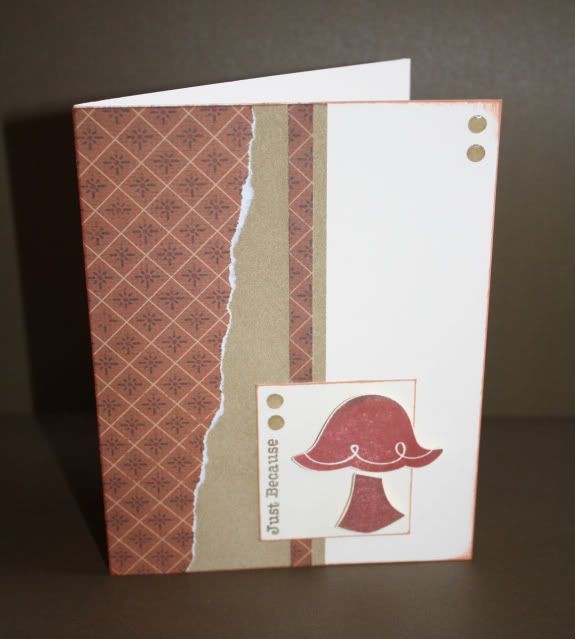
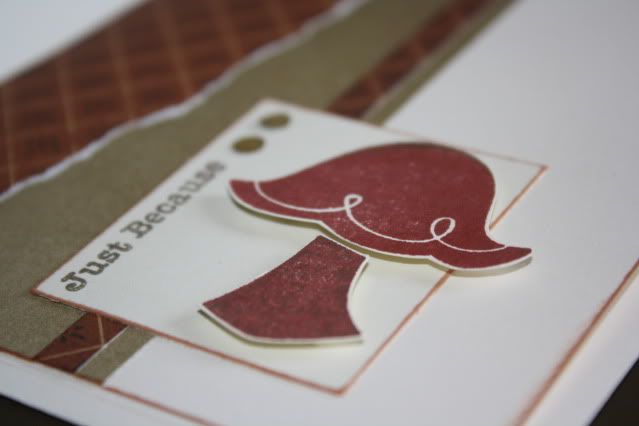
Using the retired Whoo Loves You stamp set for the mushroom and one of my favorite techniques to create faux brads.  Use a hole punch to create small circles (I usually use my Crop-a-dile) then adhere them to the card, then cover with Liquid Glass and voila - faux brads in any color, shape, and size you want!

I also added a little bit of dimension using Foam Tape
Card 2
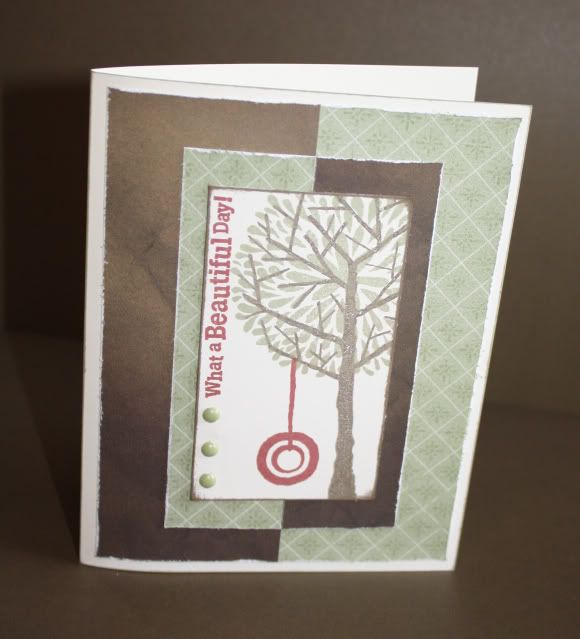
Using the Trees & Things stamp set, and real brads this time ;-)
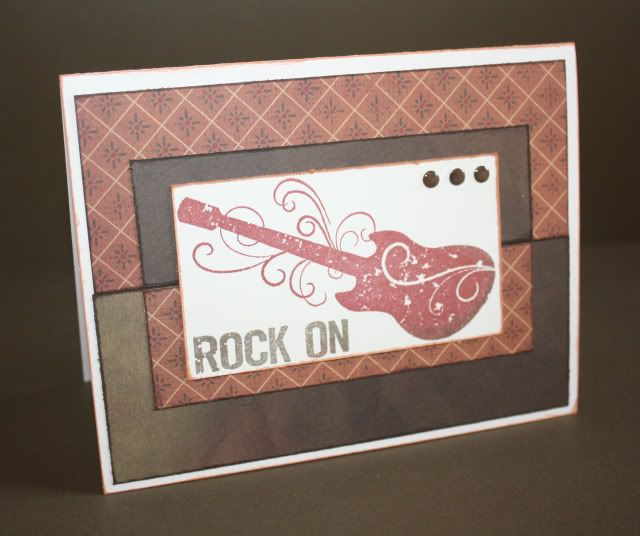
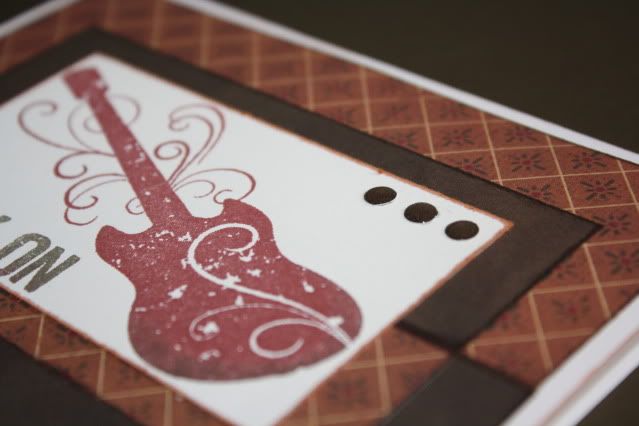
Using the You Rock stamp set and more faux brads.

Card 3
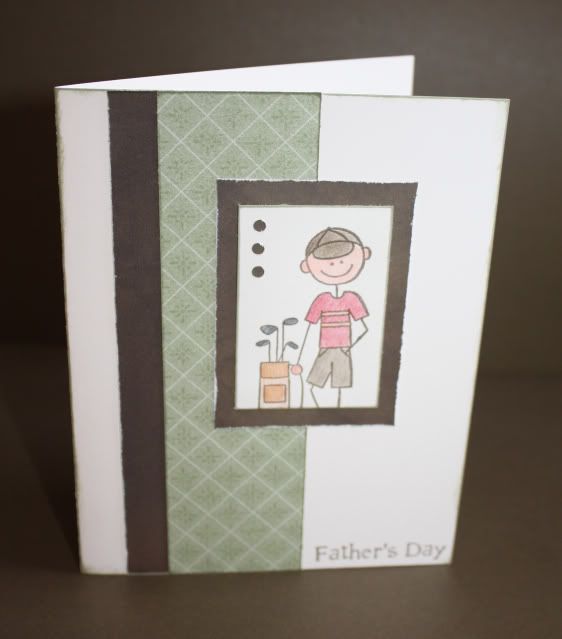
Using the Family Ties stamp set and retired June Word Puzzle stamp set, color pencils, and a 'reverse' faux brad.  This time I punched 3 holes in my paper with the image so the mat paper shows through to create a different look.
Using the Treasure Life stamp set and real brads.
Card 4
Using the Hot Diggity stamp set and more Foam Tape
Using the retired November Word Puzzle
 Card 5
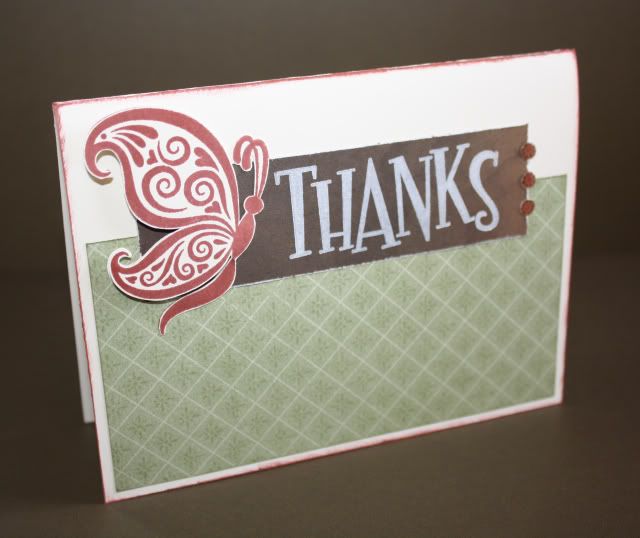
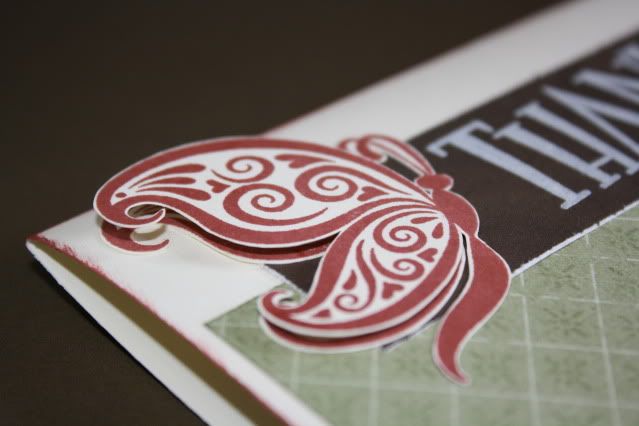
Using the retired Butterfly Wings stamp set, along with A Little Everything stamp set stamped in Colonial White ink, and I also created more faux brads.
I added some dimension to the butterfly's wings as well.
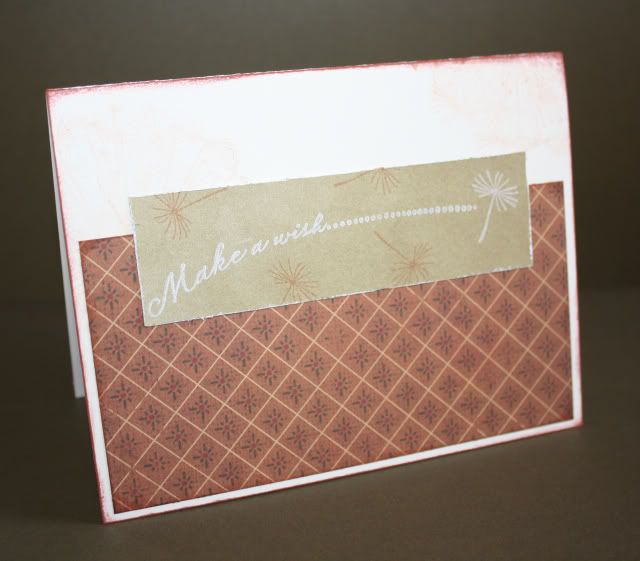
Using the Treasures stamp set - this one is my least favorite card - I added some subtle dandelion stamps on the card base (which I don't think you can even see in this picture) but it just seems so plain, like it's missing something - maybe it's because I didn't include any accessories.  Any suggestions?
Card 6
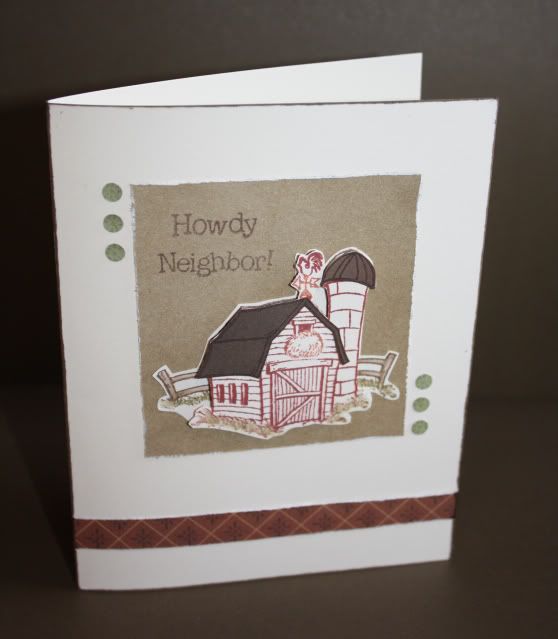
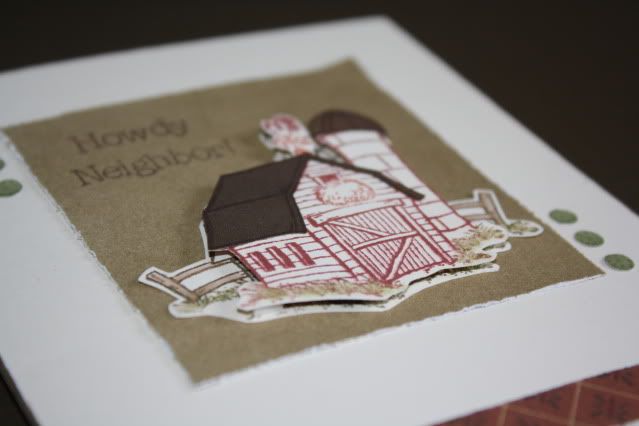
Using the Howdy stamp set and a bit of paper piecing, inking up my stamp with markers to achieve the different colors, and some more Foam Tape, and of course faux brads!
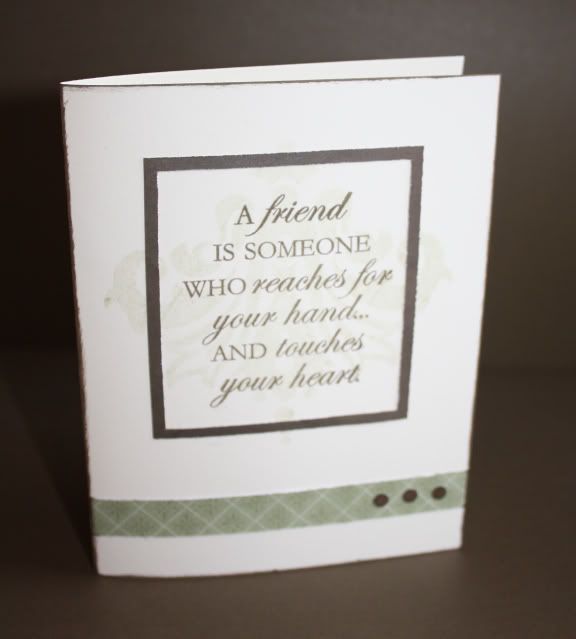
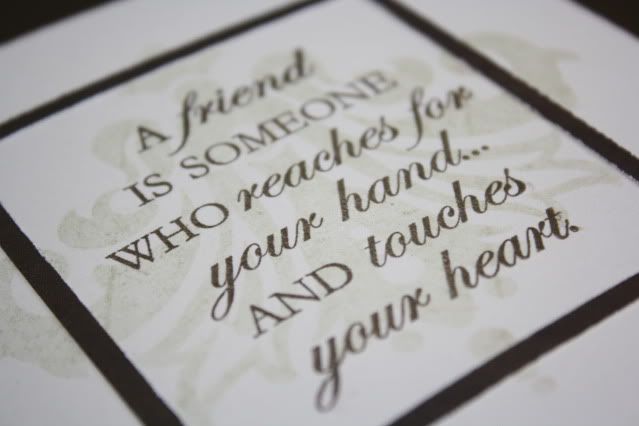
This card uses the Friendship stamp set, which was February's Stamp of the Month, and this time I ended up cutting my focal piece into a frame.  Using second generation stamping and Garden Green ink, I stamped the image directly onto the card base, then adhered the frame over it and then stamped the sentiment in Cocoa ink - I really like how this one turned out.  Once again, faux brads.
Card 7
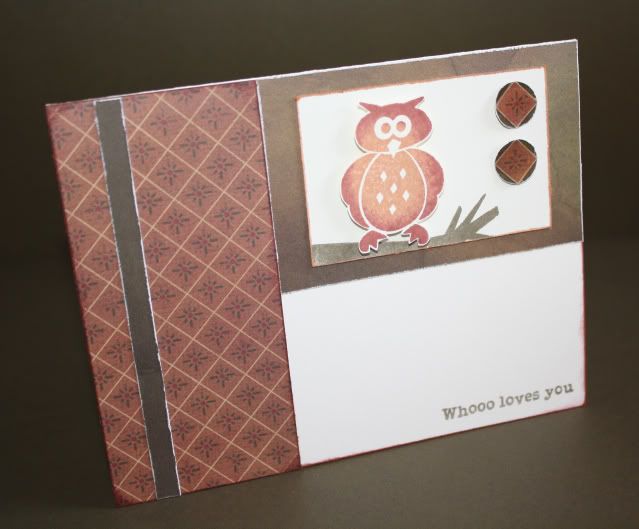
Using the retired Whooo Loves You stamp set, and the stamp rolling technique, along with some bigger faux brads.
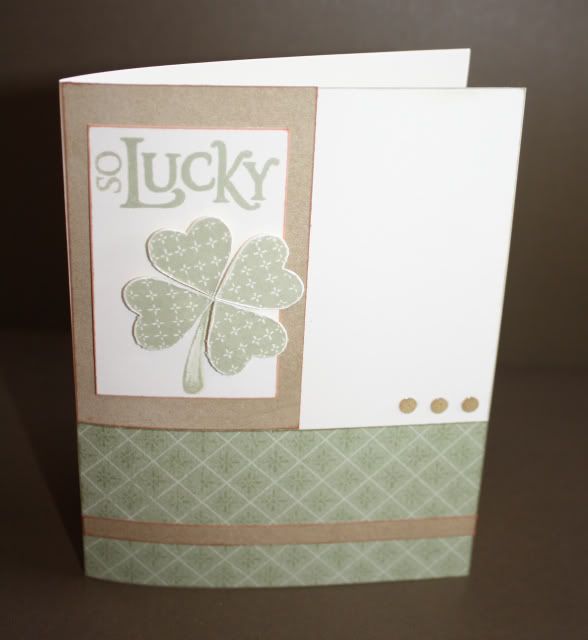
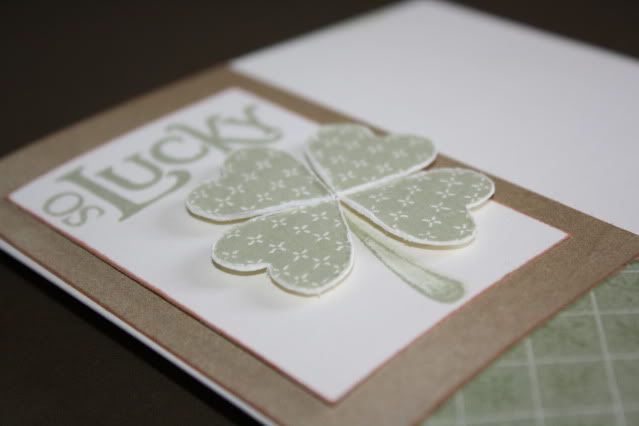
Using the So Lucky stamp set and some Foam Tape and more faux brads.
Card 8
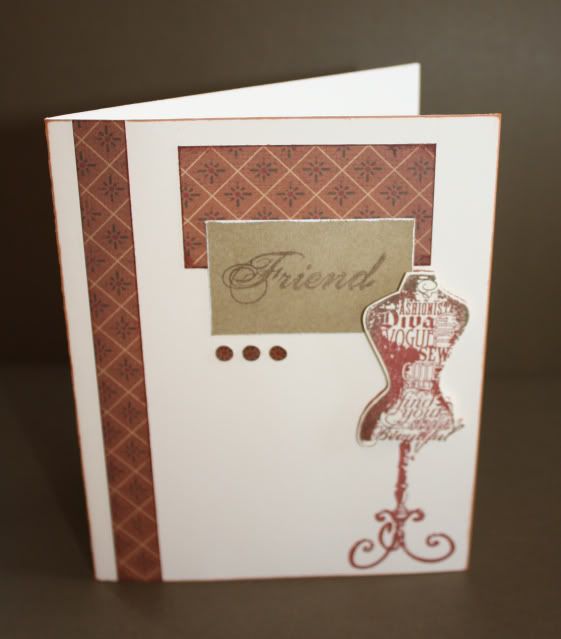
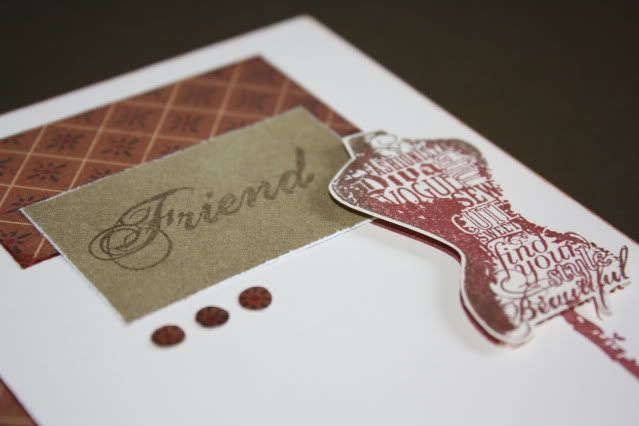
Using the Find Your Style stamp set, which was January's Stamp of the Month - more Foam Tape, faux brads, and stamp rolling going on here!

This was the only card that I stamped on the inside as well.
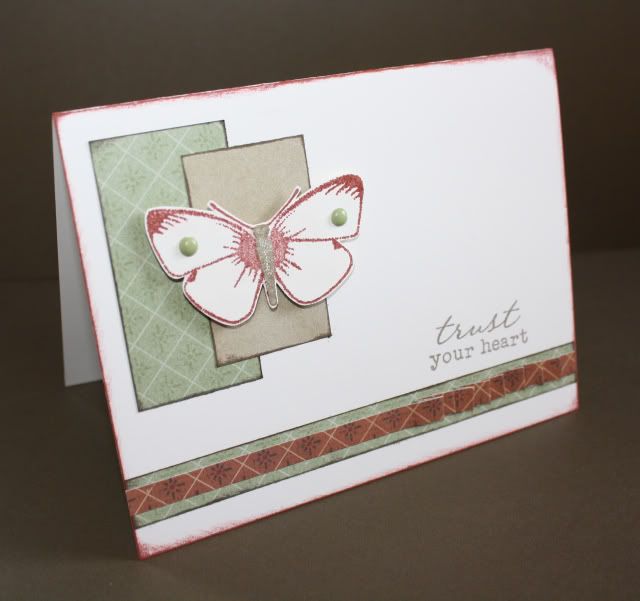
This was the very last card that I created in the set - usually the last one I make is my least favorite, but not this time!  I used the retired Butterflies stamp set and did a bit of paper piecing with the butterfly and added real brads to the wings, popped up with some Foam Tape.
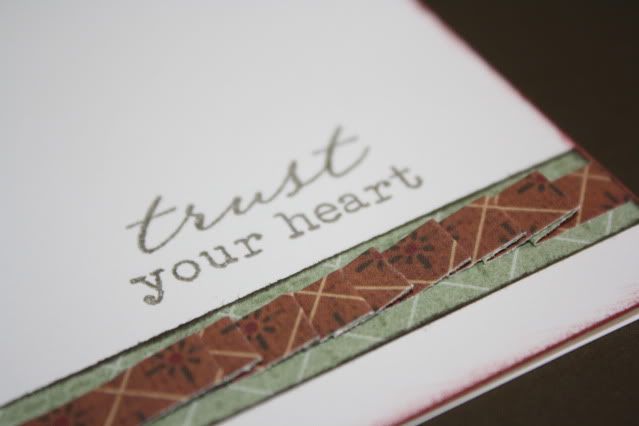
The sentiment came from the retired Treasures of the Heart stamp set.  I pleated a strip of paper for a fun look.
Whew, quite a long post - if you've stuck with me this long, thanks for looking!
Friday, February 18, 2011

I L.O.V.E. cards

I've recently had fun playing with some paper and stamps and actual ink - shocking, I know!  Here are some cards that I've made - I used the Wishes book and tried out my new Spray Pen - for my first time I stuck with a light color just until I get used to it - I used Baby Pink with a bit of Pearl Paint.  I LOVE this thing and can't wait to use it more!  I've also used it for some custom colored flower hair clips - click here to check them out!
***
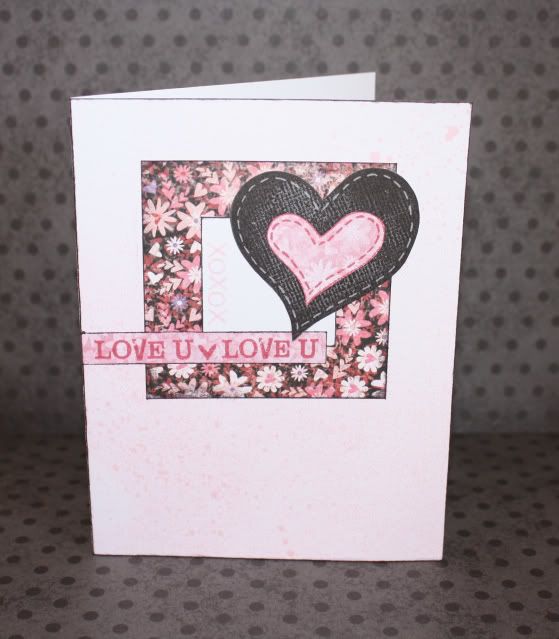
The following card uses the Cubed Collage pattern, Sweetheart paper pack, and retired February Word Puzzle, along with some fun new pink buttons and a bit of Black Waxy Flax.

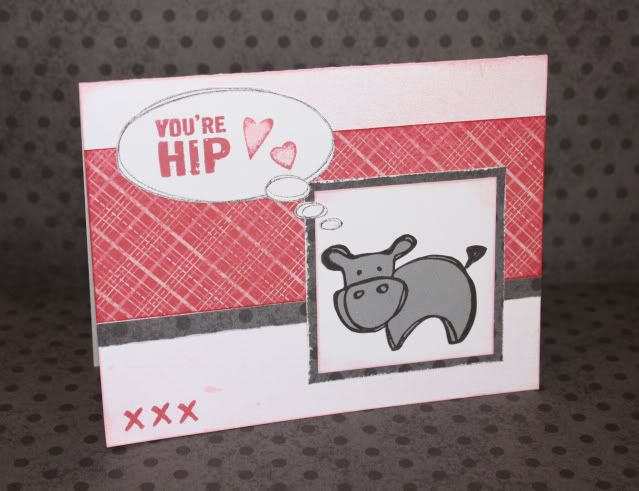
I think the following card is my favorite of this bunch - that little Hippo is just too cute!  I used the Simple Expression pattern with the Sweetheart papers.  The Hippo came from the retired Life's A Jungle stamp set, the hearts and X's came from the So Lucky stamp set, and the thought bubble came from the retired set Leave Your Mark.  I got my rubber brayer out for this card since the thought bubble was going the other direction - I used the brayer to reverse my image (my girls thought that was the coolest trick!).
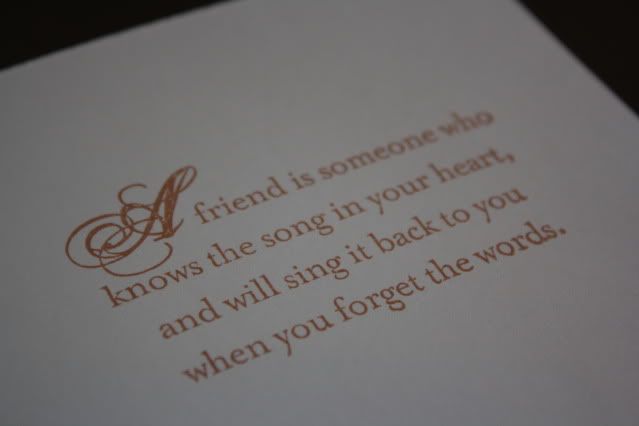
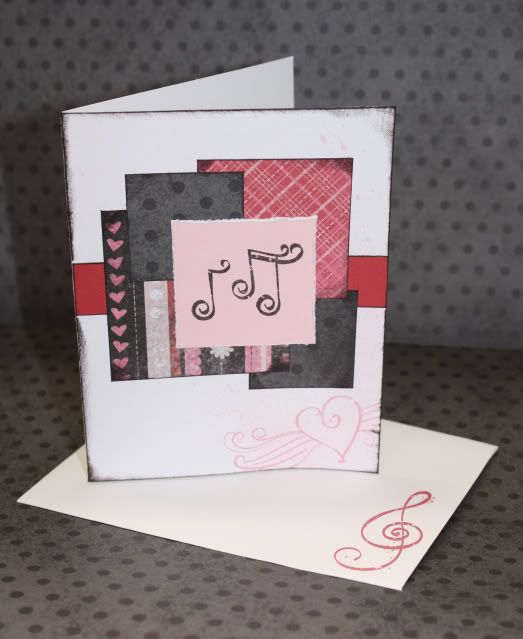
This card was for Kaylee's piano teacher - I used the Collage pattern, Sweetheart papers, and You Rock stamp set.  I even stamped the envelope.
This card uses the Framework pattern, Sweetheart papers, So Lucky stamp set, and retired February Word Puzzle
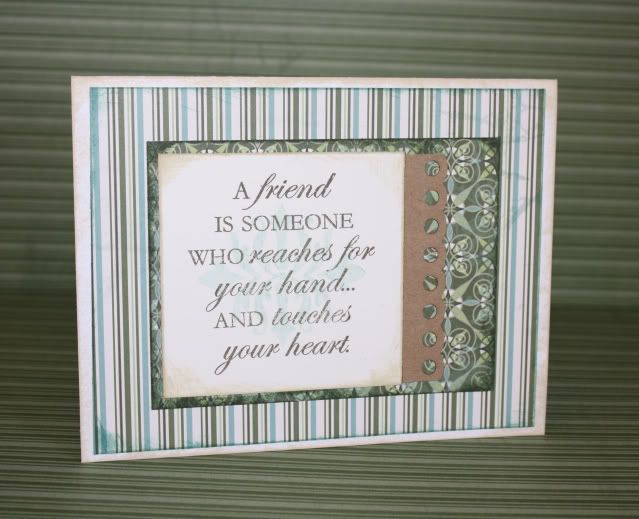
This is the card that I created for my Open House next week.  I used the Sentiment Secured pattern, new Wings Creative Basics paper, Friendship stamp set (this month's Stamp of the Month), and the new Kraft Color-Ready Borders.  Such a simple card but I really like how it turned out, I especially like those borders.  I am working on another option using Sweetheart papers.
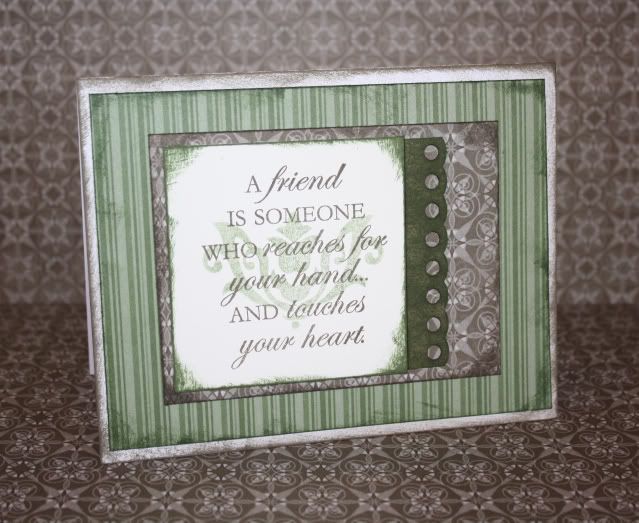
I created this card to show that by using the back side of the papers you can change the look of the card - I also wanted to show how you can change the color of the Kraft borders.
Here are some more things I L.O.V.E. more than anything else!
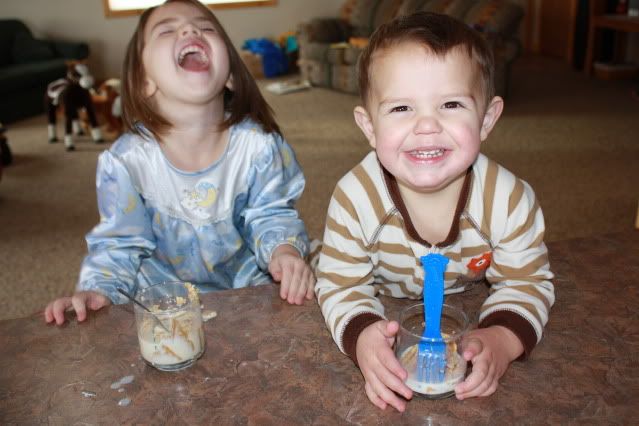
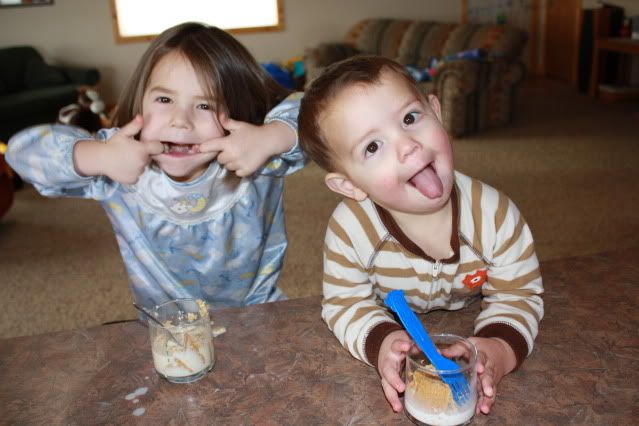
Watching my kids together...
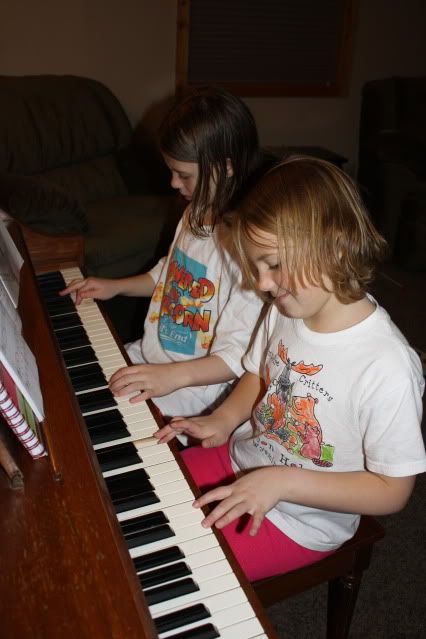
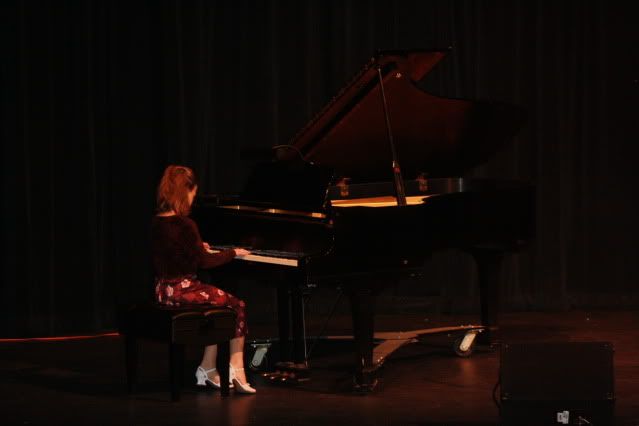
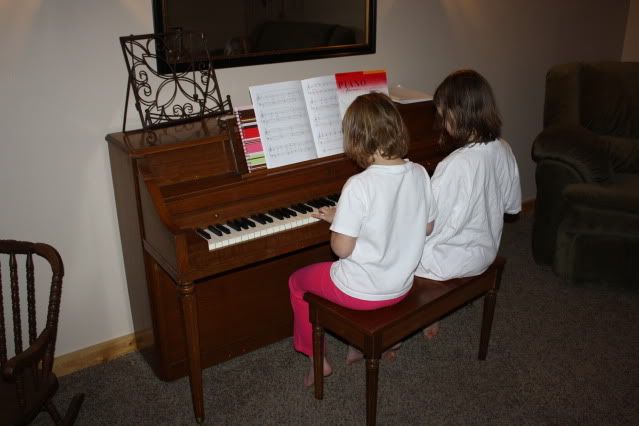
...playing the piano...


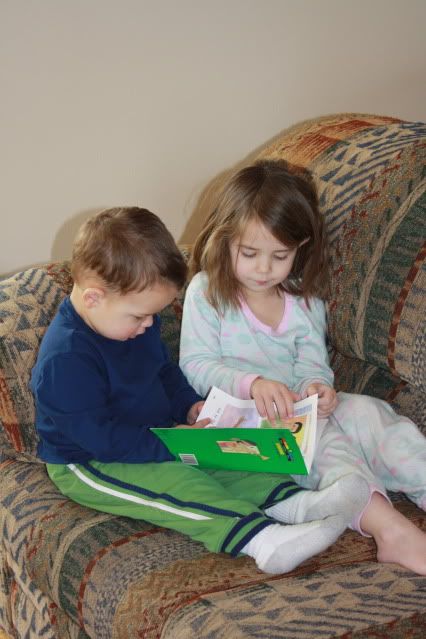
...reading...

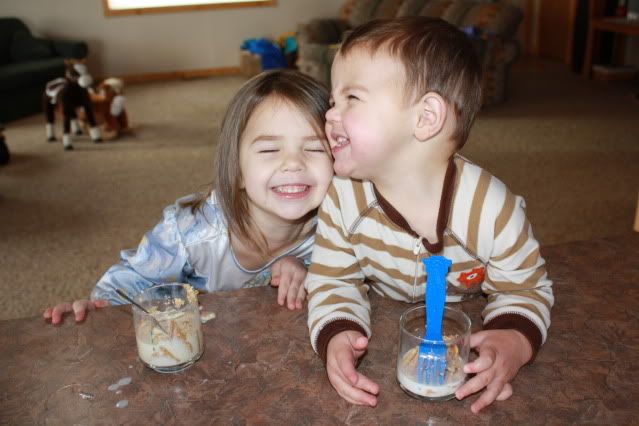
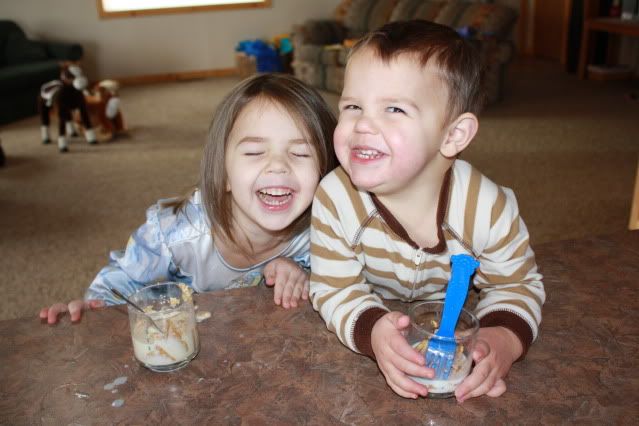
...and just being goofy (and yes, eating graham crackers in milk - my favorite!)

Watching my STAR perform!

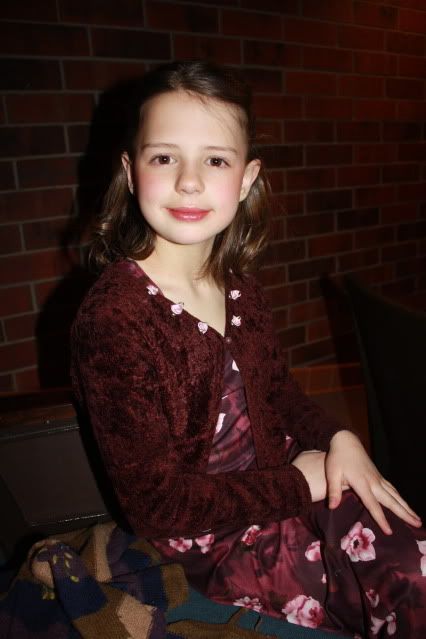
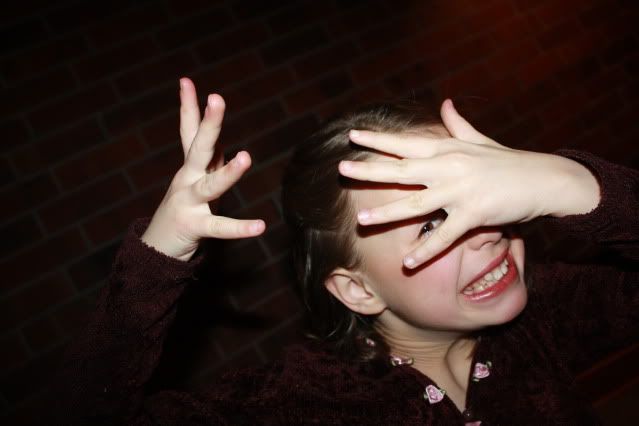
letting out some nerves ;-)

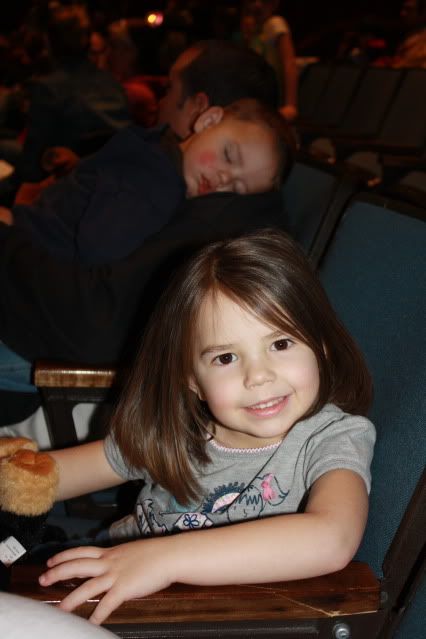
Our kids were thankfully SO good during this very long, late night at Stars of Tomorrow - we were there for 3 hours and they were angels!  Trysten fell asleep on the way there and Brailee fell asleep at the end, but nobody whined or misbehaved, even I was tired of being there after a while!
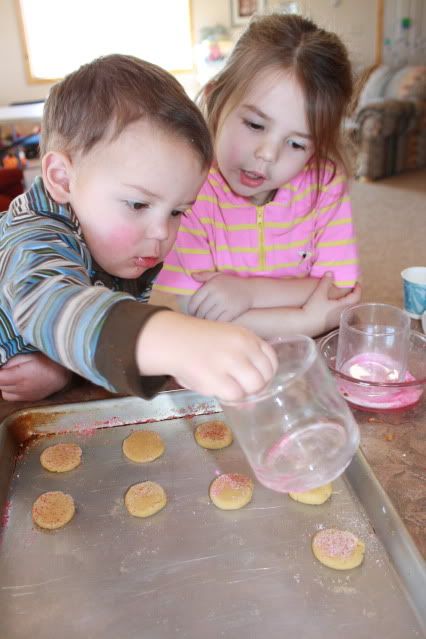
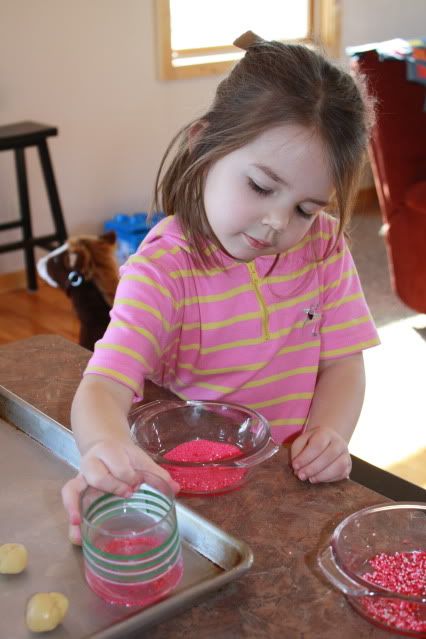
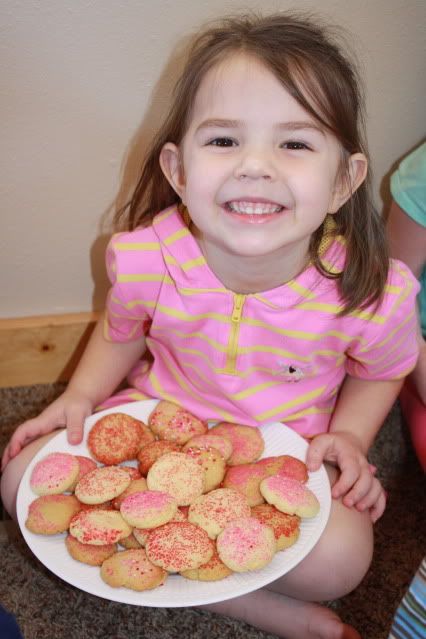
Making treats with my kids...


Thanks for looking - I hope you all have a fabulous weekend!