Friday, October 30, 2009

Flashback Friday

Well, I've had a busy week and sadly missed this week's Wordless Wednesday, but I am making myself take a minute to at least put up something this week! My hubby has been in Texas all week (and hopefully he gets to come home today, as he's been stuck in Denver since yesterday), the kids have been busy with their different activities this week, and I've been making a few trips to the dr. and just not feeling like myself, but hopefully the weekend will be better! Anyway, here is a flashback of the last few Halloweens - forgive the repeat as I already posted these pictures last year. If you want to read any of the details on how I made all of their past costumes, you can check out last year's post HERE.
I hope you all have a safe and fun weekend!
***
2008 - Peter Pan, Tinker Bell, and Hook


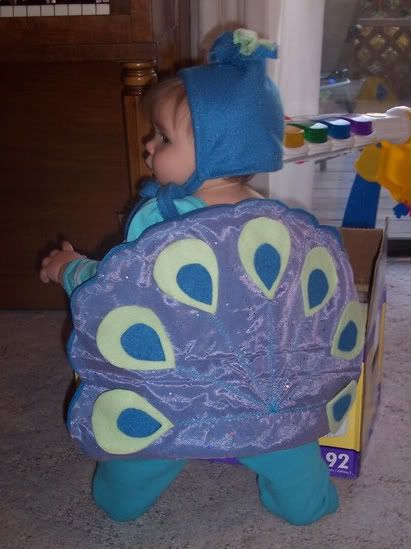
2007 - Ro the Island Princess, and her friends Tika the Elephant and Azul the Peacock


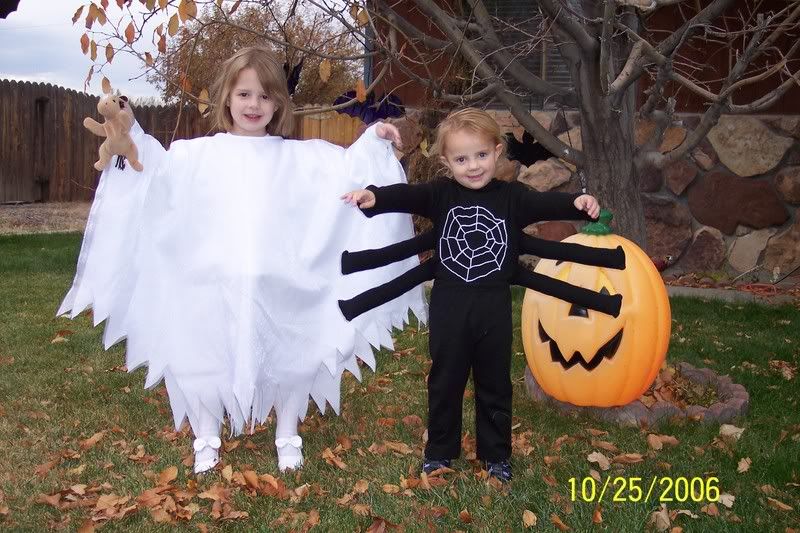
2006 - Ghost and Spider

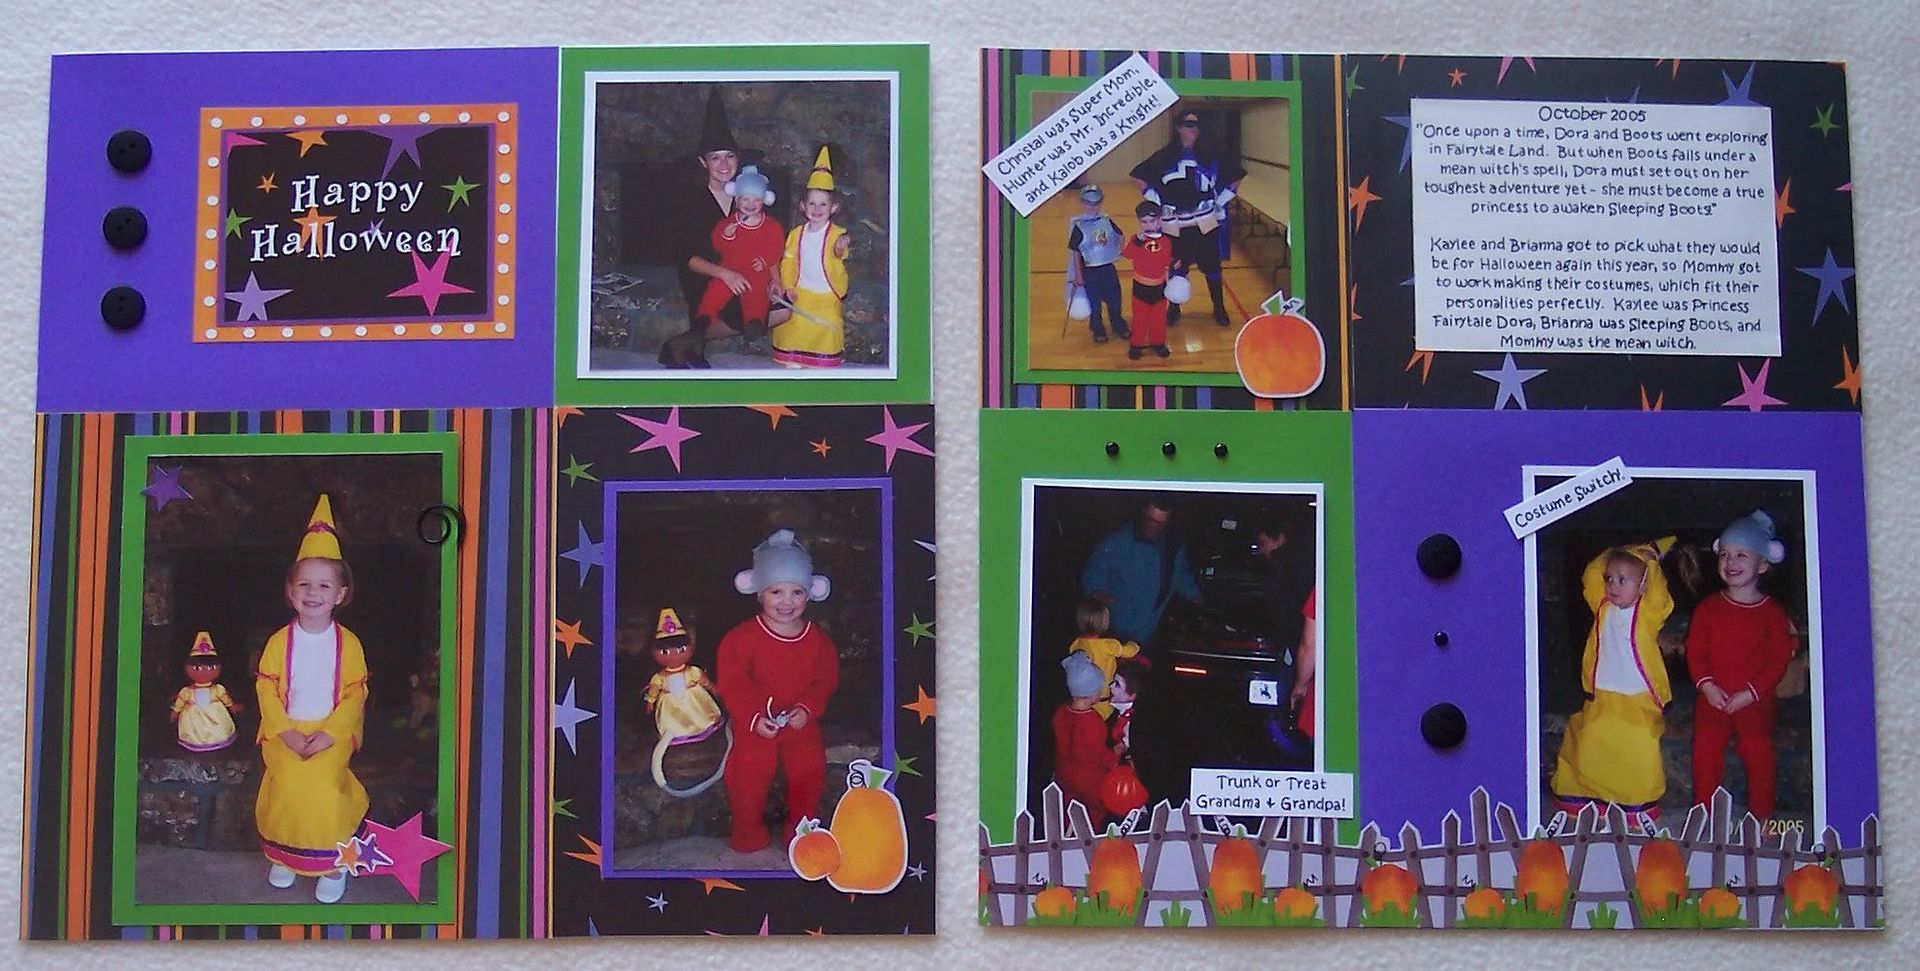
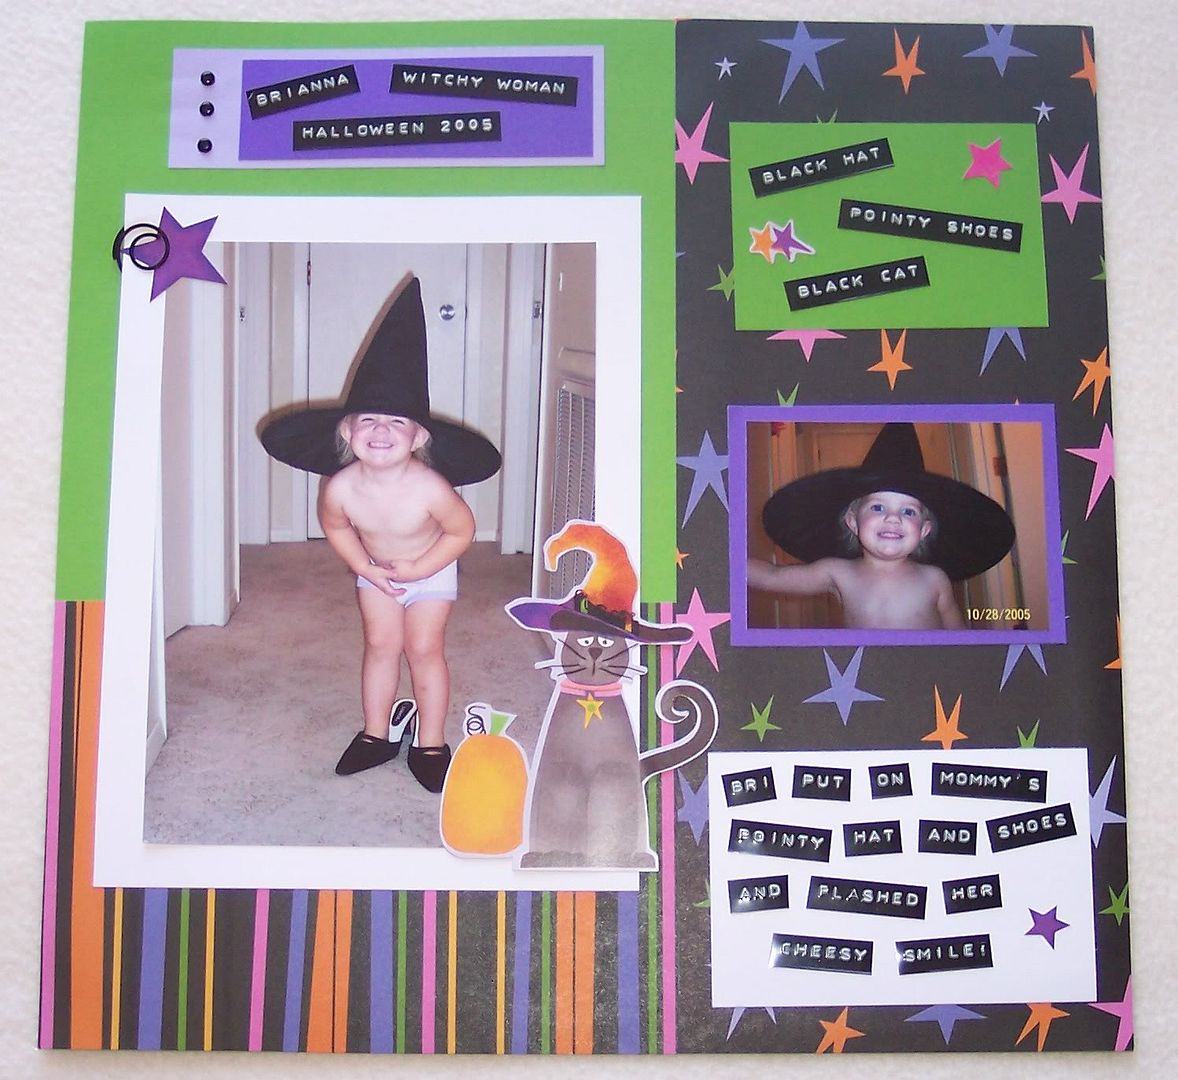
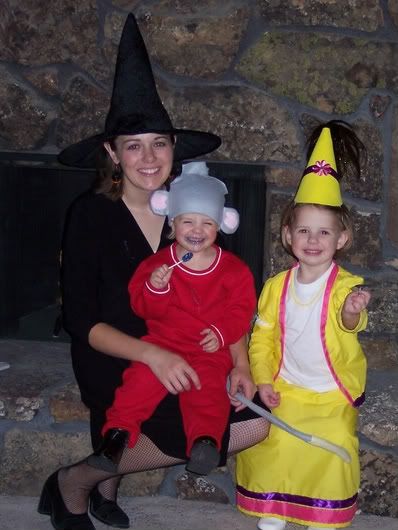
2005 - Dora the Fairytale Princess, Sleeping Boots, and the mean old witch!

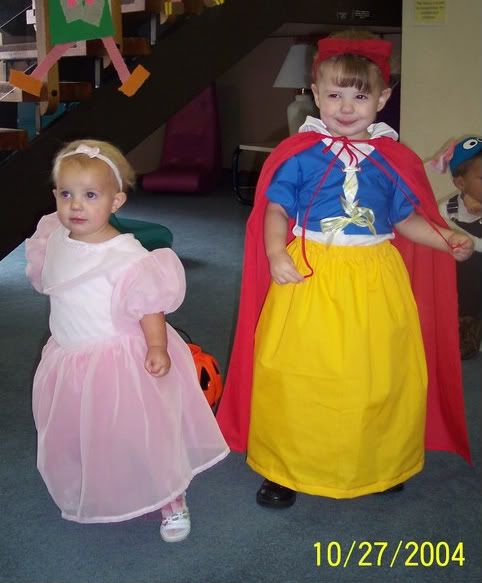
2004 - Snow White and Cinderella

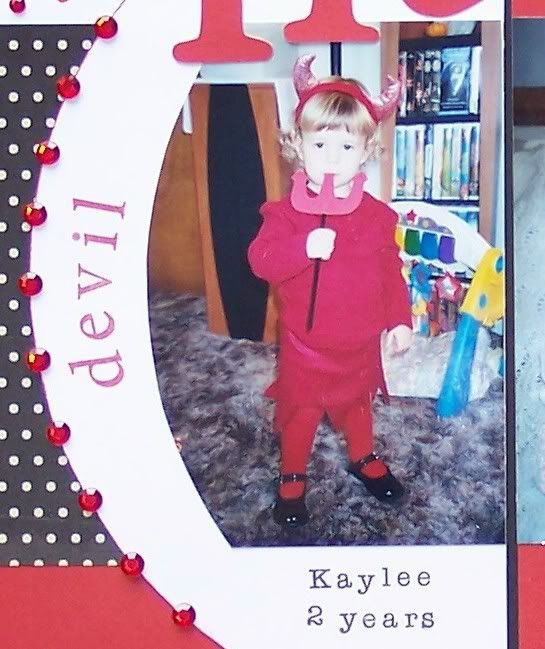
2003 - Devil and Angel


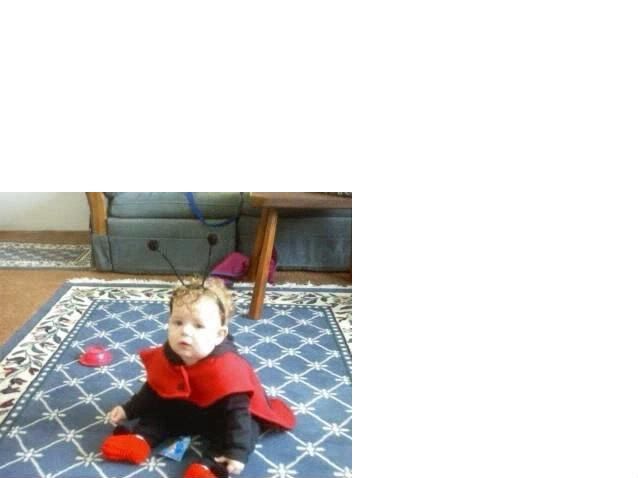
2002 - Little Ladybug!


And now a flash forward to this year - it's a SUPER Halloween.

We have Batman and Robin...


...the Flash...

...and Wonder Woman!
I actually got everyone's costumes done by Sunday night - a whole 6 days before Halloween! It only took me one week to make all three costumes - not bad! Oh, and another awesome fact - the material that I bought for all three costumes only cost about $15 and the rest of the supplies I already had in my stash, so they were pretty cheap, too! Brianna got to wear her costume to dance class and Kaylee wore hers to her very first piano recital this week. They have their school parties today, our ward party tonight, and of course Halloween tomorrow, so they will get some good use out of their costumes! I already posted how I made Brailee's HERE, but here is how I did the other two...
***
Brianna originally wanted to be Bat Girl, but then she saw a Flash Girl costume in a magazine and after that, she had her mind made up! I just bought her a red long sleeved shirt and matching pants. I cut her Flash emblem, belt, and hair clips out of felt, and made a quick skirt out of the same shiny material that I used for Brailee's costume. I did her mask the same as Brailee's, with paint and Prisma Glitter. Brianna's was so quick and simple and the emblem is just attached with a quick hand stitch so I can just cut it off and it's back to a normal shirt.
***
Kaylee's was a little more difficult. She already had a red long sleeved shirt, but it had a big red heart on the front, which wasn't a big deal as I just covered it up with the Wonder Woman emblem. That was probably the trickiest part of the costume and didn't turn out like I wanted it, but it works! I had to sketch a pattern then trace it onto the gold material - then since the material frays so easily, I glued it onto some black felt and that's where it all went wrong. I had originally tested a piece of scrap and the glue dried fine and you couldn't see it through the gold, but I must not have spread it well enough on my final piece, so it didn't turn out as nice. Anyway, after I glued it on the felt, I cut it out and traced it with some black puff paint. Like I did with Brianna's, I just did a quick stitch onto the shirt so once Halloween is over, I can just cut it off and she can still use the shirt. I used the same gold material to create a belt and a crown. The crown piece was built around an old headband, so the headband goes across her forehead instead of on top of her head. The star was just a wood star I had in my stash that I painted and sprinkled with Prisma Glitter and hot glued onto the crown. I made a quick blue starred skirt and some simple silver cuffs that just slip on and off, and the Lasso of Truth was braided out of some gold cord that I had in my stash. I am probably most excited about her boots, however. I have never done anything like those before and I just made them up as I went and I was so thrilled when they worked perfectly with the first thing I tried! Kaylee has some tall black boots, and I just used those to get a general pattern going - plus she wears them under the Wonder Woman boots as part of the costume. I created the boots out of felt that I had in my stash - I just did two red sides and joined them with a white strip and topped it off with a white piece. The boots have velcro that hold them on and closed in the back.
***
Anyway, if you've made it this far, thanks for checking out my super long post - have a great weekend!

Saturday, October 24, 2009

Punkin' Head!
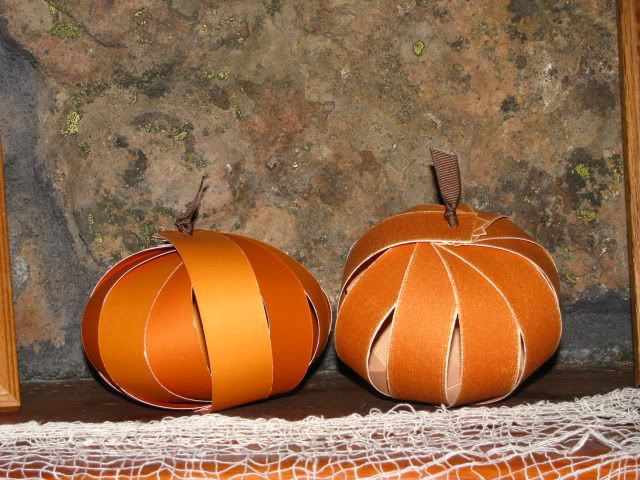
I've seen these fun paper pumpkins the last couple years but never gave one a try until a couple of weeks ago. I got the main pumpkin form done but it was HUGE as I used 1"x12" strips so I just wasn't pleased with it - so it kind of got pushed aside as I got started on other projects. Then earlier this week I saw Jeanette Lynton's fun pumpkins and decided to give it another try. I tried it with 1"x6" strips and that's MUCH better! If I ever decide to do a huge pumpkin again, I will definitely be using the terracotta pots like Jeanette used and that way the pumpkin will actually stand up instead of rolling all over the place - which was my problem before ;-)
***

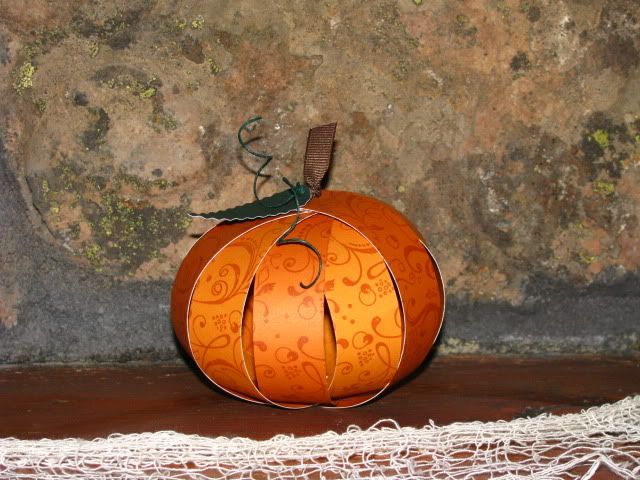
The following pumpkin is my favorite - I used Autumn Terracotta and Goldrush CS and stamped on it with the Adorable Backgrounds stamp set using Autumn Terracotta ink. Thanks to fellow CTMH Consultant, Tara Kenyon, for the idea of using the knotted ribbon for the stem - works perfectly in place of the brad. I used my heart coluzzle to cut my Ponderosa Pine CS, and then cut it in half to create two leaves - then I ran it through my paper crimper (another idea from Tara) and finished it off with some curled Ponderosa Pine Waxy Flax (retired).


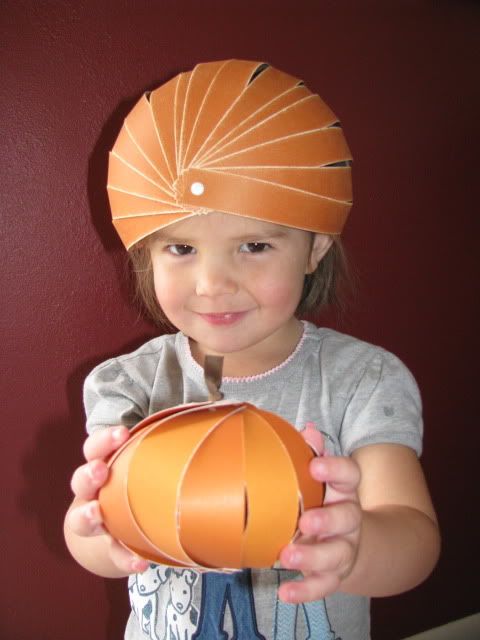
So then I started to take apart my previous pumpkin to cut my strips in half to create more pumpkins, and when Brailee saw it she said, "Ooh, a helmet!" so I let her try it on. She's too funny!


And here are a couple more pumpkins I made - I just haven't finished them off with leaves and vines yet. The one on the left is created with 6 strips of Autumn Terracotta CS and 6 of Goldrush CS - the one on the right is created with 10 strips of Textured Autumn Terracotta CS that I sanded to bring out the texture. I like the pumpkins better with 10 strips instead of 12.


Thanks for looking!

Friday, October 23, 2009

Flashback Friday

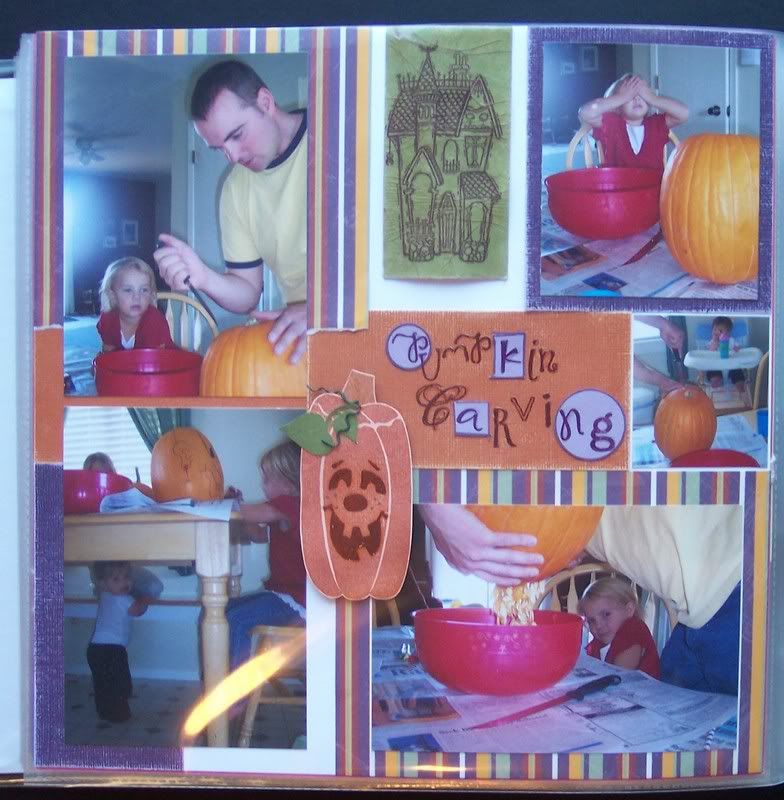
So for this week's Flashback Friday I've decided to do something a little different. I am going to share some past creations AND past pictures at the same time - this week's theme is Fall, of course! These pages were done about 2-4 years ago...I like to see how my work has changed over the years - or I think it has anyway!
***
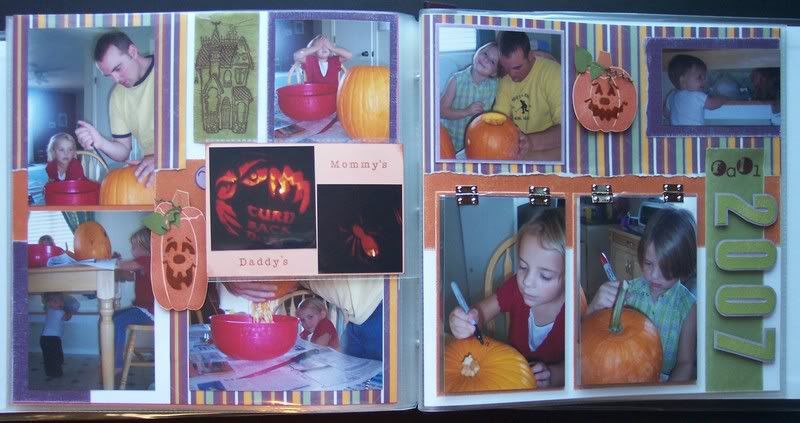
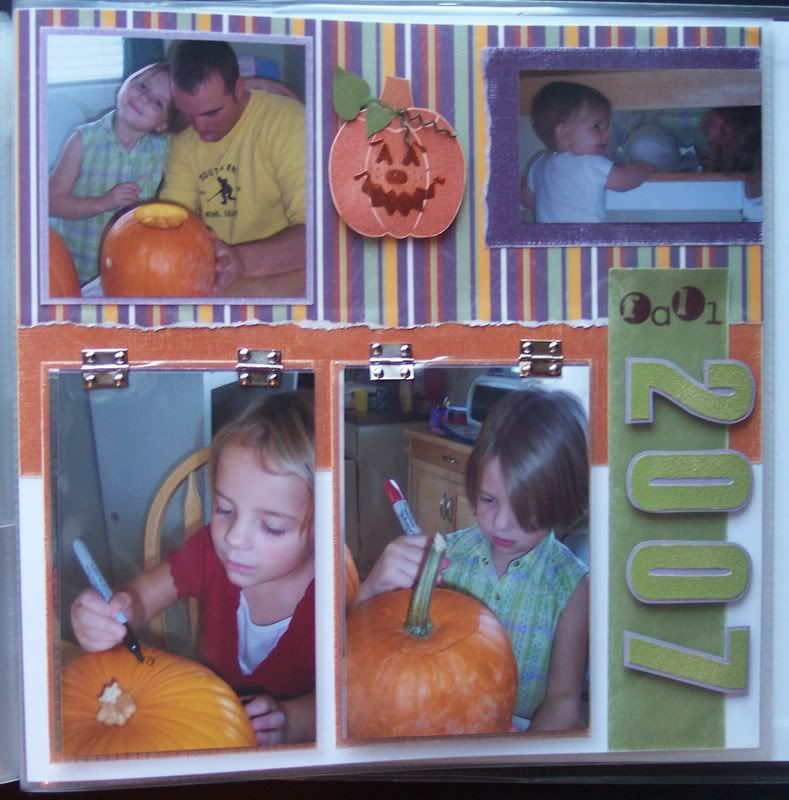
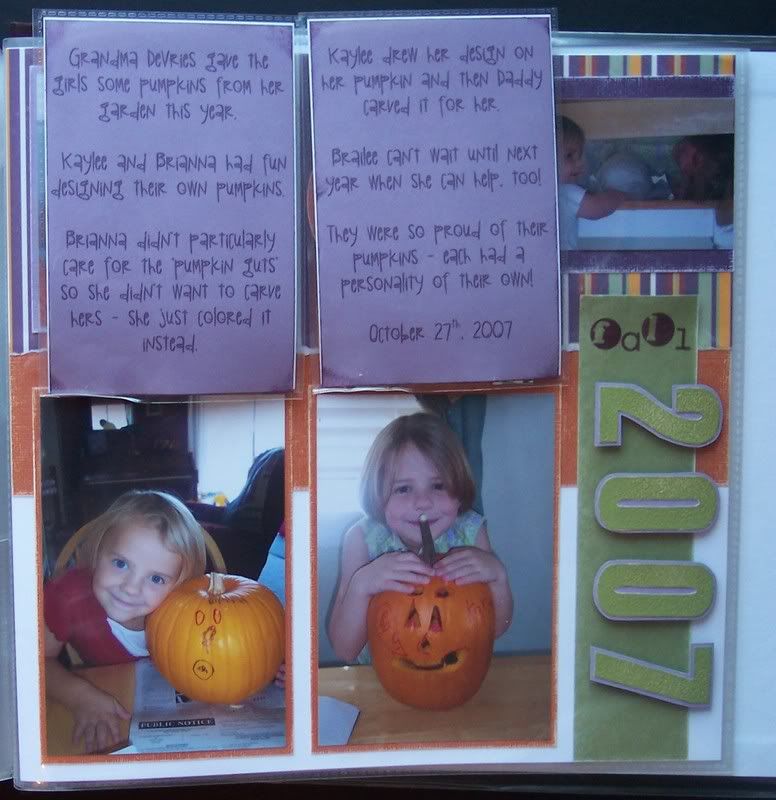
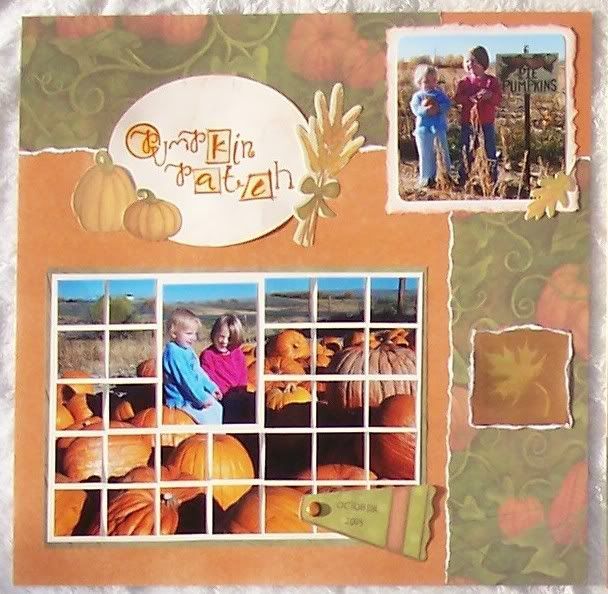
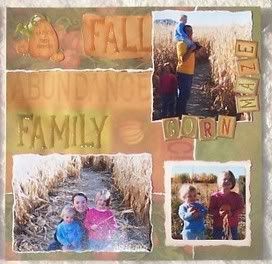
I'll start with some of my favorite Fall pages - these were done just two years ago and I am still really pleased with how they turned out, maybe just because of everything I fit in there!
Here are the pages together - you can see the flap I inserted in the middle - it has pictures of all of our finished pumpkins - this insert was just created using an extra pocket from the photo storage page that I cut up and used on the right page - this was before we had Flip Flaps!

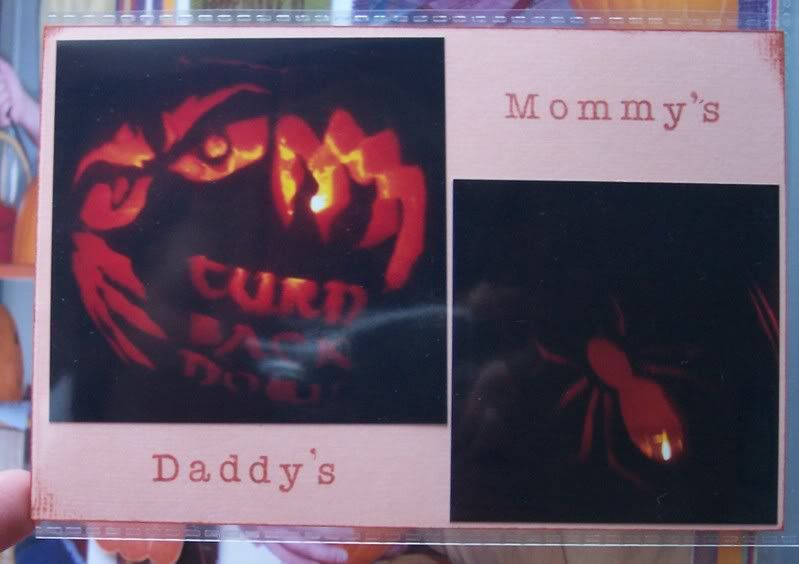
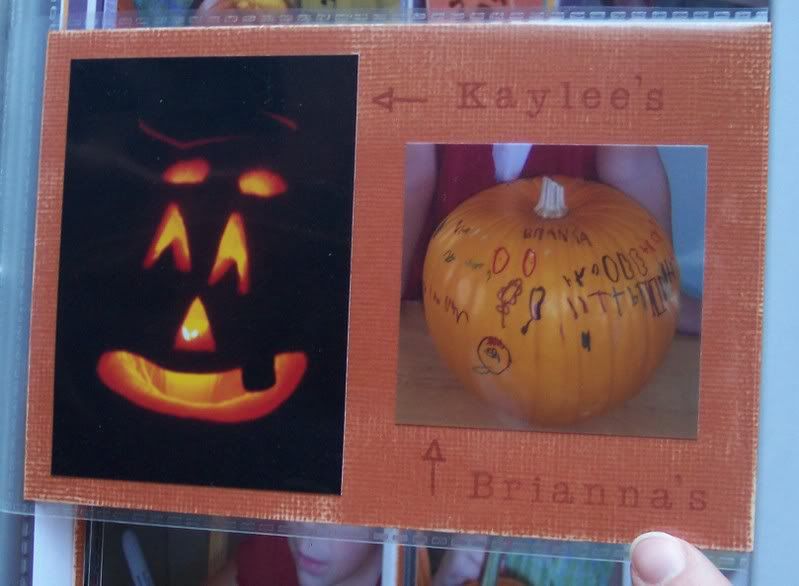
Here is a close-up of both sides of the flap:
Here is the left page:
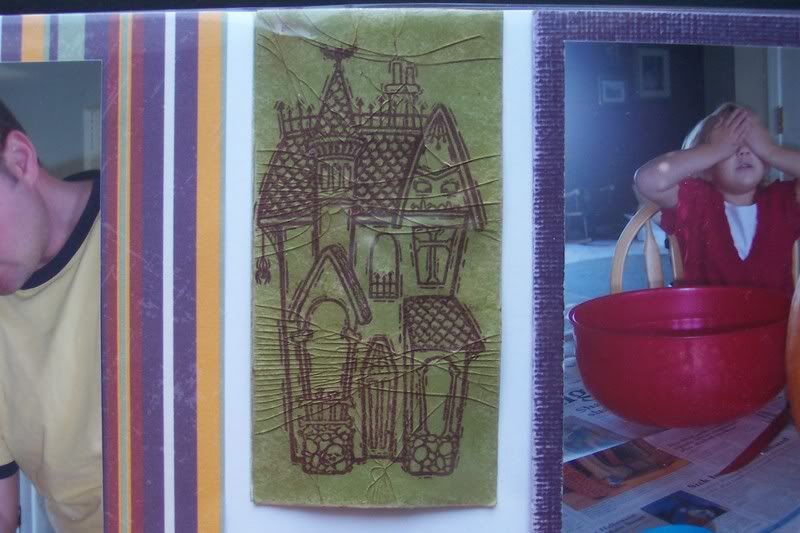
I used the Cracked Glass Technique on the Haunted House (from the Happy Haunting stamp set).
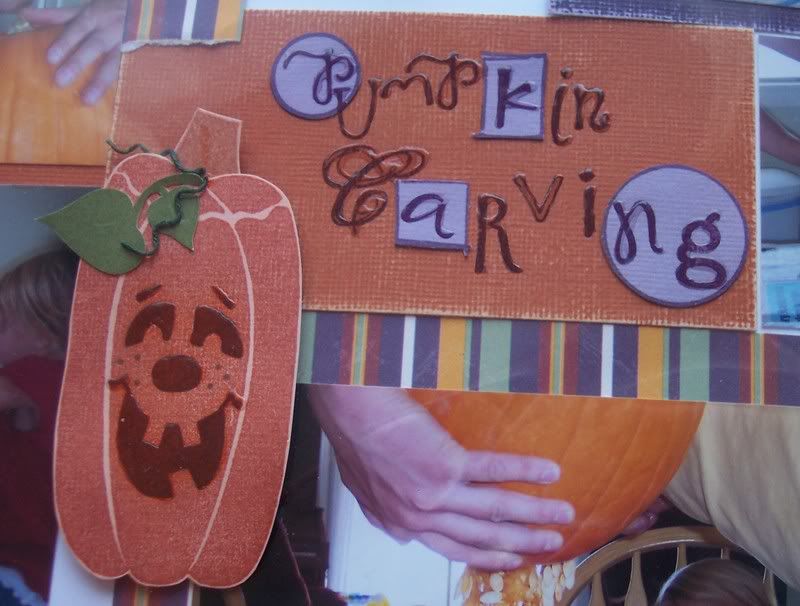
The title came from the Fall stamp set but I altered it a little. The stamp actually says 'Pumpkin Patch' (and you can see the stamp used below on one of my older pages), but I only used the word 'Pumpkin' and then I created the word 'Carving' from the Delightful Alphabet stamp set - doesn't it work perfectly! I stamped both directly on the page and then on purple as well to cut out and piece to get the different colors for my title. I also traced the title with Liquid Glass.
Here is the right page - see the hinges? Those are attached to the pockets I cut from the photo storage page - they lift up to reveal the journaling and pictures of the girls with their finished pumpkins.
Here are the flaps lifted.
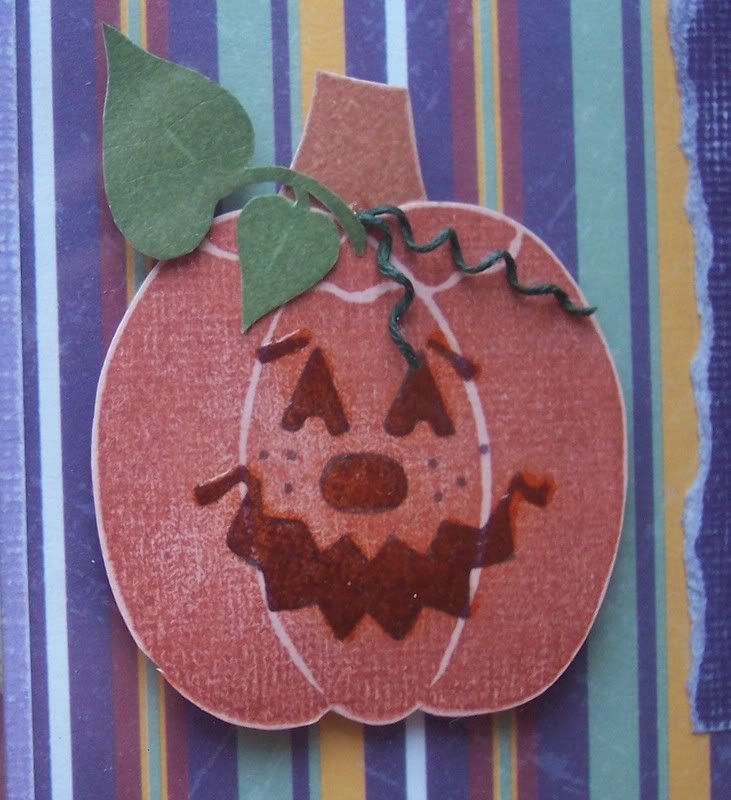
And aren't these pumpkins too cute? They are stamped on Textured CS, and I used Liquid Glass on their faces, and green Waxy Flax for the vines. Both pumkins came from the Frightenin' Fun stamp set.

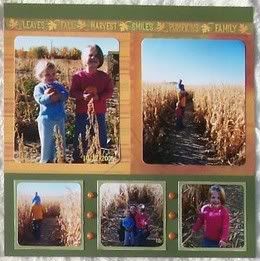
And here are some of my older pages - some are almost 4 years old!


Thanks for looking!

Thursday, October 22, 2009

To the Bat Cave!

We had our first Halloween party of the season today - the library trick-or-treat party was today, which meant I had to have Brailee's costume done a whole week early! So I called my SIL last weekend to 'borrow' my sewing machine back and I got started. Brailee had originally wanted to be Wonder Woman, like Kaylee, but then we got a costume magazine in the mail at the end of September, and as she was looking through it, she saw a 'Tween Robin' costume, or a 'Girl Robin' as she calls it, and that's what she said she wanted to be. I happily agreed, because Trysten had a pair of Batman jammies, so I knew they would be perfect together! Don't they make the cutest pair of super heroes!
I made up her costume as I went - we found some fun sparkly material at WalMart for the skirt and overshirt, and I used some felt I had at home for the 'R' and utility belt. We got the mask in the craft section - just trimmed it down so it was the right style of mask, then painted it with green paint and sprinkled it with Prisma Glitter while the paint was still wet - she loves her sparkly mask! I just found a plain green long sleeved shirt and some warm red tights to finish off the look.
I feel like I cheated this year since I didn't make Trysten's costume, but hey, it works, and he will use it over and over until he grows out of it since they are jammies!
Okay, so I did make part of Trysten's costume - I whipped up another quick pair of slippers less than an hour before the party ;-)
I usually don't share pics of the kids I babysit, but I figure his identity is safe here - this is C as Darth Vader.


Check back next week to see the rest of the costumes! I still need to finish Kaylee's before her piano recital on Tuesday, and Brianna's before the school party on Friday, but I don't have much left on either, so it should be a piece of cake!

Wednesday, October 21, 2009

Monday, October 19, 2009

Spudd

I came across this picture when I was printing off the pictures for my November Word Puzzle pages that I posted here. This is my 'little' brother, Spudd. For some reason when I saw this picture of him, it just brought tears to my eyes - he's not so little anymore! I was so touched by this picture that I decided to scrap it immediately. And now after talking to him on the phone yesterday, this page is even more touching to me!


Products Used: SU! Night and Day paper, CTMH Dimensional Element letters, CTMH Weathered Background stamp set (stamped on the DE letters), CTMH Black Hemp, CTMH All You Need stamp set (for the word 'brother'), CTMH Save the Date stamp set, CTMH Black ink, CTMH Vanilla Cream ink, Memo Notebook card and small alphabet stickers from Jenni Bowlin Studio
***
The only thing I don't like about this page is the letter 'S' - I was sponging on Vanilla Cream ink on the letters before I stamped the background, and on this letter I accidentally started sponging on the black ink instead, so I used a different background stamp on that letter to cover it up and it just seems to get lost on the page. Yet, I didn't do anything to fix it...yet...so for now this is how it's going to stay!
***
Thanks for looking!

Saturday, October 17, 2009

December Word Puzzle

As I mentioned before, I got a LOT of projects done when David was out of town for a couple weeks and I had nights to myself - here is more proof! I got my NOVEMBER workshop samples done and October is barely halfway over - that's like a record for me! PLUS, I added pictures to my layouts - I'm so proud of myself ;-)
***

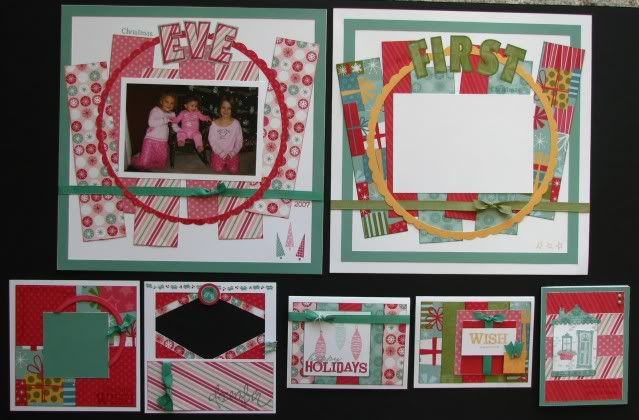
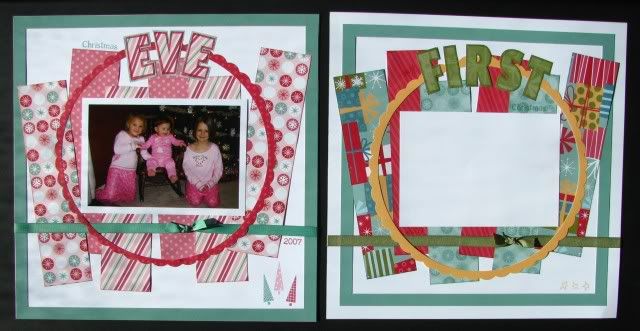
Anyway, here are my workshop creations. I used the *new* Jingle Level 2 paper pack AND the *new* Jingle Creative Basics paper with the ribbon, the December Word Puzzle, November SOTM Around the Block, and Posterboard Alphabet stamp set. And don't forget, if you're unable to attend my workshop on the assigned day, you can purchase the Workshop Kit that includes cutting guides and instructions to create them on your own!


12x12 Option - you will get to pick from the 'girly' layout or the more 'neutral' layout - you will obviously use the title of your choice - this is just what I picked for my pages.


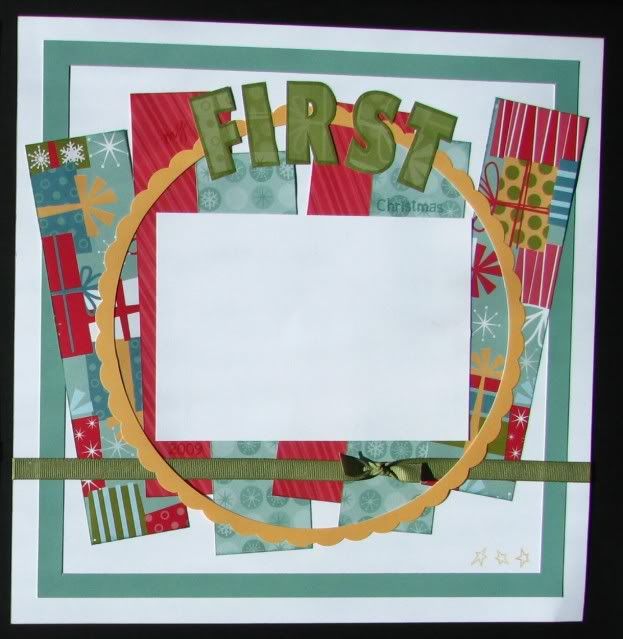
I am saving this page for pictures of Trysten and his first Christmas. I don't know if you can tell in the picture here, but I used the word 'merry' from the Word Puzzle stamp set and just stamped the 'm' and the 'y' before the word 'first' and then 'Christmas' from the same Word Puzzle stamp set is stamped just underneath and to the right of the word 'first', so the title says 'My First Christmas'.

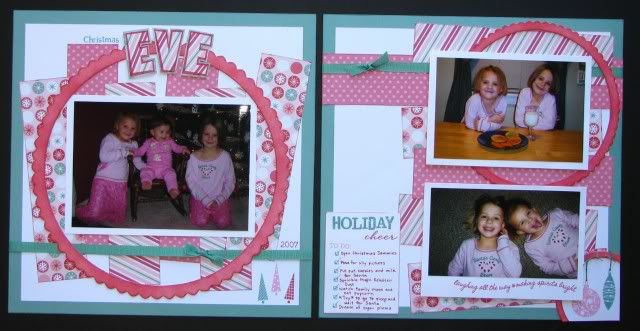
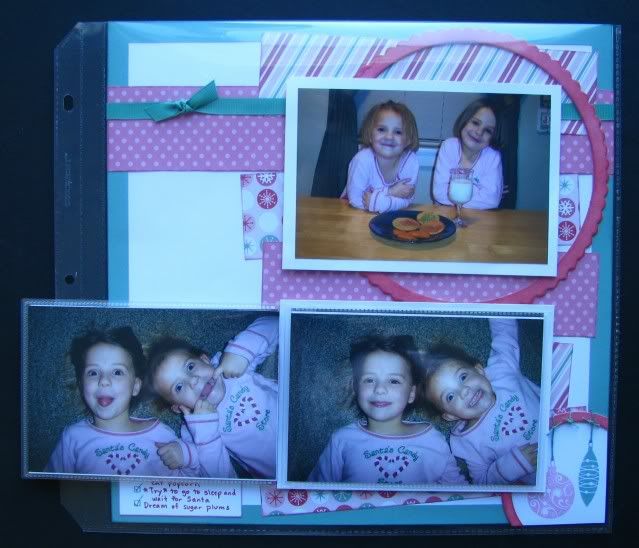
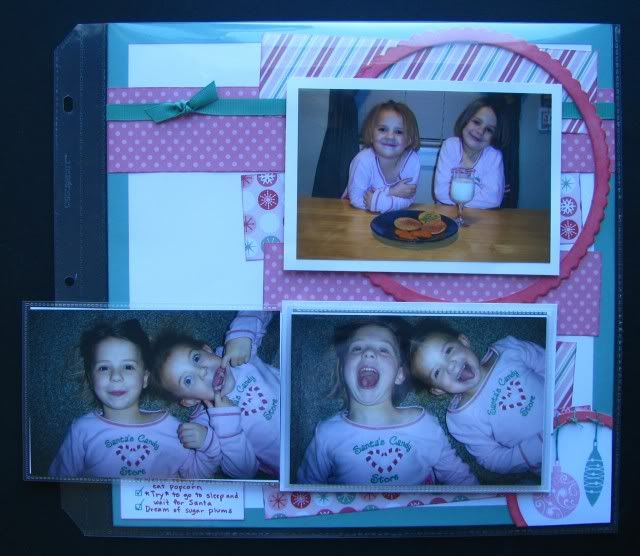
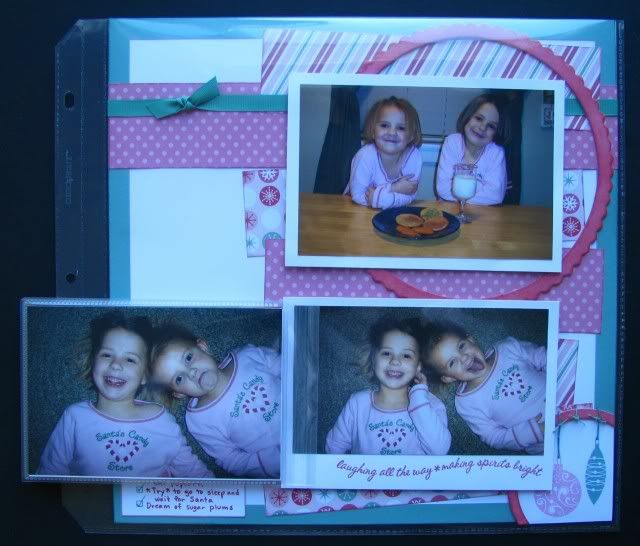
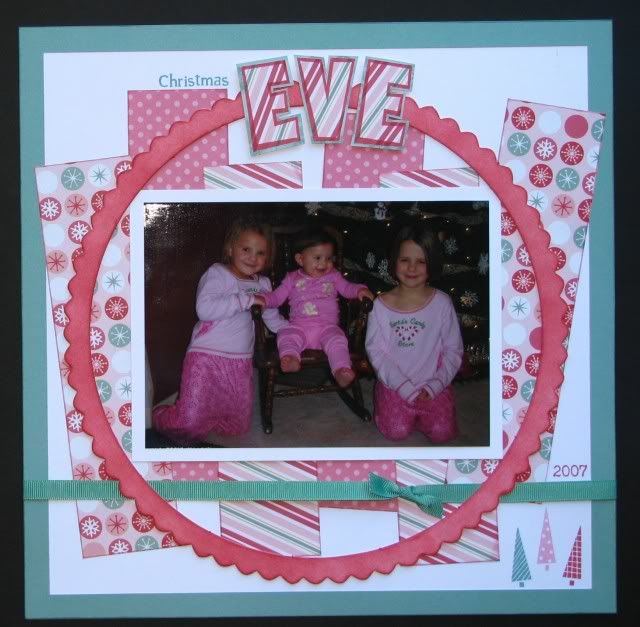
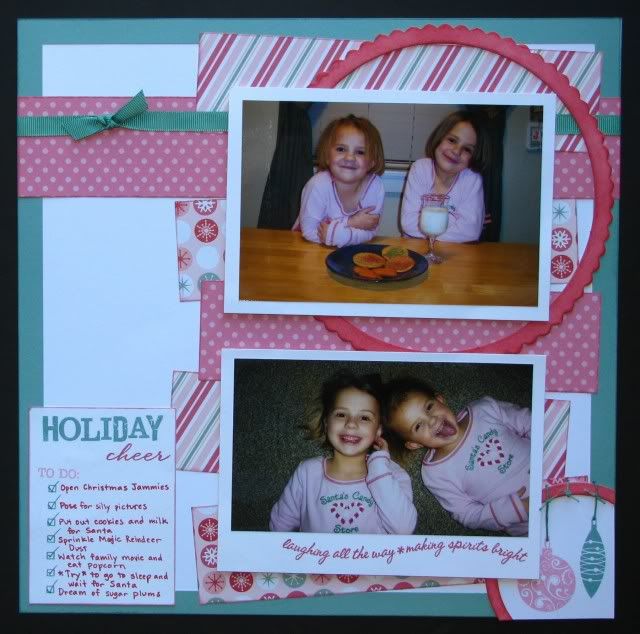
And here are my pages with pictures and the companion layout! For mine I used the *new* On Target Dimensional Elements for the circles - I just sponged on the Tulip color. Workshop participants who order the Exclusive Plus kit will also get to use these fun Dimensional Elements. And how perfect is this paper with my girls and their jammies!


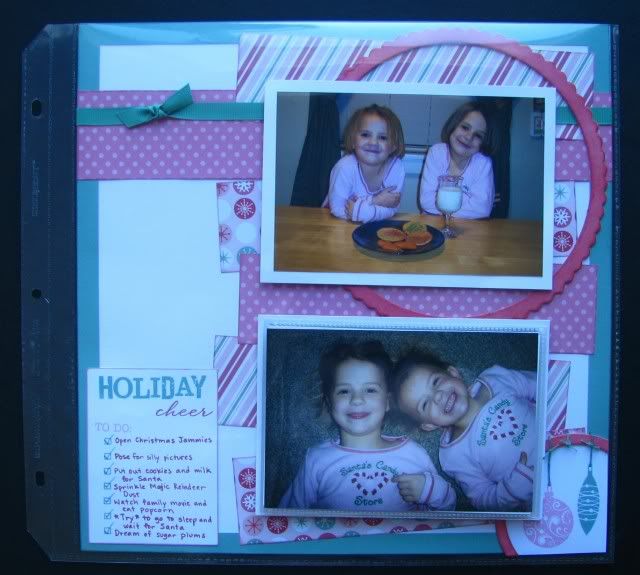
Once I got my pages in the page protectors, I used my Flip Flaps to add even more pictures! I added 6 extra pictures to this page - they were just too funny and I had to include them ;-) Sorry the color is off - I had to turn off my flash to avoid the glare and the coloring looks weird now - but you get the idea!


6x6 Option - I used the scrap dimensional element from the right page of my layout to add to one of these pages, but workshop attendees will be using a circle cut using the Coluzzle instead. Also - the right page shown here has a 'reverse' mat - so the picture will actually attach to the back of the page but show through the front - make sense?


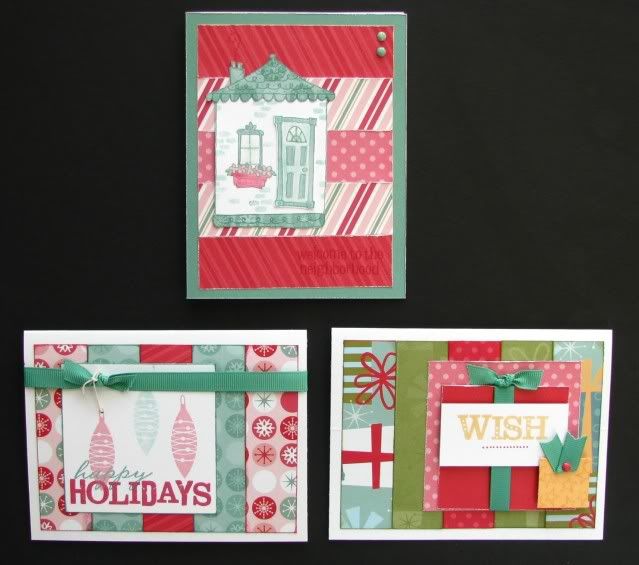
Card Option


Here are the layouts and cards exactly as they are created in the Workshop Guide - you can see that I changed mine a bit. I didn't get the Exclusive Workshop Kit once again this month, so I didn't use the stamp set that comes in the kit on my samples. You can click HERE to request more information on this month's featured kit.


The Jingle Exclusive Workshop Kit that I will be featuring next month is only $29.95 (retail value $35.85) and includes the Jingle Level 2 Kit, Exclusive B-size stamp set - Somethin' Special, Twinkle Brads Jolly Assortment, and a Workshop Guide. What a great deal! But there are also other pricing options for the workshop - ranging from $5 to $43, so don't forget to check out my workshop details HERE.
Thanks for looking!