Saturday, April 30, 2011

Productive Day

Yesterday David had the day off so I took advantage of the available 'babysitter' and made a trip to the chiropractor to work on some problems and I think it did the trick, I had quite the productive day today!  By 10 a.m. this morning I had already (1) been to town to pick up my Bountiful Basket (love this program!), (2) made homemade Buttermilk pancakes, bacon, and fresh cut fruit from my basket for breakfast, (3) baked 2 loaves of banana bread, and (4) started dinner in the crock pot.  That's a lot for me for a Saturday morning!  After that, it was time to relax and hang out with the family and I got the following Studio J layouts done so I could place my order before the end of the month and get my free Sparkles and Opaques (and free shipping and page protectors of course)!
***
Here are my pages:
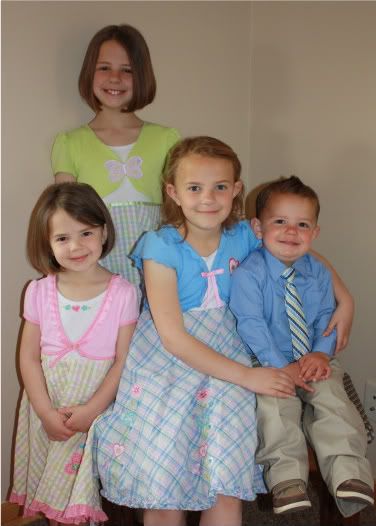
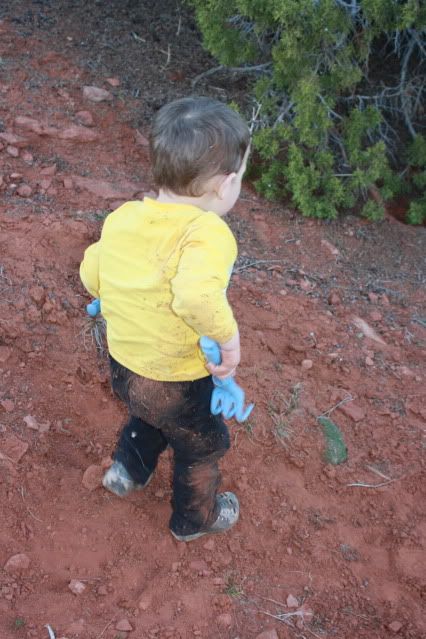
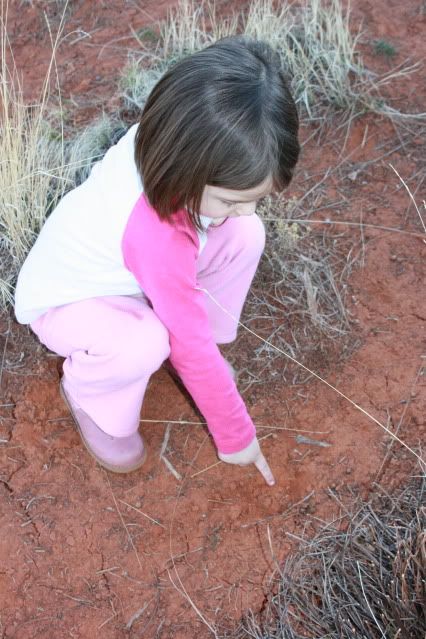
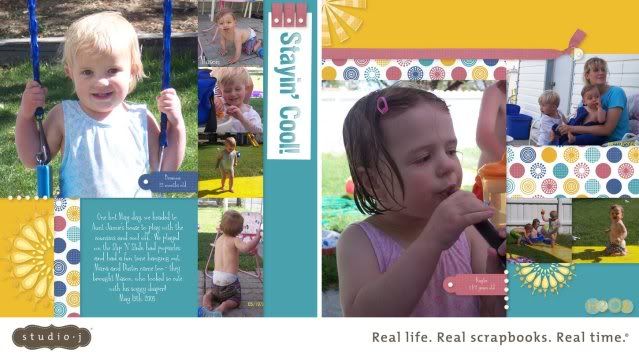
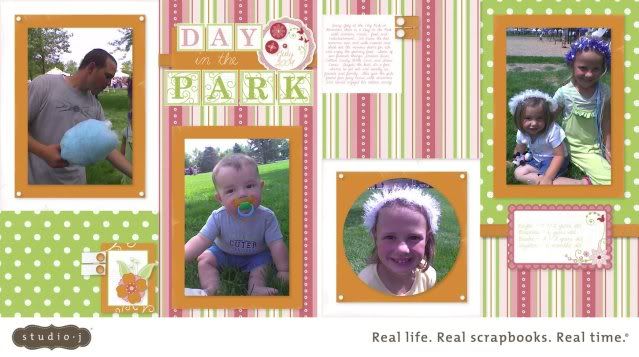
This one is a flashback - 6 years ago, look how they've grown!  I had fun 'trimming' the Stickease on this layout.  These papers are from Splash Zone, which is a Studio J exclusive.

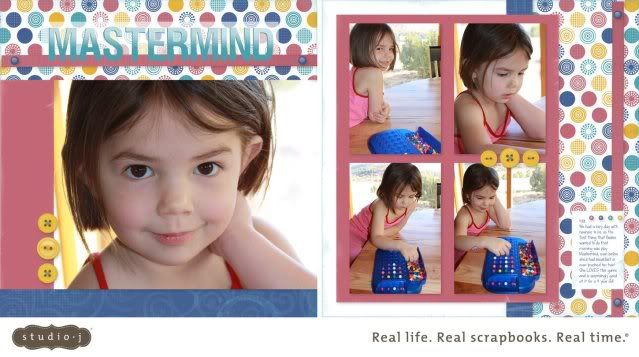
My next layout uses the same papers, even though it's not a water layout - I love how versatile the CTMH papers really can be.  The colors in the papers went with my pictures, plus the circles in the patterned paper reminded me of the game pieces.  I didn't do a lot of playing around with this layout - this one was quick and to the point.

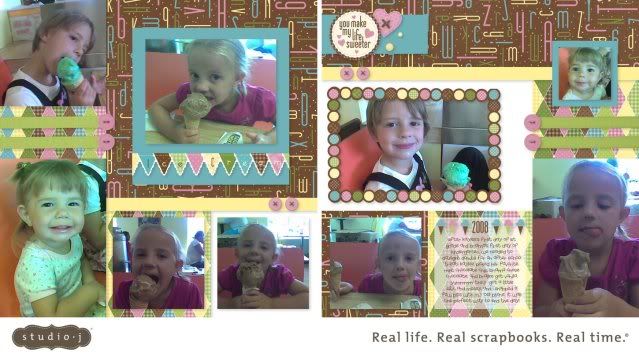
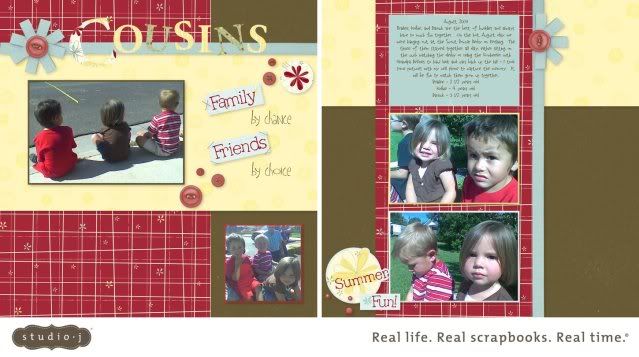
Another flashback layout - these pictures are from 2 1/2 years ago, and they were taken with my cell phone, so the quality is not good, but the memories sure are!  I used the Take the Cake papers which are another Studio J exclusive kit.  I had fun playing with the different Stickease in this kit as well - I especially love the banner border that I turned into a title piece by adding text and alphabet Stickease.

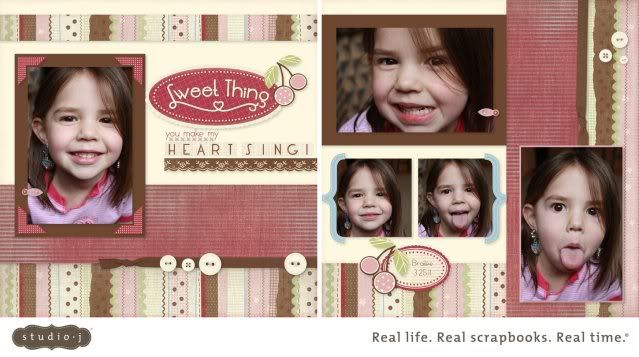
This layout uses the fun Cherry-O  papers - I had fun playing around with the Stickease and stitches for my title.  I am going to use Flip-Flaps to add even more pictures to this layout once I add it to my album.  She was such a goof and kept pulling silly faces and I kept snapping away - I love that about digital cameras!
Here are a couple of Sophia pages.  Both are more flashback cell phone pics - the quality once again is not the best, but I just love all pictures ;-)  I had fun playing with the titles on both of these layouts by combining Stickease and Journaling Boxes.

Can you tell I just love that stripe paper?!?
I finally got some pages scrapped from Kaylee's baptism.  I have one that has been in my 'to-do' pile for quite a while now and I hope I can get it done and complete this event.  It uses the Voice Recorder and I recorded Kaylee playing a song on the piano that she learned and played at her baptism.  Here are the rest of the pages for now.
On this page I turned the journaling box into a photo well.  I played around with the Stickease once again.
On this layout I added a touch of Topiary since green is Kaylee's favorite color.  I also played around with the title/journaling box and added a fun shadow effect by layering two identical journaling boxes - one with Bamboo lettering and the other with black.  I really love the look it achieved!
On this layout, the horizontal picture on the left page is actually two different photo wells - I just put the same picture in both wells and enlarged them and lined them up so they look like one!  Thanks to a fellow CTMH Consultant who shared this idea - when I find the name and video where I saw this, I will post it here!
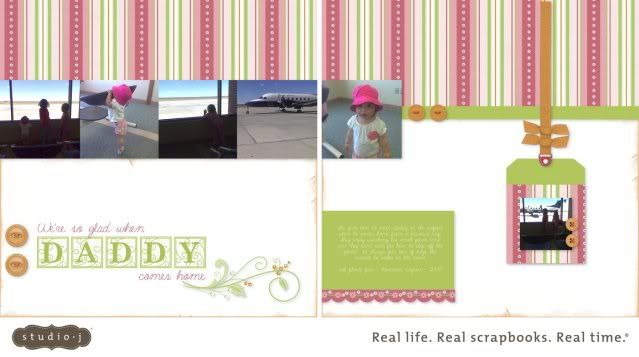
One more - more cell phone pics.  I played around with some ribbon tabs on this layout and created some ribbon flowers - love them!

I love that I got so many pages done in so little time, at a great price, and clean-up was a breeze - just logged out and closed the laptop!  Have you tried Studio J yet?  What are you waiting for!
***
Thanks for visiting - I hope you are enjoying your weekend!

Monday, April 25, 2011

Miracle

I love the versatility of the Miracle papers.  Here is a variety of cards that I have created using these papers.
This was a card for my SIL Sandy's birthday - I used the button punch that she gave me for my birthday - love that thing!  I used the On The Side pattern from Originals.

Here is a close-up of the buttons - the punch embosses them as well so I sanded the Cocoa ones and inked the Colonial White one with Sweet Leaf ink.  I then 'tied' them with strips of paper instead of string.

I just love this Hedgehog from the Happy Forever stamp set - this was the first time I've used this set which was a Stamp of the Month last year, I just remember getting it around the time we moved so it hasn't seen ink until now.  I also used the A Little Everything stamp set and Over the Rainbow stamp set on this card.

One of David's coworkers had a new baby boy - this is the card I made for him using the Center Circles pattern from Wishes and the retired Little Boys stamp set for the dinosaur, Circle Around stamp set for the stitches, and Sweet Baby stamp set for the words.  I added more faux mini brads here.

I thought it matched the gift nicely.

We hosted David's family Easter party - these were the invites that I created.  I started off just cutting the frames using my paper cutter...
...then I remembered that I did have my Coluzzle once again so I cut the frames with that and liked it better when I angled it...

I used one of my dot cuttlebug folders and thanks to the past Stamp of the Month Easter Eggs stamp set, each one was unique!

Here are some long lost projects the girls helped me make - we did these last year when Miracle was one of the monthly specials.  This was a note holder for Kaylee's piano teacher.

These were for Brianna's dance teachers.

I also started working on a page using these papers for Brianna's dance recital pics, but they got packed up before our move and I haven't found them yet - I'm hoping to get them done soon, especially now that Miracle is a full paper pack - they matched Brianna's recital costume perfectly!

Sunday, April 24, 2011

Happy Easter!

We have had a fun weekend - we left late Thursday and drove 6+ hours to Utah to visit family.  We have been playing hard and having a blast.  I will post more pics soon, but for now here are some pics that I took before church last Sunday of the kids in their Easter clothes.  So cute!
 

I fully intended on making the girls' dresses this year because it is SO hard to find matching dresses in such a range of sizes, but I never got a chance to get out of our small town to find the fabric that I needed.  So I looked around online and found these dresses on Sears.  They are not my favorite, but the girls love them because they are their favorite colors, and they were a great price - I never could have made the dresses at the price I got all of this. 
Brailee loves pink...and the golden egg ;-)
Brianna loves blue...

Kaylee loves green...and there are NOT a lot of options out there for girls dresses in green!

Here is our handsome little guy - I didn't get his favorite color, green, but he was still happy - he loves to wear a tie!

I hope you all have a Happy Easter!

Friday, April 15, 2011

Reuse. Recycle. Reinvent.

Today's post covers two challenges - I had a lot of fun with this project and hope you enjoy it as much as I do.  First of all, I used this week's challenge over at the Heart 2 Heart Challenges Blog - to use something recycled on our project.  As I started my project, I was looking for the perfect sketch to inspire me and found this week's Sketchy Thursday ESS126 over at Eat Sleep Stamp, and knew it would be perfect!  So, now on to my project!
***
At the end of last month Brianna received the new comforter that she picked out for her new room - this is the packaging that it came rolled up in...
It's going to be so cute with her teal rug and teal sheets that I got for her! 
Anyway, I'm glad I opened it up carefully because as soon as I saw it, I KNEW I wanted to turn it into a mini album.  So, I folded it like this...and then stuck in my crafty 'TO-DO' pile ;-) and didn't touch it again until today.

I was thrilled when I saw this week's H2H Challenge - it was just the motivation I needed to get it done!  So this morning I got it out and got to work.  My biggest challenge was coming up with an album theme.  I was going to do a Sisters album, but none of the girly color combos and papers that I picked out were just right with the corrugated cardboard.  Then I remembered that I haven't had a chance to play with the new Lucky papers and they had the perfect colors in it since I also wanted to reuse the ribbon that came with the packaging as well.  This is what I came up with...

I used Liquid Glass to secure the fold on the cover and also to glue on all of my pieces - it's a pretty nice size, and very sturdy!  I wanted the orange color to match my ribbon so instead of using the Sunset color that is in the papers, I used the retired Orange - I tore the edge and sanded the paper to tone it down a bit.  I also used the following stamp sets - Rustic Alphabet, and the retired sets Legendary Moments and Doodle Alphabet.  I dressed it up with some Outdoor Denim Buttons tied with Olive Waxy Flax, and Orange Brads.  I also used a notebook edge punch and corner rounder on this project.

I haven't figured out what I'm going to do for pages for the inside yet but I will be sure to post them when I get them done!  I am hoping to give this to my brother and his wife when their little boy turns one in just a couple months.  For now this is what the inside looks like - I tied the ribbon loosely so I can untie it and use it if I need to in order to add my pages.

This is the spine of the book - I also added Liquid Glass to the end of the ribbons to stop them from fraying.  I love Liquid Glass, it has so many purposes!

As I was glueing my cover together this morning, I noticed this - I like the word reinvent, which is exactly what I did here!
Thanks for looking!

Tuesday, April 12, 2011

Another neighbor visitor...

Yesterday morning as the girls were getting ready for school, Kaylee discovered a bunny outside.  But not the usual bunnies we see in our yard...this one is different - see for yourself!
Kaylee and I named 'him' Oreo the minute we saw him (for obvious reasons), then I suggested to the girls that he is the Easter Bunny's helper, and is scouting out fun places to hide Easter Eggs ;-)  So then Brianna named him Christopher HOP-in-kins (click here to see our new Christmas Tradition - Christopher Pop-In-Kins - that I posted about earlier this year)!  So, maybe we'll meet in the middle and call him Oreo Hop-In-Kins.  He stuck around all day yesterday and the girls even got to pet him, and we've seen him a couple times today.  I just wish we knew how to find his owners - we have no idea which neighbors around us may have rabbits. 
***
So it's been a while since I've posted - we've been busy!  I've been getting crafty time in every day, plus my daily workout, playing with the kids, yard work, and other regular activities, which doesn't leave much room for blogging!  I will catch up sometime...maybe ;-P  The older girls just started soccer, and we (David) are coaching their team, so that will keep a couple nights busy!  We've spent lots of time outside on the occassional nice days, which are usually followed by a day or two of rain or snow!  Here is Brianna collecting rocks - imagine that!


Trysten digging and getting dirty!

Kaylee digging for 'dinosaur' bones ;-)

Brailee pointing out deer tracks and following them.
Well, there's a quick update for now - I will be back with more hopefully soon!  Thanks for visiting!

Monday, April 4, 2011

Passages Card Set

Using the Greetings Card Workshop template found in the Wishes Book, I created the following cards using just half a sheet of Colonial White Cardstock, along with two patterned papers from the retired Passages paper pack, plus my card bases.  By  changing the orientation of the card, using the opposite side of the paper, and changing the stamp sets, I really like the different looks I came up with for each set.
Card 1
Using the You're Sweet stamp set and stamp rolling technique on the apple.
Using the retired Whoo Loves You stamp set for the mushroom and one of my favorite techniques to create faux brads.  Use a hole punch to create small circles (I usually use my Crop-a-dile) then adhere them to the card, then cover with Liquid Glass and voila - faux brads in any color, shape, and size you want!

I also added a little bit of dimension using Foam Tape
Card 2
Using the Trees & Things stamp set, and real brads this time ;-)
Using the You Rock stamp set and more faux brads.

Card 3
Using the Family Ties stamp set and retired June Word Puzzle stamp set, color pencils, and a 'reverse' faux brad.  This time I punched 3 holes in my paper with the image so the mat paper shows through to create a different look.
Using the Treasure Life stamp set and real brads.
Card 4
Using the Hot Diggity stamp set and more Foam Tape
Using the retired November Word Puzzle
 Card 5
Using the retired Butterfly Wings stamp set, along with A Little Everything stamp set stamped in Colonial White ink, and I also created more faux brads.
I added some dimension to the butterfly's wings as well.
Using the Treasures stamp set - this one is my least favorite card - I added some subtle dandelion stamps on the card base (which I don't think you can even see in this picture) but it just seems so plain, like it's missing something - maybe it's because I didn't include any accessories.  Any suggestions?
Card 6
Using the Howdy stamp set and a bit of paper piecing, inking up my stamp with markers to achieve the different colors, and some more Foam Tape, and of course faux brads!
This card uses the Friendship stamp set, which was February's Stamp of the Month, and this time I ended up cutting my focal piece into a frame.  Using second generation stamping and Garden Green ink, I stamped the image directly onto the card base, then adhered the frame over it and then stamped the sentiment in Cocoa ink - I really like how this one turned out.  Once again, faux brads.
Card 7
Using the retired Whooo Loves You stamp set, and the stamp rolling technique, along with some bigger faux brads.
Using the So Lucky stamp set and some Foam Tape and more faux brads.
Card 8
Using the Find Your Style stamp set, which was January's Stamp of the Month - more Foam Tape, faux brads, and stamp rolling going on here!

This was the only card that I stamped on the inside as well.
This was the very last card that I created in the set - usually the last one I make is my least favorite, but not this time!  I used the retired Butterflies stamp set and did a bit of paper piecing with the butterfly and added real brads to the wings, popped up with some Foam Tape.
The sentiment came from the retired Treasures of the Heart stamp set.  I pleated a strip of paper for a fun look.
Whew, quite a long post - if you've stuck with me this long, thanks for looking!