Monday, April 19, 2010

Flashback...Monday

I started this post last week, but got busy and didn't finish ;-) So, this was supposed to be Flashback Friday, but here I am on Monday finally finishing up! Since our life and house are currently under construction, I decided to do something a little different for my Flashbacks. We bought this house almost 6 years ago and have done a lot of work so I'm going to share some before and after pictures of our projects, and even some in between! It's been fun to look back and see how things have changed in this house!
***
This week's Flashback is going to focus on the 2 upstairs bathrooms. When we bought this house, we knew it needed some work, but it was something we were willing to do. Unfortunately, some things didn't get fixed right away, but over the years we've done a little here and there - but a lot lately. Here are some before and after pictures...oh, and note that I say "we" a lot, but it's really David doing all of the work. I am mostly the "go-fer" and run to the store when David needs supplies. The only chance I have to get dirty is after the kids are in bed - I spend lots of my time chasing Trysten around and keeping him out of the paint ;-P
***
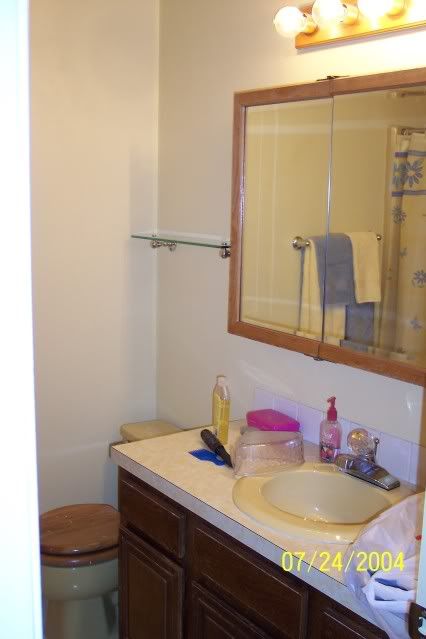
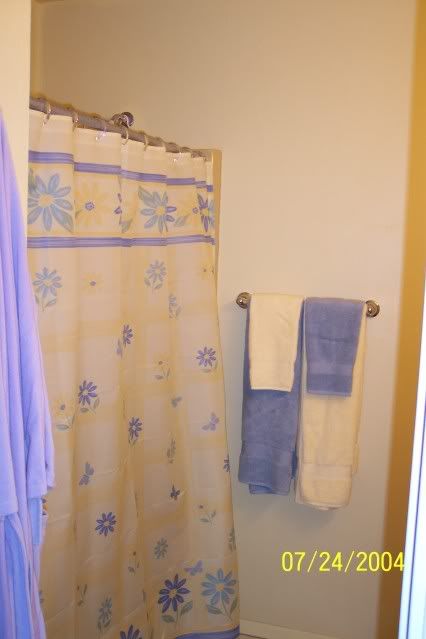
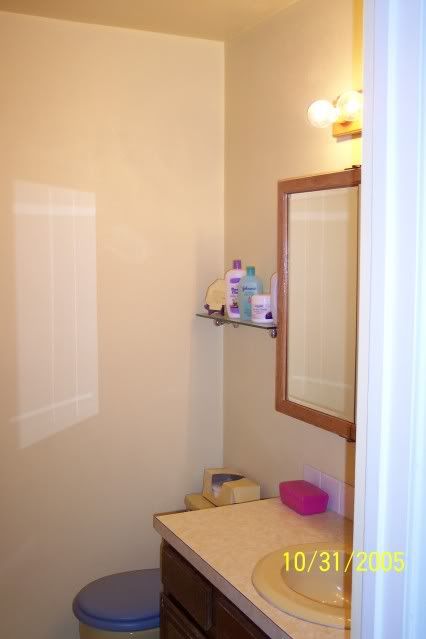
This was the main upstairs bathroom BEFORE we got our hands on it - check out that wallpaper! I have never seen so much ugly wallpaper in one house until this house. Just wait as I post more Flashbacks over the next couple of weeks and you'll see what I mean! And this bathroom had a yellow tub, yellow toilet, yellow sink, and yellow countertops!


And here it is about a week later - notice I couldn't even clean up before taking a picture ;-P I don't think you can tell in this picture, but we painted the walls yellow - it was better than before but we never really liked it.
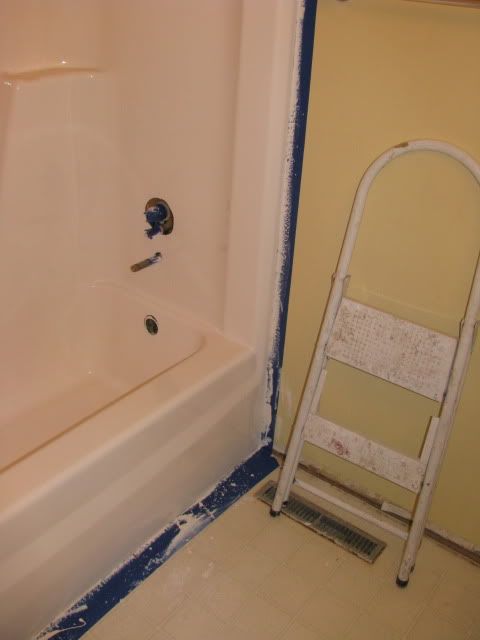
Here are some pictures from when we started our latest update back in March. David "painted" our tub white - no more ugly yellow tub! It was a big, stinky mess, but SO worth it, and probably easier and less expensive than replacing the entire tub.
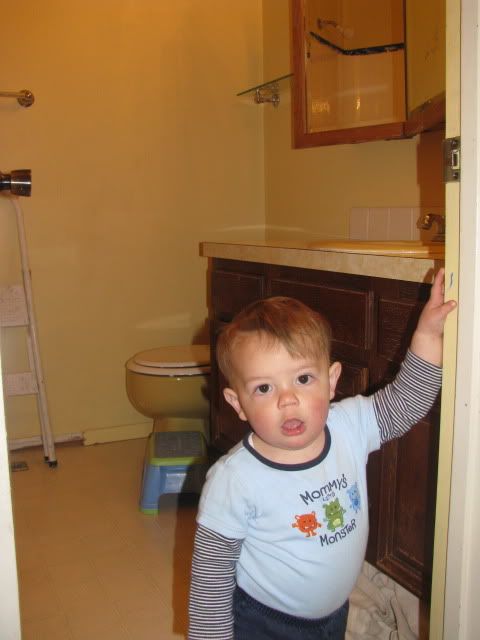
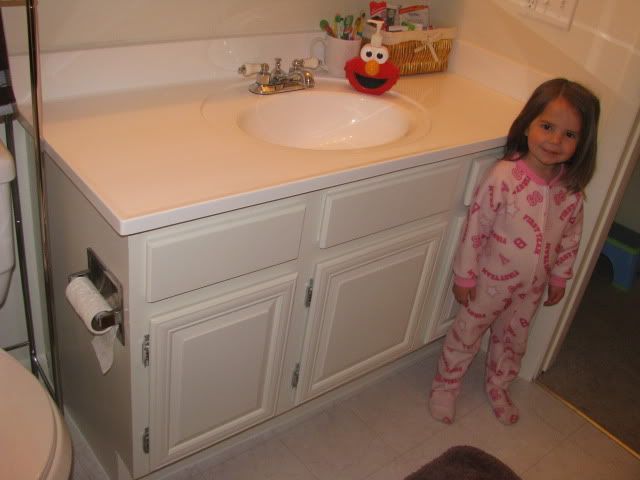
We finally pulled out our old vanity and just repainted it - what an amazing difference it makes!
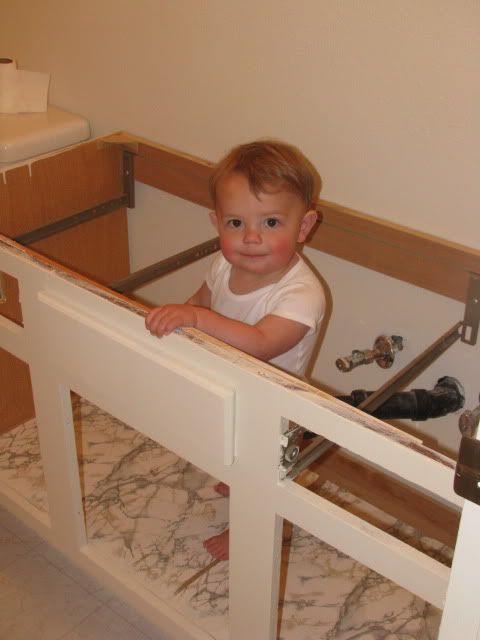

Here are the kids helping David put it back in.
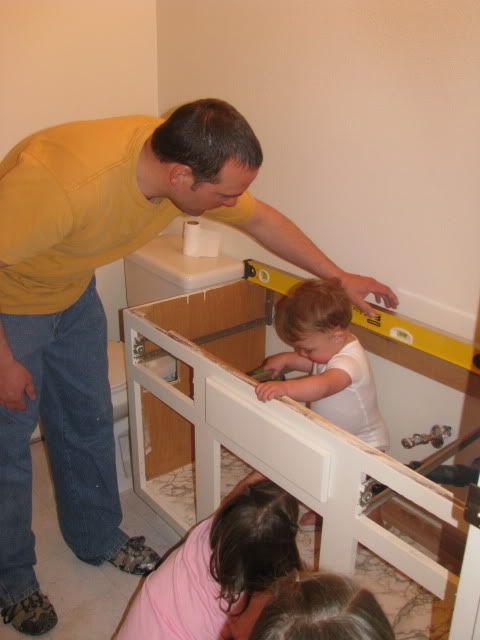

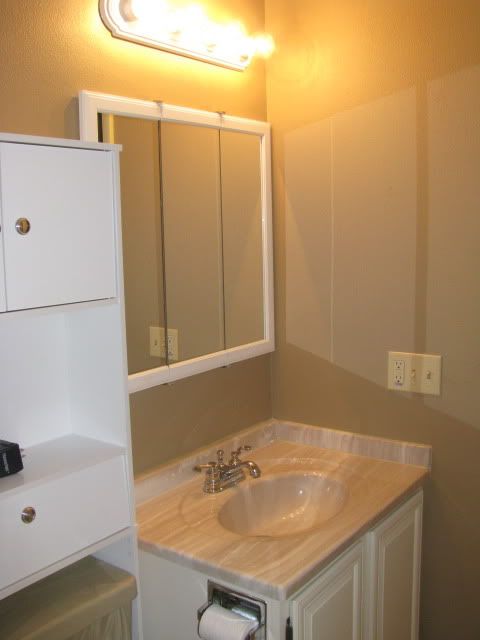
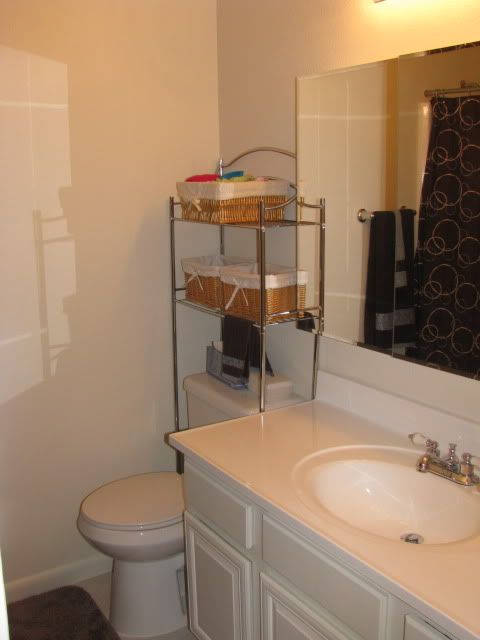
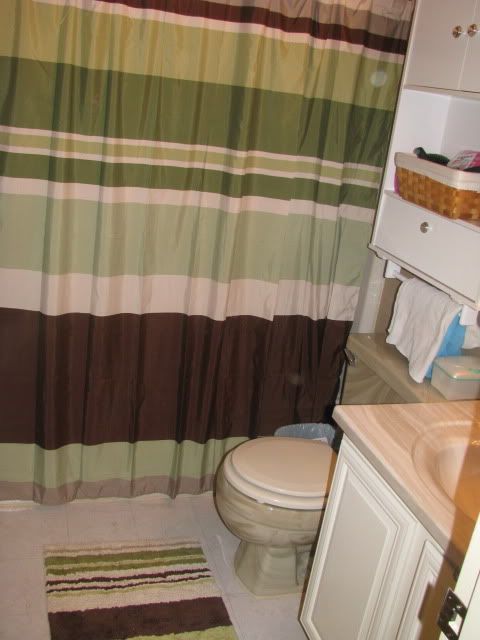
So we bought a new vanity top, mirrored medicine cabinet, lights, and new toilet. We re-textured and re-painted the entire bathroom and updated it with a much better shower curtain, towels, and rugs!

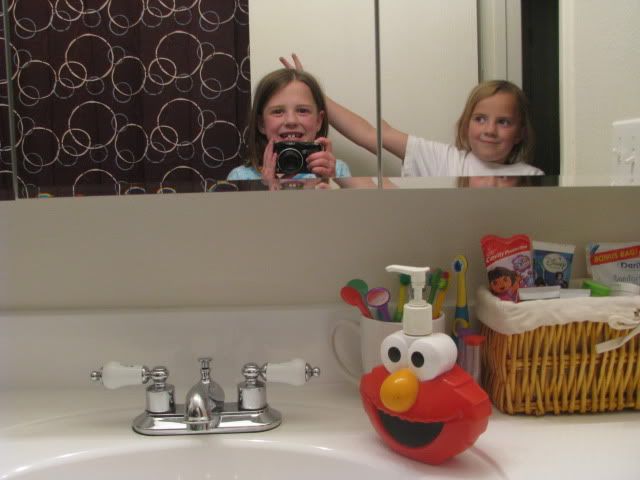
Kaylee and Brianna had to get in on the pictures as well - and don't you just love the Elmo Soap - completes the look, doesn't it ;-P
Oh, and we also replaced the flooring, put up new baseboard, and vents.
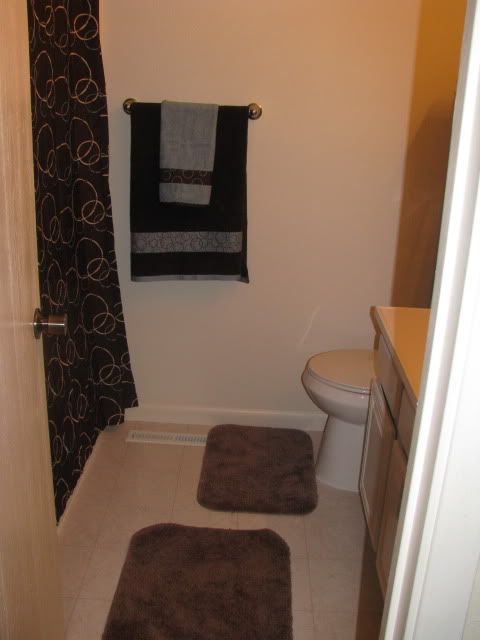
Brailee decided to help with pictures, too.

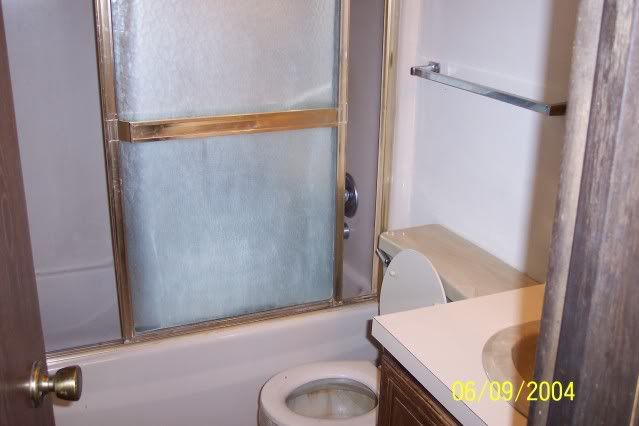
And here is our Master Bathroom before we even bought the house. The colors weren't as bad in this one, but the shower door was horrible - we tore that out right away.
I don't have any pictures of our bathroom after we updated it after moving in, but we also recently fixed it up as well, so you'll just see the AFTER after pictures. There was carpet in this bathroom which I've always hated, and we finally got a chance to tear that out and put new flooring in.
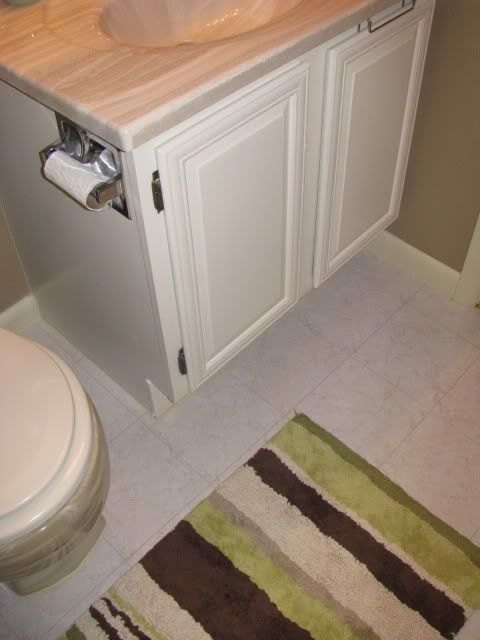
We didn't replace the toilet in this bathroom (though now I'm wishing we had) but we got a new vanity top, new medicine cabinet and lights, and just painted the existing vanity. I think it looks much better!
Thanks for looking and thanks for letting me share!

Thursday, April 15, 2010

CTMH Product Spotlight Blog Hop

Welcome to our CTMH Product Spotlight Blog Hop! This month we are featuring the new paper packs in the Spring Idea Book, so I hope you'll hop along and check out all the fabulous inspiration! When you're done here, hop along to the Paper Crafting Princess to see more creations!
***
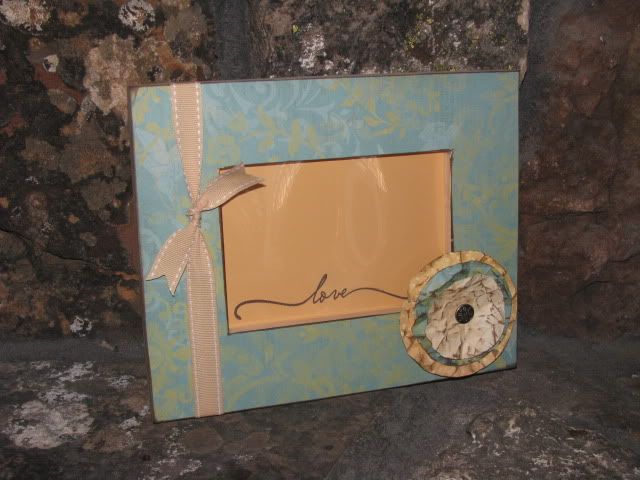
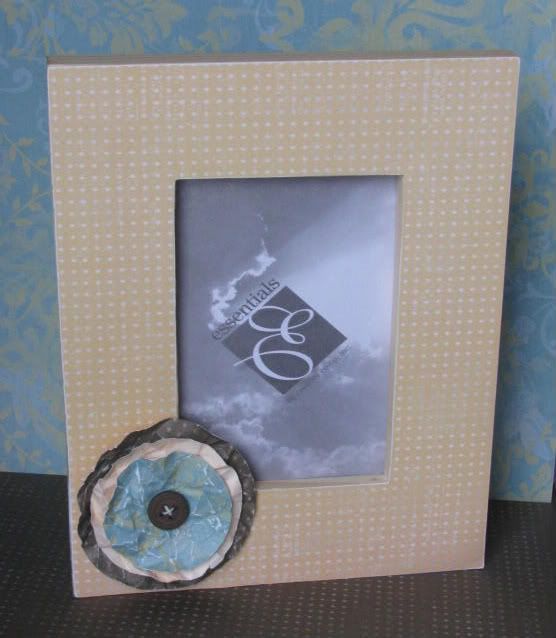
I am featuring the Veranda paper pack - such a gorgeous paper pack with Juniper, Creme Brulee, Cocoa, and Garden Green. I took some old wooden frames that I've been storing for way too long and altered them with a bit of paper and some fun crumpled circle flowers in the corner.
***
This first one was created for my SIL for her birthday. Her favorite color is green, and she has a pretty dark brown color similar to Cocoa in her living room so I knew this would be perfect. The frames didn't come with glass, so I cut a transparency to fit and then embossed it with Cocoa Embossing Powder using the Card Commentary stamp set - I think that will look nice over a picture. The ribbon came from the Veranda Creative Basics pack, but the papers came from the Level 2 pack. For this flower I cut circles of patterned paper, crumpled, and ink distressed. I also ink distressed the edges of the frame.


This second frame was created for the first customer of mine who noticed and mentioned seeing my girls in the Spring Idea Book - on page 51 if you missed it before ;-P For this flower and frame edges I sanded instead of inked.

To keep hopping, the next stop is the Paper Crafting Princess!
***
To see one more project I have previously posted using this paper pack, just click on the following link - So Lucky

And to see a quick sample of what I've created using all of the newest Spring papers, check out the Valentine cards I made for my family - just click here!
***
Thanks for looking!

Tuesday, April 13, 2010

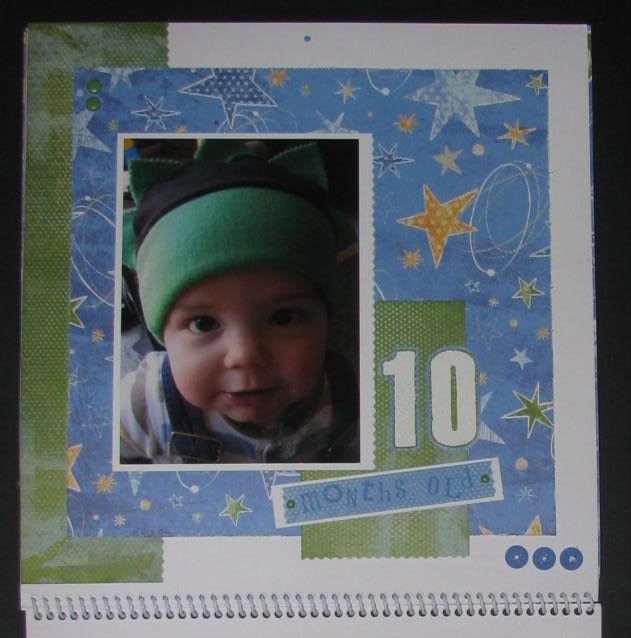
10 Months Old - Challenge #115

This week's challenge over at Sketches! {by tamara} is a recipe challenge from Janine. Use the following items on your project:

*Brads
*Buttons
*Color Blue
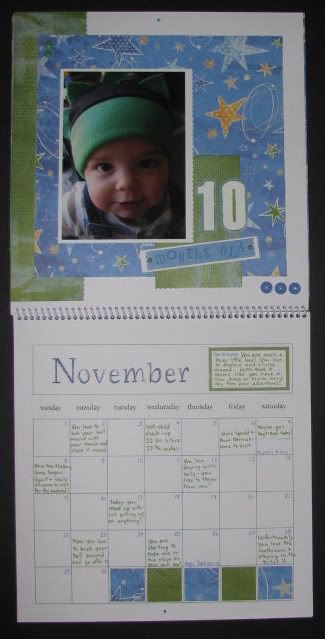
And here is the layout that I created - it's yet another page for Trysten's calendar - this has been such a fun project, now I wish I had done my girls' calendars the same way!
Remember, you can click on the picture to view it larger.
Products Used (all CTMH): Stardust paper pack, Rustic Numbers embossed with White Daisy Embossing Powder, Hodge Podge Alphabet, Summer Craft Buttons, Summer Brads
Other Products Used: Pinking decorative scissors
Don't forget to check out what the rest of the Design Team has created using this Recipe Challenge - just click here!
Thanks for visiting!

Friday, April 9, 2010

Bruiser

Oops - I almost forgot to post this this week! This is my layout for this week's challenge over at Sketches! {by tamara}. We were to use the following sketch:


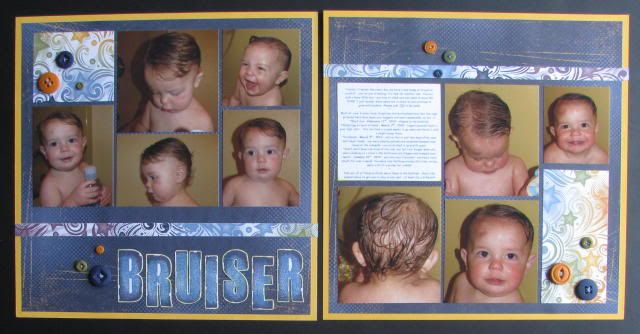
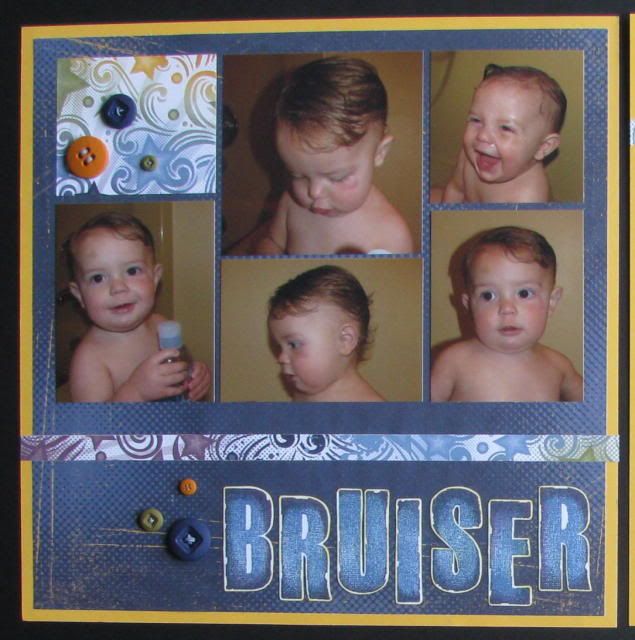
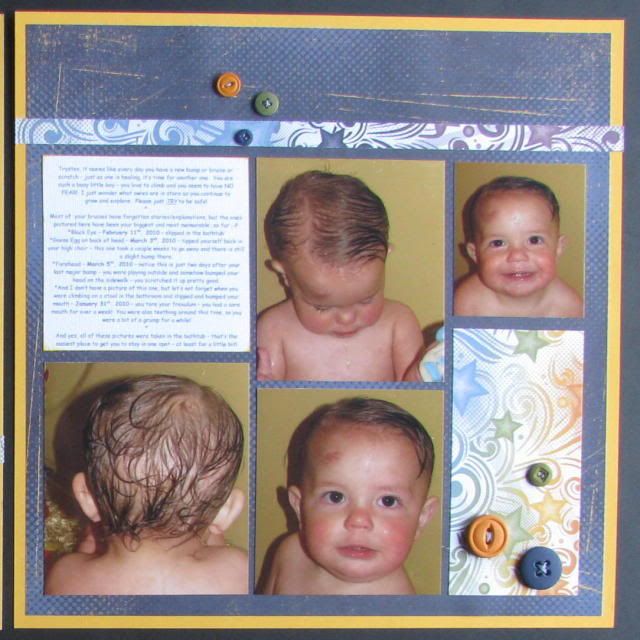
And here is my layout - I turned it into a two-page layout by flipping the sketch for the right page and just playing around with some different sizes and shapes for the photos. I also added my journaling on the right page. These pages were really simple - the most time consuming part was probably threading the buttons, the rest of it went together really fast. I used the Stamp Rolling technique on the Rustic Alphabet stamp set for the title - I wanted it to look like a bruise. I thought the colors in these You Rock papers went really well with the Bruiser theme!

Remember, you can click on the picture to view it larger.


Products Used (all from CTMH): You Rock papers, Autumn Craft Buttons, Indian Corn Blue Waxy Flax, Rustic Alphabet, Indian Corn Blue ink, Outdoor Denim ink, Sunflower ink.
***
Thanks for looking!

Tuesday, April 6, 2010

A day (or two) late, but...Happy Easter!

I meant to post this Sunday, but I didn't get it finished and scheduled, and then the day got away from me, and then I tried to get it done yesterday, but that just didn't happen ;-P So here I am a couple of days late, but I hope you all had a very Happy Easter! I am so thankful for my Savior, Jesus Christ - He is Risen!
***
Here are some more favorite Easter projects that I promised I would share...

...this isn't one that I did as a child, but I've done them with my kids for almost 8 years now, so I consider them an old favorite. These are Cascarones, or Confetti Eggs - you may remember me mentioning them when I posted pictures from last year's Easter Egg Hunt. First you hollow out the eggs (I use a spoon to break the fat end, then carefully peel away the shell and dump the insides in a bowl to use for scrambled eggs) and rinse them and let them dry, then you color them (we like to use markers, or you could use traditional egg coloring)...just be careful because they break easily! We had a lot more eggs when we started but thanks to a couple of mishaps, this is all we ended up with!

Then you fill them with confetti and cover the end with tissue paper - we attach the tissue paper with a glue/water mixture. They are a little bit of work, but it sure is fun to smash them over someone's head!

...another old favorite - some fun, washcloth bunnies

...and this one is a new project - we made these last year at Story Time at the Library so I decided it would be a fun gift for Grandparents for Easter. They are Handprint Lilies - a bouquet that lasts forever! I didn't want to mail them, so it's a good thing they last forever because it will be until the next time we see some of the Grandparents before they get theirs ;-P
...and since I haven't shared any pictures here in family quite a while, here we all are in our Easter fashions! This picture was actually taken the week before Easter since General Conference was this week. So we didn't have to get dressed up for church on Sunday - we had a nice lazy day together - recovering from our busy Spring Break week!


This picture would be better if Brianna were more centered, but I think it turned out pretty good - at least everyone is looking at the camera! I wish we had more time that morning to take pictures, but it's hard now that church is back to 9:00 in the morning - not much time for 6 people to get ready and pose for pictures ;-P


Thanks for visiting!

Friday, April 2, 2010

Flashback Friday

Today I am sharing some fun, old Easter themed projects for my Flashback Friday. I sure had fun looking back at some of these old creations. I will be sharing another old favorite Easter project that I created with the girls, so I hope you'll check back! Have a great weekend!
***
First I want to share this old favorite project - one I remember doing with my mom. Here I re-did it using CTMH Sassy Strands but you can use any kind of thin string...


And here is how you create them:

*Blow up some water balloons (they are small and have an egg shape vs. other balloons)

*Dip your string in starch and wrap around the balloon

*Allow the balloon to dry completely (set it on wax paper to dry)

*Once the balloon is dry, pop the balloon and pull it out of your egg shape


And here are some fun pop-up cards with a bunny and a chick - I love these animals because they were created using the Happy Easter stamp set. Their bodies were the egg shape, the chick's feet were the tulip stamp, and the bunny ears were the leaf stamp - how fun is that! So many more possibilities with this stamp set than just eggs and flowers.


And here are some Easter pages that I created before I started blogging, so I haven't had a chance to share them here yet!
***
You may recognize the big picture on the following layout if you have a CTMH Spring 2010 catalog - that's my girls on page 51! You can also check it out here if you missed it before! I used no patterned paper on this layout - only textured CS and the Friendship Flowers stamp set.


I created my patterned paper on the following layout using the Playful Flourishes stamp set with Buttercup and White Daisy inks.

And these pages I have shared on my blog already, but here they are again just because of their theme!


Here I used two Just Blooms flower petals for the bunny ears, and a pink brad for the bunny nose:


Notice how this page and the next are identical - I just used different papers but the same Imagine layout. This was a layout for a gathering, and I gave them a girly option and a boy option.


Thanks for looking!