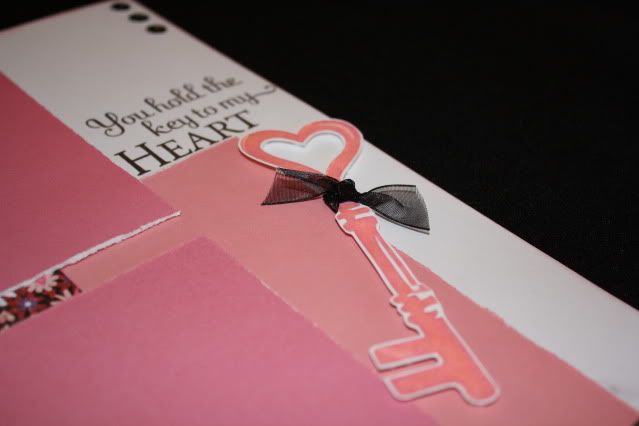
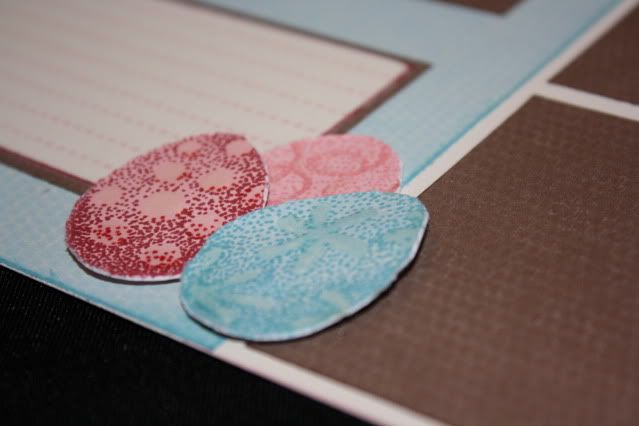
Tuesday, January 3, 2012

November Catch-up

I haven't done a family post since Halloween so I'm way behind!  Here I am trying to catch up the month of November.  I will keep this as brief as possible, which is not very easy since I take way too many pictures!
Kaylee's Birthday - 10 years old!
I took treats to her class - Mint Oreo Balls dipped in white almond bark and drizzled with melted mint chips - yum!  I left the toothpicks in after I dipped them and decided to dress them up a bit.  I cut the banners using my Cricut and the CTMH Cartridge.  Thanks to my Cricut Design Studio I was able to cut the number 10 directly out of the banner.
It was a beautiful day after school, so we even did a little sledding in our front yard on her birthday.
She requested pumpkin pie for her 'cake' - here is Trysten helping her blow out the candles.
Here are some random goofy kid pics...
...putting on a show...
...ta-da!
The week of Thanksgiving, we went with Kaylee's class on a field trip to Legend Rock.
We had Thanksgiving dinner at our house and some of David's family came over.  I took lots of pics of family but won't post them here for privacy.  I will post a quick project I did that morning - I found these old leaves we had done back in '04 and '05 - I had cut them from foam and each person had written their name, the year, and then what they were thankful for on the back and we hung them on a branch that we stuck in a bucket and called it our thankful tree.  So we laid them out on the tables for everyone to look back on.
I'm not sure why we haven't done it since then, but Thanksgiving morning I decided I wanted to start it up again.  This time I pulled out my handy Cricut so it did all the leaf cutting for me.  I sent Kaylee outside to find a branch and she found a really thorny one, which worked perfectly.  Hopefully we will continue this tradition through the years as it's fun to look back.
Here is Trysten's - he loves to write the letter T and he's working on learning to write the rest.
David's parents brought their Ranger and left it with us that night since they took Grandma back home and stayed the night with her.  So that night after everyone left, we took the kids for a quick ride and Brailee and Trysten fell fast asleep!
We always put our Christmas stuff up after Thanksgiving.  Here's David and Brailee putting up the tree.  We put it in the piano room this year.  Never thought I would have a fake tree, but we got this one on clearance for $25 about 8 years ago, so it's saved us a lot of money!  Now with our vaulted ceilings, we are looking for one a little taller so we're not so limited as to where we put it.  I do miss going up to the mountain and getting our tree like I used to growing up, however.

Trysten was so excited to get our train out - I though he would constantly have it going all season but he left it alone after the first day.  I have to add, this is the first year since I've known David that he hasn't put up ANY outside lights for Christmas - he just didn't have the motivation to do so, maybe it's our country living that's getting to him ;-)  He had put up a bunch for Halloween but after a couple of windy days that we had, most of it had to come down.
I guess I don't have as many pics as I thought I did to sum up this month.  Other things that happened that month - Yukon was giving us fits for a couple weeks and would just randomly die on us - usually as we were slowing down or turning.  So I didn't trust it much and started to take the truck everywhere instead.  Well, just my luck, one evening just 2 miles from home after picking up the girls from an after school activity I hit a deer.  Didn't appear to do much damage to the truck but internally it broke the bracket that holds the light in on both the headlight and marker light. Let me just tell you, if you are looking for car parts, check out amazon.com - we ordered a complete headlight and marker light (with brackets) for less than $60 - we would have spent a couple hundred dollars through our local car part store!  David temporarily wired the lights in place but with our bumpy road we didn't want to drive the truck much until the light was fixed, especially at night.  So while we waited for the parts to arrive I had to trust my luck with the Yukon.  Exactly one week after hitting the deer, in almost the exact same spot, the Yukon started to die, but I could tell it was more serious this time.  Luckily I barely made it into our garage just as it officially died for good.  Turned out we needed a new alternator and battery as well, so there went a nice chunk of change - just glad hubby has the garage and knowledge to fix it himself so we didn't have to pay for labor, too.  So we've had quite the luck with the vehicles lately but in reality very fortunate the way things have worked out.  We will be shopping for a replacement for the Yukon soon, which is really too bad since all vehicles are paid off :-(
***
Well, I guess that's November, in a nutshell.  Stay tuned for December, Christmas, and a special little girl's 5th birthday!

Monday, January 2, 2012

Happy New Year!

The New Year is always about fresh starts, right?  One of my goals is to get back on track with a lot of things - one of them is my blog.  Over the next couple of days I am going to attempt to do a quick catch up so bear with me!  First I'm going to start by sharing a new tradition that we started this year.  We like to get sparkling cider for New Year's and this year I decided that I wanted to do something with the bottle.  So I came up with the idea to write the year and have the kids sign the bottle using paint markers.

Then David came up with the idea for everyone to write their testimony and goals on a paper that we would put in the bottle.  We are hoping to do this every year, it should be a fun keepsake.  Here is our bottle for 2012.
Happy New Year!

Sunday, December 11, 2011

Creative Tuesday - Ornaments

This week we are making ornaments for the holidays!  I have a big variety of ornaments to choose from, so I hope you'll join me!  You will find pictures and details below - if you plan on coming please make sure you have the supplies listed with each ornament you want to make.
***
Please bring scissors and adhesive (gluestick or tape runner will work - for the honeycomb ornament you will need mini gluedots).  You are welcome to bring your own paper, but I also have a huge supply of patterned papers and solid cardstock on hand to purchase for $0.75 per 12x12 sheet.  I have listed below how much paper is needed for each ornament.  I will also have accessories and embelishments available to purchase to put the finishing touches on your ornaments, but you are welcome to bring your own as well.  Ribbons, buttons, sparkles, glitter, etc.
***
Date: Tuesday, December  13th
Place: My house - contact me for directions
Time: I will open up shop at 10 a.m. and close at 3:30 p.m.
Come when you can, stay as long as you can, and make as many ornaments as you want! If you will be here for lunch, bring something to share and we will have a potluck lunch. I hope you can join me - contact me at jvdevries22@hotmail.com with any questions or to RSVP.
***
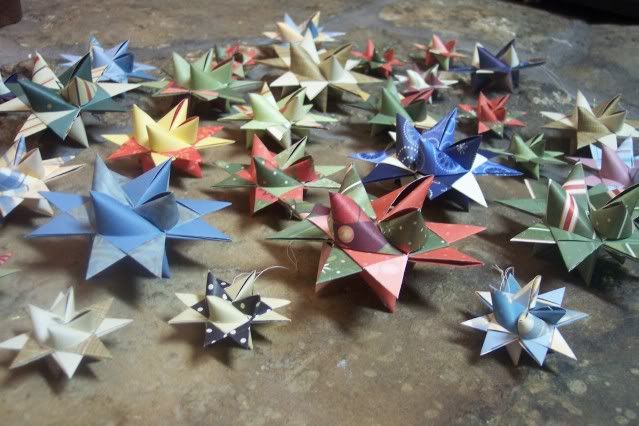
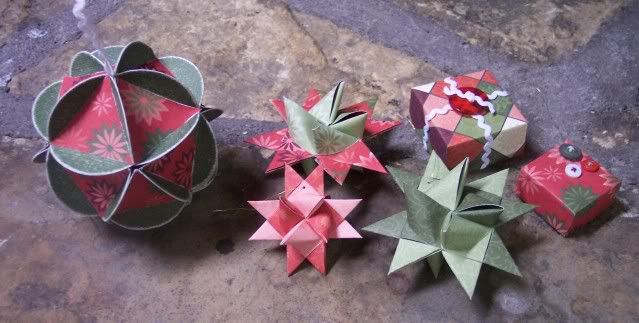
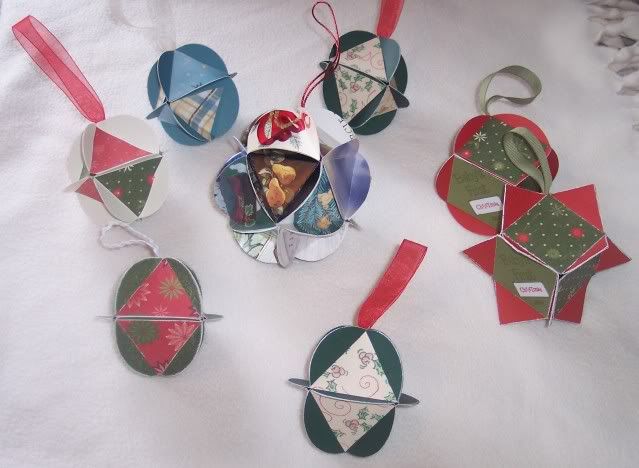
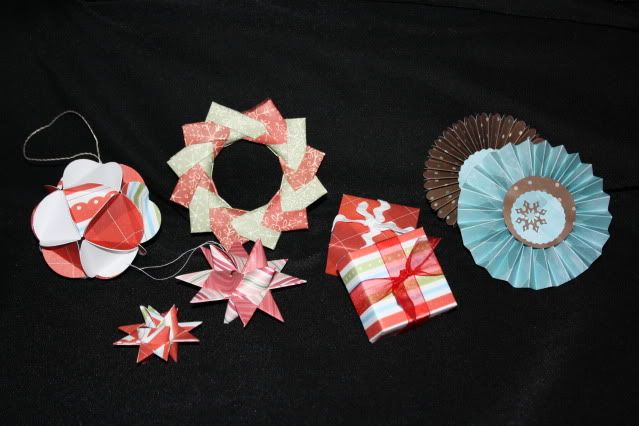
Here are some pictures of some of the different types of ornaments I can teach you to make - all from paper! 
An old favorite - German Stars
You can create one star with less than 1/2 of a sheet of paper

A new favorite - Honeycomb (you will need a package of permanent mini glue dots for this ornament, it takes 126 for each ornament, and this one takes at least 2 sheets of lightweight 12x12 paper if you are bringing your own)
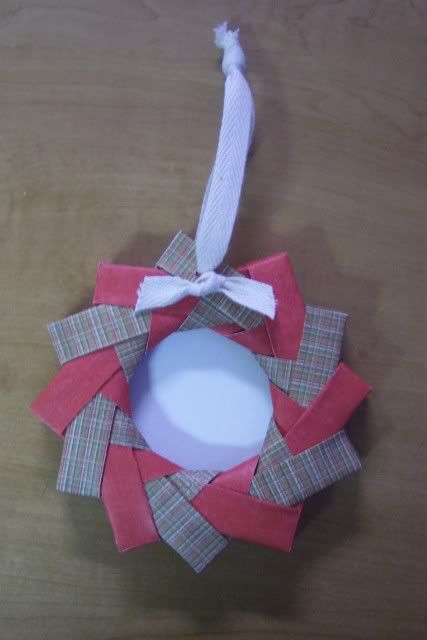
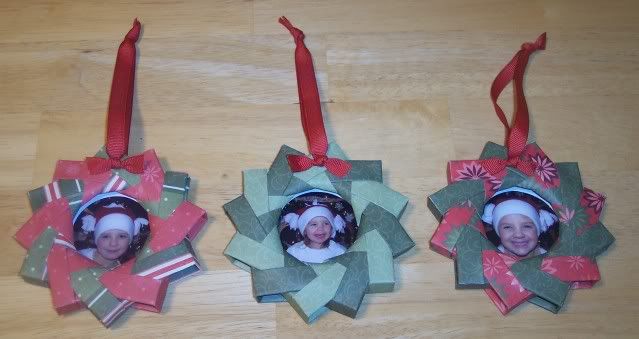
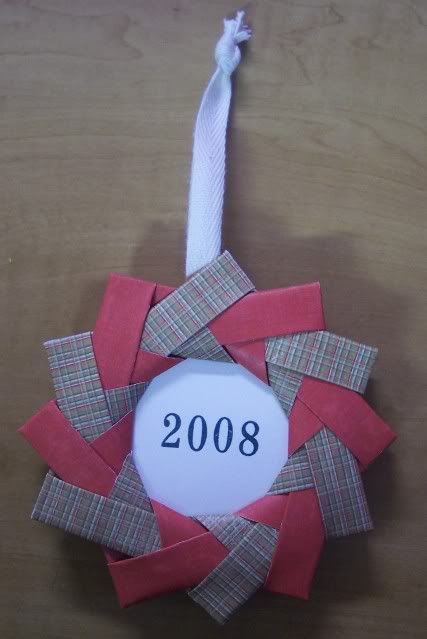
Wreaths
To create one wreath you will need one full 12x12 sheet of paper, or two 1/2 sheets of paper in two coordinating colors

These are perfect for a picture on one side...

...and the year stamped on the other side.
3-D Balls and Boxes
Balls take about 1/2 sheet of cardstock and about 1/2 sheet of lightweight/patterned paper.
To create a 2 1/4" box you will need a 12x6 sheet of paper - any type will do.
Old Christmas cards work well, too.
and YoYos (pictured on the right)
For a 4" YoYo you will need about 1/2 a sheet of paper - any type will do.

Sunday, December 4, 2011

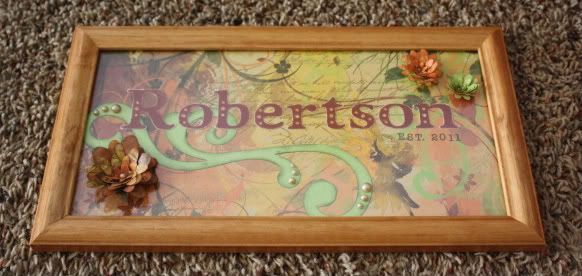
Creative Tuesday - Name Frames

This week I have a fun project in store for you for Creative Tuesday.
Date: Tuesday, December 6th
Place: My house - contact me for directions
Time: I will open up shop at 10 a.m. and close at 3:30 p.m. If you are interested in an evening session, contact me for possible times
Please Bring: Your choice of frame - any size/shape will do.  Also bring scissors and your choice of adhesive.  You are welcome to bring your own paper, but I also have a large selection of patterned and solid paper and accessories that you can purchase to create your frame, and we will use my Cricut and/or stamps for the name.
***
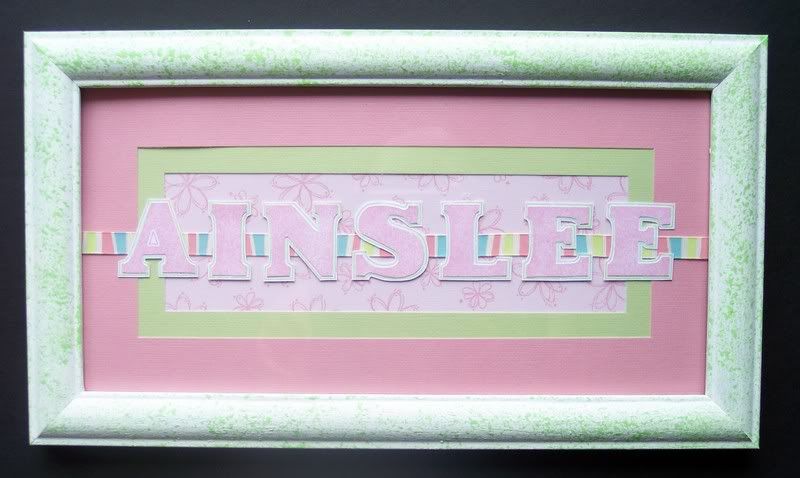
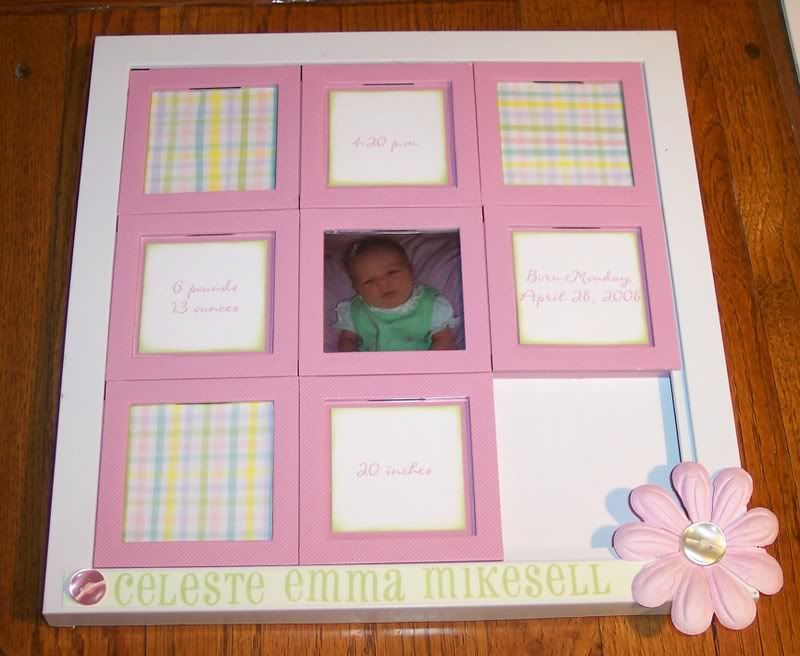
Come when you can, stay as long as you can, and make as many name frames as you want! If you will be here for lunch, bring something to share and we will have a potluck lunch. I hope you can join me - contact me with any questions. Here are a few name frames that I have previously made.  These are great family gifts, wedding gifts, and new baby gifts.

Monday, November 28, 2011

Join me for Creative Tuesday!
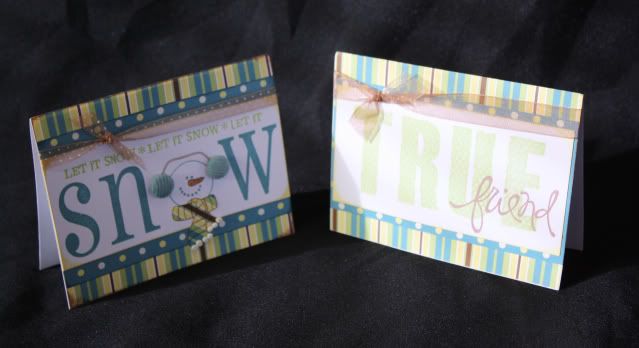
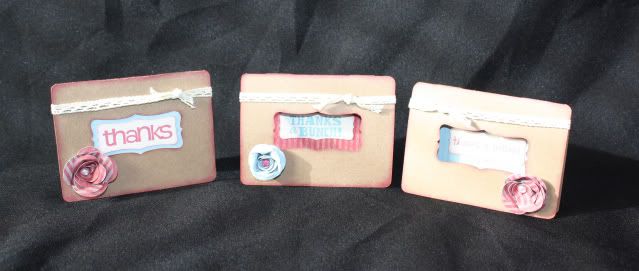
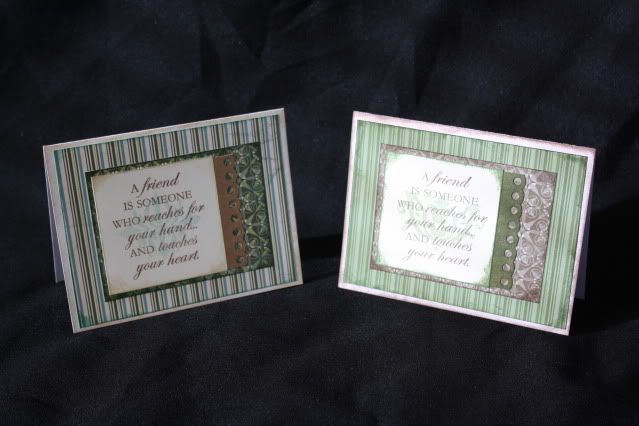
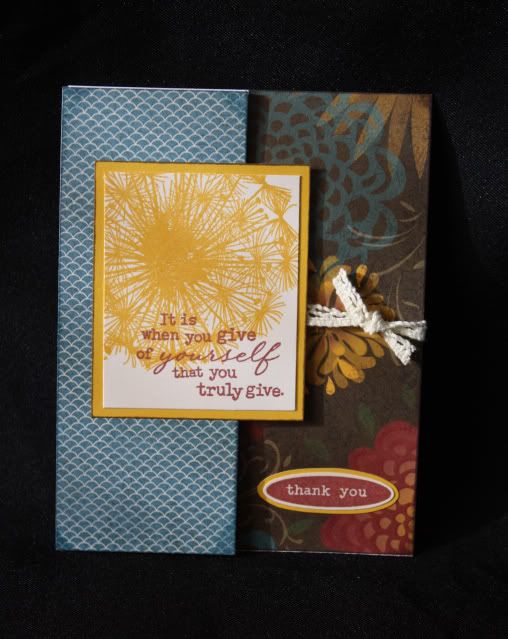
This week I will have my stash of pre-cut cards for you to chose from for Creative Tuesday.

Date: Tuesday, November 29th
Cost: $1 per card (with an envelope) or $0.50 per card (without an envelope)
Place: My house - contact me for directions
Time:  I will open up shop at 10 a.m. and close at 3:30 p.m. If you are interested in an evening session, contact me for possible times
Please Bring: Scissors and your choice of adhesive

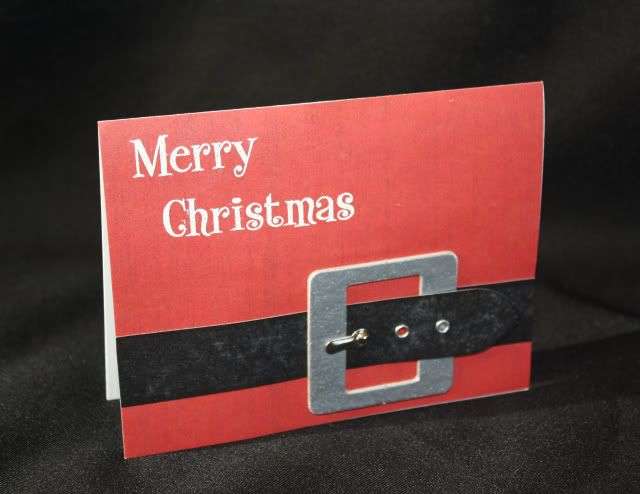
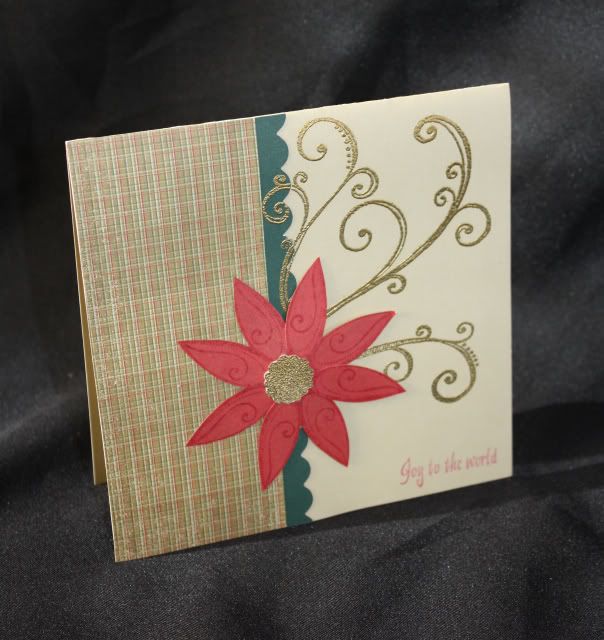
Come when you can, stay as long as you can, and make as many cards as you want - it can be 1 or 100!  If you will be here for lunch, bring something to share and we will have a potluck lunch.  I hope you can join me - contact me with any questions.  Here is a small sample of some of the cards I have pre-cut and ready to put together!
Tuesday, November 15, 2011

CTMH Spotlight Blog Hop - Embossing

Hello and welcome to this month's CTMH Spotlight Blog Hop!  This month we are featuring projects using an Embossing Technique.  If you came from Luisa's blog then you are on the right track!  If you are starting here, then just keep hopping along to check out what everyone else has created.
***
I love embossing, whether it's heat embossing or dry embossing, it's always a fun addition to any project.  Click HERE to view all items available from Close To My Heart to meet your embossing needs.  Today I am featuring some projects using heat embossing.
***
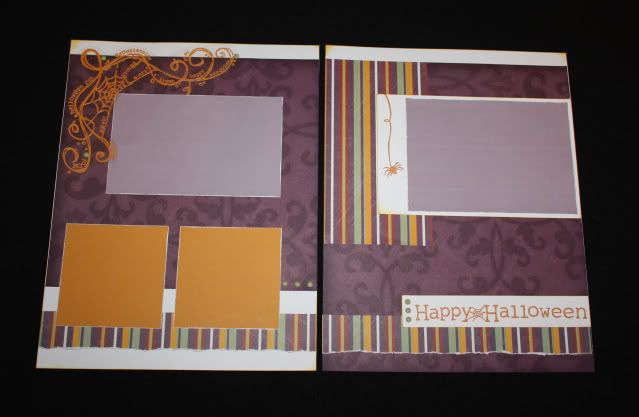
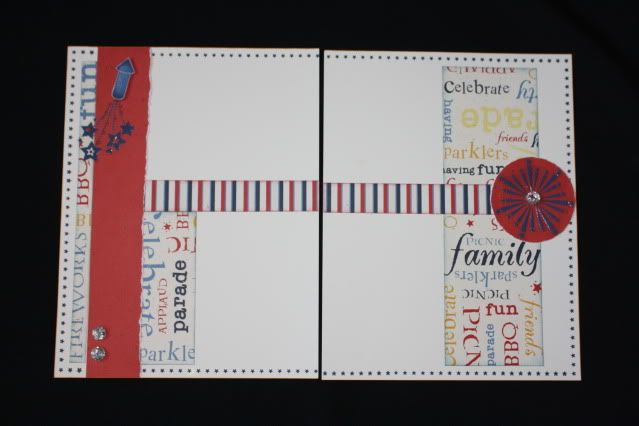
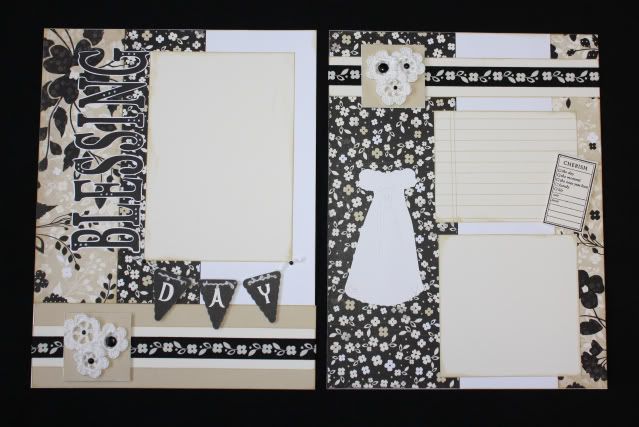
I gave a little sneak peek last week, here are a few of the full pages.  I created these pages for a friend's baby shower.  She only scraps in 8 1/2 x 11 so I had to challenge myself since I've never scrapped this size before.  On these following pages, I heat embossed on a clear transparency to create my own type of overlay.
For these Halloween pages I modified the Dialogue pattern from Imagine.  I also used some retired Enchanted papers and Creepy Cobwebs stamp set.  I heat embossed the title and the spider on the right page directly on the white paper.  I heat embossed the spider web on the transparency and trimmed around it.  I attached it with carefully placed dots of Liquid Glass (to hide under the image) and a few coordinating brads.
For the following 4th of July pages I modified the Levitate pattern from Magic.  I used some retired Blue Ribbon paper, along with a Stamp of the Month from this summer, American Celebration, and an old favorite stamp set, Circle Around.
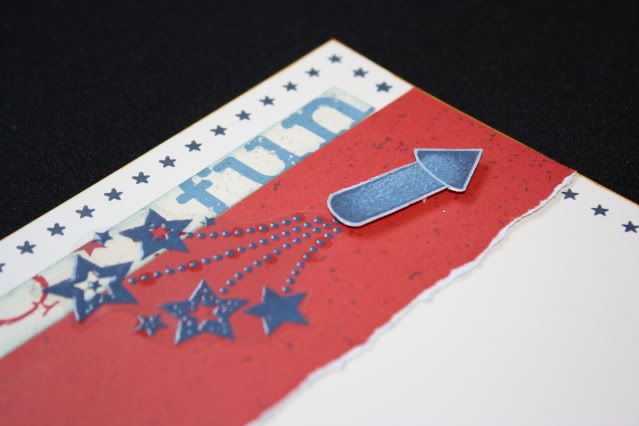
I embossed the firecrackers on the transparency and added a touch of Prisma Glitter to the image while the embossing powder was still hot.  It added just a touch of sparkle.  Like the spider web, I trimmed around the image and attached it to the page using Liquid Glass behind the stars and a few dots.
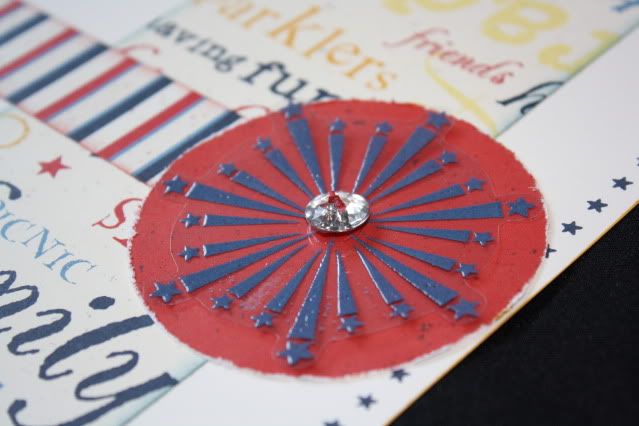
I added a few Bling Buttons as well - this one covers up the glue dot that I used to hold the transparency down.
Here are some pages for Baby's First Christmas with a few different embossing touches added.  I modified the Full House pattern from Imagine.  I used the retired Jingle papers on these pages.  My title was cut using the Cricut Art Philosophy Collection.
I used white embossing powder mixed with Prisma Glitter to color this Dimensional Element Ornament.  It adds just the perfect touch of sparkle and shine.

Another thing I like to do with Embossing Powder is color brads with it.  I took some plain white brads here - heated the brads with a heat gun then dipped them in Baby Pink powder and heated them again.

For some regular embossing, I did a little bit of that here on the Blessing Day pages.  To create these pages I modified the Simple Contrast pattern from Cherish.  I used the retired Silhouette papers.  The title was cut using my Cricut Art Philosophy Collection - with a little help from my Cricut Design Studio I was able to change the look of the alphabet by making it taller and skinnier.  I do NOT use my Cricut without the Design Studio anymore - I know exactly what I am cutting and get the exact size I want without guessing, plus I am able to use my paper better and really customize the look.
I embossed the word DAY on these black banner pieces (also cut using the Cricut) using white embossing powder and Felicity stamp set.
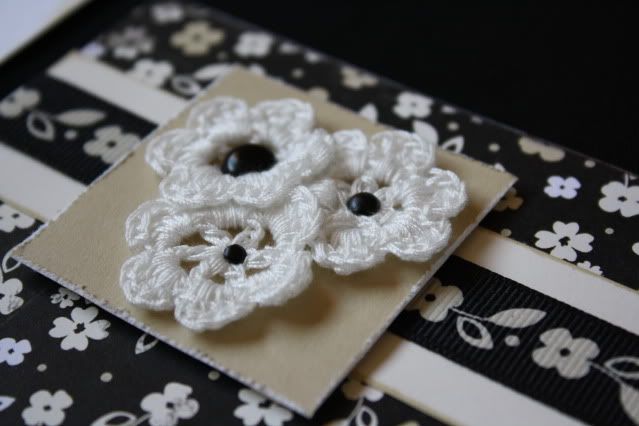
A few more close-ups from these pages just because I love them so much ;-)  Here's a cluster of crochet flowers attached with various sizes of black brads.
The journaling piece was stamped using lines from the Comments stamp set and accented using the Cherish the Moment stamp set.
Thanks for stopping by - to continue along the hop, your next stop is Nikka!

Monday, November 14, 2011

Progress & Changes - Upstairs Bathroom

A while ago I posted the transformation that our Master Bedroom has taken over the last year.  Today I am going to share another room - this time it's our upstairs bathroom.
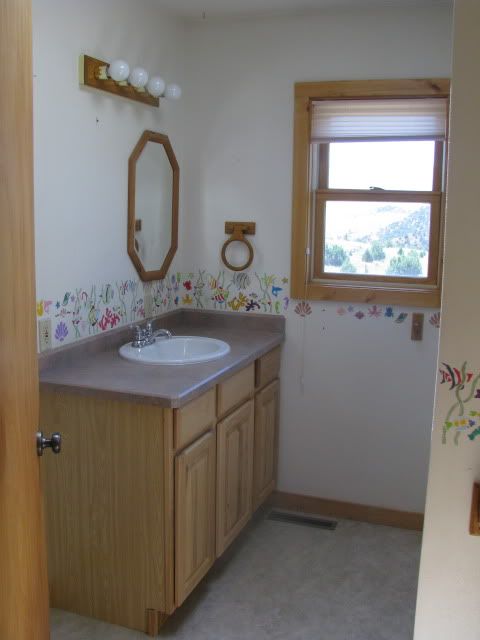
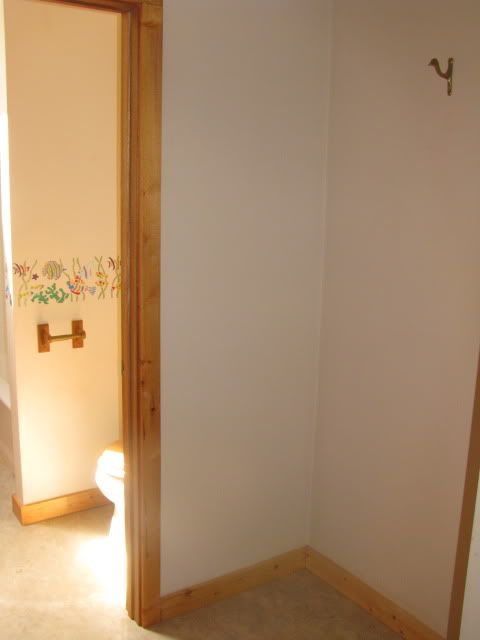
Here it is when we bought the house - I don't know what was up with the mirrors in both bathrooms, but we knew it was an easy fix.

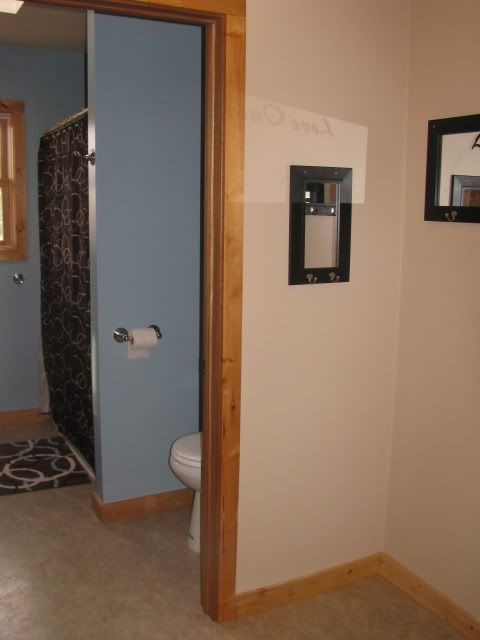
Here it is after we got done with it.  I've wanted blue walls in the bathroom ever since we made over our bathroom in our last house, but I was worried about making it feel too dark.  This bathroom has a skylight and a window so I knew it wouldn't be a problem.
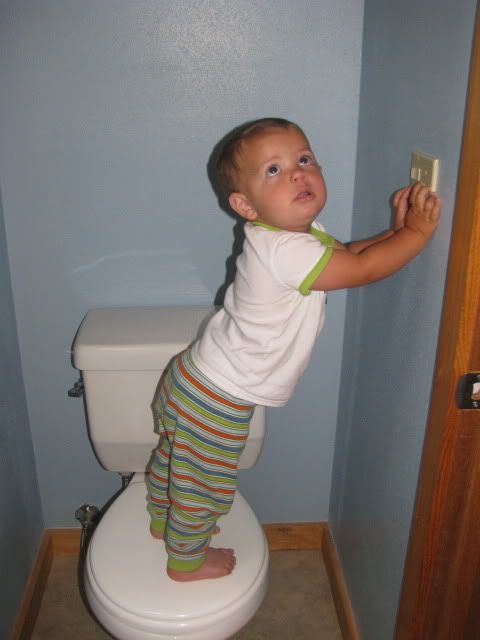
We put new toilets in both bathrooms  - since we were now hauling our own water, we wanted water efficient ones that would actually flush.  Here is a little flashback of T-dawg - he loved that he could reach these light switches just by climbing on the toilet, and didn't have to find a chair or stool to assist him.
This is our little 'mud room' - to the right of this is the door that goes out to the garage, so I've loved this little nook.
We didn't do much to this area - just a fresh paint job and then added some mirrors with coat hooks.  This is where the kids hang their backpacks and kick off their shoes.  There is also a closet here just opposite the nook where we keep the vacuum, towels, batteries, and lots of other stuff!
Thanks for looking - stay tuned to see the rest of our changes!

Thursday, November 10, 2011

A little peek...

...at a fun little project I've been working on lately...stay tuned to see it all!